How to Design Laser-Cut Cardboard and Plywood Joints
For a 370x370mm laser bed, design cardboard and plywood joints as small, testable modules that fit inside the machine's usable area. Measure actual material thickness, leave room for clamps and kerf tests, then adjust slots from a sample cut.
On this page (8 sections)
- How should you plan joints for a 370x370mm bed?
- How do you size a slot for cardboard or plywood?
- Which joint shapes work well in a small assembly?
- How can you keep joints strong in cardboard?
- How can you make plywood joints fit cleanly?
- What should you test before cutting all the parts?
- Which supplies support a finished project?
- How do you choose a joint for a 370x370mm bed?
For a 370x370mm laser bed, small, testable modules that fit inside the usable cutting area are a practical way to design cardboard and plywood joints. Measure each sheet's thickness, account for kerf, and cut a sample joint before committing to the full assembly.
A joint that fits on screen may still fail at the machine. Bed clearance, hold-downs, material variation, and the laser's cut width all affect how parts meet.
How should you plan joints for a 370x370mm bed?
Plan each part around the machine's usable area, not just its nominal 370x370mm bed size. Check the manual for actual cutting limits and leave room for clamps, tabs, or other hold-downs.
Keep the largest part comfortably inside that working area. If a panel is too large, split it into keyed sections so the joint itself provides alignment during assembly.
Arrange parts with enough gap to avoid weakening narrow webs between cuts. Keep small test pieces near the main parts so they use the same sheet and machine setup.
For broader project planning, see Wood Architectural Models: Laser Cutting Guide. It can help you think through panel layout before detailing the joints.
How do you size a slot for cardboard or plywood?
Measure the actual sheet thickness and test the slot width on a sample. Nominal thickness can differ from the material in hand, and cardboard can also vary across a sheet.
Make a test comb with several slots that change by a small increment. Label each slot, cut it from the same sheet, and try the intended tab without bending or forcing it.
Laser kerf removes material along the cut path, so the finished slot can be wider than the drawn line. The amount depends on the machine, focus, material, and settings, so don't assume a value from another project will transfer.
For cardboard, test across different areas if the sheet feels uneven. For plywood, check whether the edge exposes veneer layers or glue that change the fit.
Should cardboard and plywood use the same slot fit?
Use separate test results for each material. Cardboard may compress, while plywood edges can vary with sheet construction and cut direction.
Start with the same joint shape if that helps keep the design simple, but set distinct slot widths and tab depths. Save those values with the material name and thickness so you can reproduce the fit later.
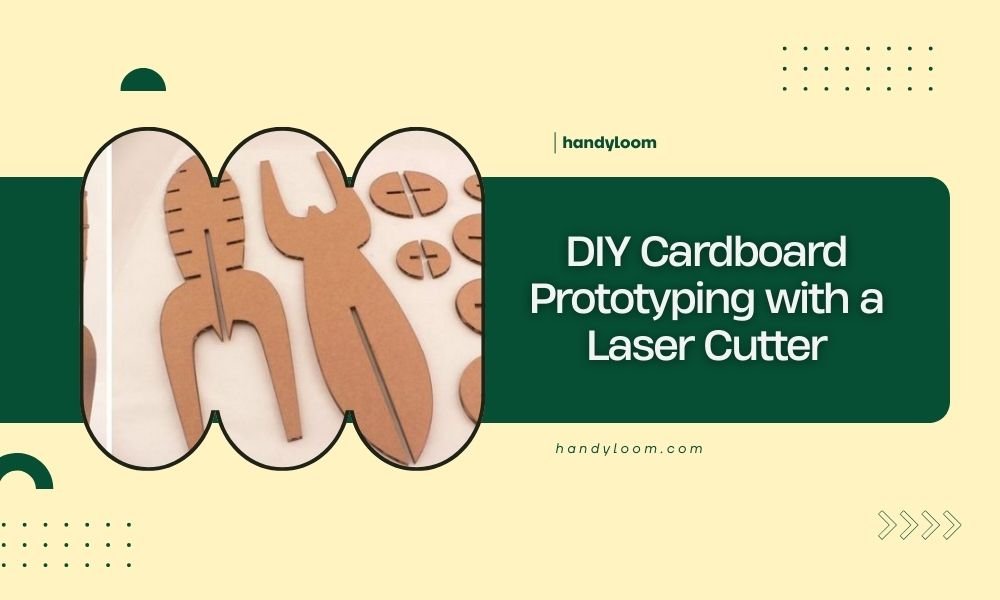
If you're building a quick mock-up, DIY Cardboard Prototyping with a Laser Cutter covers the role of cardboard prototypes in testing a design. For cutting setup and handling, see How to Laser Cut Cardboard?.
Which joint shapes work well in a small assembly?
Straight tabs and slots are easy to test, while keyed or interlocking edges help align panels. For a bendable box design, see living hinges for curved laser-cut boxes.
Choose a shape that matches the load and the material's strength.
A simple tab-and-slot joint works for flat panels and small boxes. Use wide tabs rather than many narrow ones in cardboard, since thin tabs can tear or fold during assembly.
Finger joints can align two edges and add more contact area. Keep fingers broad enough for the material, and avoid placing them so close together that the remaining material becomes fragile.
A corner gusset can support an inside angle without changing the outside edge. Add it where the assembly needs support, not as a substitute for a slot that is too loose.
For joints designed to flex into place, compare your approach with How to Design Snap-Fit Joints for Laser Cutting. Snap fits need room to flex, so test the feature in the final material before using it across a full assembly.
How can you keep joints strong in cardboard?
Keep tabs and slot edges away from crushed or damaged cardboard. Flute direction, layers, and handling can change how a joint holds.
On corrugated board, test how the joint behaves with the flutes running in different directions. A tab that bends easily in one orientation may resist bending in another.
Don't make narrow webs between slots. Add material around a joint if the edge begins to buckle, and use a backing piece when a thin panel needs support.
Cardboard prototypes are useful for checking fit and proportions, but they don't guarantee that plywood parts will assemble the same way. Retest the geometry after switching materials.
How can you make plywood joints fit cleanly?
Use a test cut from the same plywood sheet before cutting the finished parts. Plywood thickness and edge behavior can vary, so a saved setting from another board may not produce the same fit.
Keep slots away from tiny corners and thin edges that could split or char. If a joint binds, revise the slot gradually and cut another sample rather than forcing the assembly.
For a snug joint, aim for parts that seat with steady hand pressure. If the fit needs a tool or crushes the edge, increase clearance or change the joint shape.
Don't rely on glue to compensate for a poor fit. First make sure the panels align and sit square, then choose an adhesive that suits the material and intended use.
What should you test before cutting all the parts?
Cut a small fit-and-alignment sample before running the complete design. It should include the joint types, material direction, and settings you plan to use.
Check that:
- Tabs enter slots without crushing or tearing the edges.
- A multi-part corner sits square and stays aligned.
- Narrow sections remain intact after cutting.
- Parts stay within the machine's usable area.
- The layout leaves space for hold-downs and safe movement.
If the assembly will be painted, allow for paint thickness at tight joints. The guide to applying paint to laser cut models can help you plan finishing without obscuring the fit.
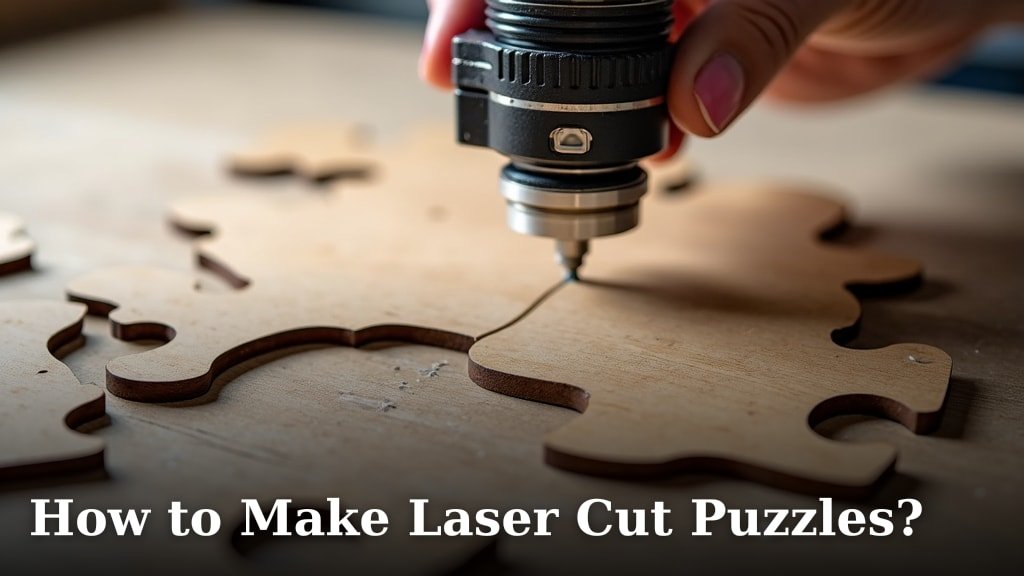
For repeated interlocking parts, How to Make Laser Cut Puzzles? offers another way to think about fit and piece layout.
Which supplies support a finished project?
A paint set may suit a cardboard model that will be decorated after assembly. The Crayola Washable Kids Paint Set includes 6 classic colors and 6 glitter colors, and Crayola says its paints wash from skin and most washable clothing.
Use paint only after checking that it suits your material and intended finish. Keep it out of slots that need a close fit, or paint parts before assembly and retest the joint.
For a separate engraved wood project, the GIFTS TO ENGRAVE Personalized Cutting Board is made from bamboo and has permanent laser engraving. It comes in 5 size options.
The Barika Personalized Cutting Board is made from wood and has customizable engraving. Its recommended uses include serving cheese or fruit.
These boards are finished products for kitchen and gift use, not raw sheets for designing structural joints. Keep project materials matched to the laser's approved material guidance.
How do you choose a joint for a 370x370mm bed?
Choose a tab-and-slot joint for simple panels, a finger joint for aligned edges, or a gusset when a corner needs support. Test the fit with the exact cardboard or plywood before cutting the full project.
If the design fits within the usable 370x370mm area, leave margin for hold-downs and sample cuts. If it does not, divide it into keyed panels and test their alignment.
Start with cardboard when you need a quick shape check, then recalculate the fit for plywood. A measured sample and a clear record of material thickness will make the next assembly easier to repeat.
Frequently asked questions
How much clearance should a laser-cut joint have?
There is no single clearance that fits every machine, material, or joint. Cut a small test comb using the same sheet and settings, then compare snug and loose slots.
Choose the narrowest fit that assembles without forcing or crushing the material, and record that value for the same material batch.
Can cardboard and plywood use the same joint dimensions?
Usually, no. Cardboard compresses and varies by flute direction, while plywood thickness, glue layers, and surface veneer affect its cut edge.
Measure both materials and make separate test pieces.
Keep the joint geometry consistent only after each material has its own verified slot width.
How do you fit a project on a 370x370mm laser bed?
Treat 370x370mm as the bed's nominal maximum and confirm the usable cutting area in the machine manual. Allow space for hold-downs, edge clearance, and the beam's travel.
Divide oversized designs into keyed panels, and test alignment features before cutting the full set.
What joint is easiest for a cardboard prototype?
A straight slot and tab is a simple starting point because you can change its width in a test strip and see the fit directly. Use broad tabs on weak cardboard, keep slots away from crushed edges, and add a small backing gusset if the assembled panel needs more stiffness.