How to Create Laser Cut Artwork
The best techniques of laser cut artwork combine clean vector design, measured kerf, test cuts, and layered construction with slots or glue. Build details in separate layers, check fit on scrap, then assemble from the back layer forward.
On this page (10 sections)
- How do you design layered laser cut artwork?
- What is kerf and why does it matter for fit?
- How do you plan slots and tabs for strong artwork?
- How do you cut and clean detailed pieces without damage?
- How do you assemble layered artwork for a flat finish?
- How do you make laser cut inlays that sit flush?
- How do you build relief and contour artwork?
- What should you know before you cut a personalized board?
- How do you troubleshoot loose, tight, or scorched joints?
- How do you finish strong laser cut artwork projects?
The best techniques of laser cut artwork combine clean vector design, measured kerf, test cuts, and layered construction with slots or glue. These techniques of laser cut artwork work for flat wall art, maps, signs, and relief scenes, and they keep small parts from breaking or fitting too tight.
Start with a simple design and one material. Cut a test piece, check every joint, then build the full set.
That order saves time on layered and detailed laser projects.
How do you design layered laser cut artwork?
Start with separate layers for background, middle details, and foreground shapes. Each layer should be a closed shape with no overlapping lines, because the laser follows the path you draw.
Keep the smallest detail larger than your material thickness. Thin bridges, tiny text, and tight curves break during cutting and cleanup.
Simplify the art first, then add detail through layering.
Use matching colors or meanings for each layer. A map might use one layer for land, one for water, and one for labels.
A face might use one layer for skin tones, one for hair, and one for small features.
Save a clean copy before you add slots, tabs, or kerf offsets. You will need that copy when a joint fails and you must recut one part.
What is kerf and why does it matter for fit?
Kerf is the width of material the laser removes, so joints need extra space built into the design. Without that space, tabs jam and slots will not close.
Measure kerf on your exact material. Cut a simple slot and a tab at 0.5 mm, 1 mm, and 1.5 mm offsets.
Mark each test so you can compare them.
Apply kerf only to joints, not to every outline. Adding kerf to a whole shape shrinks artwork and changes details you wanted to keep.
Different materials cut differently. Wood, acrylic, and cardboard each need their own test.
For design inspiration, see mirror acrylic laser-cut ideas.
A setting that fits 3 mm plywood may fail on stacked acrylic.
How do you plan slots and tabs for strong artwork?
Slots and tabs give layered artwork strength without glue. See a laser-cut pen caddy with finger joints for a compact example.
A slot across two layers locks them at right angles and keeps the front flat.
For a practical storage example, see a laser cut finger joint desk organizer.
Place slots away from thin edges and small details. A slot near a fragile bridge can split the part when you push it together.
Make tabs long enough to hold, but short enough to hide. Short tabs work for decoration.
Longer tabs work when the piece will hang or move.
Test slots in scrap before the final cut. If a slot is tight, increase the slot width.
If it is loose, reduce the width or add a small glue joint.
How do you cut and clean detailed pieces without damage?
Cut fine details first, then larger shapes, so small parts stay supported as long as possible. This order also lets you remove clean pieces before smoke and debris affect the rest.
Space small parts on the sheet. Crowded parts trap heat and can scorch edges.
Leave room for your fingers and tweezers during removal.
Remove parts with gentle pressure from the back. Do not pull tiny bridges sideways.
If a part sticks, push from the opposite side or use a flat tool.
Clean edges with a soft brush. Light sanding helps on wood.
Acrylic needs a different touch, so test any cleaner on a scrap edge first.
How do you assemble layered artwork for a flat finish?
Dry fit every layer before you add glue. Lay the back layer flat, add the next layer, and check edges, alignment, and shadow gaps.
Work from the back layer forward. That order keeps the front face clean and lets you see mistakes before they get buried.
Use a thin line of glue for small joints. Too much glue squeezes out and stains wood or clouds acrylic.
A toothpick or small brush gives better control.
Press layers evenly and let them set before you add weight. Clamps, heavy books, or flat weights can help, but do not crush thin details.
What finishing helps laser cut wood stand out?
Paint, stain, and seal each layer before assembly for cleaner color separation. Painted edges look sharp when the layers sit together.
The Crayola Washable Kids Paint Set has 12 bottles in 6 classic colors and 6 glitter colors. It suits kids ages 3 and up and gives you matte classic paint for flat color and glitter paint for small accents.
The set uses washable paint that washes from skin and most washable clothing. Each bottle is 2 oz, and the paint is for indoor arts and crafts use.
Paint in thin coats and let coats dry before stacking. For model-specific painting steps, see how to paint laser-cut models.
Thick paint can change slot fit and make layers stick where you do not want them to stick.
Test paint on a test cut first.
After paint dries, you can add a clear coat if your material allows it. Our guide to Top 5 Finishing Techniques for Laser Cut Wood Projects covers sanding, sealing, and paint order in more detail.
How do you make laser cut inlays that sit flush?
Inlays work when the pocket and insert share the same measured kerf. Cut the pocket slightly larger, test the insert, then adjust before you cut the final piece.
Design the pocket as a closed shape with smooth corners. Sharp inside corners are hard for a laser to cut cleanly and can leave gaps.
Glue inlays from the back where possible. That keeps the front face smooth and hides glue lines.
Use Laser Cut Inlay Techniques: Master Wood & Acrylic for material pairings and glue choices.
This same method scales up to a laser door inlay project. Doors add weight and movement, so test the insert fit more tightly and check that the door still closes after assembly.
How do you build relief and contour artwork?
Relief artwork uses stacked layers to show height, depth, and shadow. Each layer represents one level of the image, so the final piece reads like a small landscape.
Start with a strong silhouette. If the outline does not read at a glance, stacked layers will not fix it.
Use fewer layers for a bold look. Five to nine layers often give clear depth without making assembly hard.
Alternate light and dark materials or paint colors. Contrast helps viewers read the relief from across a room.
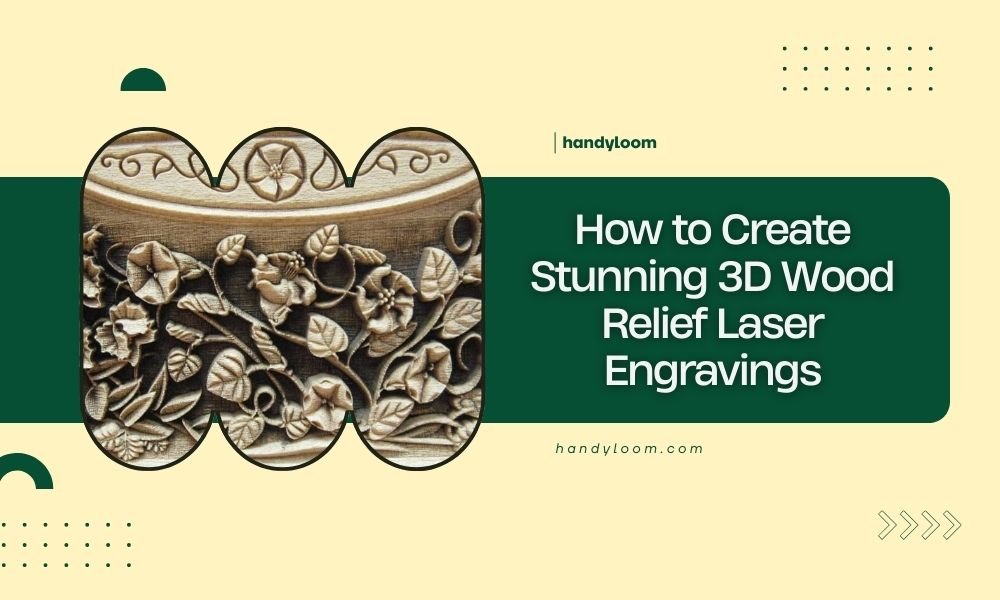
Our guide to How to Create Stunning 3D Wood Relief Laser Engravings shows how contour lines turn a flat image into a raised scene. Maps use the same stacking logic.
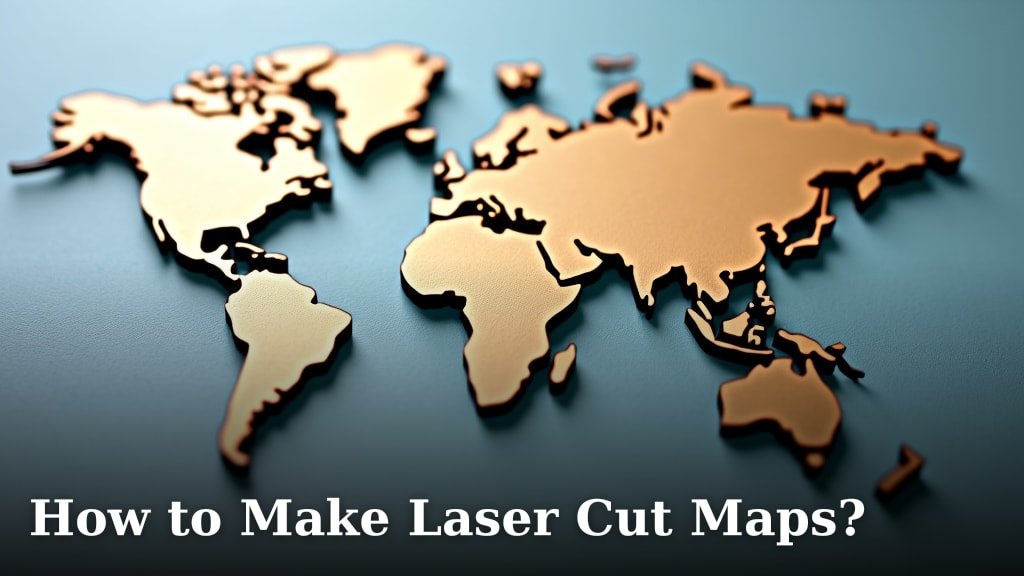
Learn the steps in How to Make Laser Cut Maps? and keep borders simple so the layers align.
What should you know before you cut a personalized board?
Personalized boards need the same design discipline as artwork. Text must be large enough to engrave cleanly, and the design must leave room for hands, handles, and food use.
The GIFTS TO ENGRAVE Personalized Cutting Board is bamboo with permanent laser engraving. It comes in 5 sizes, including 18x12x1.5 in, 17x11x1 in, 16x11x1 in, 12x9x0.5 in, and 8x5x0.5 in.
GIFTS TO ENGRAVE says the board has grooves and side handles. Care is hand wash only.
Pick the 16x11x1 in size if you want the size the brand calls most popular.
Which engraved board suits gifts and everyday use?
Pick size and thickness first, then check care and handle style. A small board suits serving.
A thicker board suits daily cutting and chopping.
The Barika Personalized Cutting Board is wood with deep laser engraving. Barika says the engraving will not fade or peel.
The board measures 15x10x0.75 in and weighs 2 lb.
Barika lists uses that include bread, cheese, fruit, meat, and vegetables. Care is hand wash only.
Compare the two boards by material and size. Thickness changes how the board sits on a counter.
These boards are good examples of laser cutter wood projects where design, material, and finish must match.
How do you troubleshoot loose, tight, or scorched joints?
Change one setting at a time and keep a simple test log. Note material, thickness, power, speed, and slot width for each test cut.
Loose joints need a smaller slot or a touch of glue. Tight joints need a wider slot or more kerf.
Scorched edges often need more speed, less power, or wider spacing between parts.
Misaligned layers usually mean the design has duplicate lines or uneven kerf. Redraw the joint, not the whole artwork.
Warped material needs a flat sheet and secure hold-downs. Check the sheet before you cut.
What if you do not have a laser yet?
You can still learn design, kerf, and assembly with hand tools. Cardboard, foam board, and thin wood let you practice slots and layers.
Our guide on how to laser wood without a laser covers hand tool options for small mockups. Use those mockups to test your artwork before you buy machine time.
Also study laser engraving ideas wood for simple designs that teach line weight and contrast. Those ideas help you plan the next cut with more confidence.
How do you finish strong laser cut artwork projects?
Strong laser cut artwork comes from tested joints, clean layers, and a finish plan made before you cut. Design in layers, measure kerf, dry fit, then glue.
Pick paint or stain for color separation. Pick slots for strength.
Pick inlays when you want two materials in one flat surface.
Use the Crayola set for kid friendly paint, the GIFTS TO ENGRAVE board for bamboo engraving gifts, and the Barika board for deep wood engraving. Each one shows a different way design and material work together.
For your next project, start with one test sheet and one simple layered design. That small build teaches more than a large first cut.
Frequently asked questions
What are the core techniques of laser cut artwork?
Clean vectors, kerf compensation, test cuts, layered assembly, slot joints, and inlay planning are the core techniques. Each step controls fit and detail.
Test on scrap first, then cut final material and assemble slowly from the back layer forward.
How do you avoid burning detailed laser cut artwork?
Reduce power or increase speed for fine lines, space small parts, and cut delicate details before large shapes. Clean edges after cutting.
Test settings on the same material.
Detailed artwork needs slower design checks, not just more power.
Can you paint laser cut wood artwork?
Yes, use washable paint on sealed or sanded wood and let each coat dry. The Crayola Washable Kids Paint Set has 6 classic and 6 glitter colors in 12 bottles.
Paint flat layers before assembly for cleaner edges and easier coverage.
What makes layered laser cut artwork stay together?
Slot joints, tabs, and controlled glue joints hold layers together. Slots give mechanical strength.
Glue fills small gaps.
Dry fit every layer first.
Add glue only after the fit looks right on all pieces.