How to Choose Joints for Laser Cut Wood
Choose a joint for laser cutting by the load it must hold and how you plan to assemble it: use finger joints for box corners, tabs and slots for simple alignment, and tongue and groove joints for panels that need a guided fit.
On this page (10 sections)
- Which joint types for laser cutting wood should you consider?
- When should you use finger joints for a wood assembly?
- Are tabs and slots a good choice for laser cut joints?
- When does a tongue and groove joint fit?
- When are snap-fit joints useful in wood designs?
- How does kerf change the fit of laser cut joints?
- Which joint is best for laser cut plywood?
- Can you use the same joints for acrylic or metal?
- What should you check before cutting a full assembly?
- Which laser cutting joint should you choose?
Choose a laser cut wood joint based on how the parts meet, how much load they carry, and whether you need to take them apart. Finger joints suit box corners, tabs and slots align flat parts, and tongue and groove joints guide adjoining panels.
The right geometry still depends on material thickness, grain direction, kerf and fit. Make a small test cut from the same material before cutting a full set of parts.
Which joint types for laser cutting wood should you consider?
The main joint types for laser cutting wood are finger joints, tabs and slots, tongue and groove joints, snap-fit joints, and hook tabs. Each balances alignment, strength and ease of assembly differently.
| Joint type | Works well for | Main trade-off |
|---|---|---|
| Finger joint | Box corners and cases | Many fingers need careful sizing and fit |
| Tab and slot | Flat panels, dividers and simple frames | Tabs can loosen or split if too small |
| Tongue and groove | Joined panels and guided edges | The matching groove needs accurate sizing |
| Snap-fit | Assemblies that need a tool-free connection | The flexible feature can break if over-bent |
| Hook tab | Connections that lock by sliding or catching | The assembly direction must stay accessible |
These are design options, not fixed strength ratings. Material, joint dimensions, cut quality and the direction of force all affect the result.
How do joint types for laser cutting differ?
Finger joints spread a corner connection across several interlocking teeth. Tabs and slots use one or more projecting pieces that fit into matching openings.
A tongue and groove joint guides one edge into another. Snap-fit and hook-tab designs add a retaining feature, so parts can stay together without relying only on a tight friction fit.
When should you use finger joints for a wood assembly?
Use finger joints for box corners when you want a broad interlocking connection and can access both parts during assembly. The alternating fingers help align adjoining edges.
Finger joints are common in boxes, enclosures and small cases because they provide several contact points along a corner. Their performance depends on finger size, material thickness, fit and the direction of the load.
Small fingers create more contact points, but they also leave less material in each finger. Larger fingers preserve more wood in each section, though the pattern may look less detailed.
For help choosing a pattern, read how to choose a 3D finger joint design tool for laser cutting. If you're designing a box, match the joint to the panel thickness and leave room to apply glue or another chosen fastener.
Are tabs and slots a good choice for laser cut joints?
Tabs and slots are a practical choice when parts need to line up during assembly. A tab on one part enters a matching slot in another, giving the pieces a clear position.
This joint works well for partitions, panel frames and parts that meet at a right angle. It can reduce the need for a separate alignment jig, but a simple tab and slot does not automatically lock against every direction of force.
Size the tab to retain enough material around it. A narrow tab may split the wood, while an oversized tab can make assembly difficult or distort a thin panel.
For a locking connection with a catch, compare hook tabs for laser cut connections. If the parts should slide into place and stay engaged, a hook can suit the assembly better than a plain rectangular tab.
When does a tongue and groove joint fit?
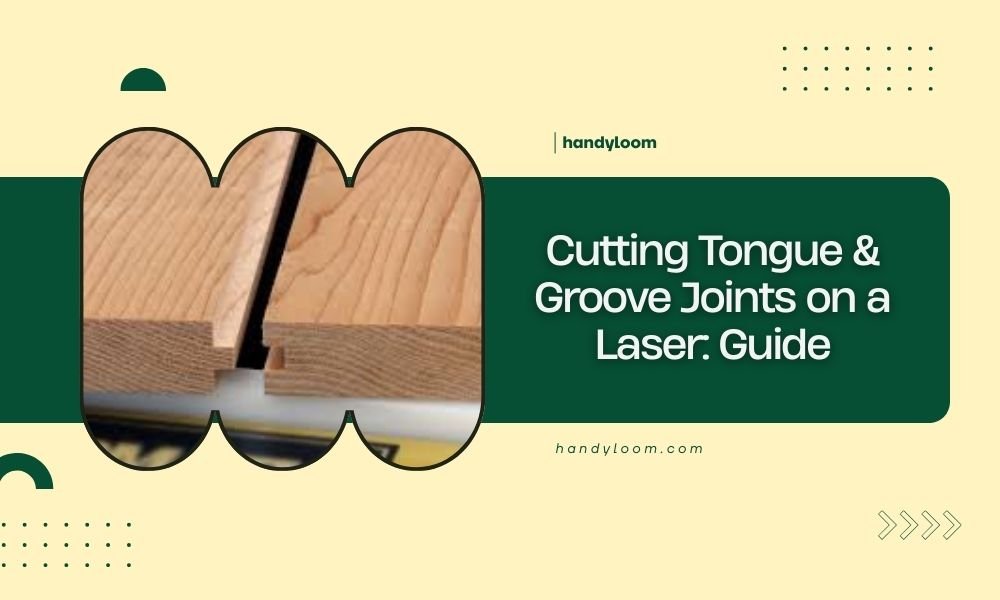
Choose tongue and groove when adjoining edges need to align along a longer seam. The tongue enters a matching groove, which guides the panels into position.
This joint can help keep edges aligned in panel assemblies and dividers. It needs a suitable groove depth and enough material around the cut so the edge remains intact.
The fit can be tight or loose depending on kerf and material variation. Use a test piece to confirm the joint slides together as intended before cutting the final panels.
For setup details, see cutting tongue and groove joints on a laser.
When are snap-fit joints useful in wood designs?
Use snap-fit joints when you want parts to connect without a separate fastener. A flexible tab bends past a catch and returns to hold the pieces together.
Wood does not flex like many plastics, so a snap-fit feature must be designed around the material's limits. Thin sections, long flexible arms and sharp inside corners can raise the risk of cracking.
Start with a small sample and assemble it gently. If the tab needs excessive force or shows signs of splitting, revise the geometry or choose a different joint.
The guide to designing snap-fit joints for laser cutting covers the flexible tab and retaining catch in more detail.
How does kerf change the fit of laser cut joints?
Kerf is the material removed by the laser cut, and it affects the final dimensions of both tabs and openings. A design that ignores kerf may come out too loose or too tight.
The amount removed can vary with the machine, settings, material and focus. A test cut gives you a practical way to check the fit using the actual setup and wood you plan to use.
Make a small comb or set of test slots with slightly different widths. Choose the version that assembles with the pressure you want, then apply that adjustment to the full design.
Use the kerf adjustment guide for laser cut wood joints to plan that test. Wood choice also affects cut edges and fit, so compare options in our guide to wood for laser cutting.
Which joint is best for laser cut plywood?
Plywood can work with several joint types, but the best choice depends on panel thickness, grain layers and the shape of the assembly. Finger joints suit corners, while tabs and slots are useful for positioning flat pieces.
Check the actual thickness of your plywood rather than relying only on its nominal size. A mismatch between the measured panel and the design can affect every finger, slot or tongue in the assembly.
Plywood construction also affects how narrow features behave at the cut edge. Keep enough material around slots and tabs, especially near corners or narrow strips.
For a closer comparison of plywood connections, read how to choose joints for laser cut plywood.
Can you use the same joints for acrylic or metal?
No, joint geometry should match the material and process. Acrylic and metal behave differently from wood, so a wood design may not transfer cleanly.
Acrylic can be brittle around narrow tabs or sharp inside corners. For acrylic-specific finger joints, see how to laser cut finger joints and tabs in acrylic.
Metal connections may need slots and tabs designed around sheet thickness and the intended assembly method. Review slots and tabs for laser cut metal before adapting a wood pattern.
For parts meant to bend, use geometry made for that purpose. Laser cut bending tabs explains how those features differ from rigid joining tabs.
What should you check before cutting a full assembly?
Test one joint with the final material and settings before cutting every part. Check whether the parts align, assemble with reasonable pressure and stay connected in the direction the assembly will be used.
Use this short checklist:
- Measure the material thickness at several points.
- Confirm which direction the load will push or pull the joint.
- Leave enough material around slots, fingers and tabs.
- Test the kerf fit with a small sample.
- Assemble the sample using the intended glue or fastener, if any.
- Revise tight corners or fragile features before cutting the full design.
A close-fitting joint can still be weak if the wood splits beside a slot or if the load pulls the pieces apart. Think about where the finished assembly will be handled and how it will be supported.
Which laser cutting joint should you choose?
Pick finger joints for box corners, tabs and slots for straightforward alignment, and tongue and groove for guided panel seams. Choose snap-fit or hook-tab designs when the connection needs a catch, then test the fit and material before committing to a full cut.
For the next step, compare the design and kerf details in our guide to laser cutting joints in wood.