How to Choose Joints for Laser Cut Plywood
Choose a laser plywood joint by how it must fit, hold and assemble: use tab slots for simple alignment, finger joints for box corners, and tested snap fits when you need a removable connection. Adjust for kerf and plywood thickness.
On this page (7 sections)
- Which joints work for laser cut plywood?
- How should you choose a joint for the job?
- How do kerf and plywood thickness change the fit?
- Should you glue laser cut plywood joints?
- How can you test a joint before cutting the full project?
- What can go wrong with laser cut joints?
- Which joint should you choose for your project?
Different joints to connect laser plywood include tab slots, finger joints, tongue and groove, hook tabs and snap fits. Choose based on the shape you are joining, whether the assembly should come apart, and how much load or movement it must handle.
A tight-looking drawing does not guarantee a good fit. Plywood thickness varies, and the laser removes material along each cut, so test the joint in the same material before cutting the finished parts.
Which joints work for laser cut plywood?
Tab and slot joints suit simple alignment, finger joints suit box corners, and snap fits suit parts designed to assemble without separate fasteners. Use a joint whose shape matches how you will assemble and use the finished piece.
| Joint type | Useful for | Main trade-off |
|---|---|---|
| Tab and slot | Panels that need clear alignment | Tabs and slots need fit testing |
| Finger joint | Box corners and repeated edges | Many fingers mean more edges to fit |
| Tongue and groove | Joining long edges or panels | Requires consistent thickness and alignment |
| Hook tab | Connections that catch behind an edge | Design needs room for the hook to engage |
| Snap fit | Removable or tool-free assembly | Flexible features can break if over-stressed |
| Glue-only edge | Simple permanent joins | Limited alignment during assembly |
For more options and design basics, see our guide to joint types for laser cutting. It can help you compare shapes before settling on one for your project.
When does a tab and slot joint make sense?
A tab and slot joint makes sense when one flat part needs to locate against another. The tab sets the position, while the slot gives it a place to sit.
Use this shape for simple dividers, panel assemblies or prototypes where alignment matters. Decide whether the tab should pass through the panel, stop flush with its surface or leave room for glue.
A tab that is too tight can split a plywood edge during assembly. One that is too loose may let the parts shift, so test both fit and assembly pressure.
Are finger joints good for plywood boxes?
Finger joints are useful for joining box sides because several fingers interlock along each corner. They spread the connection across more than one point than a single tab does.
Match the finger width to the scale of the box and the thickness of the plywood. Very small fingers can be delicate, while very large ones may look bulky and limit how the parts fit together.
Plan which side of each corner will show the fingers. That makes the visible pattern consistent when the box is assembled.
When should you use tongue and groove?
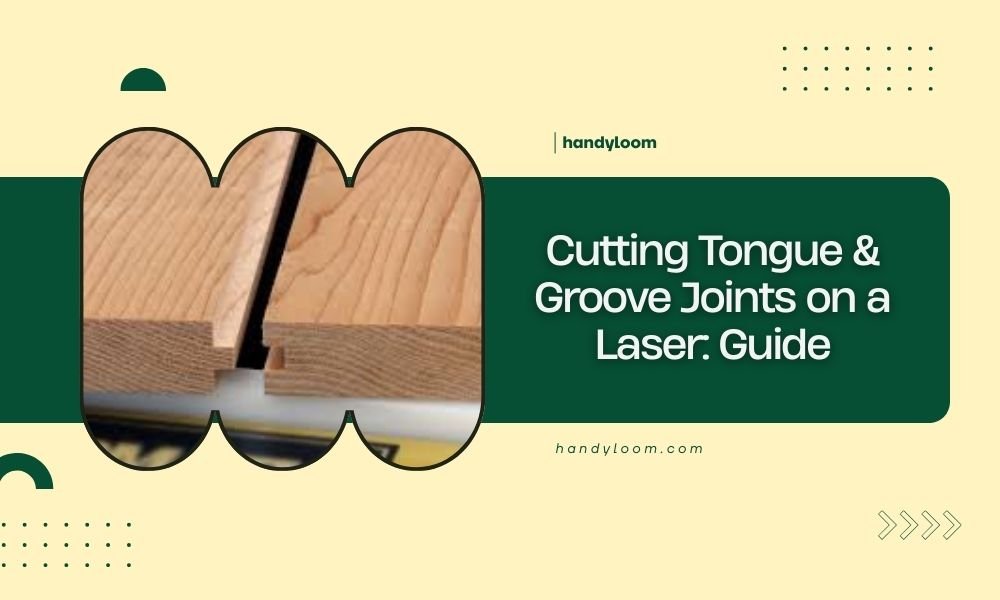
Tongue and groove joints can align adjoining edges along their length. They are useful for panels or edges where a simple butt joint would be hard to keep in line during assembly.
The tongue must fit the groove through the full length of the seam. Plywood thickness and cut accuracy matter, so test a short section before designing a large panel.
For design details and cut planning, read Cutting Tongue & Groove Joints on a Laser: Guide.
How should you choose a joint for the job?
Start with assembly, access and load, then choose the simplest shape that meets those needs. A decorative connection and a structural connection may need different designs, even when they use the same plywood.
Ask these questions before drawing:
- Does the joint need to hold parts in position while glue dries?
- Should you be able to take it apart later?
- Will the connection carry weight, twisting or repeated movement?
- Can you reach the joint to assemble or repair it?
- Will the joint be visible in the finished piece?
Use a larger contact area or extra support when the connection has a meaningful load. A small tab or thin finger should not be assumed to hold weight just because it fits tightly.
For a project that needs a hook-shaped catch, see how to design hook tab connections for laser cutting. The hook needs space to pass the edge and catch behind it.
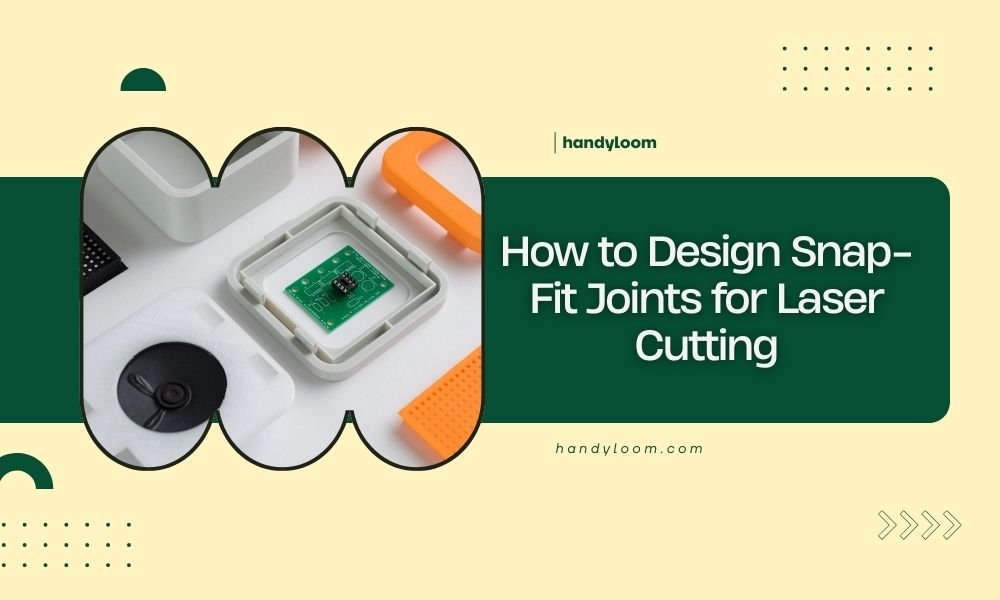
If you want the pieces to snap together, How to Design Snap-Fit Joints for Laser Cutting covers the shape and clearance choices to consider. Test repeatedly on scrap because a thin plywood feature can split or lose its grip.
How do kerf and plywood thickness change the fit?
Kerf and actual sheet thickness determine whether a drawn joint fits after cutting. Measure the material and test cuts from the same sheet or batch whenever possible.
Kerf is the width of material removed by the beam. A slot drawn to exactly the measured plywood thickness may come out too narrow or too loose depending on the cut path and settings.
Start with a small test strip that has several slot widths. Label each size, cut it from the project material, then try the matching tab in each opening.
Do not force a tight test fit. Forcing can crush or split plywood plies, and the same joint may behave differently across a large sheet.
For a step-by-step fit adjustment, use our Kerf Adjustment Guide: Perfect Laser Cut Wood Joints. Record the settings and fit that worked so you can reuse them with the same material and machine setup.
Should you glue laser cut plywood joints?
Glue helps when the joint must stay assembled, but it does not correct a poor fit or weak design. Dry fit the parts first and confirm the surfaces meet as intended.
A close-fitting joint can help hold parts in place while adhesive cures. Keep glue away from visible faces and moving features, and follow the adhesive maker's directions for surface preparation and cure time.
For advice on choosing and applying adhesive, read Best Wood Glue Tips for Laser Cut Parts & Joints. Match the glue to the wood and the conditions where the finished piece will be used.
A removable snap fit or hook tab may not need glue at all. If the design must come apart, adhesive can make routine disassembly difficult or damage the plywood.
How can you test a joint before cutting the full project?
Cut a small joint sample first, then check fit, alignment and assembly force. A few test pieces can reveal sizing problems before they affect a full sheet.
Use the same plywood, focus, material orientation and cut settings planned for the finished parts. If the material changes, repeat the test because another sheet may have a different thickness or core.
Check for:
- A fit that assembles without splitting or crushing edges
- Enough contact to keep the parts aligned
- Tabs or fingers that are not too fragile for handling
- A clean joint line where appearance matters
- Room to apply glue, if the design uses it
Make one change at a time, such as slot width or tab clearance. That makes it easier to tell which adjustment improved the fit.
What can go wrong with laser cut joints?
Most fit problems come from mismatched dimensions, material variation or a joint shape that does not suit the assembly. Inspect the test cut before changing the whole design.
If the joint is too tight, check actual sheet thickness and kerf before widening every slot. If it is loose, reduce the clearance in a small step and cut another sample.
If a tab breaks during assembly, consider whether it is too narrow or long for the plywood. A broader tab, support at the joint or a different connection can reduce stress on a small feature.
If two panels meet at the wrong angle, check the drawing and the cut edges. A joint that aligns one face may need a shoulder or stop to control the second direction.
Which joint should you choose for your project?
Pick tab slots for straightforward alignment, finger joints for box corners, and tongue and groove for long adjoining edges. Use hook tabs or snap fits when the design needs a catch or removable connection, then confirm the fit with a test cut.
Add glue when the assembly should stay together and the joint can be reached cleanly. For a reliable result, measure the plywood, account for kerf and test the actual joint before cutting the full project.
Frequently asked questions
What joint is easiest for laser cut plywood?
A tab and slot joint is a simple starting point because one part locates the other and the pieces can be assembled without a complex profile. Size the slot for your material and laser kerf, then cut a small test before making the full set.
Can a laser cutter cut joints in plywood?
Yes, a laser cutter can cut interlocking joint shapes such as tabs, slots, fingers and some snap fits, if the machine can cut the plywood thickness cleanly. Check the material and machine guidance, then test the fit because kerf and plywood variation affect dimensions.
Do laser cut plywood joints need glue?
Some joints can hold through their geometry, while others benefit from glue to resist movement or carry a lasting load. Use a dry fit first, and choose an adhesive intended for wood and suitable for your project.
How tight should a laser cut joint fit?
A joint should fit without forcing the plywood, while leaving little unwanted movement for the job it must do. The right clearance depends on kerf, material thickness, focus and machine setup, so cut a small range of test slots before committing.