How to Choose Food-Safe Products to Fill Engraving
For food safe products to fill engraving, choose a filler that is intended for food contact, fully cured, and sealed for how the piece will be used. Check intended food contact and curing requirements before choosing engraving fillers, and do not assume a wood filler or craft paint is food safe just because it fills lines well.
On this page (14 sections)
- What makes a filler suitable for food contact?
- How will the piece be used with food?
- What curing and dry time should you plan for?
- Which filler type fits engraved lines best?
- How do brush-on paints work in engraving?
- When does a clear gloss coat help?
- How should you prep engraved wood before filling?
- How should you apply filler without making a mess?
- How do you seal a filled engraving for food use?
- What mistakes should you avoid with fillers?
- How should you clean and care for a filled piece?
- How do these products compare for engraving fills?
- Which products should you consider if you sell filled pieces?
- What is your final checklist before food touches the fill?
Choosing food safe products to fill engraving starts with intended use, not colour. A filler that looks clean in a line can still fail when the piece touches food, water, heat or a scrub brush.
We checked the specs for the three products below. We compared their formulas, dry times and stated uses against what a food-contact piece needs.
You should treat engraved boards, bowls, spoons and trays as different projects. A dry serving board, a board you cut on, and a bowl you wash often place very different demands on the same filler.
Our score weighs specs, features and buyer feedback against what you're shopping for. Food contact intent comes first, then cure, adhesion and cleanability.
What makes a filler suitable for food contact?
A suitable filler has stated food contact intent and a full cure before use. That wording matters more than a low odour claim or a fast dry time.
Read the product information for the exact use. Wood fillers often state use on wood trim, furniture and repairs, not food contact.
Paints often state indoor and outdoor surfaces, not food preparation.
Food contact also depends on the finished surface. A filler buried under a fully cured, food-contact top coat is a different system from a filler left exposed in the groove.
Rule: if the brand does not state food contact use, do not use the filler where food will touch it. Pick a decorative piece instead, or pick a product made for that contact.
How will the piece be used with food?
Start with how food touches the engraving. Dry contact, wet contact, cutting action and heat each stress the filler in a different way.
A cheese board may see dry cheese and knives at the edges. A cutting board sees repeated knife cuts, moisture and washing.
A spoon sees constant water, heat and scraping.
Ask whether the engraving sits in the food zone or only on a handle or back. A filled line outside the food zone still needs to survive washing and handling.
Also ask how the piece will be cleaned. Hand washing with mild soap is gentler than soaking, dishwashing or long contact with water.
Rule: match the filler to the worst contact the piece will see, not the best. If it will be soaked, cut on or heated, choose for that job.
What curing and dry time should you plan for?
Curing is the wait before the filler is ready for use, and touch dry is not the same thing. Read the full cure time, not only the time before sanding or recoating.
Some fillers can be sanded quickly but still need a longer wait before food contact. That gap matters if you plan to sell pieces or give them as gifts.
Plan the whole finish schedule. Filler, sanding, sealing and final cure all take time, and rushing any step can leave a soft or tacky surface.
Keep the piece in fresh air at a normal room temperature while it cures. Close cabinet storage can slow air flow and make odour or softness harder to judge.
Rule: use the longest stated cure in the system before food contact. If one layer says 15 minutes and the top coat needs longer, plan for the longer wait.
Which filler type fits engraved lines best?
Engraved lines are narrow, shallow and easy to overfill. The best filler type depends on depth, width and how much sanding the piece can take.
A creamy two-part filler can be pressed into a groove and levelled with the surface. A brush-on paint can be worked in with a small brush, but it may need more than one pass in deeper lines.
Water-based products are easier to clean from tools and skin. They can also raise wood grain or leave a line that needs light sanding before sealing.
Resin or epoxy style fillers can hold bold colour, but they need careful mixing and a full cure. Soft or undercured resin should not be treated as food safe.
Rule: choose the filler by line depth and cure, not by colour alone. Test a scrap piece first and check the cured surface with a clean fingertip and a damp cloth.
Creamy two-part fillers for repair and colour
A two-part filler suits deeper engraving and small chips near the design. The creamy body helps it stay in the groove while you level it.
Bondo says this formula chemically bonds with the surface and forms a permanent, non-shrinking repair. It is sandable in 15 minutes and can be painted or stained after that point.
The 30 oz size with 0.5 oz cream hardener is a repair size, not a small craft pot. Rubber gloves, a spreader and sanding sponges or sheets are listed as additional items needed.
Think about food use with care. Bondo lists use on most wood-based interior or exterior surfaces, including furniture and doors.
That is a repair claim, not a food contact claim.
Rule: use a two-part wood filler on food pieces only if the brand states food contact use for the finished system. Otherwise, keep it for decorative wood.
How do brush-on paints work in engraving?
Brush-on paint works when you want a flat or gloss colour that sits in the lines. A small brush gives you control, but thin paint can pool in wide areas.
Rust-Oleum says this water-based acrylic formula is low odour, resists chips and provides long-lasting protection. It suits wood, metal, plaster, masonry and unglazed ceramic for indoor and outdoor use.
You sand with 180 or 200 grit sandpaper, wash with a degreaser, let the surface dry, then apply paint. That prep list shows how much surface work a paint finish needs.
The flat finish can minimise surface imperfections. That helps hide small wood variation, but it also means the filled line may look less glossy than the surrounding wood.
Rule: treat brush-on paint as a surface finish, not proof of food safety. Check food contact intent and cure before any filled design touches food.
Flat primer for a matte filled line
A flat white primer suits a soft, low-shine fill that should not draw light. It can give engraved text a clean look on light wood.
The 1 qt can covers up to 120 sq ft, which is far more than a set of engraved boards needs. A quart is therefore a shop supply, not a single-project size.
Dry to touch is 30 minutes. That is a handling time, not a statement that the piece is ready for food, cutting or washing.
Primer also blocks stains and discolorations, according to Rust-Oleum. On engraved wood, that can help a pale fill look even over darker laser marks.
Rule: use flat primer for colour and coverage, then seal and cure the full piece for its use. Do not judge food readiness by touch alone.
When does a clear gloss coat help?
A clear gloss coat can level the feel and protect a filled line. It adds shine and can make small filled areas easier to wipe clean.
Rust-Oleum says this water-based acrylic formula is low odour, resists chips and provides long-lasting protection. It suits wood, metal, plaster, masonry and unglazed ceramic for indoor and outdoor use.
The gloss finish provides a fresh look and goes on smoothly. On an engraved board, that shine can make filled lines look crisp, but it can also show dust and small brush marks.
Coverage is up to 120 sq ft and dry to touch is 30 minutes. Prep is the same pattern: sand with 180 or 200 grit, wash with a degreaser, let it dry, then apply.
Rule: use gloss clear to protect and highlight a fill, not to hide a wrong filler choice. Food contact still depends on the full system and its cure.
Gloss versus flat on food pieces
Gloss and flat change how a filled line feels under a cloth. Gloss often wipes clean more easily, while flat can feel softer and less reflective.
On a serving board, gloss can help the design stand out. On a utensil, a smooth gloss layer may feel better against food and washing.
Flat white can suit a label-like design where shine would look too strong. It may need a protective top layer if the piece will be washed often.
Neither finish states food contact use in the product facts above. Indoor and outdoor use on wood is not the same as food preparation use.
Rule: pick gloss or flat for looks and wipeability, then check food contact separately. Finish type never replaces intended use.
How should you prep engraved wood before filling?
Prep starts with a clean, dry groove and a level surface. Dust can stop filler bonding and leave pale streaks.
Remove loose char with a clean brush and light sanding. Our Post-Processing Guide for Laser Cut Wood Projects covers cleaning and sanding steps that also help before a fill.
Sand around the engraving with a fine grit so filler can level with the wood. Rough ridges will show through clear coat and catch food or water.
Wipe away dust, then let the wood dry fully after any cleaning. Paint products list sanding with 180 or 200 grit, washing with a degreaser and drying before application.
Rule: fill only clean, dry and level wood. If the groove still sheds char, clean more first.
How should you apply filler without making a mess?
Apply filler in thin layers and remove excess while workable. Thick blobs are hard to level and can shrink, crack or stay soft in the centre.
Use a small brush, craft stick or spreader that fits the line. Press filler into the groove, then scrape lightly across the surface to level it.
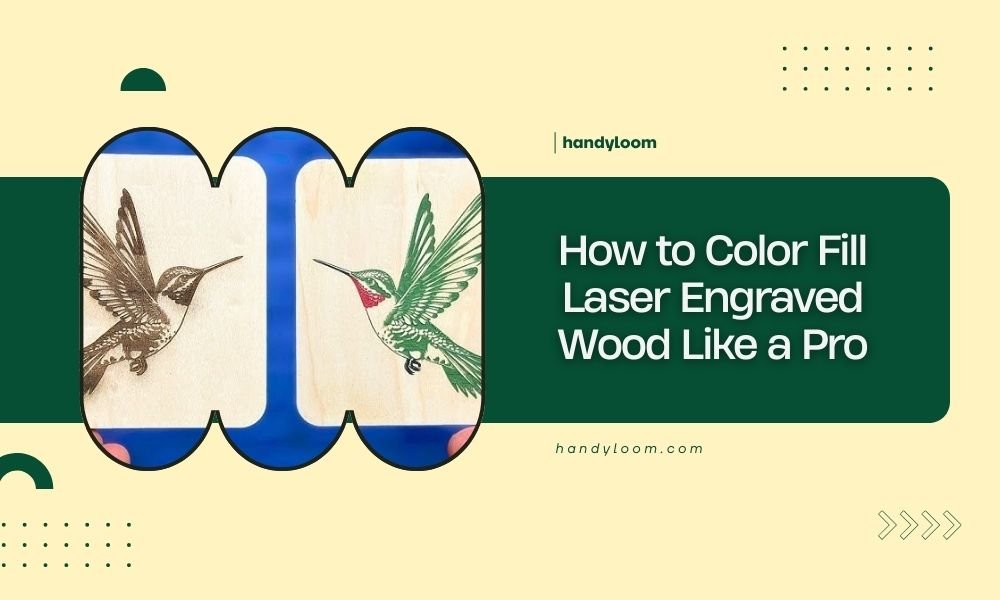
For paint, work it in with the brush tip. Our guide to how to color fill laser engraved wood shows brush and wipe techniques for detail work.
Wipe stray filler from the face before it dries. Dried specks need sanding, which can soften engraved edges.
Let each layer dry or cure as stated before adding another. Stacking wet layers can trap air and leave a weak fill.
Rule: build in thin layers and level early. A neat thin layer beats a thick layer needing heavy sanding.
How do you seal a filled engraving for food use?
Sealing protects the wood and the filler from water and wear. An unsealed fill can absorb moisture, stain and wear faster than the surrounding surface.
Choose a top coat that matches the piece. A dry serving board needs less protection than a board that will be washed, cut on or used with wet food.
Apply the seal in the direction of the grain and keep edges and end grain covered. Those areas absorb water first and can raise the fill around them.
Wait for the full cure stated for the seal. A surface that feels dry can still be soft enough to mark with a fingernail or a damp cloth.
Rule: seal the whole food-contact surface, not only the engraved lines. The seal is part of the food safety decision.
What mistakes should you avoid with fillers?
The most common mistake is choosing by colour and skipping food contact checks. A filler can match wood perfectly and still be wrong for a board.
Another mistake is confusing sandable time with food-ready time. Sanding in 15 minutes helps your schedule, but it does not prove the cured surface is ready for food.
Do not use a filler on rotted or soft wood for a food piece. Bondo notes use with rotted wood restorer for full repair of rotted or soft wood, which is a repair context, not a food context.
Avoid soaking a filled piece to test it. Soaking can swell wood, lift a weak fill and tell you little about normal hand washing.
Rule: if you cannot confirm food contact use and cure, move the piece to decor use. That single check prevents most filler mistakes.
How should you clean and care for a filled piece?
Care should match the seal and filler system you chose. Harsh soaking, high heat and abrasive scrubbing wear a filled line faster than the wood around it.
Start with hand washing and prompt drying. That limits water entry into engraved grooves and helps you spot lifting or dulling early.
Use a soft cloth or sponge on filled lines. Steel wool and stiff brushes can scratch gloss, dull flat finishes and open the edge of a fill.
Reapply seal when water no longer beads or the surface looks patchy. Follow the seal maker's recoat and cure times before returning the piece to food use.
Store filled pieces away from direct heat and long damp spells. Wood moves with moisture, and a rigid fill can crack if the piece cycles too far.
Rule: care for the filled line as the weakest part. Gentle washing and timely recoating keep it intact.
How do these products compare for engraving fills?
Use these three products as examples of filler and finish types, not automatic food contact choices. Each solves a different part of the job.
The Bondo filler is a two-part repair filler. It suits levelling where a creamy body helps, and it can be sanded in 15 minutes.
The flat white primer is a brush-on paint for a matte base. It covers up to 120 sq ft, dries to touch in 30 minutes and lists indoor and outdoor use on wood.
The gloss clear is a brush-on clear finish. It also covers up to 120 sq ft, dries to touch in 30 minutes and gives a shiny protective layer.
If you are weighing paint before cutting, our guide on prepainting wood prior to diode laser cutting helps you plan a different order of work. For broader filler options, see our guide to the best wood filler for engraving.
Rule: choose by job first, then by finish. Filler, primer and clear coat are separate roles.
Which products should you consider if you sell filled pieces?
If you plan to sell filled boards or utensils, document the filler, seal and cure for each design. Buyers should know how to wash the piece and what contact it can handle.
Start with dry goods and decor where contact is limited. That lets you refine application and sealing before testing washable food use.
Check demand before you stock deep. Our guide to the best laser engraving products to sell helps match designs to buyer habits.
Profit also depends on finish time and consumables. Our look at the most profitable laser engraving products helps weigh labour against price.
Label washable pieces with care limits. A short note on hand washing, drying and recoating protects buyer and reputation.
Rule: sell only the contact level you can support with facts and cure records. When in doubt, sell the piece as decor.
What is your final checklist before food touches the fill?
Use this checklist for food safe products to fill engraving before the first use. It keeps the decision tied to facts, not hope.
Confirm food contact intent for the filler and seal. Confirm full cure time for the whole system.
Confirm the piece can be cleaned by hand and dried fully.
Check the line under bright light for bubbles, pinholes or shallow spots. Check the edge with a clean fingertip for softness or tack.
Check the back and edges for unsealed wood.
Test the care routine on a scrap piece first. Wash, dry and inspect it after 24 hours.
If the fill lifts, dulls or holds water, change the system.
Rule: no confirmed food contact intent, no food use. That rule keeps your engraved pieces safe, honest and worth keeping.
Frequently asked questions
What should I look for in food safe products to fill engraving?
Look for a product intended for food contact, with clear curing and cleaning limits. The filler must fully cure, resist the foods and washing the piece will see, and stay smooth in the engraved lines.
Can regular wood filler be used on a cutting board?
Regular wood filler may suit dry, decorative pieces, but it is not automatically intended for food contact. Check whether the brand states food contact use, what cure time applies, and how the surface should be cleaned.
Is a clear coat enough to make engraved filler food safe?
A clear coat can change the surface, but it does not turn every filler into a food contact product. Choose the filler and top coat as a system and follow the stated cure and care limits for both.