Acrylic Laser Cutting Temperature and Sheet Heat
Sheet temperature changes how acrylic melts, bonds, and cools after the laser passes. A warm sheet cuts with more melt and stress, while a cold sheet can crack or cut unevenly, so room temperature and cooling matter as much as laser power.
On this page (9 sections)
- Why does sheet temperature matter for acrylic laser cutting?
- How does acrylic laser cutting temperature change the cut edge?
- What room temperature should acrylic be before cutting?
- Can a cold sheet crack during laser cutting?
- Does a warm sheet cut faster or slower?
- How does sheet temperature affect warping and bonded joints?
- Which acrylic types respond most to temperature changes?
- What finishing steps work best after a temperature sensitive cut?
- How do you pick settings for warm and cold shops?
Sheet temperature changes how acrylic melts, bonds, and cools after the laser passes. A warm sheet cuts with more melt and stress, while a cold sheet can crack or cut unevenly, so room temperature and cooling matter as much as laser power.
Acrylic laser cutting temperature is not one number you set on the machine. It is the combined heat from the sheet, the room, the laser beam, and the air moving past the cut line.
You control the result by warming or cooling the sheet before the job, then managing heat during the cut.
Why does sheet temperature matter for acrylic laser cutting?
Warm acrylic melts more easily, and cold acrylic resists melting and cracks more easily. Acrylic softens when heated and hardens again as it cools.
A warm sheet reaches the melting point faster under the beam. A cold sheet needs more beam energy, so corners and thin bridges feel the change first.
Both cast and extruded acrylic hold internal stress from manufacturing. Heat can relax some stress and cooling can lock in new stress, so a part can bend, twist, or pop when cut free.
Leave sheets flat in the cutting room for at least a few hours. Give a cold sheet a full day to reach room temperature before you judge a test cut.
How does acrylic laser cutting temperature change the cut edge?
A warmer sheet gives a glossier, more melted edge, while a cooler sheet gives a drier edge with more risk of micro cracks. The best finish depends on the part you are making.
For a post-engraving finish option, see waxing laser-engraved acrylic sheets.
A warm sheet melts a thicker band that can flow or bubble, especially in small letters and tight corners. A cold sheet keeps that band narrow and crisp, but repeated passes may leave frosted lines or tiny cracks.
Air assist helps in both cases by pushing melt out and lowering flame risk. Use a strong, steady flow and check the nozzle is not moving the sheet.
For a polished look, try a warm sheet with a slower pass. For a sharp matte edge, keep the sheet at room temperature and away from sun or heaters.
What room temperature should acrylic be before cutting?
Keep acrylic at a steady 68 to 72 degrees Fahrenheit for the most repeatable cuts. That range avoids cold brittleness and heat softening.
Cold rooms make test results drift during the day. A sheet loaded at 55 degrees may cut differently by noon, so warm the room first.
Hot rooms cause the opposite problem. A sheet stored near a heater, in sunlight, or in a closed car can start above 80 degrees, melt faster, warp more easily, and release more fume.
Do not use a heat gun, oven, or hair dryer to warm acrylic. Fast, uneven heating bends the sheet, while slow warming in a stable room gives even results.
Our guide on How to Laser Cut Acrylic? covers basic settings and bed setup. Use it as a starting point, then adjust for your actual sheet temperature.
Can a cold sheet crack during laser cutting?
Yes, cold acrylic can crack at corners, thin bridges, and tight curves during cutting or weeding. Cold material is less forgiving when the beam adds heat in a narrow line.
The beam heats a small area fast while the rest of the sheet stays cold. That gap creates stress along the cut line, concentrated at sharp corners, letter joins, and tabs.
Small cold parts also bend less to absorb handling force. They may snap when pressed free instead of flexing as a room temperature part would.
Store acrylic indoors, flat, and away from exterior doors. Wait until a cold sheet feels neutral at loading, and do not refrigerate it, since condensation can leave marks and raise crack risk.
Does a warm sheet cut faster or slower?
A warm sheet cuts faster because it needs less beam energy to melt, but a slower pass often gives a cleaner edge.
Warm acrylic reaches melting sooner, so the same power removes material more quickly. You may see bigger melt beads, more flame, and rougher parts.
Raising speed can work for simple shapes on warm days, but tight details may fail to separate. A slower pass lets heat escape and often leaves a cleaner edge.
Cold sheets may need a second pass rather than much more power, since extra power can scorch the top before the bottom releases. Test on the same sheet, change one setting at a time, and note room temperature with power and speed.
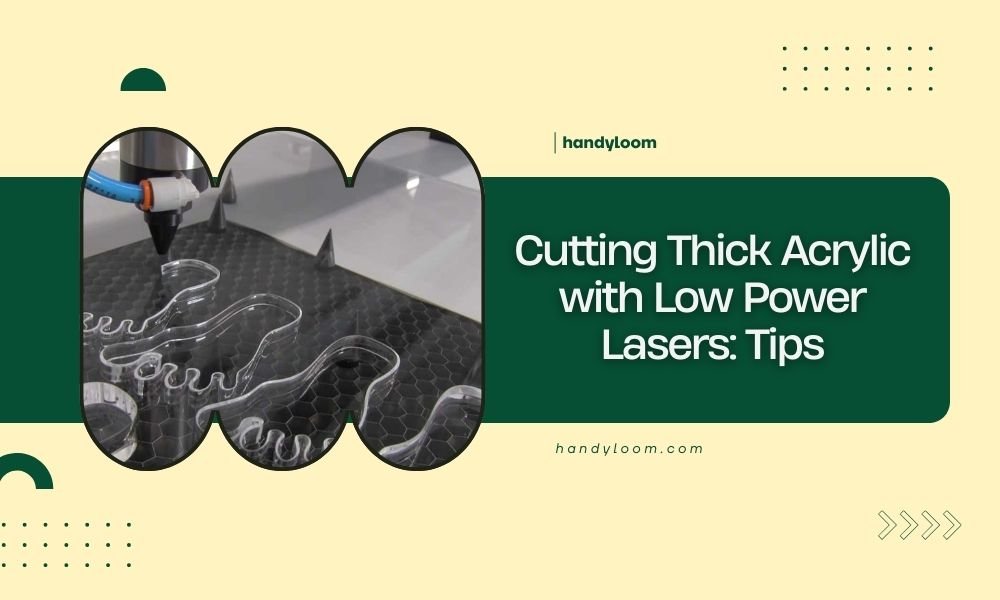
If you are working with thick stock, Cutting Thick Acrylic with Low Power Lasers: Tips explains why multiple passes and cooling pauses help.
How does sheet temperature affect warping and bonded joints?
Uneven sheet temperature causes warping, and warm sheets make solvent joints weaker if you glue them right away.
Acrylic warps when one face cools faster than the other, or when a cut frees stress on one side. A sheet stored on a cold bed, in sun, or against a warm wall starts uneven.
Cut parts often curl within minutes, especially small signs, keychains, and thin frames with little stiffness. Let parts cool flat on a level surface and do not stack or press them while warm.
Solvent welding needs cool, dry, flat parts, so wait until they reach room temperature and check fit first. Masking can hold small parts flat, but do not peel it while they are still warm.
Our post on How to Weed Laser Cut Acrylic? covers removal order for small letters and shapes.
Which acrylic types respond most to temperature changes?
Cast acrylic usually shows temperature changes as edge gloss, while extruded acrylic shows them as stress and warping.
Cast acrylic melts more smoothly and polishes easily, but warm cast stock can flare and cold cast stock can crack at sharp corners. Extruded acrylic carries more internal stress and cuts with a more frosted edge, so warm sheets may warp and cold sheets may split along thin bridges.
Color also changes the response, since dark colors absorb more beam energy and heat faster than clear or light stock.
For colored stock, our guide to Top 8 Best Colored Acrylic Sheets for Laser Cutting helps you compare sheet types. Our roundup of Best Acrylic For Laser Cutting covers cast and extruded options in more detail.
How do you test sheet temperature before a full cut?
Cut a small test strip from the same sheet after it has sat in the room for several hours. Use a corner piece with a tight curve, a small letter, and a straight line.
Keep the test at the same power, speed, and air assist you plan for the job. If the edge glosses and bubbles, the sheet or settings are too warm.
If it cracks at tight corners, they are too cold.
Do not test on a different sheet and assume the result carries over. Thickness, color, and type change heat response, so write the room temperature, sheet type, color, and thickness on the test piece.
How do you cool acrylic during a long cut?
Use steady air assist, stop between passes, and keep the bed clean so heat can leave the sheet. Long cuts build heat even when the sheet started at a good temperature.
Acrylic is a poor conductor of heat, so warmth stays near the cut line. A long, slow job can warm the whole sheet over time.
Later parts then melt faster than the first parts, and the cut quality drifts across the bed.
Pause between passes when you use multiple passes. Lifting the lid for a short break lets air move across the surface and drops the sheet temperature toward room temperature.
Keep the bed clean and level, since melt residue can hold heat under one area.
What finishing steps work best after a temperature sensitive cut?
Cool parts flat, remove masking slowly, and finish edges only after parts reach room temperature.
Place cut parts face down on a clean, flat surface until they feel neutral. Small parts cool in a few minutes, while thick parts need longer, and stacking warm parts locks in a bend.
Peel masking at a low angle and support thin bridges with a fingertip. Cold parts flex less, and warm parts can bend and take a set.
Flame polishing, sanding, and buffing all add heat or pressure, so let the part cool first and work in short passes. If a wooden stand needs a repair before mounting, the Bondo Wood Filler 30 oz sands in 15 minutes and can be painted or stained after curing.
For painted backers that need a flat, light base coat, the Rust-Oleum Brush On Painter's Touch Latex Paint in Flat White Primer covers up to 120 sq ft and dries to the touch in 30 minutes.
For indoor craft signs where a child will help with painting, the Crayola Washable Tempera Paint For Kids in black comes in a 32 oz squeeze bottle and washes from skin and most washable clothing.
How do you pick settings for warm and cold shops?
Start with room temperature stock, match power and speed to the sheet you have, and change one variable at a time.
On a warm day, expect more melt, flame, and warping, so lower power a small step or raise speed slightly for test cuts. Keep air assist strong and do not store the next sheet near the exhaust.
On a cold day, expect slower melting and more cracking, so warm the sheet in the room and consider a second pass instead of a large power increase. Support thin parts during weeding.
If the shop has no thermostat, keep a thermometer near the bed and note each reading with your test cut. Our related post Can You Laser Cut Acrylic? answers basic safety and material questions for new owners.
Frequently asked questions
What room temperature is best for acrylic laser cutting?
A steady room temperature near 68 to 72 degrees Fahrenheit gives consistent results for most shops. Bring cold sheets indoors to warm slowly, keep the bed away from direct heat, and let a sheet sit flat for several hours before cutting.
Does a warm sheet make acrylic easier to cut?
A slightly warm sheet may melt more smoothly, but excess warmth increases flare-ups, edge bubbling, and warping. Keep the sheet below about 80 degrees Fahrenheit, use air assist, and slow the feed if edges gloss over or parts stick to the bed.
Why does acrylic warp after laser cutting?
Acrylic warps when one side cools faster than the other or when internal stress releases as cuts free small parts. Flat storage, a level bed, light masking, and cooling the finished parts flat all reduce the bend you see after cutting.
Should I refrigerate acrylic before cutting it?
No, do not refrigerate acrylic before laser cutting. A cold, brittle sheet is more likely to crack at corners and cut unevenly, and condensation can form on the surface.
Let the sheet reach room temperature and dry before you load it.