
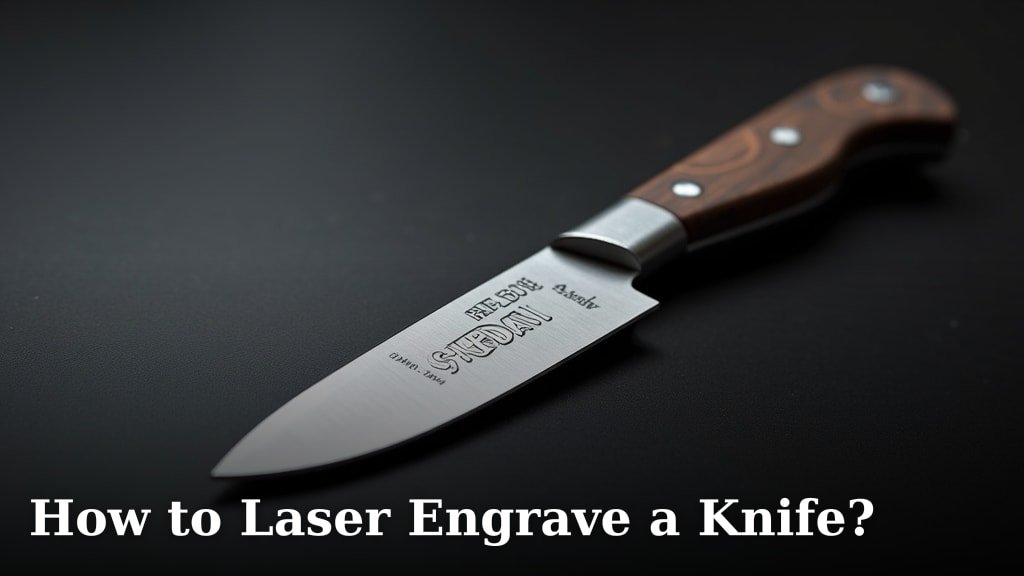
The easiest way to laser engrave a knife is by using a fiber laser due to its strong, focused beam. You will need to prepare the knife, choose your design, and then carefully perform the engraving. This method allows for precise, lasting results on various metal surfaces.
Laser engraving a knife lets you personalize your blades with names, intricate patterns, or company logos. We found that it is a popular technique for both enthusiasts and businesses. Many experts say this process offers durability and aesthetic appeal far beyond traditional etching methods.
- Fiber lasers work best.
- Careful knife preparation is key.
- Design choice impacts the final look.
- Follow safety steps for best results.
- Enjoy your custom-engraved knife.
Ready to give your knife a personal touch? Let’s walk through exactly how this works step by step, ensuring you achieve a professional finish.
Engraving Your Knife with a Laser
Engraving your knife with a laser offers a permanent and highly detailed way to customize it. We found that the process involves using a focused beam of light to alter the metal surface. This creates a lasting mark that won’t fade or wear off easily.
Choosing the Right Laser for the Job
Not all lasers are created equal when it comes to metals. We found that a fiber laser is your best bet for knife engraving. Its specific wavelength and power output are perfectly suited for marking hard materials like steel.
Fiber Laser vs. CO2 Laser
You might wonder about other types of lasers. While CO2 lasers are great for wood or plastic, they struggle with metal surfaces. A fiber laser, however, is designed to generate a powerful beam that metal easily absorbs (Laserax). This means a cleaner, more precise engraving for your knife.
Gathering Your Essential Supplies
Before you begin, gathering everything you need is important. This ensures a smooth and uninterrupted engraving process. You don’t want to stop midway to search for a missing item, do you?
- Fiber laser engraving machine
- Fume extractor or good ventilation system
- Safety glasses (specific for your laser’s wavelength)
- Knife to be engraved
- Cleaning solution (e.g., isopropyl alcohol) and lint-free cloths
- Design software and the chosen design file
- Fixtures or clamps for securing the knife
Preparing Your Knife for Engraving
Proper preparation is key to achieving a high-quality laser engraving. Any dirt or oil on the blade can interfere with the laser’s beam. This can lead to uneven or incomplete marks on your design.
Cleaning the Knife Blade
First, you need to make sure your knife blade is spotless. Use a good cleaning solution, like isopropyl alcohol, and a lint-free cloth. This removes any finger oils, dirt, or residues. A clean surface allows the laser to make a clear and consistent mark.
Securing the Knife for Stability
The knife must be absolutely still during engraving. Any movement can cause your design to blur or be misaligned. We found that using specialized fixtures or clamps is the best way to hold the blade firmly in place. Ensure it’s level and secure on the laser bed.
Designing Your Engraving Pattern
This is where your creativity comes in! The design you choose will be permanently etched onto your knife. Take your time to select something meaningful or aesthetically pleasing.
Choosing Your Design Software
Most fiber lasers come with their own dedicated software. This software allows you to import designs, adjust sizing, and control laser settings. Some popular options for creating designs beforehand include Adobe Illustrator or CorelDRAW.
Factors to Consider for Your Design
Think about the size and shape of your knife blade. An intricate design might be lost on a small area. We found that simpler designs often look best, especially for smaller or curved surfaces. Consider whether you want text, a logo, or a pattern (Epilog Laser).
Executing the Laser Engraving Process
With your knife prepared and your design ready, it’s time for the actual engraving. Going step-by-step and paying close attention to safety is crucial here.
Setting Up Laser Parameters
This involves adjusting the laser’s power, speed, and frequency. These settings depend on the type of metal, the desired depth of engraving, and the specific laser model you’re using. Many experts suggest starting with a test piece of similar material before engraving your actual knife.
Understanding Laser Power and Speed
Higher power usually means a deeper mark. Slower speeds also lead to deeper engravings. You’ll need to find the right balance to get the clean, crisp lines you want without damaging the blade’s integrity. It’s a bit like learning to cook; you start with a recipe and then adjust to your taste.
Running a Test Engraving
Always, always do a test run if you can. Use a piece of scrap metal that is identical to your knife’s blade material. This helps you fine-tune the laser settings, ensuring your final engraving looks perfect. It’s much better to make mistakes on a test piece than on your actual knife!
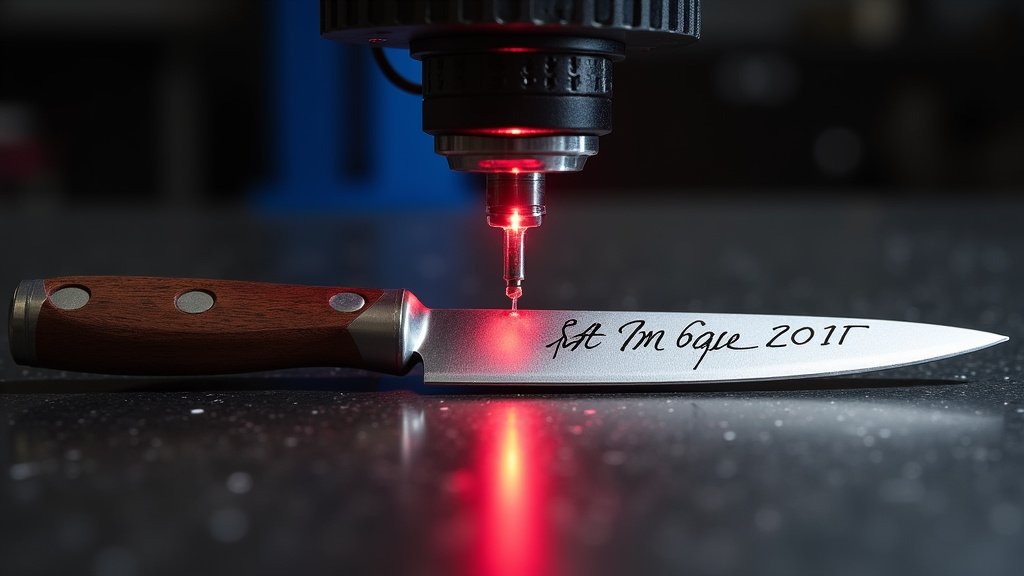
Performing the Final Engraving
Once your test results are satisfactory, carefully load your prepared knife into the laser. Double-check that it’s secure and aligned with your design. Then, start the engraving process. Stay near the machine, but always keep your safety glasses on and monitor for any issues.
Post-Engraving Cleanup and Care
After the laser has done its work, a little cleanup helps reveal the full beauty of your new custom knife. We found that skipping this step can leave behind carbon residue. This can make the engraving look dull or smudged.
Cleaning Residue from the Engraving
Upon completion, there might be some carbon residue left on the engraved area. Gently clean this with a soft brush or a damp cloth and mild soap. Be careful not to scratch the surrounding blade. We found that a bit of isopropyl alcohol can also help restore the metal’s shine.
Maintaining Your Engraved Knife
Your laser-engraved design is permanent, but proper knife care is still essential. Avoid harsh abrasives on the engraved area. Regularly oiling your blade, especially if it’s carbon steel, will prevent rust and keep it looking new. You’ve invested time and effort; now keep it pristine!
Conclusion
You’ve now got the full picture on how to laser engrave a knife. From selecting the right fiber laser to preparing your blade, designing your pattern, and finally executing the engraving, each step is critical. We found that attention to detail, especially in cleaning and securing your knife, prevents common mistakes. With careful parameter testing and a watchful eye during the process, you can achieve a truly professional and personalized result.
Ready to add that unique touch? Start gathering your supplies and prepare to transform your ordinary knife into a custom masterpiece that reflects your personal style or brand.
Frequently Asked Questions
Can I laser engrave any type of knife?
While most metal knives can be engraved, the material impacts the process. Stainless steel and carbon steel are common, but very soft metals might not hold a deep engraving well. We recommend understanding your knife’s specific metal composition for the best results.
How long does laser engraving a knife take?
The actual laser engraving process for a small design can be quite fast, often just a few minutes. However, preparation, including cleaning, securing, and setting parameters, can take significantly longer. Plan for around 30 minutes to an hour for the entire process, especially if you’re new to it.
Does laser engraving weaken the knife blade?
No, a properly executed laser engraving typically does not weaken the knife blade. The process only alters the surface of the metal, creating a shallow mark. We found that the structural integrity of the blade remains unaffected.
What’s the best way to clean my knife after engraving?
After engraving, gently remove any carbon residue with a soft brush or a lint-free cloth dampened with isopropyl alcohol. Avoid abrasive cleaners or scrubbing too hard, as this could dull the surrounding blade finish. A careful approach ensures a clean, crisp final look.
Can I remove a laser engraving if I don’t like it?
Laser engravings are permanent. They etch a mark directly into the metal surface. Removing an engraving would require grinding down the blade, which would alter its shape and finish. This is why thorough testing and careful design choices are so important.
