
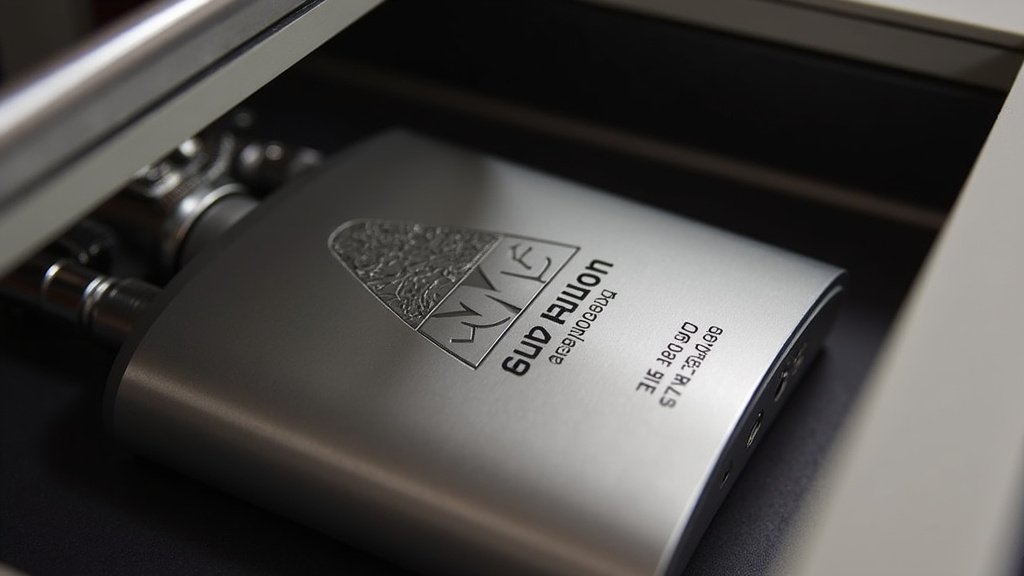
The easiest way to laser engrave a flask is by using a fiber laser or a CO2 laser with a special additive. You’ll need to prepare the flask surface, set up your laser machine, and carefully engrave your design. We found this method offers the best results for durability and precision.
Engraving a flask lets you create personalized gifts or promotional items. It adds a sleek, custom touch to metal or coated flasks. Many people find this a fun and creative project, especially for special occasions like weddings.
- Choose the right laser type.
- Prepare your flask’s surface.
- Set up your design software.
- Run a test engrave.
- Clean the finished flask.
Let’s walk through exactly how this works step by step, so you can start creating your own custom flasks today. We’ll cover everything you need to know from start to finish.
Engraving Your Flask: The Step-by-Step Guide
You’re ready to create something special, right? Engraving a flask is a rewarding project. It turns an ordinary item into a treasured keepsake. We’ll guide you through each stage, from picking your laser to making that final polish. Let’s make sure your flask turns out perfectly.
Choosing the Right Laser for Flask Engraving
The type of laser you use really matters for flasks. You want something powerful enough to leave a lasting mark. But it also needs to be precise. Do you know which one is best for metal? Let’s break it down.
Fiber Lasers: Precision for Metal
Fiber lasers are excellent for engraving metal flasks. They deliver a high-intensity beam. This beam marks the metal directly. The result is a crisp, clean design. We found these lasers offer superior detail for steel or aluminum flasks.
Working with fiber lasers often means a permanent etch. It’s great for intricate logos or small text. Many commercial engravers prefer them for their speed and accuracy (Optics & Laser Technology journal).
CO2 Lasers for Coated Flasks
What if your flask isn’t bare metal? Many flasks have a painted or anodized coating. For these, a CO2 laser is often your best bet. It ablates the top layer, revealing the metal underneath.
You’ll get a nice contrast this way. Black coated flasks, for example, often show a bright silver engraving. This method is also suitable for leather-wrapped flasks. Just be careful with power settings to avoid burning through.
Preparing Your Flask for Engraving
Preparation is key for a successful engraving. Think of it like painting; you wouldn’t paint a dirty wall. A clean, ready surface helps the laser do its best work. It ensures a uniform and clear mark.
Cleaning the Surface
First things first, clean your flask. Use isopropyl alcohol and a lint-free cloth. This removes oils, dust, or fingerprints. Any residue can interfere with the laser beam. It might lead to an uneven or smudged engraving.
A clean surface ensures the laser energy is absorbed properly. This creates a sharper image. We found that even a tiny fingerprint can impact the engraving quality.
Applying Engraving Paste (for CO2 on Metal)
This step is crucial if you’re using a CO2 laser on bare metal. CO2 lasers typically don’t mark metal directly. You need a special engraving paste or spray. This paste contains metal oxides that bond with the surface when heated by the laser.
Apply a thin, even coat of the paste. Let it dry completely. The laser will then fuse this paste onto the metal. You’ll get a dark, permanent mark. This technique is often called “laser bonding” or “laser marking.”
- Ensure the flask is completely dry.
- Apply a thin, even layer of paste.
- Allow adequate drying time as specified by the product.
- Avoid touching the prepared surface.
Designing Your Engraving
Now for the fun part: your design! This is where your flask truly becomes unique. Whether it’s a monogram, a quote, or an image, thought goes a long way. Good design software helps you achieve crisp, professional results.
Software for Design Creation
You’ll need vector-based software. Programs like Adobe Illustrator or Inkscape are popular choices. Vector graphics scale without losing quality. This is important for precise laser work. They use mathematical paths, not pixels.
Make sure your design is completely finalized. Check for typos or misplaced elements. It’s much easier to fix it now than after engraving the flask. Many laser software packages allow direct import of these vector files.
Preparing Your File for the Laser
Once your design is perfect, you need to prepare the file. Most laser machines come with their own software. This software interprets your design. It tells the laser head where to engrave and how deeply.
You’ll need to set up parameters like power, speed, and frequency. These settings depend on your laser and the flask material. Always consult your laser machine’s manual. A wrong setting can damage your flask or laser (Laser Institute of America).
Setting Up Your Laser Machine
Proper machine setup is vital for safety and accuracy. Don’t rush this stage. It ensures your laser operates efficiently. Precision here means a perfectly aligned engraving.
Focusing the Laser Beam
The laser beam must be perfectly focused on the flask’s surface. An unfocused beam will produce a blurry or faint engraving. Most laser machines have a built-in focusing tool or a simple manual method. This ensures the smallest possible spot size.
This step is critical for achieving sharp details. Think of it like focusing a camera lens. An out-of-focus image just isn’t good enough.
Positioning the Flask
Securely position the flask in the engraving area. Use clamps or a jig if necessary. The flask must not move while the laser is running. Even a slight shift can ruin your design. Ensure the area you want to engrave is flat and accessible to the laser head.
If your laser has a rotary attachment, use it for cylindrical flasks. This allows the laser to engrave around the curvature. It maintains a consistent focus and prevents distortion.
Running a Test Engraving
Never engrave your final flask without a test. This is an important step that saves you time and material. A test helps you dial in your settings. It confirms your design will look good.
Creating a Test Jig or Sample
Use a piece of scrap material similar to your flask. If you have extra flasks, even better. Engrave a small section of your design or a simple test pattern. Look for good contrast and sharp lines. Adjust power and speed as needed.
We found that testing is the single most important step for new projects. It helps you avoid costly mistakes. Different flask materials and coatings react uniquely to laser settings.
| Material Type | Recommended Laser | Key Setting Consideration |
|---|---|---|
| Bare Stainless Steel | Fiber Laser | Focus, Frequency |
| Bare Stainless Steel (CO2 method) | CO2 Laser (+ Paste) | Power, Speed, Paste application |
| Anodized Aluminum | CO2 or Fiber | Power, Speed (to remove coating) |
| Powder-Coated Metal | CO2 Laser | Lower Power (to avoid scorching) |
| Leather-Wrapped | CO2 Laser | Very Low Power, High Speed |
Executing the Engraving
You’ve done all the prep, and your test looks great! Now it’s time for the main event. Make sure you’re ready for the actual engraving process. This is where patience pays off.
Starting the Laser Process
Double-check all your settings and the flask’s position one last time. Press start. Stay near the machine during the entire process. This lets you monitor for issues. Look for unexpected smoke or uneven engraving. Always wear appropriate laser safety glasses.
Watch for consistent results. A good engraving will appear gradually. You’ll see your design take shape. Enjoy the magic!
Post-Engraving Cleaning and Finishing
Your design is complete! But you’re not quite finished. The flask will need a final touch-up. This ensures it looks its best and removes any residue.
Removing Residue and Paste
For CO2 lasers using engraving paste, a scrubbing step is necessary. Use warm water and a brush to gently remove the excess paste. The engraved mark will remain. For other methods, a simple wipe with a damp cloth might be enough.
This final cleaning reveals the true beauty of your engraving. It makes the flask ready for use or gifting. Make sure all cleaning agents are safe for the flask material.
Final Inspection
Before you call it done, inspect your work. Look at the engraving from different angles. Is it consistent? Are there any missed spots or uneven lines? This is your chance for a final quality check. A good job now makes a lasting impression.
Your Engraving Checklist
To help you keep track, here’s a quick checklist for your flask engraving project:
-
Choose the correct laser for your flask material.
-
Clean the flask thoroughly with isopropyl alcohol.
-
Apply engraving paste if using a CO2 laser on bare metal.
-
Finalize your design in vector software.
-
Precisely focus the laser beam on the flask.
-
Run a test engraving on scrap material to adjust settings.
-
Monitor the laser during the actual engraving process.
-
Clean off any residue or paste after engraving.
-
Perform a final inspection of your newly engraved flask.
Conclusion
You now have a complete toolkit for laser engraving your own custom flasks. We’ve walked through choosing the right laser, preparing your flask, perfecting your design, and setting up your machine. Remember, attention to detail at each step ensures a professional, lasting result.
Taking your time with testing and focusing the laser will pay off significantly. With these steps, you can confidently create personalized gifts or unique promotional items. Start experimenting with different designs and flask types today!
Frequently Asked Questions
What kind of flask materials can be laser engraved?
You can engrave various materials, including stainless steel, anodized aluminum, and powder-coated metal. Leather-wrapped flasks also engrave beautifully. The best laser type often depends on the flask’s specific material and coating.
Is it safe to drink from a flask after it has been laser engraved?
Yes, it is generally safe to drink from a flask after engraving. Laser engraving creates a permanent mark on the exterior surface. It does not compromise the integrity of the flask or introduce harmful chemicals into the interior where beverages are stored.
How long does a laser engraving on a flask last?
Laser engravings are highly durable and are designed to be permanent. They typically last the lifetime of the flask without fading or rubbing off. The mark is etched directly into the material or its coating.
Can I engrave a color design onto a flask?
Typically, laser engraving creates a monochromatic effect, revealing the natural color of the underlying material. You can achieve different contrasts based on the flask’s coating. True multi-color engraving is not standard with most laser engraving processes.
Do I need any special ventilation when laser engraving a flask?
Yes, proper ventilation is crucial. Laser engraving can produce fumes and particles, especially when working with coated materials or engraving paste. We recommend a fume extractor or performing the work in a well-ventilated area to protect your respiratory health.
