
Why is my laser engraving not dark enough? The cause is almost always one of five things: bad focus, a line interval (DPI) too wide for your laser’s spot size, power and speed set wrong for the material, air assist blowing away the char, or a material that just can’t burn dark without pre-treatment or infill.
The fastest way to fix it is to check those five in that exact order, one variable at a time. This article walks that checklist step by step.
Skip ahead and start changing power, and you’ll waste scrap chasing a problem that was really a dirty lens. Order matters here more than any single setting.
Prefer to watch it first? This walkthrough covers the same fixes for a darker, cleaner burn.
Why Your Laser Engraving Isn’t Coming Out Dark
A pale mark has a short list of causes, and they don’t all carry equal weight. Work through them in sequence and you’ll find yours faster.
- Focus, lens and alignment. A defocused or dirty beam is weak before any setting matters.
- Line interval (DPI). Too wide and you leave unburned gaps that read as grey.
- Power and speed. The near-universal culprit, but only worth tuning once the first two are right.
- Air assist. Too much airflow strips away the char that makes a mark dark.
- The material itself. Some surfaces simply won’t go black on settings alone.
Order matters because each step sits on top of the one before it. Crank the power first while your focus is off, and every test burn lies to you about the real cause.
So change one thing, re-test, and only move on when that step is ruled out.
Check Focus, Lens Cleanliness and Alignment First
Focus comes first for a reason. Every settings change you make on a defocused or dirty machine is a wasted test, because the beam reaching the material is already weaker than it should be.
A focal-distance error of just 1 to 2mm is enough to visibly wash out a burn. That’s smaller than most people eyeball. Get the optical path right before you touch anything in software.
Set focus with your machine’s method, not by eye
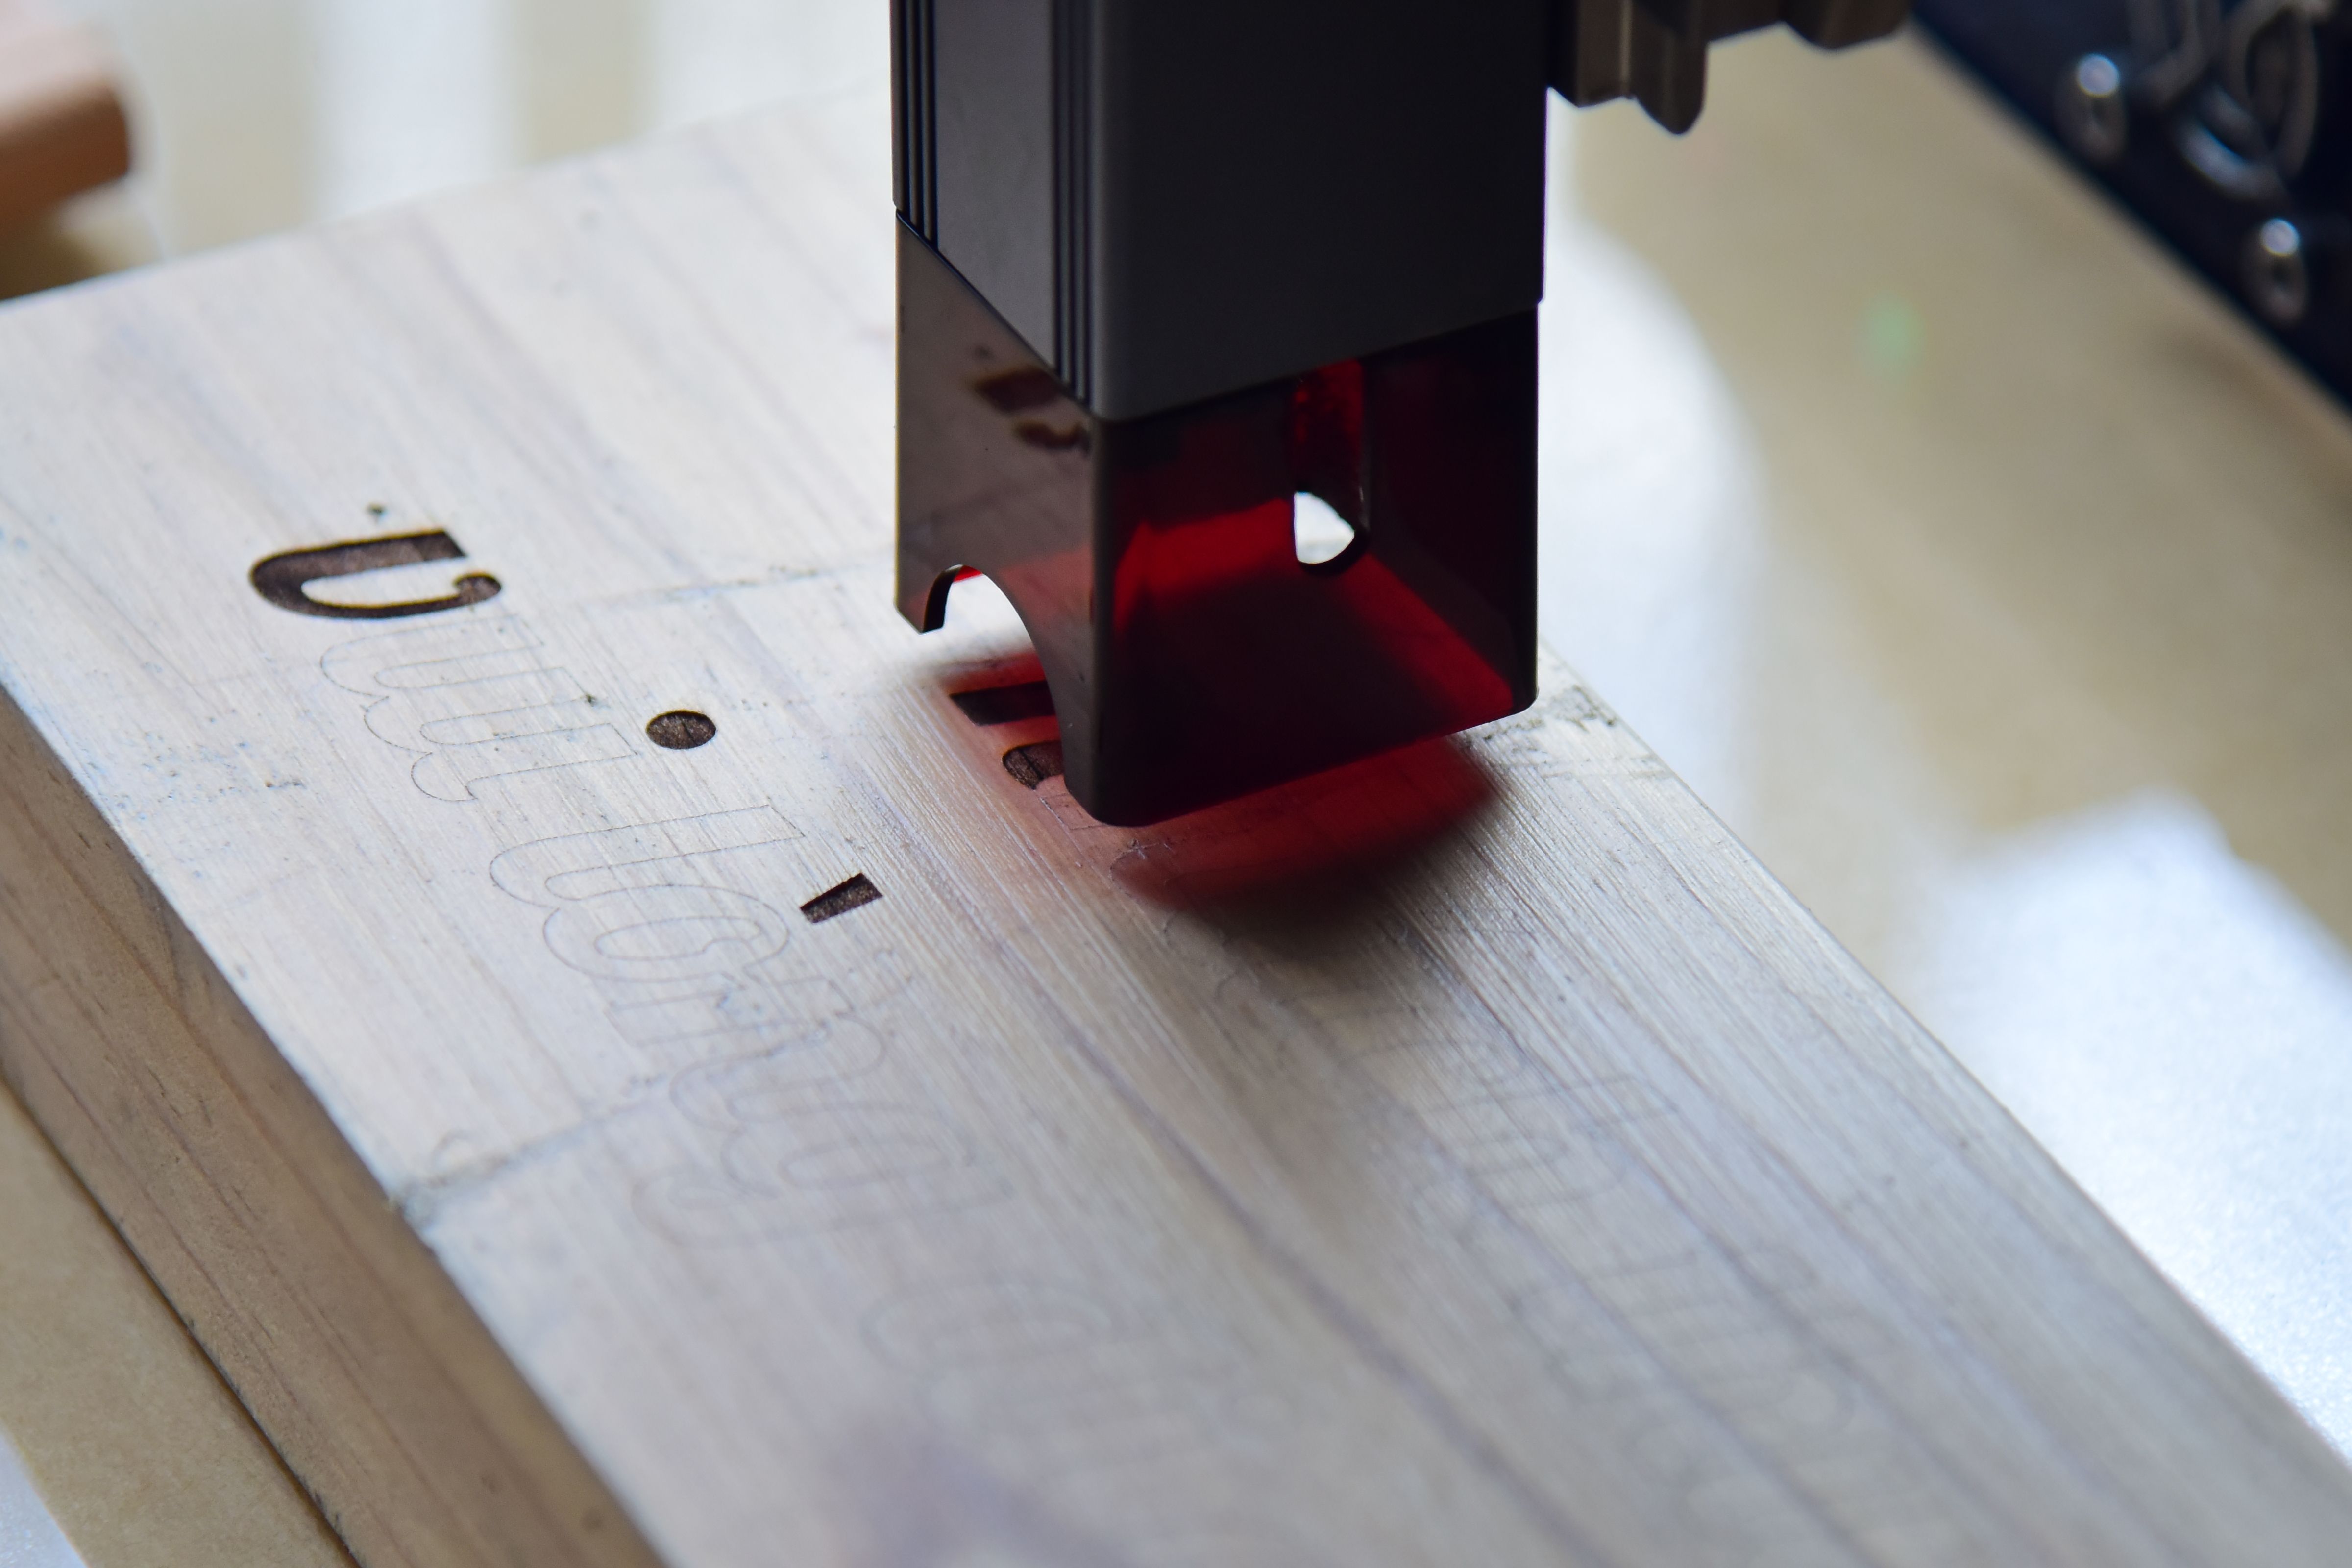
Use whatever your machine ships with: a fixed-focus spacer block, a ramp test, or autofocus. Each is built to hit the focal point precisely.
Guessing by eye is where the 1 to 2mm miss creeps in, and that miss alone can turn a rich black into a faint grey. If your machine came with a spacer, use it every single time you change material thickness.
Clean the lens or protective window
Smoke residue builds up on the lens or the little protective window in front of it. That film absorbs beam energy before it ever reaches the wood, so the surface sees far less power than your settings promise.
Power the machine off first. Then check the lens under good light and clean it with proper lens wipes or the solution your maker recommends.
Never dry-scrub it. Dragging grit across coated glass scratches the surface and does more harm than the soot did.
Look for loose belts and misalignment
Mechanical slop blurs the burn line. A gantry that wobbles or a belt that skips smears each pass slightly, so the mark reads pale even at full power.
Nudge the belts: they should feel taut, not springy. Check that the rails move smoothly and the head sits square.
These same optical and mechanical faults are behind a machine that won’t cut through wood, so a quick tune-up often fixes two problems at once.
Fix Your Power, Speed and Line Interval Settings
This is where most light engravings actually get solved. The trap is copying a settings chart off the internet and expecting it to match your exact machine, lens and board.
It won’t. The reliable move is to run a small test on your real material and adjust from there, one variable at a time.
Run a test grid on scrap, don’t trust the software preview
Your software’s preview shows toolpaths, not burn results. Brightness on screen tells you nothing about how dark the mark comes out on the board.
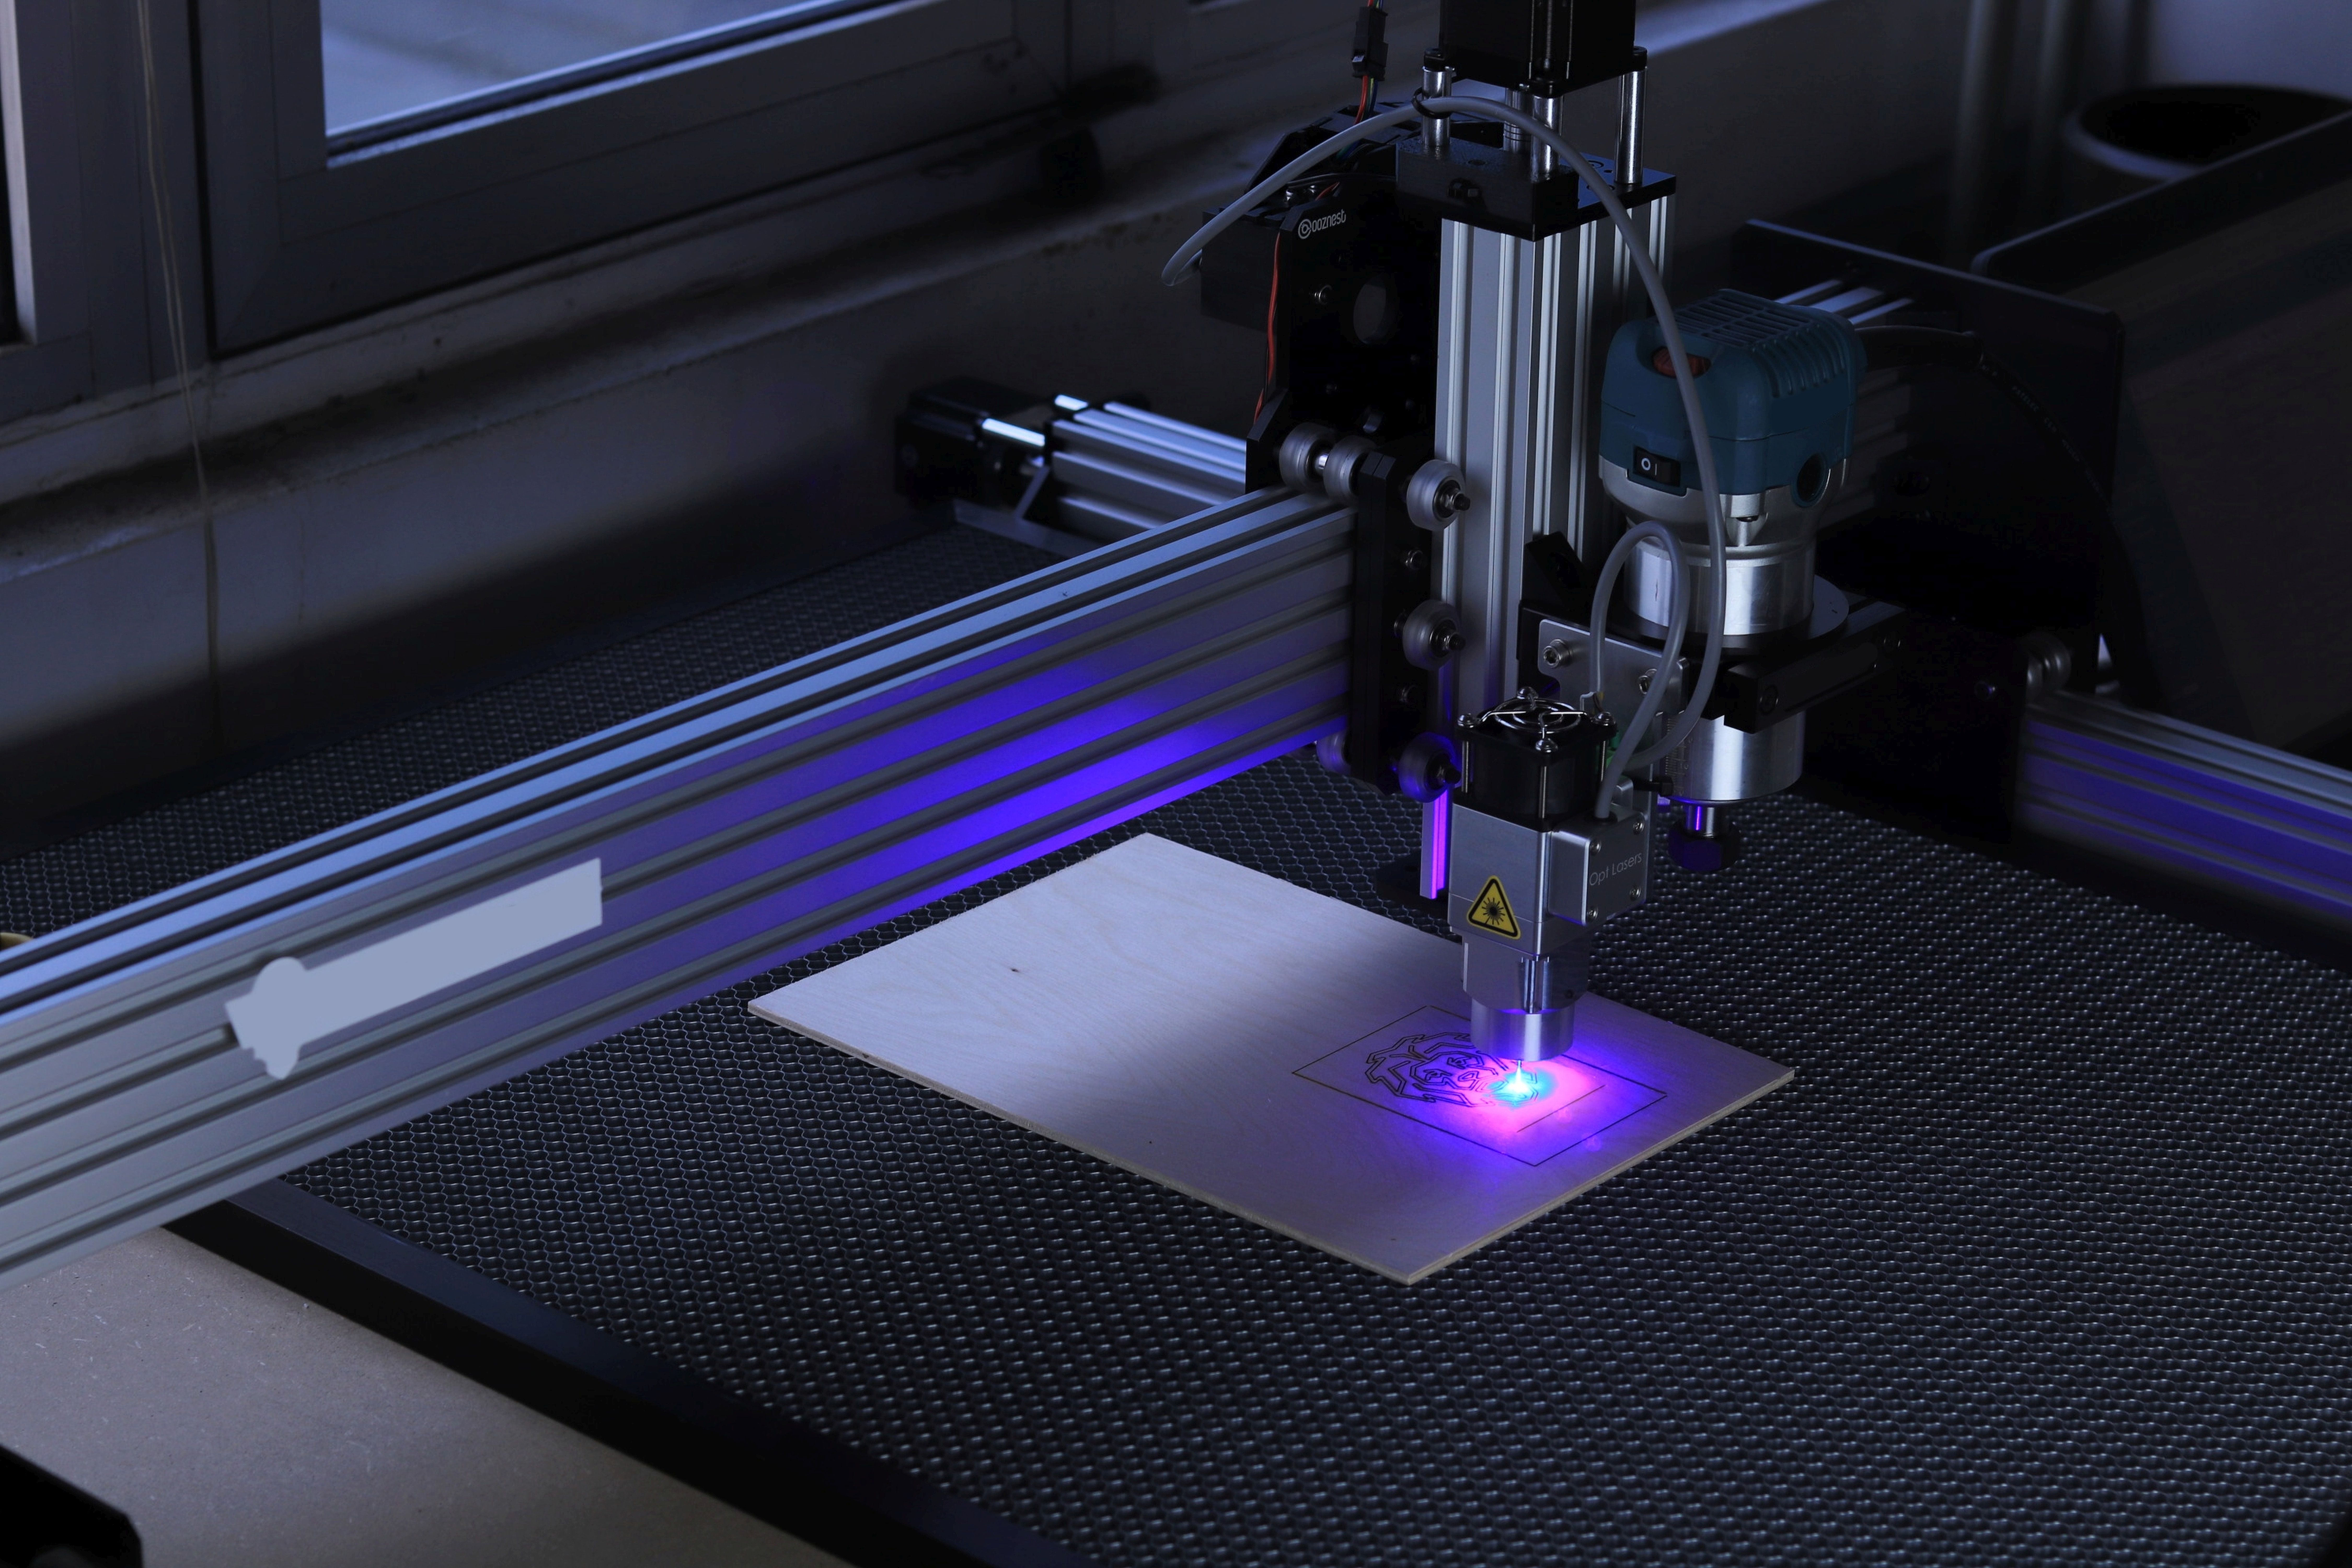
Instead, burn a test grid on a scrap of the same material. Make a matrix of 10 to 15mm squares, stepping power up along one axis and speed along the other.
Then read it with your eyes and a fingertip. The square that’s dark and crisp without feeling deeply gouged is your answer. Squares that look muddy or charred are over-burned, not blacker.
Line interval and DPI: find your machine’s number
Line interval sets how tightly the burn lines pack together, which your software may show as DPI. Too wide, and you leave tiny unburned gaps between lines that your eye blends into grey.
You’ll see 300 to 500 DPI quoted a lot online. Treat that as a rough range others repeat, not a target to trust.
The correct value depends on your laser’s actual focused spot size, so it has to be found by testing. Run an interval test on scrap: tighten the lines until the fill looks solid and even, then stop. Go tighter than that and you just waste time while the mark turns dark and muddy.
Diode vs CO2: different starting points
Diode and CO2 machines behave differently, so their starting points differ too. If you’re not sure which one you own, read up on the difference between diode and CO2 lasers before you use the table below.
These are starting points to verify with your own test grid, not guaranteed values. Begin here, then dial in.
| Machine and material | Speed | Power |
|---|---|---|
| Diode on wood | Slower | Mid to high |
| Diode on leather | Faster | Low to mid |
| Diode on coated metal | Slow | High |
| CO2 on wood | Faster than a diode | Low to mid |
| CO2 on leather | Fast | Low |
| CO2 on coated metal | Moderate | Mid |
Scroll sideways to see every column.
One honest warning about diodes: a low-watt unit has a hard ceiling on some materials. If your test grid maxes out on power and the mark is still pale, the limit is the hardware, not your settings.
When that happens, more testing won’t rescue it. It may be time to look at the best laser engravers for home use with more headroom.
Change one variable at a time
This is the discipline that saves scrap. If a test burn is too light, either raise power by 5 to 10% or drop speed by about 20%, but never both at once.
Change both and you can’t tell which one moved the result, or by how much. Small steps, re-test, repeat.
Stop the moment a square is solidly dark without going muddy. Pushing past that point over-burns the surface and looks worse, not blacker.
Turn Down the Air Assist for Detailed Engraving
Air assist is the cause people skip most, and it’s easy to get backwards. It blows away the smoke and char that would otherwise settle into the mark and darken it.
Strong airflow on fine or photo-style work also scatters soot across areas you didn’t engrave and blurs the detail you were after. The result looks pale and slightly smudged at the same time.
The fix is to turn air assist down for detailed engraving, not necessarily off. If you’re not sure whether your machine even has an adjustable setting, this explainer on what air assist actually does is a good starting point.
Check it last in the sequence. A wrong air-assist setting produces a different-looking failure than low power or a wide interval, so it’s easy to spot once the other three steps are clean.
Match the Technique to Your Material
Here’s the reframe: on some materials, “dark enough” can’t be reached with settings alone. Wood species, metal type and leather each change what dark even means and which lever actually works.
This is the point where you stop blaming your machine and start reading the material.
Wood: species and resin decide the ceiling
Grain, resin content and species change burn darkness more than any settings chart can predict. The same file that burns rich and even on one board can come out patchy on another.
Denser, resinous woods tend to char darker and more uniformly. Open-grained species react unevenly, going dark in the soft rings and staying pale in the hard ones.
Pale, low-resin woods like basswood or holly simply won’t hit true black on power alone. They need pre-treatment or infill, not more watts. For the full workflow, see our guide on how to laser engrave wood.
Metal: dark marks need the right process
Bare metal doesn’t char like wood, so darkness there works differently. A dark mark on steel usually comes from annealing or oxidation, or from a marking compound you apply before the burn.
A diode aimed at bare aluminum is mostly a lost cause without a coating to react against. Match the process to the metal rather than pushing power, and read how to laser engrave metal for the full detail.
Leather, acrylic and coated surfaces
Leather darkens easily, sometimes too easily. Push it past dark and the mark scorches brittle and crumbly, so back off before that point.
Acrylic and coated or anodized surfaces work by contrast, not depth. You’re revealing the layer underneath, so “darker” means sharper contrast between the mark and the surface, not a deeper burn.
Pre-Treat the Material Before Engraving
For woods that won’t burn dark on their own, a pre-treatment gives the char something to grab. A borax or baking-soda solution in warm water, brushed onto the surface, promotes a darker and more even char when the laser passes over it.
Lightly dampening the wood can also slow how fast the scorch spreads, which keeps your dark lines cleaner and crisper.
- Mix the borax or baking soda into warm water until it dissolves.
- Brush a thin, even coat over the area you’ll engrave.
- Let it dry fully before you start the burn.
- Run your engrave, then wipe away any leftover residue.
Test it on scrap first. The effect varies by wood, so confirm it helps before you commit a real piece.
Darken the Engraving After the Burn
If the piece is already engraved and it came out pale, you’re not stuck. You can fill the recessed areas after the fact.
Infill is a legitimate professional finish, not a workaround. For many materials it’s the only route to true black, and plenty of paid work relies on it.
Fill with paint, ink or wax
Work a filler into the engraved cavity: acrylic paint, ink, or a colored wax all work. Press it into the recess so it seats fully, then wipe the flat surface clean before it cures.
Deeper engraves hold fill better because there’s more of a cavity to grab it. If your marks are shallow and pale, a slightly deeper pass gives the fill something to sit in.
Seal it so it stays dark
Raw char and unsealed fill both fade or smear with handling over time. A clear coat over the finished piece locks the contrast in and keeps it looking sharp.
A thin, even topcoat is enough. Let it cure fully before the piece gets handled.
FAQ
What DPI should I use to get a darker engraving?
There’s no universal number. The right line interval depends on your laser’s focused spot size, so run an interval test on scrap to find yours instead of copying a figure.
Should air assist be on or off when engraving?
Low, not off, for detailed work. Heavy airflow removes the char that makes the mark dark and can blur fine detail, so dial it down for photo-style engraves.
Will more power always make the engraving darker?
No. Past a point, extra power chars deep and muddy instead of dark. Fix focus and line interval first, then step power up in small increments.
Why does the same file engrave dark on one board and light on another?
Wood species, grain and resin content change the burn more than settings do. Test on each new batch of material, and pre-treat or infill pale, low-resin woods.
