
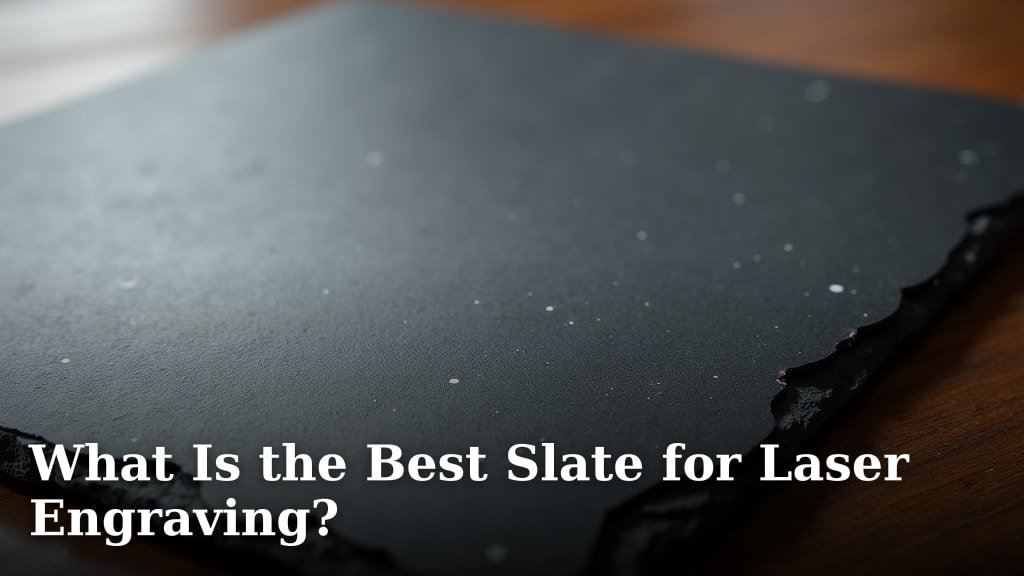
The best slate for laser engraving is typically a fine-grained, dense slate with a matte finish. You’ll want to look for slate that is uniformly colored and free from large inclusions or fissures. This type of slate engraves cleanly, producing sharp, crisp details with minimal chipping. Sometimes, even the best slate can be a bit unpredictable, so testing is always a good idea!
When choosing slate, think about the project you have in mind. A darker, more uniform slate might be ideal for subtle etching, while a slate with natural variations could add a unique character to your design. Many users find that natural cleft slate performs wonderfully. It’s important to understand that not all slate is created equal, and surface texture plays a big role in the final engraving quality. You’re looking for a smooth surface for the best results.
- Look for fine-grained, dense slate.
- Matte finishes often work best.
- Uniform color and no large inclusions are key.
- Test your slate before committing to a large project.
- Natural cleft slate is a popular choice for laser engraving.
Ready to find the perfect piece for your laser engraving project? Let’s dive into what makes certain slates so great for this purpose.
Choosing the Right Slate for Your Laser Engraving Project
Laser engraving on slate can produce stunning results. But not all slate is created equal. The type of slate you choose makes a big difference. We’ve researched what works best for laser engraving. The goal is clear lines and deep contrast without flaking. Let’s look at what makes a slate a great canvas for your laser.
Understanding Slate Properties for Engraving
Slate is a metamorphic rock. It forms from shale or mudstone. Heat and pressure transform it over millions of years. This process creates thin, flat layers. These layers are what make slate easy to split. For laser engraving, we want a slate that splits cleanly. It should also engrave without too much dust. We’re looking for a surface that’s dense and fine-grained. This helps the laser create precise marks.
Grain Size and Density Matter
Fine-grained slate has smaller mineral particles. This means fewer voids and a more solid structure. Density refers to how much material is packed into a space. A denser slate will engrave more predictably. We found that slates with a tight grain tend to produce sharper images. They resist chipping better than coarser, less dense types. Imagine drawing with a fine-tip pen versus a chunky marker. The fine-tip gives you more control and detail, right?
Surface Texture: Smoothness is Key
Slate comes with different surface textures. The most common is natural cleft. This is where the slate is split along its natural layers. While beautiful, the surface can be uneven. For laser engraving, a smoother surface is generally preferred. This allows the laser beam to focus consistently. It reduces the chance of the beam bouncing or scattering. We found that a lightly honed or tumbled finish can be excellent. It’s still natural but has been smoothed a bit.
Color and Consistency: What to Look For
The color of your slate affects the final engraving. Darker slates often provide the best contrast. Black, dark grey, and deep charcoal are popular choices. These colors make the engraved marks stand out vividly. We also found that uniform color is very important. Large color variations or mineral veins can be distracting. They might also engrave differently. This can lead to an inconsistent look. You want the laser to interact with the material evenly.
Matte vs. Glossy Finishes
Most natural slate has a matte finish. This is ideal for laser engraving. A matte surface absorbs the laser energy more effectively. This leads to a cleaner engraving. Glossy or polished finishes can be tricky. The shiny surface might reflect the laser beam. This can reduce the engraving depth and clarity. Sometimes, it might even cause the beam to misdirect. So, if you have a choice, stick with a matte or natural finish.
Inclusions and Fissures: The Enemies of Clean Engraving
When examining a piece of slate, look closely. Are there any large chunks of other minerals? These are called inclusions. Are there any cracks or fissures? These are weaknesses in the stone. Both inclusions and fissures can cause problems during engraving. They can lead to chipping or uneven engraving. They might also cause the slate to break. We recommend selecting pieces that are as free of defects as possible. This ensures a smooth engraving process.
Popular Slate Types for Laser Engraving
Certain types of slate are consistently recommended for laser work. These have properties that lend themselves well to the engraving process. Understanding these types can help you make a good choice.
Natural Cleft Slate: The Go-To Choice
Natural cleft slate is probably the most common type you’ll find. It’s valued for its rustic beauty and natural splitting properties. This is the slate that breaks apart into thin sheets. Many people find this type works wonderfully for laser engraving. It’s readily available and usually has a matte finish. Its natural variations can add character. We found that with careful selection, it provides excellent results.
Selecting the Best Natural Cleft Slate
When choosing natural cleft slate, be picky. Look for pieces with a relatively flat surface. Avoid those with deep ridges or very rough textures. The color should be as consistent as possible. Small variations are fine, but large blotches might be an issue. We often recommend getting a small sample first. Test your laser settings on that sample. This helps you see how that specific slate behaves.
Honed or Honed & Tumbled Slate: A Smoother Option
Honed slate has been mechanically smoothed. This process removes some of the natural roughness. Honed and tumbled slate goes a step further. Tumbling adds a slightly rounded edge and a softer feel. These finishes provide a smoother engraving surface. This can lead to crisper details. We found that this type of slate is less prone to chipping. It’s a great choice if you want a cleaner, more refined look. However, it might be slightly more expensive.
Testing Your Slate: The Most Important Step
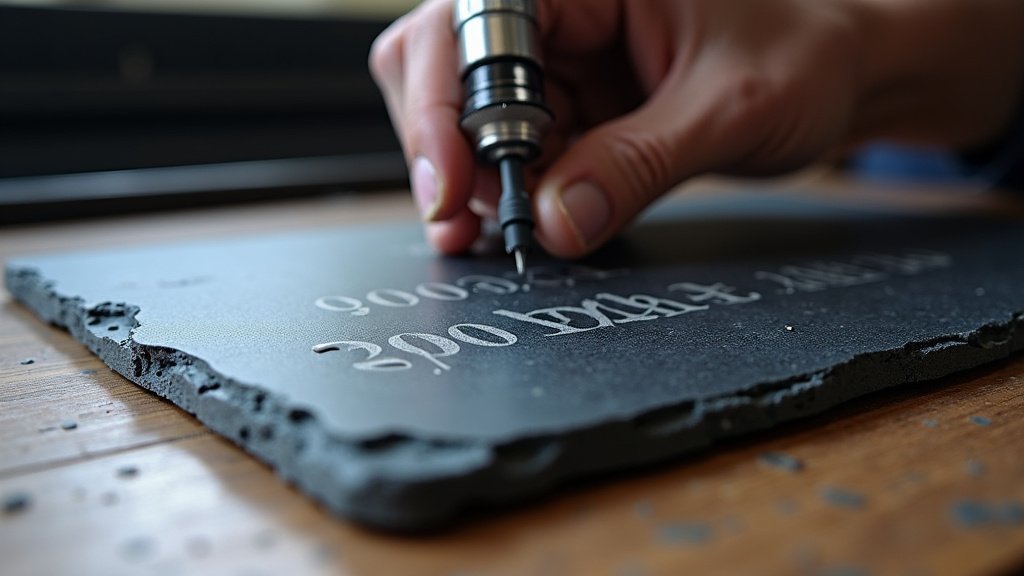
No matter how good your slate looks, testing is essential. Every piece of slate is unique. Even slates from the same quarry can vary. Different laser engravers also have different power levels and settings. Before you engrave your final project, always do a test. Use a small scrap piece of the exact same slate. Experiment with your laser’s power and speed settings. You want to find the sweet spot.
What to Look for in Your Test Engraving
During your test, pay close attention. Is the engraving deep enough? Are the lines sharp and clear? Is there excessive dust or chipping? We found that a good engraving will have a noticeable contrast. The edges of the engraved areas should be clean. You don’t want a fuzzy or broken look. If you see a lot of dust, you might need to adjust your air assist. If the engraving is too light, increase the power or decrease the speed. Trial and error is part of the process. Achieving a noticeable contrast is key for good slate engraving, and this guide explains how to get it.
Recommended Test Settings (A Starting Point)
While settings vary, here’s a general guideline. For a CO2 laser, you might start with a power of around 40-60%. Your speed could be between 100-200 mm/second. These are just rough starting points. You’ll likely need to tweak them. Many users find that adjusting the DPI (dots per inch) also helps. Higher DPI can create finer detail. Always check your laser manufacturer’s recommendations too.
A Quick Checklist for Slate Selection
To make your shopping easier, keep this list handy:
- Grain: Look for fine-grained, dense slate.
- Surface: Prefer a smooth, matte finish.
- Color: Aim for uniform, darker shades.
- Defects: Avoid large inclusions or obvious fissures.
- Type: Natural cleft is good; honed can be even better.
- Test: Always test a small piece before your main project.
Conclusion
Choosing the right slate for your laser engraving project is all about understanding its properties. You’ve learned that fine-grained, dense slate with a matte, uniform finish and minimal defects will give you the best results. Natural cleft slate is a fantastic, accessible option, while honed slate offers a smoother, more refined surface. Remember, the most critical step is always testing your specific slate with your laser settings. This ensures you achieve those crisp, detailed engravings you’re aiming for. Now, go find that perfect piece and start creating!
Frequently Asked Questions
Can I laser engrave any kind of slate?
While you can technically try to engrave any slate, not all types will yield optimal results. For the cleanest, sharpest engravings with minimal chipping, you’ll want to select slate that is fine-grained, dense, and has a matte finish. Some slates are simply not suited for the precision laser engraving requires.
What is the best color slate for laser engraving?
Darker slates, such as black, dark grey, or charcoal, generally provide the best contrast for laser engraving. This makes your engraved designs stand out much more clearly. We found that uniform dark colors work wonderfully, as they allow the laser to interact consistently across the surface.
Does the finish of the slate matter for laser engraving?
Yes, the finish is quite important. A matte or natural finish is typically best for laser engraving. Shiny or glossy finishes can reflect the laser beam, potentially reducing engraving depth and clarity. A matte surface absorbs the laser energy more effectively, leading to cleaner results.
What are inclusions and fissures, and why should I avoid them?
Inclusions are chunks of other minerals within the slate, while fissures are cracks or natural breaks. Both can cause problems during laser engraving. They can lead to uneven engraving, chipping, or even cause the slate piece to break. Selecting slate that is as free of these defects as possible will help ensure a smoother engraving process.
How do I know if my laser settings are correct for slate?
The best way to know if your settings are correct is to test them. Always use a small scrap piece of the exact same slate you plan to engrave. Observe the test engraving for depth, clarity, contrast, and any signs of excessive dust or chipping. You’ll want to find a balance where the engraving is deep and sharp without damaging the slate.
