Which Side of a Material Should You Laser Cut?
Put the side you want to look best facing up when possible, but choose the direction that gives your laser a clean, supported cut. Test scraps when masking, coatings, grain or heat may change the visible result.
On this page (10 sections)
- Which side should face up for laser cutting?
- Should masking face up or down?
- Which side should face up for wood and plywood?
- Which side should face up for coated or painted materials?
- Does material type change the best cutting side?
- Should you cut with the face up or down on a honeycomb bed?
- What if both sides need to look good?
- How should you test the cutting side?
- Does orientation matter for laser marquetry?
- What is the final rule for choosing a cutting side?
Put the side you want to display facing up when possible, but choose the direction that gives your laser a clean, supported cut. That starting rule suits most single-sided work where appearance matters more than hidden details.
It also fits beginners who want an easy way to judge a first setup. You can inspect the visible face as it sits in the machine and notice problems before the full sheet is committed.
The right orientation depends on smoke, adhesive, coatings, grain, warping and whether the design needs work on both faces. Each factor can change which surface looks cleaner after the beam has passed.
Smoke tends to rise and spread across the upward face during cutting. A surface that looks perfect before the job may collect marks if air flow and support are not matched to the material.
Adhesive and coating layers add another layer of choice. Film, printed ink, paint or clear finish can react differently from the bare surface beneath them.
Grain and warping matter for both looks and stability. A sheet that curves away from the bed can shift focus, while a strong grain pattern may show heat more clearly on one face than the other.
A quick test cut reveals more than appearance alone. Check the top and bottom faces, the cut edge, small openings and any residue before choosing the orientation for the full sheet.
Use a test piece from the same batch when you can manage it. That keeps the comparison honest because two sheets that look alike can still respond differently to heat.
Judge the result after the material cools as well as while it is still warm. Some marks fade, while warping or residue can become more obvious once handling begins.
Which side should face up for laser cutting?
The visible or finished side should usually face up because it is easier to inspect, mask and keep away from a dirty support surface. This works well when the top of the material receives the cleanest engraving and the underside shows more smoke or support marks.
Look closely at both faces before loading the sheet. One side may have a protective film, printed coating, stronger grain pattern or smoother finish that affects the final appearance.
If the underside cuts more cleanly, face that side up only when the design allows it. A hidden back face can accept light smoke marks more easily than a front panel, sign or decorative insert.
How laser cutting which side to choose changes the result
Laser cutting which side to choose is mainly a surface-quality decision. The upward face is exposed to the beam, smoke and air movement, while the downward face may contact slats, pins, honeycomb or a sacrificial board.
Choose the upward face by checking these points:
- Which face will the viewer see?
- Which face has the stronger color, grain or coating?
- Which face shows less smoke after a test cut?
- Will the lower face touch a support grid?
- Does the material have film or adhesive on one side?
- Will the part warp or move after the cut releases it?
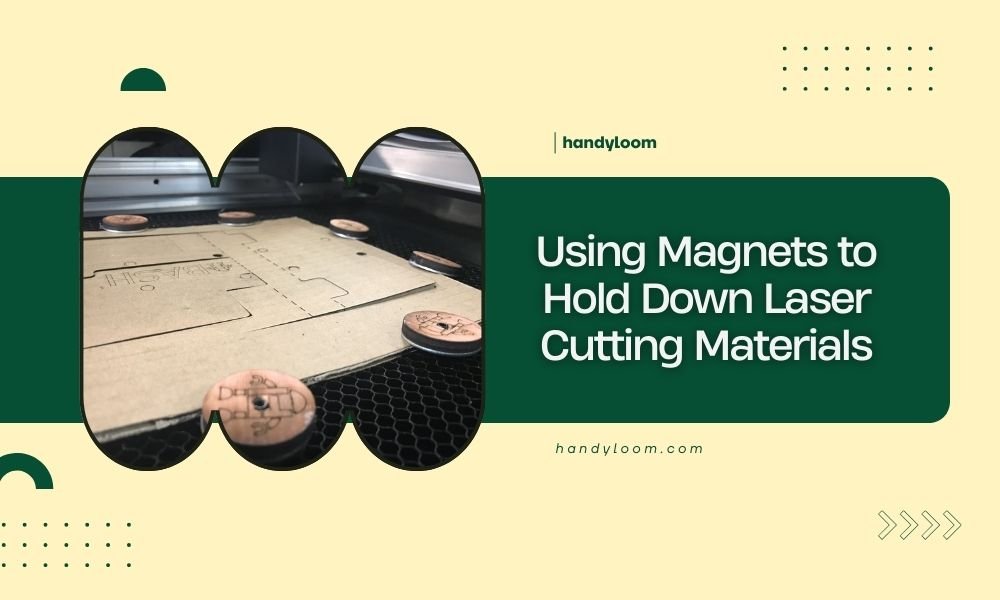
Keep the sheet flat and stable during the test. If movement is possible, read our guide to Using Magnets to Hold Down Laser Cutting Materials before cutting a large or thin sheet.
Should masking face up or down?
Mask the face that needs protection from smoke, residue or light surface marks, but confirm that the masking material is suitable for your laser. The protected face normally faces up when the goal is a clean visible surface.
That choice suits signs, decorative panels and parts that will be seen at close range. It keeps the main face easy to inspect during setup and simpler to clean after the cut ends.
Masking can also make cleanup easier after cutting. It does not remove the need to check focus, power, speed and air assist, because a poor cut can leave charring under or around the mask.
For LightBurn-specific troubleshooting, see charred edges in LightBurn.
Think of the mask as a guard rather than a fix for weak settings. Good settings still decide whether edges stay clean and whether thin details hold their shape.
Peel a small test piece first. Watch for adhesive residue, lifted edges and incomplete cuts.
Choose a corner or offcut so the test does not waste the best part of the sheet. Remove the mask slowly and look at the surface under bright light.
Residue can be faint at first and show more clearly after the material cools. A light wipe can also reveal whether sticky material remains in engraved areas.
A mask that stays in place during engraving may still change how the beam reaches the material. Added thickness can shift focus and alter the depth or darkness of a mark.
Take that change into account when you set the focal distance. A thin sheet with a raised mask may need a different setup from the bare sheet you tested earlier.
For thin sheets, keep the mask smooth and free of bubbles. Raised areas can change the focus distance and produce uneven marks.
Press the mask flat from the centre outward to push out trapped air. Small bubbles near a cut line can matter more than bubbles in a waste area.
Avoid stretching the mask as you apply it. Tension can pull thin material out of shape or leave wrinkles that appear after cutting.
When both faces need care, test masking each side in turn. That shows which layer protects the surface without creating new problems during removal.
Which side should face up for wood and plywood?
For wood and plywood, face the best-looking grain or veneer upward, unless a test shows that the top face burns more heavily than the bottom. For engraving bamboo boards, see 40W bamboo engraving settings.
Grain direction affects how engraved areas read and how the cut edge looks.
Plywood can also vary between faces. One side may have fewer patches, a more even veneer or a cleaner finish, while the other may show voids or rough areas after cutting.
Cut a small corner with the same settings planned for the main piece. Inspect the face, edge and narrow openings, because small details often show heat damage before broad surfaces do.
For edge cleanup, see sanding laser-cut plywood.
Keep long or thin pieces supported. Once the cut separates the part from the sheet, even a good orientation can fail if the piece twists or falls against a hot support.
Which side should face up for coated or painted materials?
For coated materials, face the surface that should remain clean and visually consistent upward, then test whether the coating reacts to heat. For a powder-coated cup, see Bambu engraving settings.
A top coating may darken, blister, flake or leave a different edge than the underside. For handle clearance and placement, see how to laser engrave mugs with handles.
Do not assume that a smooth finish will cut the same way from either direction. Coatings, printed layers and adhesives can change smoke, residue and edge quality.
If the job involves metal marking rather than cutting, a marking spray can create a dark contrast on bare metal with a compatible laser. {{product B09L4GDCN9 | A 13 fl oz black marking spray for CO2 laser work on metal, useful when the goal is a dark permanent mark rather than a through-cut.}}
OMTech describes this spray for CO2 lasers at 25W and above, with more vivid designs possible with a fiber laser. It initially appears white, dries in under 5 minutes, and the unmarked excess washes off with a rinse.
Use it only for the marking task it suits. It is not a replacement for choosing the correct cutting side, masking a delicate face or checking whether a material is safe for your machine.
Does material type change the best cutting side?
Yes. Material type changes the side that gives the cleanest visible result, so use a small sample instead of relying on one universal rule.
Wood, plywood and veneer
Choose the face with the best grain, color and veneer quality. For solid birch, see laser cutting settings for birch wood.
A protective mask may reduce smoke marks, but test it on the exact sheet because plywood glue and veneer can behave differently.
Acrylic
Choose the face with the clearest finish and check whether protective film is present. Keep the sheet flat, and inspect both sides for melting, residue and support marks after the test.
Felt and fabric
Choose the face with the most even texture and secure the material so it cannot shift. For safer material selection, compare our guide to Safe Felt Materials for Laser Cutting: A Guide.
Metal marking surfaces
Choose the face that needs the mark and clean it before applying any marking agent. For a surface-prep product used before refinishing porcelain, ceramic, cast iron, tile or steel, {{product B07YVQ4TPY | Bathworks EZ-Etch is a 16 fl oz pre-coating etch for preparing those smooth, non-porous surfaces before a separate refinishing kit.}}
Bathworks says EZ-Etch is not a paint, coating or standalone repair. It is an acidic surface-preparation solution, so use chemical-resistant gloves, eye protection and ventilation, then rinse and dry the surface before coating.
That product is for refinishing preparation, not for laser cutting. Its place in this guide is a reminder to match surface preparation to the material and the next process.
Should you cut with the face up or down on a honeycomb bed?
Face the important visible surface up, then reduce contact marks underneath with suitable support and correct focus. A honeycomb bed can support the sheet while still leaving patterns or smoke marks on the lower face.
If the underside is the display face, use a setup that protects it from the bed. An air gap, clean support pins or a sacrificial surface may help, but each option changes support and focus conditions.
Do not let a thin sheet bow between supports. A bowed surface creates uneven focus, which can make one side of the design cut through while another side only scores.
Clean the support before starting. Residue on the bed can transfer to the back of the material and make the side decision look like a laser-setting problem.
What if both sides need to look good?
If both faces matter, plan the cut and alignment as a two-sided process. Mark a repeatable origin, keep the sheet from shifting and test the registration before using the final material.
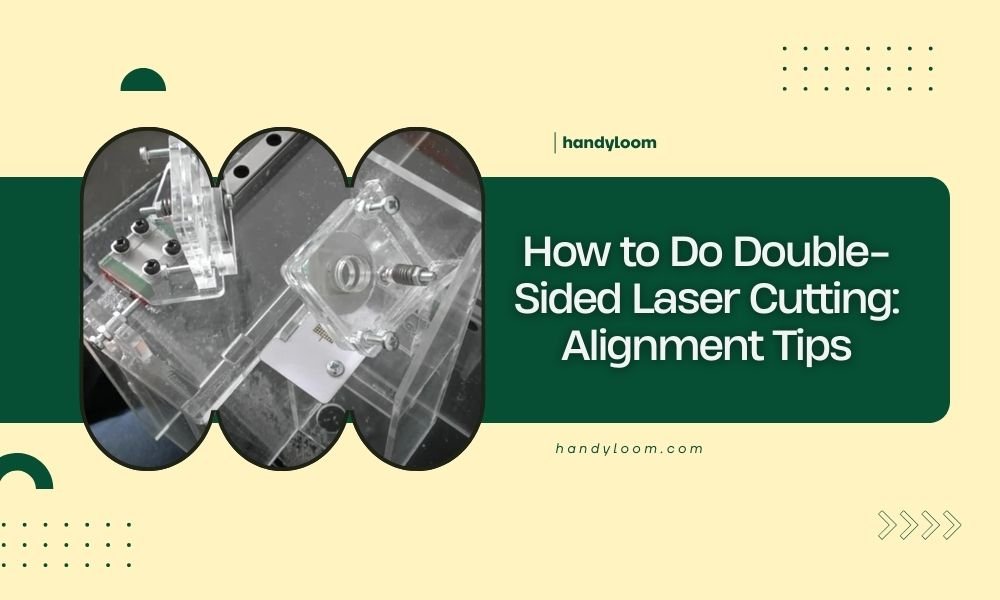
Read How to Do Double-Sided Laser Cutting: Alignment Tips for a setup built around flipping or repositioning the work. A small alignment error can show on borders, holes and mirrored details.
Registration marks can help when the material must return to the same position. Our guide to Using Registration Marks for Precise Laser Cutting covers that approach.
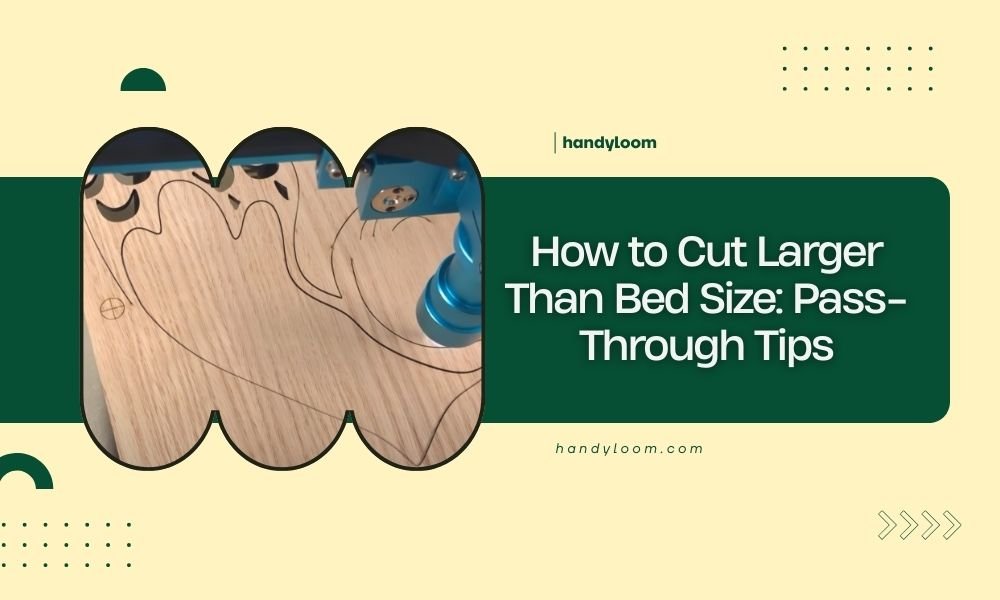
For oversized work, orientation may also depend on how the material passes through the machine. See How to Cut Larger Than Bed Size: Pass-Through Tips before choosing a face for a multi-position cut.
How should you test the cutting side?
Use a small test that includes the material's real details, not just an empty square. Add a short line, a small hole, an engraved patch and any edge or corner that will appear in the finished design.
Test the same masking, support and air-assist setup planned for the full job. Record which face was up, then compare:
- Smoke or soot on each face
- Charring along the cut edge
- Melting or roughness
- Mask residue
- Support marks
- Small details and holes
- Warping after the cut cools
If the result is close, choose the side that makes cleanup and inspection easier. If the result is poor on both faces, change the material or settings before treating orientation as the only problem.
For stencil projects, material choice can matter more than orientation. Compare Best Stencil Materials for Laser Cutting Compared when the sheet must survive repeated use.
Does orientation matter for laser marquetry?
Yes. Marquetry needs a consistent face plan, because visible veneers must match in color, grain and thickness after the pieces are cut and assembled.
That planning suits anyone building a picture, pattern or inlay from several sheets. Small differences that look minor in separate pieces can stand out once they sit side by side.
Veneer varies in tone even within one pack. Placing the wrong face upward can make two matching shapes look like they came from different batches.
Mark the show face before cutting. Keep matching pieces oriented the same way unless the pattern requires a deliberate mirror, and use software that makes the layout and piece direction easy to track.
A pencil mark in a waste corner works well for this task. Check the mark again before loading each sheet, especially when you are cutting in batches.
Mirror work needs extra care because the design reads in reverse. Test the layout on paper and compare it with the intended pattern before touching the veneer.
Thickness matters as much as color in assembled work. A piece cut from a thicker sheet can sit proud of its neighbours and catch light along the edge.
Measure samples from each sheet when the project calls for a flush surface. That simple check helps you group pieces by thickness before assembly starts.
Keep cut pieces in labelled groups as they come off the bed. Orientation, grain direction and face plan are easier to track at the machine than on a crowded work bench.
Our guide to laser marquetry software can help you compare workflow needs before preparing the file. The software cannot correct a sheet loaded with the wrong face upward, so label the material first.
Label the material, the file and the cut pieces with matching marks. That shared system reduces mix-ups when several sheets share the same pattern.
Allow time for a test assembly before gluing anything in place. Lay the pieces out, view them from the intended distance and turn the whole design around to check the grain flow.
What is the final rule for choosing a cutting side?
Choose the best-looking face upward, unless a test cut proves that the opposite face gives a cleaner or safer result. Protect the display face, support the sheet, check masking and inspect the underside before committing to the full design.
That rule suits most everyday jobs where one face will do the visual work. It keeps the decision simple while leaving room for material-specific exceptions.
Support deserves attention equal to appearance. A clean, flat bed helps the sheet stay still and keeps focus steady across the whole cut.
Protect the display face with a suitable mask when the material allows it. Test the mask on a small area so adhesive and heat do not create a new problem.
Check masking before you start the full run. Lifted edges, bubbles or wrinkles can change focus and leave uneven marks on the face you wanted to keep clean.
Inspect the underside before committing to the full design. Smoke marks, support impressions or residue on the lower face can tell you whether flipping the sheet would help.
For single-sided work, prioritize appearance and cleanup. Less time spent fixing the front face usually means a smoother finish and a faster job overall.
For two-sided or oversized work, prioritize repeatable alignment as well as surface quality. A careful flip or repositioning step protects both faces when the design must read correctly from either side.
Keep notes on which face was up for each test. Those notes make it easier to repeat a good result and avoid guessing on the next sheet.
A short test on the actual material gives you the most reliable answer to laser cutting which side to choose. Trust that result over habit, especially when coatings, grain or support marks are in play.
Frequently asked questions
Which side should face up when laser cutting?
Place the side you want to display facing up when the material cuts cleanly from that direction. Check the underside for smoke marks, burrs, adhesive residue and support impressions first, then use masking, an air gap or a sacrificial surface if the lower face gives a cleaner result.
Should the finished side face up or down when laser cutting?
The finished side usually faces up because the top surface is easier to inspect and protect during setup. However, a material with a delicate top coating or a cleaner underside may work better face down.
Cut a small sample before committing to a full sheet.
Does grain direction matter when laser cutting wood?
Grain direction matters for appearance, strength and the way a cut edge shows. Align the visible grain with the design when the pattern needs a consistent look, and keep small parts supported so they do not shift as the cut releases them.
How do you protect the visible face during laser cutting?
Use compatible masking, clean support and the correct focus and air settings to reduce smoke marks on the visible face. Masking is not a substitute for a material test, because adhesives can react to heat and leave residue or affect the cut.