
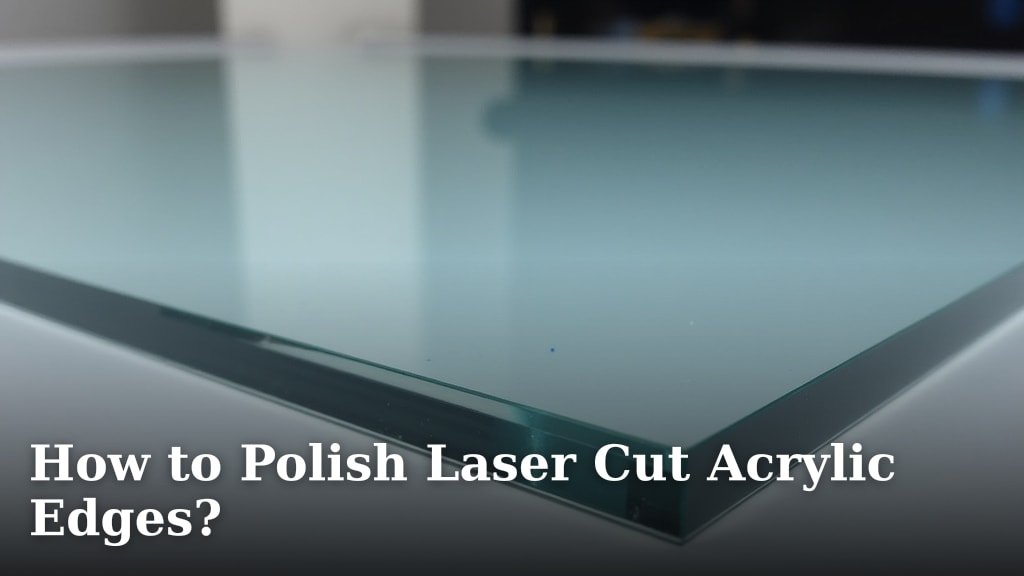
The best way to polish laser cut acrylic edges is by using a flame polishing technique. This method uses a quick pass of a propane torch to melt the edges, creating a smooth, glass-like finish. It’s a fast and effective way to achieve professional results right at home.
Laser cutting acrylic often leaves edges that are slightly frosted or rough. While functional, these edges might not suit your project’s aesthetic. Polishing them transforms the look, making your acrylic pieces appear more high-quality and polished. You’ll be surprised at the difference a smooth edge can make!
- Flame polishing is the quickest method.
- It creates a smooth, glass-like edge.
- Practice on scrap pieces first.
- Use a propane torch for best results.
- Work in a well-ventilated area.
Ready to give your laser cut acrylic pieces that perfect shine? Let’s walk through exactly how to achieve those stunning, polished edges step by step.
Getting Those Laser Cut Acrylic Edges Sparkling
Your laser cut acrylic pieces deserve that final touch. Achieving a smooth, glass-like edge is more than just aesthetics. It also makes your acrylic pieces feel more durable and professional. We’re going to show you how to do just that. You can transform those frosted edges into something truly eye-catching.
Why Bother Polishing Acrylic Edges?
You might be wondering if polishing is really necessary. After all, the laser did a pretty good job, right? Well, the laser cutter vaporizes the acrylic. This process can leave behind a frosted or slightly textured edge. While perfectly functional, it doesn’t always match the clarity of the acrylic itself. A polished edge means your light-up projects will glow evenly. It also prevents snagging on clothing or other materials. Plus, it just looks downright impressive.
Understanding the Material: Acrylic Properties
Before you grab any tools, let’s chat about acrylic. Acrylic, also known as PMMA (polymethyl methacrylate), is a thermoplastic. This means it softens when heated and hardens when cooled. This property is key to polishing. Different types of acrylic exist, like cast and extruded. Laser cutting usually works best on cast acrylic. It tends to cut cleaner and polish better. Extruded acrylic can sometimes melt or burn more easily during laser cutting and polishing. Always check your material type if possible. Our guide to the best acrylic for laser cutting explains why cast acrylic is often preferred for its cutting and polishing qualities.
Choosing Your Polishing Method
There are a few ways to polish acrylic edges. You can use sanding and buffing, or flame polishing. Sanding involves progressively finer grits of sandpaper. This can take a lot of time and effort. Buffing wheels with polishing compounds can follow. It’s a slower, more meticulous process. Flame polishing, however, is usually the fastest and most efficient method for laser cut edges. It uses heat to essentially melt the edge smooth. We’ll focus on flame polishing for its speed and fantastic results.
Flame Polishing: The Quickest Path to a Shiny Edge
Flame polishing is like giving your acrylic edges a quick, controlled spa treatment. A brief exposure to a flame melts the surface. This smooths out any roughness left by the laser. The key is speed and control. You want to melt the edge, not drip or deform the acrylic. Think of it like quickly toasting a marshmallow. Too long, and it’s a mess. Just right, and it’s perfect.
Essential Tools and Safety Gear
Gathering your supplies is the first step to success. You won’t need much, but the right tools make all the difference.
What You’ll Need:
- Propane Torch: A standard propane torch, like one used for plumbing or cooking, works great. Look for one with a fine, adjustable flame.
- Safety Glasses: Always protect your eyes. Acrylic can splinter, and heat can cause flare-ups.
- Gloves: Heat-resistant gloves are a good idea. Acrylic gets hot quickly.
- Ventilation: This is crucial. Work in a well-ventilated area, like an open garage or outdoors. Acrylic fumes aren’t good to breathe in. Many experts recommend good airflow to dissipate these fumes (CDC). Working in a well-ventilated area is crucial for safety, and our guide explains why ventilation is essential for laser engravers.
- Fire Extinguisher: Better safe than sorry. Keep a small fire extinguisher handy.
- Scrap Acrylic: Practice is your best friend here. Use pieces you don’t care about first.
- Pliers or Vice Grips: To hold small pieces safely.
- Towel or Non-Flammable Surface: To place hot pieces on.
Preparing Your Workspace and Acrylic
Safety first, always! Set up your workspace so you have plenty of room. Ensure there are no flammable materials nearby. Clear your area of clutter. If you’re working indoors, open windows and doors. A fan can help improve air circulation.
Your acrylic pieces should be clean. Dust or debris can melt into the edge. Wipe them down with a soft cloth. Make sure they are completely dry before you start. Any moisture can cause steam, which can affect the finish. We want a clean slate for a clean polish.
The Step-by-Step Flame Polishing Process
Now for the main event! This is where you’ll see your acrylic transform. Remember, practice on scrap pieces first. Get a feel for how the flame affects the material.
Step 1: Secure Your Piece
Use pliers or a vice grip to hold the acrylic piece. If it’s a larger piece, you might be able to prop it up. Just make sure it’s stable. You need both hands free: one for the torch and one to move the acrylic. Holding it securely prevents accidental drops or burns.
Step 2: Adjust Your Torch Flame
You want a small, crisp blue flame. Avoid a large, wispy yellow flame. The yellow part of the flame is hotter and sooty. A smaller blue flame is cleaner and more controlled. Adjust the nozzle on your torch to get this type of flame. It should sound like a gentle hiss, not a roar.
Step 3: The Quick Pass of the Flame
This is the critical part. Hold the torch a short distance from the edge. Move the flame quickly and evenly along the edge. You’re aiming to just kiss the surface with the heat. You’ll see the edge soften and become clear almost instantly. Keep the torch moving constantly. Don’t linger in one spot. This prevents melting or deforming the acrylic. Think of it as a quick sweep, not a deliberate melt.
Try to keep the torch tip at a consistent distance from the edge. The angle matters too. A slight angle can help direct the heat precisely where you want it. You should see the frosted edge turn clear and glossy. If you see bubbling or discoloration, you’re holding the flame too close or too long. Back off immediately!
Step 4: Inspect and Repeat (If Necessary)
Once you’ve completed a pass, let the edge cool for a moment. Inspect it carefully. Does it look smooth and clear? Is there any roughness left? If you missed a spot or there’s a small rough patch, you can do another quick pass. Again, keep it brief and controlled. It’s better to do multiple short passes than one long, damaging one. Patience here pays off.
Step 5: Cooling and Handling
Let the polished edge cool completely before touching it. Acrylic stays hot for a bit. Place the piece on a towel or a non-flammable surface. Avoid placing it on a surface that can scratch or melt. Once cool, you can admire your work!
Troubleshooting Common Flame Polishing Issues
Even with practice, you might run into a few snags. Don’t get discouraged! Most issues are easily fixed.
Edge is Still Frosted:
This usually means you didn’t apply enough heat or moved too quickly. Try another pass, focusing on a consistent speed and distance. Ensure your flame is the right size and type.
Edge is Melted or Deformed:
You held the flame too close or too long in one spot. This is the most common mistake for beginners. Back off! Use a quicker pass. If it’s a minor deformation, sometimes another very quick pass can smooth it out. For major deformation, you might need to re-cut the edge or start over.
Edge is Yellow or Black (Burned):
This means the acrylic burned. You likely used too much heat or a sooty flame. Ensure you’re using the blue part of the flame. Use a faster pass. If it’s slightly discolored, you might be able to clean it off. For significant burning, you’ll likely need to re-cut the edge.
Uneven Finish:
This often comes from inconsistent torch movement or distance. Try to keep your hand steady and the torch moving at a uniform speed. Practicing on scrap pieces will help you develop this steady hand. Many crafters find that a slight rocking motion can help distribute heat evenly.
A Quick Checklist for Success
Here’s a handy list to keep you on track:
- Work in a well-ventilated area.
- Wear safety glasses and gloves.
- Use a clean, adjustable propane torch.
- Practice on scrap pieces first.
- Keep the flame moving quickly and consistently.
- Let the acrylic cool completely before handling.
Flame polishing is a skill that gets better with practice. Don’t aim for perfection on your first try. Focus on safety and understanding how the heat affects the acrylic. Soon, you’ll be producing beautifully polished edges with confidence!
Conclusion
You’ve learned that flame polishing is your best bet for transforming laser cut acrylic edges from frosted to flawlessly clear. Remember, a steady hand and a quick pass with a clean propane torch are key. Safety first, always – ventilation and eye protection are non-negotiable. Don’t be discouraged by initial practice attempts; consistent effort will lead to professional-looking results. Your next step is to gather your tools, find some scrap acrylic, and give flame polishing a try. Soon, your projects will boast those stunning, glass-like edges you’ve been aiming for!
Frequently Asked Questions
What kind of propane torch is best for polishing acrylic?
A standard propane torch with an adjustable flame is ideal. You want to be able to create a small, crisp blue flame. Avoid torches that produce a large, yellow flame, as this can be sootier and less controlled for precise polishing.
Can I use a regular lighter to polish acrylic edges?
While a lighter produces a flame, it’s generally not sufficient for effective acrylic polishing. Lighters lack the consistent heat and adjustable flame size needed for a smooth, even finish, and they can easily cause scorching or uneven melting.
How do I know if I’m holding the flame too close or too long?
If you see the acrylic bubbling, smoking, or turning yellow or black, the flame is too close or you’re holding it too long. You should see the edge instantly turn clear and glossy with a quick pass. If this happens, pull the flame away immediately and try a faster, more distant pass.
What’s the difference between flame polishing cast and extruded acrylic?
Cast acrylic generally polishes better and is more forgiving with flame polishing than extruded acrylic. Extruded acrylic can sometimes melt or deform more easily due to its manufacturing process. Always test on a scrap piece if you’re unsure of your material type.
Will flame polishing make my acrylic edges sharp?
Flame polishing actually smooths the edges, making them less sharp. The process melts away the rough texture left by the laser, creating a rounded, glass-like finish that is safe to touch and visually appealing. It eliminates the snagging potential of frosted edges.
