
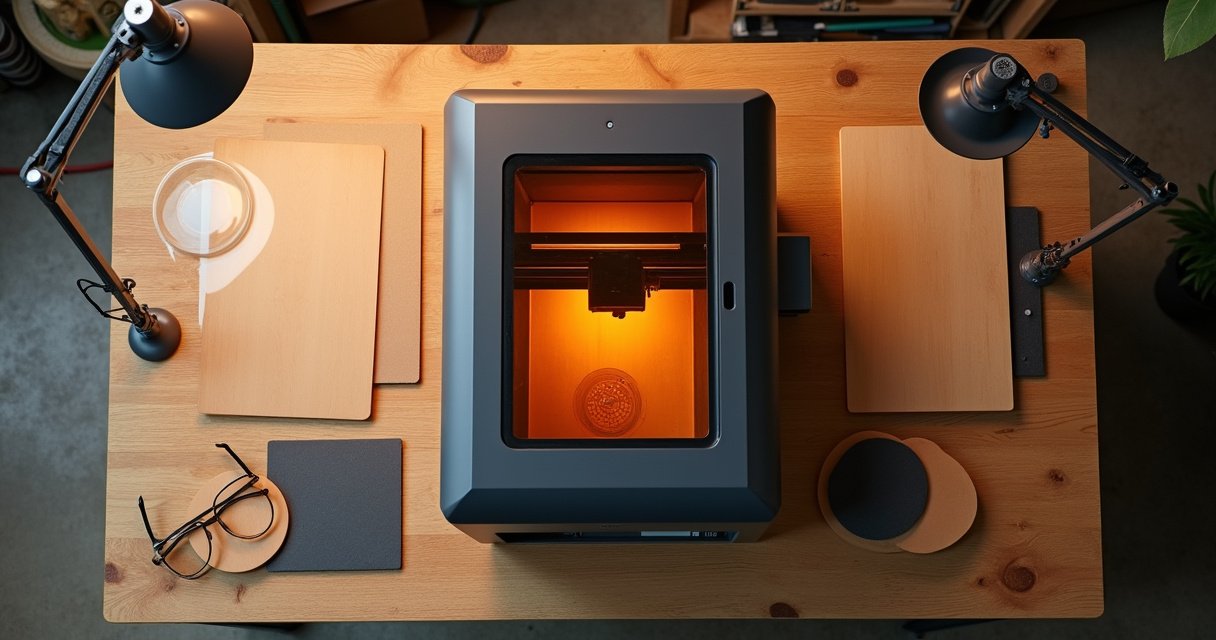
How to choose a laser engraver comes down to three questions, answered in order. What do you want to make? Where will the smoke go? And will the machine run the software you want?
The first question does most of the work. Your materials pick the machine type for you, long before wattage or bed size should enter the picture.
The second question rules machines in or out based on your home, not the spec sheet. The third saves you from learning after delivery that your machine only speaks its maker’s software.
One more thing before we start: this page recommends no specific machines and carries no affiliate links. Nearly every guide ranking for this question is a manufacturer or affiliate funnel. This one exists so you can settle your category first, then compare actual machines with a clear head.
Prefer to watch first? This beginner’s guide covers the same decision from a maker’s bench. Then read on for the full framework.
Start With What You Want to Make: The Material Picks the Machine
Most buying guides open with a physics lesson on laser types and leave you to translate. Flip it. Write down your first five projects, and the machine type mostly picks itself.

Use this table as the shortcut. Find your projects on the left, and the other columns tell you the minimum machine and what goes wrong if you under-buy.
| What you want to make | Minimum machine type | Why |
|---|---|---|
| Plywood and solid wood signs | Diode (20W+ if you’ll cut, not just engrave) | Wood absorbs blue diode light well. Small diodes engrave it beautifully; cutting thicker stock is what demands the extra power. |
| Leather patches | Diode | Leather marks at low power, so even an entry machine handles patches. Overbuying watts here buys you nothing. |
| Clear acrylic | CO2 | Blue diode light passes straight through transparent material. No diode wattage fixes this; the beam simply doesn’t get absorbed. |
| Painted or anodized metal | Diode | The beam removes the coating to reveal contrast. The coating absorbs the light that bare metal would reflect. |
| Bare stainless and aluminum | Fiber (or a diode with an IR module and marking spray) | A 10W diode can’t mark bare metal on its own. Fiber is the metal specialist; everything else is a workaround. |
| Glass and round tumblers | Diode or CO2 plus a rotary attachment | Curved pieces need a rotary to spin under the beam. More watts never fixes geometry. |
| Slate and stone coasters | Diode | Slate marks at modest power with high contrast. This is classic entry-diode territory. |
| Paper and cardstock | Diode at low power | The smallest machines handle paper fine. The skill is in the settings, not the wattage. |
Three traps in that table catch more beginners than everything else combined.
First, clear acrylic. A diode will never cut that clear keychain blank, no matter what the wattage badge says.
Second, bare metal. Without an infrared module or a coat of marking spray, a hobby diode leaves bare stainless untouched.
Third, glassware. People upgrade watts to fix bad tumbler results when the real problem is a missing rotary.
If your list is all wood, leather and coated metal, you’re a diode buyer. If clear acrylic or thicker cutting is on it, you’re shopping CO2. If bare metal is the product itself, skip ahead to fiber.
Where Will the Smoke Go? Decide This Before Wattage
Every laser works by vaporizing material. That vapor and smoke have to go somewhere, and “somewhere” can’t be your living room.
This isn’t cautious hand-waving. Researchers who measured a CO2 laser cutting acrylic found methyl methacrylate vapor and particles roughly 15–86 nanometers across, with more particles escaping when the lid was opened.
Another study of one desktop laser cutter measured respirable particles and VOCs that kept coming for around 400 seconds after the cutting stopped. So make the smoke plan decision number two, before wattage, brand or budget.
If You Can Duct Outdoors
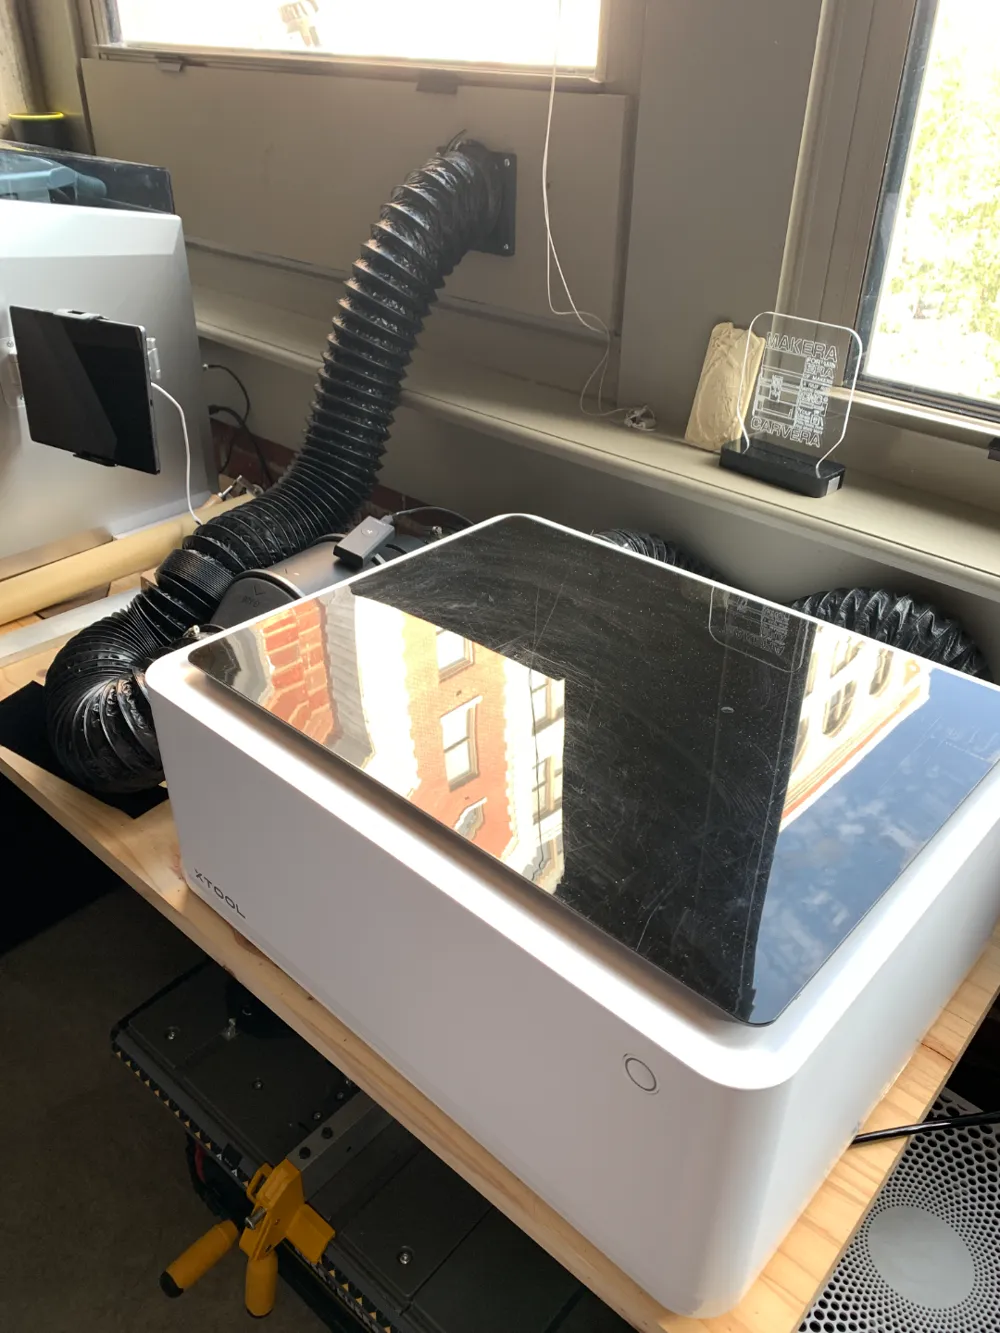
A window or through-wall duct run is the cheap, reliable path. You need an exhaust fan, a few feet of ducting, and a panel that seals the window gap around the vent.
If you have that, most machine types stay on the table. For the full picture, here’s whether you need ventilation for a laser engraver.
If You Can’t: Filter Extractors and Their Limits
No duct path? You’re limited to enclosed machines paired with a filter extractor, and those filters are consumables you’ll keep buying.
That constraint should shortlist machines before you compare any other spec. It also effectively rules out running an open-frame diode indoors.
Diode, CO2, or Fiber: The Three Machine Types in Plain Terms
With materials and smoke settled, the taxonomy gets short. There are three machine types worth your attention, and you probably already know which column you’re in.
Diode Lasers
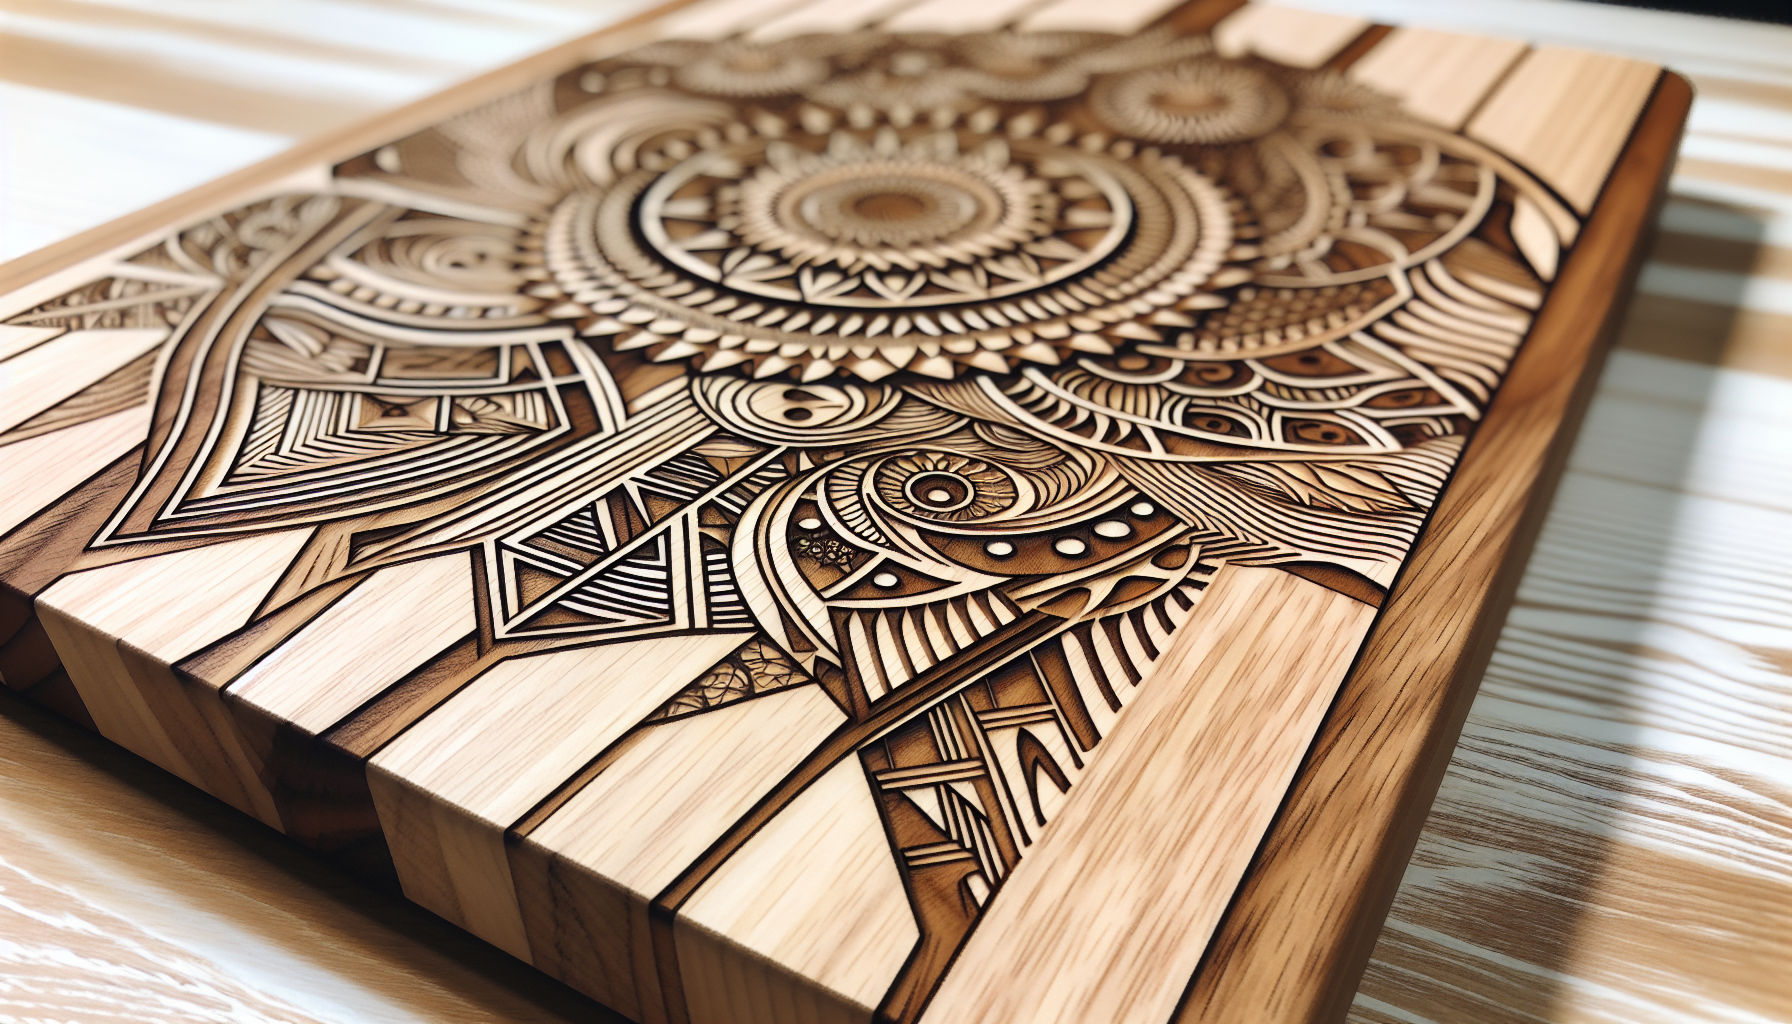
The default home machine: compact, affordable, and happy engraving wood, leather, slate and coated metal. Many fit a desk and set up in an afternoon.
Its blind spots are the two from the table: clear acrylic and bare metal.
CO2 Lasers
CO2 machines use a longer wavelength that clear acrylic actually absorbs, so they cut it cleanly. They also cut thicker wood, and do it faster.
The trade-off arrives with the machine: a glass tube that needs water cooling, mirrors that need periodic alignment, and a footprint closer to a washing machine than a printer. For a deeper look, read the full diode vs CO2 comparison.
Fiber and IR: When Metal Is the Product
If your plan is bare-metal jewelry, tool marking or serial plates, stop comparing diodes and CO2 machines. Fiber lasers are the metal specialists, and nothing in the hobby aisle truly substitutes.
Most hobbyists never need one. But if metal is the product, nothing else is the right machine.
How Many Watts Is Actually Enough?
Watts only compare within a type. A diode watt and a CO2 watt do different work, so never cross-shop the numbers.
For diodes, 5–10W engraves wood and leather all day, and 20W and up is for cutting. For CO2, 40–60W covers hobby cutting comfortably.
Beginners overbuy watts more than any other spec. Power makes the right machine faster; it never makes the wrong machine right.
Safety Class Is a Trade-Off, Not a Marketing Badge
The FDA sorts laser products into four hazard classes. Consumer laser products generally fall in Class I through IIIa, while Class IIIb and IV lasers are professional territory.

Here’s what the badge language hides: an open-frame engraver is a Class 4 laser device living in your house. An enclosed Class 1 machine is a similar laser inside a cabinet built to contain the beam.
The honest rule: if the machine shares space with family, kids or pets, buy enclosed. Know what the enclosure costs you, though: some working area, often the pass-through for long boards, and a chunk of budget.
What Owning an Open-Frame Class 4 Machine Actually Requires
- Wavelength-matched, OD-rated glasses for every person in the room, guests included.
- A room you can close, and keep closed to kids and pets, whenever the laser runs.
- You, present for the entire job. It never runs unattended.
If that reads like a lot of discipline, that’s the point. Budget the discipline or budget the enclosure, and either way review the safety equipment you need for laser engraving.
Software: Check the Controller Before You Pay
Software lock-in is the warning the guides we could read never print. The controller board inside the machine decides which software you can ever run, so check it before money moves.
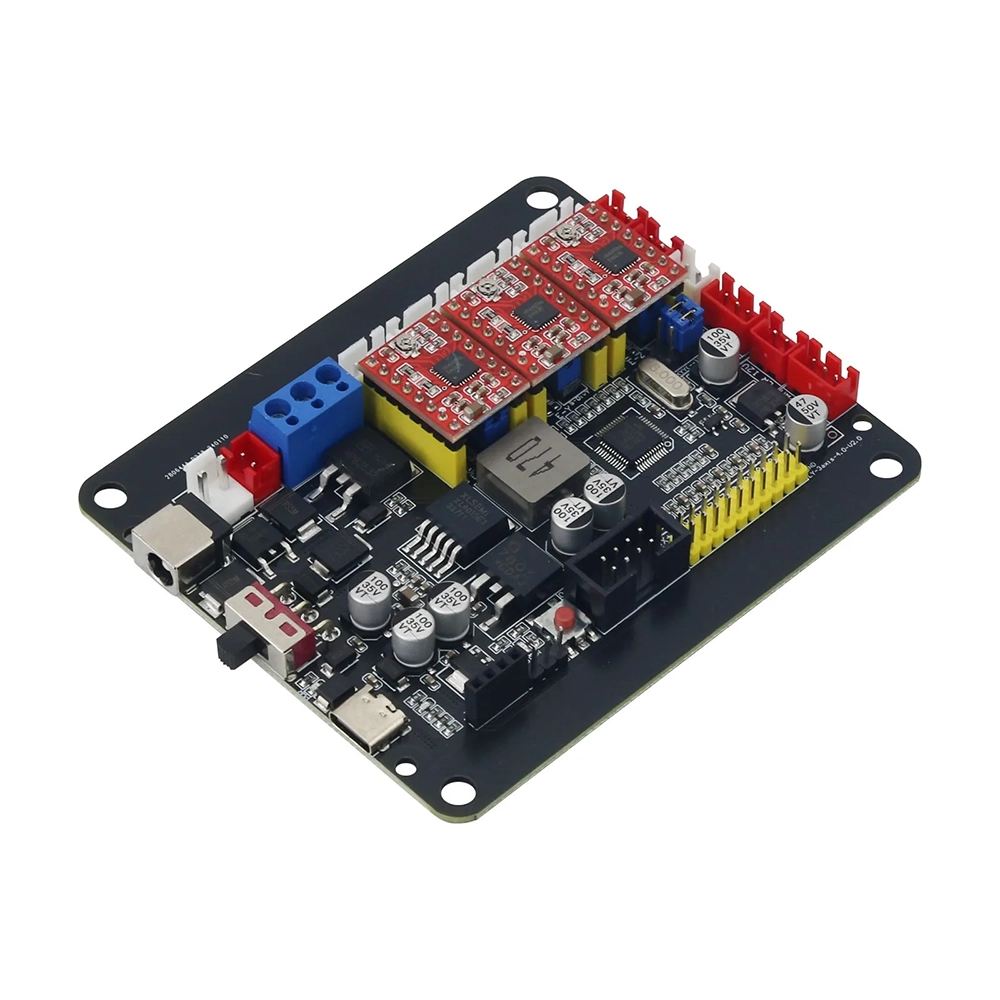
Most of the hobby runs on LightBurn, which supports Ruida, Trocen and TopWisdom controllers, GCode boards like GRBL, Smoothieware and Marlin, and EZCad2-based galvos.
Machines That Can’t Run LightBurn
Glowforge machines run only through Glowforge’s cloud-based software. xTool’s M1 Ultra requires xTool Creative Space, and the original M1 sits in the same boat.
None of that makes them bad machines. It means you’re committing to the vendor’s ecosystem for the life of the machine.
Lock-in has real costs: your file formats, whether you can work offline, and what the machine resells for if the vendor’s ecosystem fades.
Match the License to the Controller
LightBurn’s license tiers differ by controller type: GCode, DSP and galvo machines need different versions. The machine you pick also picks your license.
Check that page against the controller before buying instead of assuming the basic tier covers you.
Will It Fit Your Life? Space, Power, and Noise
A machine that fits your bench but not your life gets resold within a year. Three quick checks: space, power, noise.
Bed Size vs Footprint (and the Duct Path)
Spec sheets sell working area; your room hosts the footprint. Measure the machine’s outer dimensions plus clearance for the duct run to the window, not the engraving bed.
The air-assist pump and exhaust fan sit outside the machine and claim their own space. A CO2 machine and its chiller sharing one circuit also deserves a thought before you buy.
Pass-through slots are the escape hatch here. They let a modest bed handle the occasional long board.
Noise: The Factor the Buying Guides Skip
Three things make the noise: the exhaust fan, the air-assist compressor, and the stepper motors throwing the head around.
Enclosures muffle some of it. Open-frame diodes with external air assist are the setups apartment dwellers end up unable to run at night, so apply the 10 p.m. test before you buy.
Budget Tiers and the Second Price Tag
Think in three tiers: entry hobby machines (open-frame diodes and small enclosed units), prosumer machines (larger enclosed diodes and hobby CO2), and production-class gear that costs several times as much. Here’s what laser engravers cost at each tier.
The Second Price Tag: Consumables and Upkeep
The sticker is the first price tag. The second one is upkeep, and it differs sharply by machine type.
- CO2: the glass tube is a consumable. OMTech rates its 40–70W tubes in the 6,000-hour class and its 130–150W tubes around 10,000 hours; those are manufacturer ratings, not independent tests. Add coolant plus regular mirror and lens cleaning and alignment, since dirty optics shorten tube life.
- Diode: cheap to keep. Clean the lens shield, check belt tension, carry on.
- Filter extractors: replacement filters on a recurring schedule, forever.
Accessories Worth Budgeting From Day One
- Air assist: blows smoke off the cut line for cleaner cuts and less charring. Here’s what air assist does and why it matters; buy it day one if you’ll cut anything.
- Honeycomb bed: protects your table and reduces scorch marks on the underside. Day one for cutting.
- Rotary attachment: mandatory for tumblers and glassware, pointless if you’ll never engrave round things.
- Camera: a placement convenience. Nice later, rarely needed at purchase.
Support, Warranty, and Community
Break ties on three things: whether spare parts are actually sold, what the warranty covers and for how long, and whether the machine has an active user community.
A machine with a busy forum gets you unstuck at midnight. A machine without one leaves you emailing support and waiting.
Your Final Decision Checklist (and When to Buy Less Machine)
Run the decision in this order. Each step shrinks the field for the next one.

- Write your materials list; it picks the machine type.
- Plan the smoke: a duct path outdoors, or an enclosed machine plus filter extractor.
- Confirm the type: diode, CO2, or fiber.
- Match safety class to your household: enclosed if the machine shares space with family.
- Check the controller and software compatibility before you pay.
- Measure footprint, duct clearance and noise, not just bed size.
- Total the real cost: machine, consumables, extraction.
- Budget day-one accessories: air assist and a honeycomb bed if you’ll cut.
- Break remaining ties on warranty, parts and community.
Once you’ve run the list, you know your category. From there, compare actual machines in our roundup of the best laser engravers for home use, and see how to get started once your machine arrives.
Who Should NOT Buy Each Type
- Skip the big diode if you only engrave. A modest 10W unit is genuinely fine for wood signs and leather patches.
- Skip CO2 if you only monogram tumblers. You need a rotary attachment, not 60 watts.
- Skip both if your product is bare-metal jewelry. No hobby diode or CO2 is the right machine; fiber is.
- Skip open-frame anything if the laser will live in a shared family space.
The pattern behind every one of these: beginners overbuy watts and underbuy enclosure and extraction. Spend the difference on the smoke plan and you’ll never regret it.
FAQ
What type of laser engraver is best for a beginner?
Start from your materials list, not the spec sheet. For wood, leather and painted metal, an enclosed diode machine covers a beginner’s first year comfortably. Choose a CO2 machine only if you need to cut clear acrylic or thicker stock, since that’s the one job a diode physically can’t do.
How many watts do I need for a laser engraver?
Fewer than most beginners buy. A 5–10W diode handles engraving on wood, leather and coated metal. Cutting is what demands power: 20W and up for a diode, or 40–60W for a CO2 machine. More watts never fixes the wrong machine type, so settle the type first.
Can a diode laser engrave metal or clear acrylic?
Not without help. Blue diode light passes straight through clear acrylic, so the beam does nothing to it at any wattage. Bare metal needs an infrared module or a marking spray before a diode leaves any trace. These are the two classic mismatches, so plan around them before buying.
Can I run a laser engraver indoors or in an apartment?
Only with a real fume plan. Either duct the exhaust outdoors through a window or wall, or pick an enclosed machine with a filter extractor and budget for replacement filters. Studies have measured fine particles and VOCs from a desktop engraver and from a CO2 laser cutting acrylic, so treat extraction as required equipment, not an upgrade.
Do all laser engravers work with LightBurn?
No. LightBurn supports Ruida, Trocen and TopWisdom controllers, common GCode boards like GRBL, and EZCad2 galvo devices. Glowforge machines run only through Glowforge’s cloud software, and xTool’s M1-series requires xTool Creative Space. Check which controller a machine uses before you pay, not after it arrives.
Is a Class 1 laser engraver worth it over an open-frame model?
If the machine shares space with family, kids or pets, yes. An open-frame engraver is a Class 4 laser device that needs rated eyewear for everyone in the room and a space you can close off. The enclosure trades some working area and budget for containing the beam completely.
That’s the whole method: list your materials, plan where the smoke goes, then confirm the controller runs your software. Get those three right and the rest (watts, bed size, accessories) falls into place. When you know your category, compare our picks for the best laser engravers for home use and buy the smallest machine that does your actual work.
