
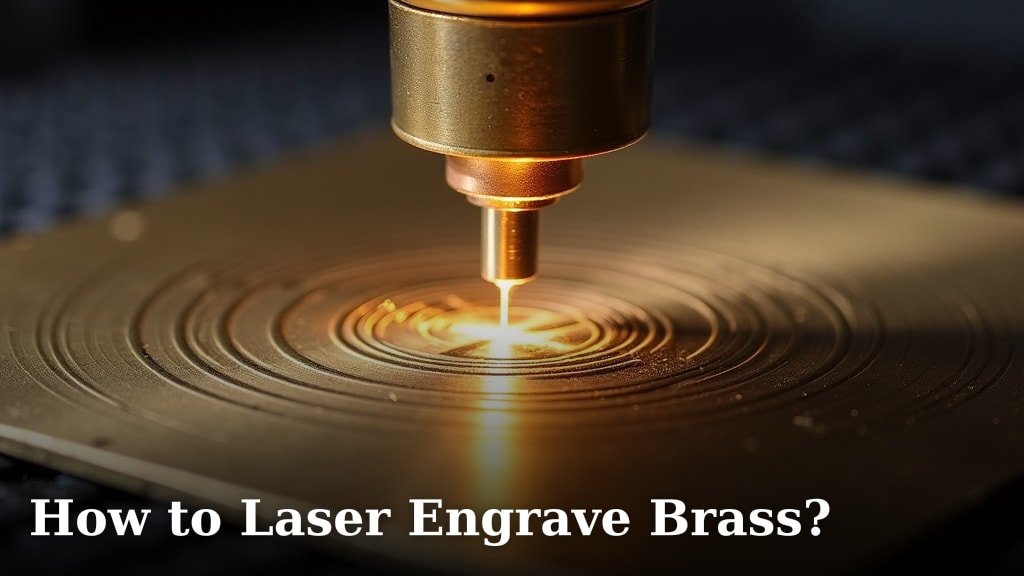
To laser engrave brass, you typically need to use a fiber laser marker or a UV laser because of brass’s reflective properties and alloy composition. These specialized lasers can achieve high-contrast, durable marks on the metal surface. Standard CO2 lasers are generally not suitable for engraving bare brass directly, but we found they can mark it if you use a special coating.
Many people find working with brass can be tricky because it’s so reflective. It needs a laser with just the right wavelength and power to create a good mark. We also found that the type of brass alloy you use can slightly change the engraving results.
- Use a fiber or UV laser.
- Avoid standard CO2 lasers for bare brass.
- Special coatings allow CO2 laser marking.
- Brass reflectivity needs specific settings.
- Alloy type affects engraving outcome.
Ready to turn your brass blanks into personalized masterpieces? We’ll guide you through the process, exploring the best methods and crucial tips for success.
Engraving Brass: The Right Equipment Makes All the Difference
To successfully engrave brass, selecting the correct laser is your first and most important step. Not all lasers can properly mark this versatile metal.
You really need a laser that can handle brass’s particular properties. We’ll explore the specific types of lasers that excel at this task.
Fiber Lasers: Your Go-To for Bare Brass
When it comes to direct engraving on bare brass, fiber lasers stand out. They are specifically designed for marking metals. Their wavelength interacts perfectly with metallic surfaces.
A fiber laser works by delivering a concentrated beam of light directly onto the brass. This intense energy creates a very localized heat, changing the surface of the metal permanently. It’s a precise process we found leads to excellent results.
How Fiber Lasers Work on Brass
Fiber lasers use rare-earth elements like ytterbium to generate the laser beam. This beam then travels through an optical fiber. It’s highly efficient and gives you a crisp, clear mark.
Because brass is reflective, standard lasers often struggle to transfer enough energy. Fiber lasers, however, overcome this. Their shorter wavelength is better absorbed by the brass surface, allowing for effective engraving.
UV Lasers: For Finer Details and Heat-Sensitive Work
Sometimes you need an engraving that’s extra fine or on a very thin piece of brass. That’s where UV lasers come into play. They operate at a different wavelength altogether.
UV lasers are often called “cold lasers” because they create very little heat. This means less risk of distorting thin brass or creating unsightly heat-affected zones around your engraving. We found they’re excellent for sensitive projects.
CO2 Lasers: The Coating Conundrum
Many people have CO2 lasers for engraving wood or acrylic. Can you use them for brass? The short answer is not directly on bare brass. Think of it like trying to boil water with a hairdryer – it just won’t work well.
The wavelength of a CO2 laser is largely reflected by metallic surfaces like brass. Very little energy is absorbed. This means no engraving will happen on untreated brass.
Using Coatings with CO2 Lasers
But don’t despair if a CO2 laser is all you have! You can still mark brass using a special laser engraving spray or coating. These coatings are designed to absorb the CO2 laser’s energy.
You simply apply the coating to the brass, let it dry, and then engrave over it. The laser burns away the coating, leaving a permanent mark on the brass beneath. We found that the mark can vary in color and durability depending on the coating used.
It adds an extra step and cost, but it’s a viable option if a fiber laser isn’t in your budget. Always follow the coating manufacturer’s instructions for best results and safety.
Preparing Your Brass for Engraving Success
Preparation is key for any good laser engraving project. With brass, a little extra care goes a long way. You want a clean, stable surface for the best mark possible.
Don’t skip these steps! A perfect engraving starts before the laser even fires. We’ve seen many projects go awry because of poor preparation.
Cleaning Your Brass Surface
Brass can quickly tarnish or collect fingerprints and oils. These contaminants interfere with the laser beam. A clean surface ensures consistent energy absorption.
- Wipe down the brass with isopropyl alcohol.
- Use a soft, lint-free cloth.
- Ensure no residue is left behind.
- Let it air dry completely before engraving.
We found that even a tiny smudge can cause an uneven engraving. So, take your time with this step, it’s worth it!
Securing Your Material
Your brass piece needs to be perfectly still during engraving. Even the slightest movement can lead to blurry or misaligned designs. This is true for all laser work, but especially when you’re aiming for precision on metal.
Use clamps, a honeycomb bed, or even strong magnets if your laser system allows. Just ensure your chosen method won’t interfere with the laser path. You don’t want any surprises mid-engrave!
Setting Up Your Laser for Brass Engraving
Once your brass is clean and secure, it’s time to set up your laser. This involves adjusting power, speed, and focus. These settings depend heavily on your specific laser model and the brass alloy you’re using.
It’s like baking a cake; too much or too little of any ingredient can ruin the outcome. We always recommend starting with test pieces.
Power, Speed, and Frequency: The Engraving Trio
These three settings work together to create your desired mark. There isn’t a one-size-fits-all answer, but we can give you a starting point.
| Setting | What it Does | Impact on Engraving |
|---|---|---|
| Power | Intensity of the laser beam. | Higher power for deeper, darker marks; too high can cause melting. |
| Speed | How fast the laser head moves. | Slower speed means more laser exposure; faster speed for lighter marks. |
| Frequency | How often laser pulses (fiber only). | Affects color, depth, and material removal. High frequency for darker marks. |
Think of it as a delicate balance. If you increase power, you might need to increase speed to avoid over-engraving. Conversely, if you slow down, you’ll likely need less power.
Achieving Perfect Focus
A perfectly focused laser beam is crucial. If your beam is out of focus, your engraving will be blurry, weak, or even nonexistent.
Most laser systems have an auto-focus feature. If yours doesn’t, you’ll need to manually adjust the distance between the laser head and the brass surface. A good trick is using a ramp test, which many sources discuss, to find the optimal focal point.
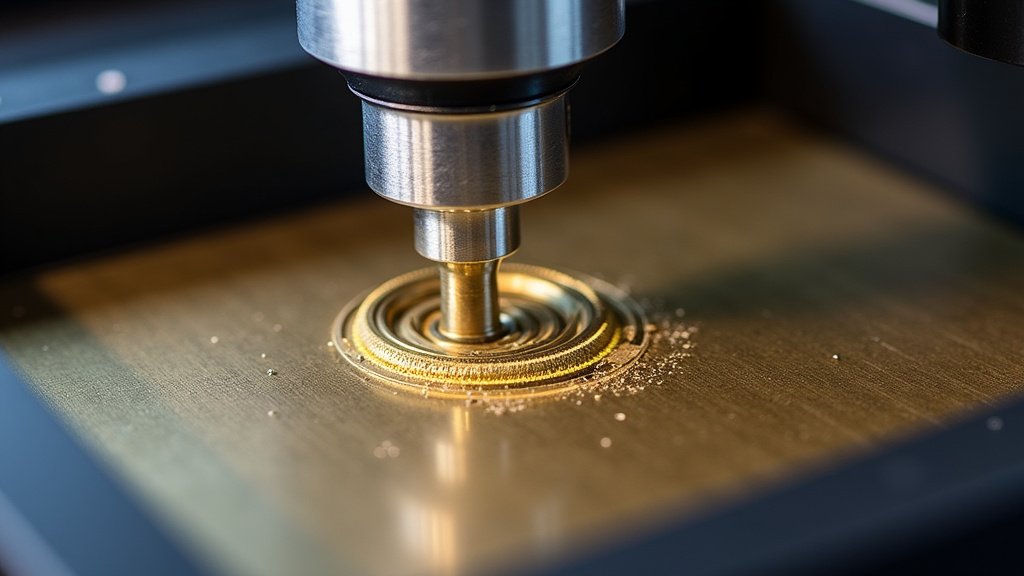
Safety First: Protecting Yourself
Working with lasers, especially high-powered ones, always requires strict safety measures. Your eyes are particularly vulnerable.
Never take shortcuts with safety. It’s simply not worth the risk. We always prioritize protecting ourselves and our equipment.
Essential Safety Gear Checklist
Before you even think about hitting the “start” button, make sure you have these items ready:
- Appropriate laser safety glasses (OD rating for your laser’s wavelength).
- Good ventilation system or fume extractor.
- Fire extinguisher nearby.
- First aid kit accessible.
- Clear workspace free of clutter.
- Emergency stop button within reach.
Remember that even scattered laser light can be harmful. Always assume the worst and protect yourself accordingly (OSHA guidelines emphasize this).
Common Challenges and Troubleshooting Tips
Even with the right equipment and preparation, you might run into issues. That’s totally normal! We’ve all been there.
Here are some common problems and our advice on how to fix them. Don’t get discouraged; every project is a learning experience.
Engraving Isn’t Dark Enough
If your mark is too light or barely visible, you likely need to make some adjustments. It’s a frequent starting problem.
- Decrease speed: This gives the laser more time on the brass.
- Increase power: More energy means a deeper, darker mark.
- Adjust frequency (fiber): Sometimes a higher frequency yields a darker result.
- Check focus: An out-of-focus beam loses its intensity.
Engraving Looks Blurry or Uneven
A blurry engraving is usually a sign of movement or focus issues. An uneven look might point to surface problems.
- Re-check material securing: Is the brass perfectly still?
- Verify focus: Re-calibrate your laser’s focal length.
- Clean the brass again: Any dirt or oil can cause inconsistencies.
- Calibrate your laser: Ensure the optics are clean and aligned.
Brass is Melting or Distorting
If you see signs of melting, like rough edges or warped material, your laser settings are too aggressive. You’re putting too much heat into the brass.
- Decrease power: Reduce the laser’s intensity.
- Increase speed: Less time under the beam means less heat buildup.
- Consider a UV laser: If heat is a persistent problem, a “cold laser” might be ideal for your application.
Conclusion
Successfully laser engraving brass is absolutely achievable when you match the right tools with careful preparation. You’ve learned that fiber or UV lasers are your best bet for bare brass, offering precision and durability. While CO2 lasers need special coatings, they can still get the job done. Remember that proper cleaning, securing your material, and dialing in your settings are vital for crisp, professional results.
Don’t forget safety, and know that troubleshooting is part of the process. Keep practicing with test pieces and you’ll soon be creating stunning brass engravings with confidence. Take these steps and watch your projects shine.
Frequently Asked Questions
What kind of brass is best for laser engraving?
Generally, softer brass alloys or those with a higher copper content tend to engrave well. Harder brass can take more power to mark effectively. We found that a cleaner alloy often yields a more consistent mark.
Can I achieve different colors when laser engraving brass?
With fiber lasers, yes, you can sometimes achieve different shades or even colors (like black, brown, or goldish tones) by carefully adjusting frequency and power settings. This is often called “annealing” and depends heavily on your specific laser and brass alloy. CO2 lasers with coatings will typically produce the color of the coating.
How deep can a laser engrave into brass?
A fiber laser can create a noticeable depth on brass, but it’s typically more of a surface mark or shallow relief rather than a deep cut. We found that achieving significant depth takes multiple passes and is much slower. UV lasers create very minimal depth.
Do I need any special ventilation when engraving brass?
Absolutely, yes. Laser engraving brass can release fine metallic particles and fumes, which are unhealthy to inhale. Always use a proper fume extractor and ensure good ventilation in your workspace to protect your lungs.
How do I prevent “ghosting” or unwanted marks around my engraving on brass?
Ghosting can happen if your laser’s focus isn’t spot-on or if residue is on the brass. Ensure your brass is perfectly clean before engraving. Also, calibrate your laser’s focus precisely and confirm your material is completely secure and flat.
