
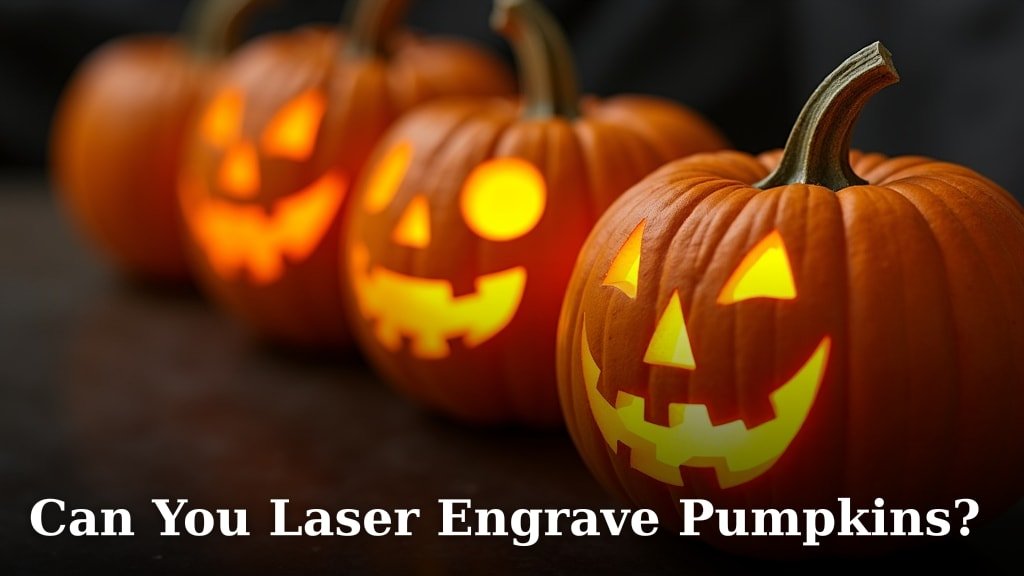
Yes, you absolutely can laser engrave pumpkins! It’s a fantastic way to create detailed and spooky designs that traditional carving can’t match. You can achieve unique patterns with laser engraving, making your Halloween decorations stand out.
Laser engraving offers a different approach to pumpkin decorating. Unlike cutting all the way through, engraving often just etches the surface. This allows for more intricate shading and delicate artwork. You can even use different power settings to get varying depths of engraving.
- Laser engraving is a real thing for pumpkins.
- It lets you make super detailed designs.
- You can engrave different depths for cool effects.
- It’s a great alternative to traditional carving.
Ready to ditch the carving tools? Let’s walk through how you can laser engrave your own pumpkins to create some seriously impressive decor.
Laser engraving pumpkins is a fantastic way to get creative this Halloween. You can achieve designs that are impossible with traditional carving. Think delicate shading or sharp, geometric patterns. Your pumpkin decor will definitely turn heads.
Getting Started with Laser Engraving Pumpkins
So, can you actually laser engrave pumpkins? The answer is a resounding yes! It’s a popular method for creating unique and detailed pumpkin art. Many people are discovering its potential.
Laser engraving works by using a concentrated beam of light to burn away the pumpkin’s surface. You don’t cut all the way through like with carving. Instead, you’re essentially drawing or etching onto the pumpkin’s skin. This allows for a lot more control over the depth and appearance of your design.
What You’ll Need for Laser Engraved Pumpkins
Before you start, gather a few essential items. You’ll need a laser engraver, of course. Make sure it’s suitable for engraving organic materials like pumpkins. You’ll also need a pumpkin that’s suitable for engraving. Finally, a design file for your laser is essential.
- Laser engraver
- A suitable pumpkin (smooth surface is best)
- Your digital design file
- Safety glasses (always!)
- A well-ventilated space
Choosing the Right Pumpkin for Engraving
Not all pumpkins are created equal when it comes to laser engraving. The smoother the surface, the better your results will be. Look for pumpkins that are free from deep blemishes, large bumps, or significant scarring. A uniform surface means a more consistent engraving.
Consider the shape and size too. A round, consistent shape is easiest to work with. Thicker-skinned pumpkins might require more power or a slower speed for the laser to effectively engrave. You want a pumpkin that will hold its shape during the process.
How to Laser Engrave Your Pumpkin Step-by-Step
Let’s walk through the process. It’s simpler than you might think. The key is in the preparation and settings.
Preparing Your Pumpkin for Engraving
First, clean your pumpkin thoroughly. Remove any dirt or debris. A damp cloth works well. Make sure it’s completely dry before you place it in the laser engraver. Any moisture could affect the engraving process.
You’ll want to secure the pumpkin in your laser engraver. Ensure it’s stable and won’t move. Some engravers have rotary attachments that can help. These are especially useful for round objects. They allow the pumpkin to rotate smoothly.
Designing Your Laser Engraved Art
This is where the fun really begins! You can create almost any design you can imagine. Simple outlines, detailed portraits, or even text can be engraved. Use graphic design software to create or import your design.
Consider the shading. Laser engraving allows for varying depths. You can use grayscale images to create depth and shadow effects. Lighter areas of the image will be engraved less, while darker areas will be engraved more. This is how you get those amazing gradients.
Vector vs. Raster Engraving
For pumpkins, raster engraving is usually the way to go. This method works like a printer, moving the laser back and forth across the surface. It’s perfect for images and detailed designs with shading. Vector engraving, on the other hand, traces lines and is better for cutting or simple outlines.
Setting Up Your Laser Engraver
This is the most critical part. Laser settings will vary greatly depending on your machine and the pumpkin itself. You’ll need to determine the right power, speed, and frequency. These settings control how deep and dark the engraving will be.
Start with test engravings on a spare piece of pumpkin rind or an identical pumpkin if possible. This helps you dial in the perfect settings. Many online communities share recommended settings for different lasers and materials. You can often find a good starting point there.
Power: This controls the laser’s intensity. Higher power burns deeper and faster. Speed: This determines how fast the laser head moves. Slower speeds allow for deeper engraving. Frequency (PPI): This affects the number of pulses per inch. Higher frequencies can create smoother, more detailed results.
Running the Engraving Job
Once your settings are dialed in, it’s time to run the job. Ensure your ventilation is working properly. Laser engraving can produce fumes. Always use safety glasses. Do not leave the laser unattended while it’s running. Keep an eye on the process. Watch for any signs of burning that is too deep or uneven.
After the engraving is complete, let the pumpkin cool. Carefully remove it from the engraver. You’ll be amazed at the detail!
Achieving Different Effects with Laser Engraving
The beauty of laser engraving is its versatility. You’re not limited to just one look.
Shading and Depth Control
As mentioned, using grayscale images is key for shading. The laser will etch lighter areas less deeply, creating a subtle gradient. This can give your designs a truly three-dimensional look. Darker areas will be etched more intensely, creating contrast.
Layering for More Complex Designs
Want to add more detail? You can do multiple passes. A first pass could etch the main design. A second, lower-power pass could add finer details or shading. Experiment with different power and speed combinations for each layer.
Engraving vs. Cutting Through
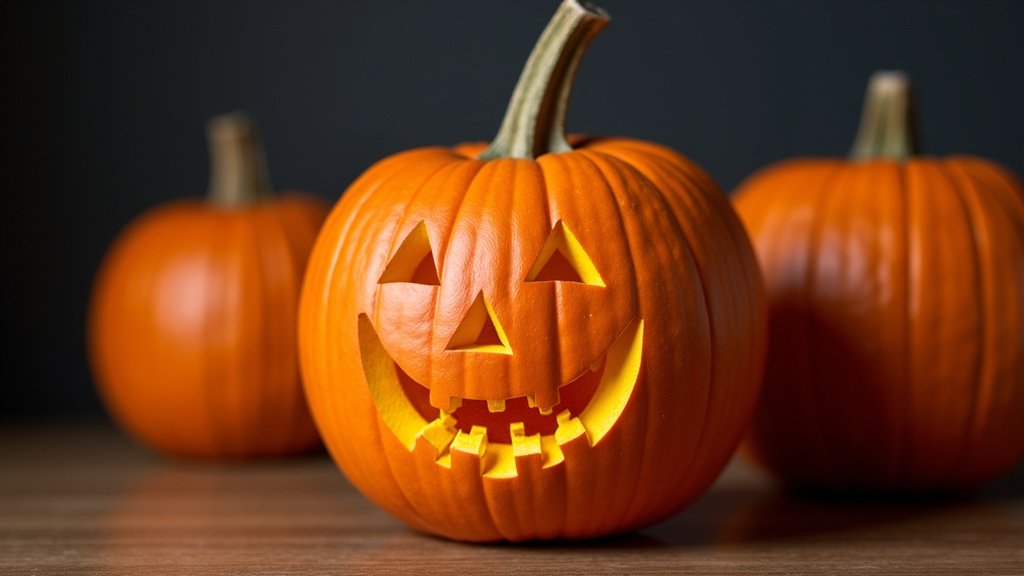
Remember, engraving is about surface etching. This preserves the pumpkin’s structure. You can light it from within, and the light will glow through the etched areas. This creates a beautiful, diffused effect. Cutting all the way through produces a different look, more like traditional carving.
Safety Precautions for Laser Engraving
Safety is always your top priority when operating a laser engraver. These machines produce intense heat and light.
Ventilation is Key
When organic materials like pumpkins are engraved, they release smoke and fumes. Research shows these fumes can be irritating or harmful. Always use a proper ventilation system to draw these fumes away. Many laser engravers have built-in exhaust ports.
Eye Protection is Non-Negotiable
Never, ever look directly at the laser beam. Use approved safety glasses specifically designed for laser protection. These glasses block the specific wavelengths of light produced by your laser. Your eyesight is precious.
Fire Safety First
Lasers create heat, and heat can ignite materials. Keep a fire extinguisher nearby. Never leave the laser running unattended. Ensure your work area is clear of flammable materials. Always be aware of the potential for ignition.
Here’s a quick checklist to ensure you’re ready:
- Have you chosen a smooth, blemish-free pumpkin?
- Is your pumpkin completely dry and clean?
- Have you tested your laser settings on scrap material?
- Are your safety glasses in place and your ventilation running?
- Is a fire extinguisher easily accessible?
- Are you ready to supervise the entire engraving process?
Laser engraving pumpkins offers a unique and exciting way to create stunning Halloween decor. With a little preparation and careful execution, you can achieve results that are truly spectacular. Get ready to wow your neighbors!
Conclusion
You’ve seen that laser engraving pumpkins is totally doable and a fantastic way to create amazing Halloween decor. It opens up possibilities for detailed shading and unique patterns that traditional carving just can’t match. Remember to prioritize safety with proper ventilation and eye protection. The key is in careful preparation, testing your settings, and supervising the process. Ready to try it? Grab your smooth pumpkin and your design file, and get ready to impress with your custom laser-engraved masterpiece this season!
Frequently Asked Questions
Can I laser engrave a pumpkin that isn’t perfectly smooth?
While you can engrave on pumpkins with some texture, a smoother surface will give you the best results. Bumps, blemishes, or deep scars can interfere with the laser’s ability to create a consistent engraving. You might need to adjust your settings to compensate for unevenness.
How long does it take to laser engrave a pumpkin?
The time it takes will depend on your laser engraver’s power and speed settings, as well as the complexity of your design. A simple design might take only a few minutes, while a highly detailed image with shading could take upwards of 30 minutes to an hour or more.
Will laser engraving make my pumpkin rot faster?
Laser engraving removes a thin layer of the pumpkin’s outer skin. This process doesn’t significantly impact the pumpkin’s lifespan compared to traditional carving. Like any carved pumpkin, it will eventually begin to decompose, but you can prolong its life with proper storage and by treating it with a preservative spray.
What kind of designs work best for laser engraving on pumpkins?
Designs with varying shades of gray or detailed line art tend to look best. This is because the laser can engrave at different depths to create shading and dimension. Solid, bold shapes can also work well, but they might not show off the engraving’s capabilities as much as designs with more contrast.
Is it safe to have a laser-engraved pumpkin lit from inside?
Yes, it is safe to light a laser-engraved pumpkin from the inside, and this is where the magic truly happens! Because engraving only etches the surface and doesn’t cut all the way through, the light will glow beautifully through the engraved areas. This creates a soft, diffused light effect that’s different from traditional jack-o’-lanterns.
