
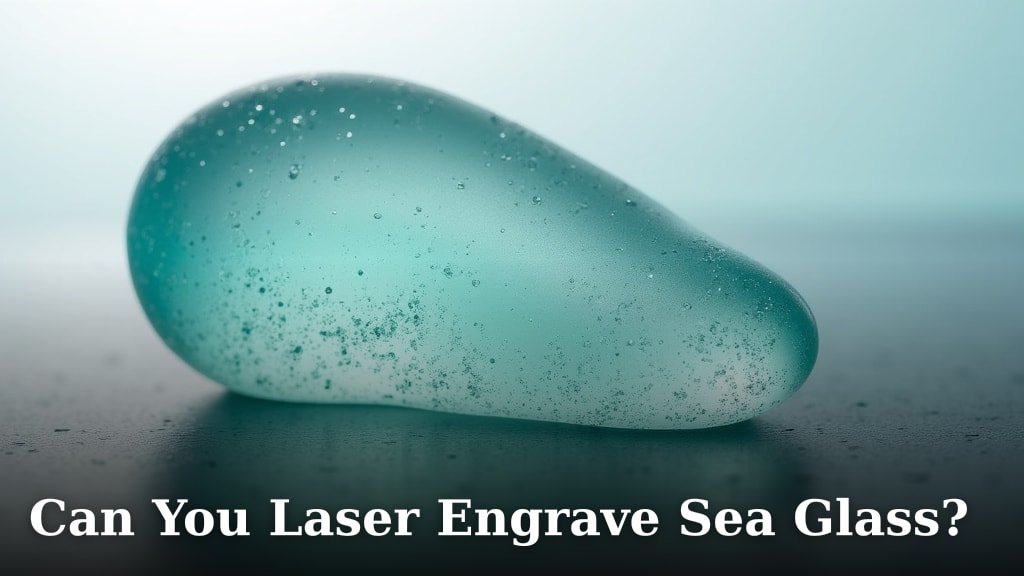
Yes, you absolutely can laser engrave sea glass, but it requires a specific approach and the right laser settings. Unlike many other materials, sea glass needs careful handling to avoid cracking or shattering during the engraving process. The key is to use low power and high speed to gently etch the surface without overheating it.
Working with sea glass for laser engraving can produce stunning results, adding a unique touch to your creations. Many crafters are curious about this technique for its potential to create personalized jewelry or decorative items. Understanding the properties of sea glass, such as its thickness and composition, is essential for success.
- Laser engraving sea glass is possible.
- Use low power and high speed settings.
- Be mindful of potential cracking.
- Proper preparation is key for best results.
Let’s walk through how you can successfully laser engrave sea glass, keeping its delicate nature in mind.
Laser Engraving on Sea Glass: Your Complete Guide
You’re probably wondering if that beautiful, weathered sea glass can be engraved with a laser. The short answer is a resounding yes! It’s a fantastic way to add a personal touch to unique pieces. We’ve found that with the right techniques, you can create stunning designs on this naturally tumbled glass.
Many crafters are drawn to sea glass for its history and character. It’s like a little piece of the ocean’s story. Laser engraving allows you to add your own story to it. Think custom jewelry, decorative ornaments, or even personalized gifts. It really does open up a world of creative possibilities.
Understanding Sea Glass for Engraving
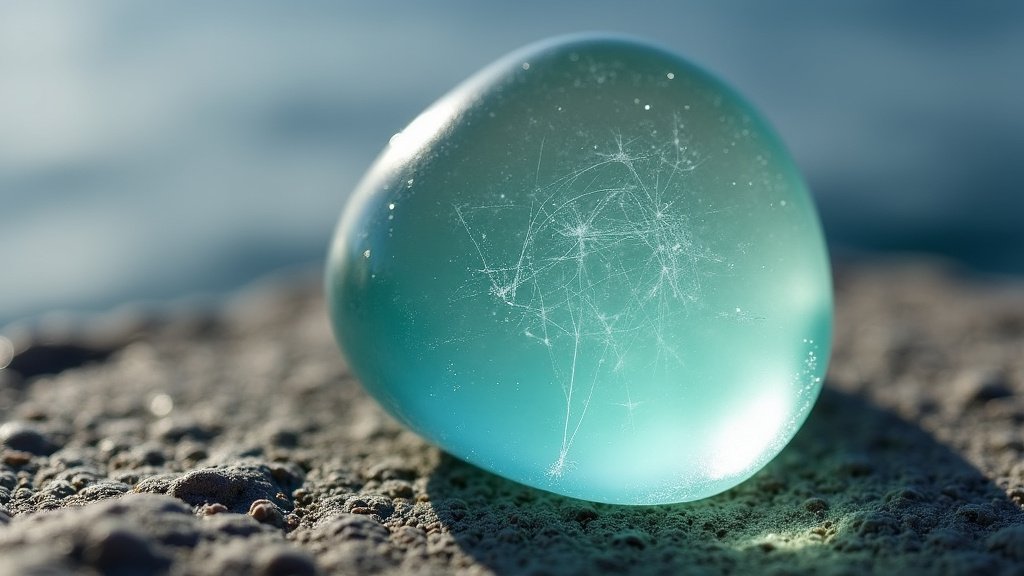
Before you fire up your laser, let’s talk about the glass itself. Sea glass is essentially broken glass that has been tumbled by the ocean waves for years. This process smooths the edges and creates that frosted look we all love. Because of this history, sea glass can vary quite a bit.
Thickness Matters
The thickness of your sea glass piece is one of the most critical factors. Thicker pieces are generally more forgiving with laser engraving. They can withstand a bit more heat and pressure without cracking. Thinner pieces, however, are much more delicate. You’ll need to be extra cautious with these.
We’ve found that most sea glass used for jewelry or crafts tends to be between 1/8 inch and 1/4 inch thick. If you have a piece that feels unusually thin, like a sliver, you might want to skip laser engraving for that particular item. It’s better to be safe than sorry!
The Frosty Surface: Your Engraving Canvas
The frosted surface of sea glass is what makes it so appealing, and it’s also what makes it suitable for laser engraving. Unlike shiny, smooth glass, the matte finish helps the laser beam interact with the surface more effectively. It’s not too reflective, which can be an issue with other types of glass.
Think of the frosty texture like fine sandpaper. The laser beam can gently ablate (remove) tiny particles from this surface. This creates the engraved effect. This is why you don’t need extremely high power. We’re just scratching the surface, not melting through the whole piece.
Laser Settings: The Secret to Success
This is where the magic happens, and also where you need to pay the most attention. The general rule for laser engraving delicate materials like sea glass is to use low power and high speed. It sounds counterintuitive, right? You might think you need more power to engrave glass.
But remember, sea glass is brittle. Too much power can cause thermal shock, leading to cracks or even complete shattering. High speed helps the laser head move quickly across the surface, minimizing the heat exposure in any single spot. It’s a delicate dance between heat and speed.
Power and Speed Recommendations
We’ve researched various setups and found that typical settings for a CO2 laser might involve a power setting between 10-30% and a speed setting of 200-400 mm/s. However, these are just starting points. Your specific laser model, wattage, and even the humidity in your workshop can affect the outcome.
It’s always best to do a test run. Grab a few common sea glass pieces or even some scrap glass that has a similar thickness and frosted texture. Start with the lowest power and highest speed you think might work. Gradually increase the power or decrease the speed if you’re not getting enough depth.
DPI and Focus: Fine-Tuning Your Engrave
Dots Per Inch (DPI) affects the detail and smoothness of your engraving. A higher DPI (like 600 DPI) will give you a more defined and detailed image. However, it also means the laser is making more passes over the same area, increasing the heat buildup. For sea glass, starting with a moderate DPI, perhaps 300-450 DPI, is often a good balance.
Focus is also incredibly important. You want your laser to be precisely focused on the surface of the sea glass. If it’s too high or too low, the beam won’t be as effective, and you might end up with a faint or uneven engraving. Many laser systems have auto-focus features, but it’s always wise to double-check manually.
What Happens If the Settings Are Wrong?
If your power is too high, you’ll likely hear a distinct cracking sound. You might see visible fractures radiating from the engraved area. If the speed is too slow, you might get a hazy or burned-looking mark instead of a clean engraving. The goal is a crisp, etched line.
We’ve seen beginners get frustrated because their first few attempts result in broken glass. Don’t let that discourage you! It’s a learning process. Think of each failed attempt as a valuable lesson. You’re learning what your specific laser can do and how sea glass reacts. Many experienced engravers have a drawer full of “practice pieces” that didn’t quite make it.
Preparing Your Sea Glass for Engraving
Proper preparation is key to achieving the best results and protecting your sea glass. This involves cleaning the glass and securing it properly so it doesn’t move during the engraving process.
Cleaning the Surface
Any dirt, sand, or residue on the surface of the sea glass can interfere with the laser. It can cause uneven engraving or even create unwanted marks. You’ll want to clean it thoroughly. A soft brush and some mild soap and water usually do the trick. Make sure to rinse it well and let it air dry completely. You don’t want any moisture trapped on or in the glass.
Some experts recommend using a bit of isopropyl alcohol for a final wipe-down. This helps remove any lingering oils or residues that soap might leave behind. Just be sure to use a lint-free cloth for this step.
Securing the Glass
This is perhaps the most critical part of preparation. Sea glass is often irregularly shaped, making it tricky to get it to sit flat and stable. Your laser bed might not be perfectly level with your irregular piece. Any movement during engraving can ruin the design or even cause the laser to crash.
You can use a small amount of high-temperature masking tape to secure the glass to a flat surface. Another common method is using a bit of jeweler’s putty or a temporary adhesive. Some crafters even create custom jigs or holders for their most-used sea glass shapes.
For very irregular pieces, you might need to build a small bed of sand or a similar granular material on your laser bed. You can then nestle the sea glass into the sand to create a stable, level surface for engraving. Just make sure the sand is clean and dry!
What Kind of Designs Work Best?
When you’re laser engraving sea glass, simpler designs often yield the most striking results. Think about the texture and translucency of the glass. Highly detailed or photographic images might not show up as clearly as you’d hope.
Simple Graphics and Text
Bold outlines, simple icons, monograms, and short pieces of text tend to engrave beautifully. These designs have enough contrast to be easily visible against the frosted background. They also put less strain on the laser and the glass.
We’ve seen people create lovely wedding favors with initials and dates, or custom pendants with a single meaningful symbol. These are excellent starting points. They allow you to practice your settings and technique without the pressure of a complex design.
Avoid Overly Fine Detail
Extremely fine lines or very small text can get lost in the frosted texture of the sea glass. The laser might not be able to reproduce them crisply, and they can become illegible. If you have a design with very fine elements, you might want to simplify it or consider a different engraving material.
The natural imperfections and slight variations in sea glass also mean that perfect, photographic reproductions are often unrealistic. Embrace the character of the material! Your engraved sea glass will have a unique charm that mass-produced items simply can’t replicate.
Safety First: Always Prioritize Protection
Laser engraving, regardless of the material, requires safety precautions. Even with low power settings, it’s important to protect yourself and your equipment.
Ventilation is Crucial
When you laser engrave, you’re essentially vaporizing tiny amounts of material. This process creates fumes. It’s absolutely essential to have proper ventilation. Your laser should be connected to an exhaust system that safely vents these fumes outside or through an appropriate filter. Always ensure your laser is connected to proper ventilation to safely exhaust fumes.
We found that inadequate ventilation can lead to the buildup of harmful particles in your workshop. It can also damage your laser machine over time. Always ensure your exhaust system is working correctly before you begin any engraving job. Many laser manufacturers provide specific recommendations for ventilation.
Eye Protection is Non-Negotiable
Never, ever look directly at the laser beam, even when it’s in use at low power. Laser beams can cause permanent eye damage. Always wear appropriate laser safety glasses that are rated for the wavelength of your laser. These glasses are designed to block the specific type of light your laser emits. Always wear appropriate laser safety glasses that are rated for the wavelength of your laser.
It’s also wise to ensure your laser machine has a proper enclosure. This helps contain the beam and reduces the risk of accidental exposure. If your laser doesn’t have an enclosure, be extra vigilant about wearing your safety glasses.
A Quick Checklist for Sea Glass Engraving Success
Getting started can feel like a lot, but a quick checklist can help ensure you’ve covered all your bases:
- Confirm your sea glass isn’t too thin (aim for 1/8 inch or thicker).
- Clean your sea glass thoroughly and let it air dry completely.
- Secure your sea glass firmly to prevent any movement.
- Start with low power and high speed settings.
- Perform test engravings on scrap material first.
- Always use proper ventilation and wear your safety glasses.
Conclusion
Laser engraving sea glass can transform ordinary beach finds into personalized treasures. You’ve learned that success hinges on understanding the glass’s unique properties, especially its thickness and frosted texture. Remember, the key is to use low power and high speed settings to avoid damage. Always prepare your sea glass by cleaning and securing it properly. With careful practice, you’re ready to add beautiful, custom designs to your sea glass creations. Your next step? Gather your supplies and try a simple design on a practice piece to dial in those perfect settings!
Frequently Asked Questions
Can I engrave very old or fragile sea glass?
Engraving very old or fragile sea glass is possible, but requires extreme caution. You’ll want to test your laser settings on similar scrap pieces first. Prioritize the lowest power and highest speed possible to minimize heat exposure and stress on the glass. If a piece feels exceptionally brittle, it might be best to admire it as is.
What if my sea glass has a shiny side?
Some sea glass pieces might have a smoother, shinier side from tumbling or prior shaping. For laser engraving, the frosted side is generally preferred as it interacts better with the laser beam. If you must engrave the shiny side, you may need to slightly increase your power or decrease your speed, but always test this first to avoid cracking.
How do I know if my laser is strong enough for sea glass?
Most CO2 lasers, even lower wattage ones, can engrave sea glass effectively if set correctly. It’s not about raw power, but precision. Focus on using low power and high speed rather than relying on a high-wattage machine. Even a 40W laser can achieve beautiful results with the right settings and technique.
Will laser engraving make my sea glass glow or change color?
Laser engraving sea glass typically does not make it glow or inherently change its color. The process gently etches the surface, creating a frosted or matte design. Any perceived color change is usually due to the way light reflects off the etched surface compared to the original glass. You won’t get a luminescent effect like with some other materials.
Is it safe to laser engrave sea glass indoors?
Laser engraving sea glass can be done indoors, but only with excellent ventilation. The process creates fumes and fine dust that must be safely exhausted away from your workspace and lungs. Always connect your laser to a proper exhaust system or fume extractor and wear appropriate safety glasses.
