
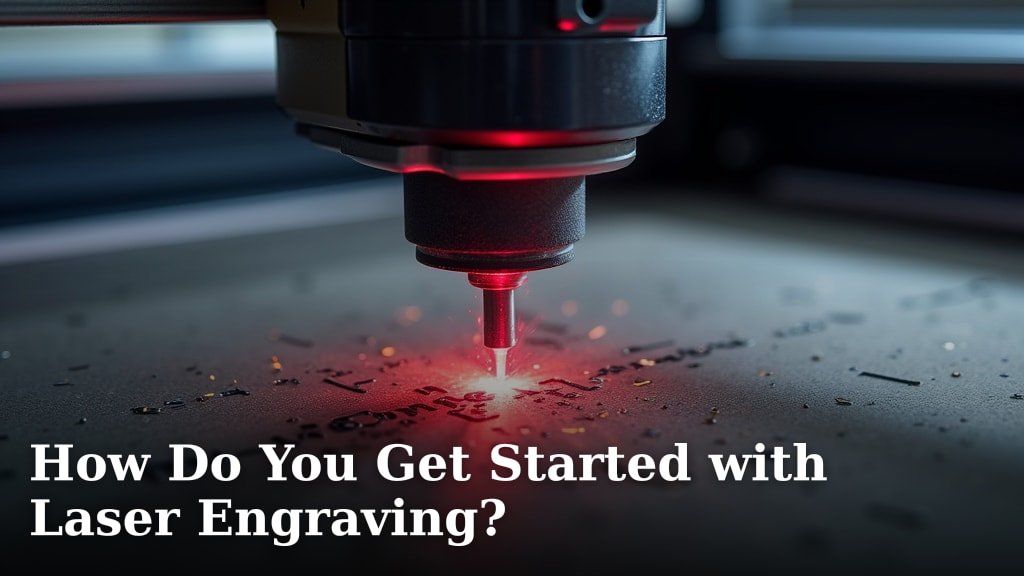
Getting started with laser engraving means you’ll need to choose the right equipment, understand safety practices, and learn basic design software. It’s an accessible hobby, but a little preparation goes a long way. Many people find it a rewarding creative outlet.
You can create amazing custom items once you learn the ropes. We found that most beginners start with desktop diode lasers, which are affordable and easy to use. Knowing your project goals helps you pick the right tools for your laser engraving journey.
- Pick your first laser engraver.
- Understand basic safety rules.
- Learn simple design software.
- Practice on various materials.
- Connect with other engravers.
Ready to start making some cool stuff? Let’s walk through exactly how to get started with laser engraving, step by step.
Beginning Your Laser Engraving Adventure
Starting laser engraving might seem complex, but it’s very accessible. We found that breaking it down into a few clear steps helps beginners. You’ll soon be making your own custom items. We guide you through the process, from picking your first machine to making your first cool project.
Choosing Your First Laser Engraver
This is often the biggest decision for new engravers. What kind of machine do you need? Your choice depends on your budget and what you want to engrave. Don’t worry, there are great options for every level.
Diode Laser Engravers
Many beginners start with diode laser engravers. We found them to be very popular. They are affordable, relatively compact, and easy to use. These lasers are excellent for engraving materials like wood, leather, paper, and some acrylics. They usually come as desktop models, perfect for a hobby space.
You’ll find that diode lasers are not suitable for engraving metal directly. They also struggle with clear or white acrylics unless you paint them first. But for general crafting, they are fantastic. Think of them as your friendly starter car for the engraving highway.
CO2 Laser Engravers
Moving up a step, CO2 lasers are more powerful. They can engrave and cut a wider range of materials. This includes wood, acrylic, glass, and even some fabrics. These machines are often larger and require more space. They also come with a higher price tag. They’re like upgrading to a more powerful vehicle. We found that serious hobbyists or small businesses often consider CO2 lasers.
We found that CO2 lasers can engrave much faster and deeper than diode lasers. They also have a longer lifespan for their laser tube, though replacements can be costly. If your goal is to engrave glass or cut thick wood, a CO2 laser might be for you.
Fiber Laser Engravers
For those interested in metal engraving, fiber lasers are the way to go. These machines are designed specifically for marking various metals. They are also much more expensive. You typically see these in industrial settings or for very specialized crafting. They are not usually a beginner’s first choice. Think of them as a very specialized, high-performance racing car.
Essential Safety Practices
Working with lasers requires caution. Safety should always be your top priority. We cannot stress this enough. Protecting yourself and others is key to enjoying this hobby.
- Wear laser safety glasses: These are not regular safety glasses. They are specifically designed to block the laser’s wavelength. Always wear them when the laser is operating (OSHA guidelines emphasize this).
- Ensure proper ventilation: Laser engraving creates smoke and fumes. These can be harmful. Use an exhaust fan or an air filtration system. Work in a well-ventilated area, perhaps near an open window.
- Keep a fire extinguisher nearby: Engraving can ignite materials, especially wood. A small fire extinguisher is a smart precaution. Better safe than sorry, right?
- Never leave the laser unattended: Accidents can happen quickly. Stay with your machine while it’s running. This allows you to react immediately if something goes wrong.
- Understand emergency stops: Know where your machine’s emergency stop button is. Test it. This button instantly cuts power to the laser.
Mastering Basic Design Software
To tell your laser what to engrave, you need design software. You don’t need to be a graphic design expert. Many user-friendly options are available. We found that most beginners pick up the basics quickly.
Vector vs. Raster Graphics
Understanding these two terms helps a lot. Vector graphics are made of paths and lines. They scale without losing quality. Think of logos or text. Laser engravers use vectors for cutting and precise line engraving. We found programs like Inkscape (free) or Adobe Illustrator to be great for vector work.
Raster graphics are made of pixels, like photographs. They lose quality when you enlarge them too much. Lasers use rasters for engraving images or shaded areas. We found Photoshop or GIMP (free) are good for preparing raster images. Many laser software packages handle both types well.
Popular Software Choices
Many laser engravers come with their own software. LightBurn is a very popular third-party option that supports many machines. We found it to be powerful yet user-friendly. It allows you to import designs, create text, and control your laser’s settings.
For simple designs, you can often use free tools. Inkscape is a fantastic choice for creating vector graphics. GIMP is great for editing photos you want to engrave. Don’t feel pressured to buy expensive software right away. Start simple, then upgrade as your skills grow.
Your First Engraving Project
You have your machine, your safety gear, and some basic software knowledge. What’s next? Your very first project! We recommend starting with something simple. This builds confidence and helps you learn your machine.
Material Selection for Beginners
Plywood and MDF are excellent starting materials. They are inexpensive and engrave well. Many people start with small plywood blanks or scrap pieces. Cardboard is also good for practice, though it can char easily. For diode lasers, thin wood or dark acrylic sheets are perfect.
Avoid trying exotic materials right away. Stick to those known to be laser-friendly. This minimizes frustration. You can always experiment later.
Running Your First Job
Here’s a simple checklist for your first project:
- Prepare your material: Clean it. Secure it firmly on your laser bed.
- Create or import your design: Keep it simple. A name, a small icon.
- Set your laser parameters: This includes power, speed, and focus. Start with recommended settings for your material and machine. Most laser software provides these.
- Do a test run (if possible): Some machines have a ‘frame’ or ‘boundary’ function. This shows you where the laser will engrave without actually firing. Use it!
- Start the engraving: Watch it closely. Don’t walk away.
- Inspect the result: How does it look? Too light? Too dark? Adjust settings for your next try.
Every laser and every material is a little different. Be prepared to adjust your settings. We found that patience and experimentation are your best friends here. Keep a notebook of your settings for future reference.
Common Laser Engraving Terms
You’ll hear certain words often in the laser engraving community. Understanding them helps you learn faster. We gathered some of the most common ones.
| Term | Meaning |
|---|---|
| Focus | Adjusting the laser beam to its smallest point for sharpest engraving. |
| Power | The intensity of the laser beam (how strong it is). |
| Speed | How fast the laser head moves across the material. |
| DPI (Dots Per Inch) | The density of engraved dots, especially for raster images. |
| Kerf | The width of material removed by the laser beam (important for cutting). |
| Air Assist | A stream of air directed at the laser’s focal point to clear smoke and reduce burning. |
Learning these terms makes reading forums and watching tutorials much easier. You’ll sound like a seasoned pro in no time!
Joining the Laser Engraving Community
You are not alone on this journey. Many enthusiastic people enjoy laser engraving. Connecting with them is a wonderful way to learn and get inspiration. We found that online communities are incredibly helpful.
Look for Facebook groups or dedicated forums. YouTube is also a treasure trove of tutorials and project ideas. Don’t be afraid to ask questions. People are usually very supportive. You might even find local groups or makerspaces. These places offer hands-on help and shared knowledge. The more you engage, the faster you’ll grow.
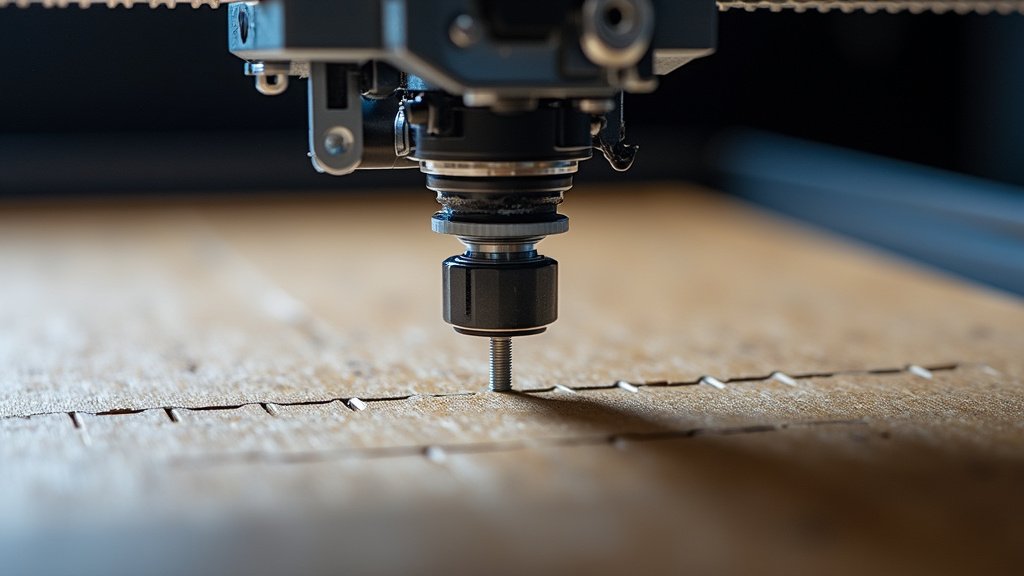
Conclusion
Starting with laser engraving is an exciting step into a rewarding creative world. You’ve learned about choosing your first machine, prioritizing safety, and mastering basic design software. Remember to begin with simple projects and practice consistently. We found that connecting with fellow engravers offers great support and inspiration.
Your journey will involve experimentation and learning from each project. Don’t be afraid to try new materials and settings as you gain confidence. Now, take that first step: research a beginner-friendly diode laser that fits your budget and start planning your very first design!
Frequently Asked Questions
What’s the absolute cheapest way to try laser engraving?
If you’re on a very tight budget, you might consider small, low-power laser modules that attach to 3D printers or CNC machines. These are often less than $100 but offer limited power and work area. They are usually only suitable for engraving paper or very thin wood.
How long does it take to learn laser engraving basics?
You can grasp the absolute basics of operating a simple diode laser and creating your first engrave in just a few hours. However, becoming proficient and understanding how different settings affect various materials can take several weeks or months of consistent practice. It’s a continuous learning process.
Can I engrave curved surfaces with a typical laser engraver?
Most entry-level desktop laser engravers are designed for flat surfaces. To engrave curved items like tumblers or bottles, you’ll generally need a rotary attachment. This accessory rotates the object under the laser, allowing it to engrave around the circumference.
Is laser engraving a profitable hobby?
Yes, laser engraving can definitely be a profitable hobby. Many people turn their craft into a small business by creating custom gifts, personalized decor, or unique products. Starting small, focusing on a niche, and building a portfolio can help you find success.
What kind of computer do I need for laser engraving?
You don’t need a high-end gaming computer. A standard laptop or desktop computer with a modern operating system (Windows, macOS, or Linux) and at least 8GB of RAM is usually sufficient. Most laser software isn’t overly demanding on your computer’s processing power.
