
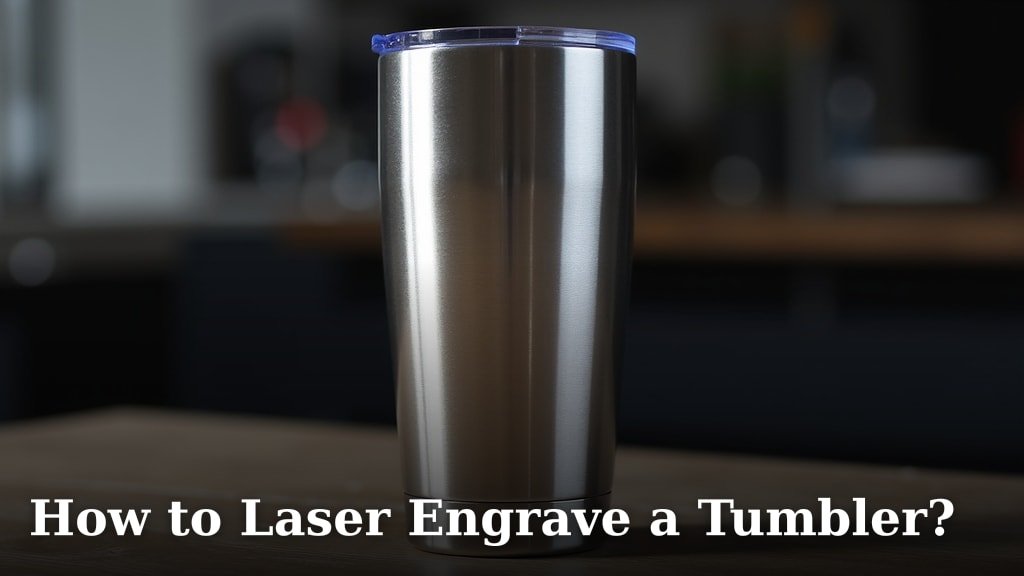
You can laser engrave a tumbler by setting up your laser machine, applying a specialized coating (if needed), and carefully etching your design onto the tumbler’s surface. It’s a straightforward process once you understand the steps involved. This method allows for precise, permanent customization on various tumbler materials.
Thinking about customizing a favorite drink holder or starting a small business? Laser engraving offers professional, durable results for tumblers of all kinds. We found that it’s a popular choice for personal gifts and branding opportunities. You might be surprised at how accessible this craft can be.
TL;DR
- Laser engraving is great for personalizing tumblers.
- You’ll need a laser engraver and the right settings.
- Some materials require a special coating.
- Designs are permanent and look professional.
- It’s a popular DIY project and business idea.
Below, we break down everything you need to know about how to laser engrave a tumbler, step by step. Let’s make your tumbler truly unique!
Getting Started with Tumbler Engraving
To start engraving tumblers, you’ll need the right tools and a clear plan. It’s like baking a cake – you need your ingredients and a recipe!
We’ve found that having your workspace ready makes the process much smoother. Don’t skip these prep steps.
Choosing Your Laser Engraver
The first big decision is your laser machine. What kind of laser do you need?
We typically see two main types used for tumblers: CO2 lasers and Fiber lasers. Each has its strengths.
CO2 Lasers
CO2 lasers are versatile for many materials. They can engrave wood, acrylic, glass, and some coated metals. But for bare metal tumblers, they might struggle.
If your tumbler has a powder coating, a CO2 laser can often remove the coating to reveal the metal underneath. This creates a nice contrast.
Fiber Lasers
Fiber lasers are the champions of metal engraving. They engrave directly onto stainless steel, aluminum, and other metals without needing a coating. They are very precise.
Many professional shops use fiber lasers for their speed and quality on metal. They are generally more expensive but offer superior metal results.
Essential Tools and Materials You’ll Need
Beyond the laser, you’ll need a few other things. Think of these as your artist’s palette.
- Tumbler(s): Of course! Start with a practice one.
- Rotary Attachment: This is key for cylindrical items like tumblers. It spins the tumbler so the laser can engrave all around it.
- Design Software: You’ll need something to create or import your designs. Common choices include LightBurn, CorelDRAW, or Adobe Illustrator.
- Safety Glasses: Always wear the correct type of laser safety glasses for your machine. Your eyes are important!
- Ventilation System: Engraving creates smoke and fumes. Good ventilation protects your health.
- Cleaning Supplies: Isopropyl alcohol and soft cloths are great for preparing and cleaning tumblers.
- Marking Spray (for some metals/lasers): Sometimes called Cermark or Thermark. This special coating allows CO2 lasers to mark bare metal. We’ll talk more about this.
Preparing Your Tumbler for Engraving
Proper preparation is crucial. It sets the stage for a great engraving. Skipping this can lead to uneven results.
Think of it like painting a wall; you wouldn’t just paint over dirt, would you?
Cleaning the Tumbler Surface
Before anything else, clean your tumbler thoroughly. Fingerprints, dust, or oils can cause uneven engraving.
Use isopropyl alcohol and a lint-free cloth. Wipe it down completely and let it dry. We found that this simple step makes a big difference in the final look.
Applying Marking Spray (If Needed)
If you’re using a CO2 laser on bare stainless steel, you’ll likely need a marking spray. This spray contains a special ceramic or metallic compound.
You spray an even, thin coat over the area to be engraved. When the laser hits it, the spray bonds with the metal, creating a permanent black mark. Many users say a consistent application is vital for a smooth finish.
Let the spray dry completely before engraving. This usually takes a few minutes.
Setting Up the Rotary Attachment
The rotary attachment holds and spins your tumbler. It’s how you get a design to wrap around a curved surface.
Carefully place your tumbler in the rotary. Make sure it’s secure and level. An unbalanced tumbler can wobble, causing distorted engravings. We find that a snug fit prevents many headaches.
Measure the tumbler’s diameter and circumference. You’ll need these measurements for your laser software.
Designing and Software Settings
Now for the creative part! Your design software is where your ideas come to life.
Getting your laser settings right is just as important as the design itself. Incorrect settings can burn too deep or not engrave at all.
Creating or Importing Your Design
You can create custom text, logos, or patterns in your design software. Or, you can import existing image files.
Consider the tumbler’s shape and the desired placement. A design that looks great flat might look odd when wrapped around a curve. Think about how it will appear when someone holds it.
Convert all text to paths or curves to avoid font issues during engraving. This makes sure your design looks exactly as you intended.
Configuring Laser Settings
This is where experience and testing come in handy. Laser settings vary widely based on your machine, its power, and the tumbler material.
You’ll adjust settings like:
- Power: How strong the laser beam is. Too high, and you might burn through; too low, and it won’t mark.
- Speed: How fast the laser head moves. Slower speeds usually mean deeper engraving.
- Resolution (DPI): Dots per inch. Higher DPI means finer detail but takes longer.
- Passes: How many times the laser goes over the same area. Multiple passes can achieve a darker or deeper mark.
Many experts say to always do a test run on a similar material scrap. This helps you fine-tune your settings before engraving your actual tumbler. We’ve certainly found this to be true!
| Material Type | Laser Type Recommendation | Typical Effect | Special Considerations |
|---|---|---|---|
| Powder-Coated Tumblers | CO2 or Fiber | Removes coating, exposes metal | Relatively easy, high contrast |
| Bare Stainless Steel | Fiber (best), CO2 with spray | Permanent dark or light mark | CO2 needs marking spray for contrast |
| Anodized Aluminum | CO2 or Fiber | Removes anodization, reveals silver | Similar to powder-coat removal |
| Painted Metal Tumblers | CO2 or Fiber | Removes paint, exposes metal | Fumes can be an issue; good ventilation |
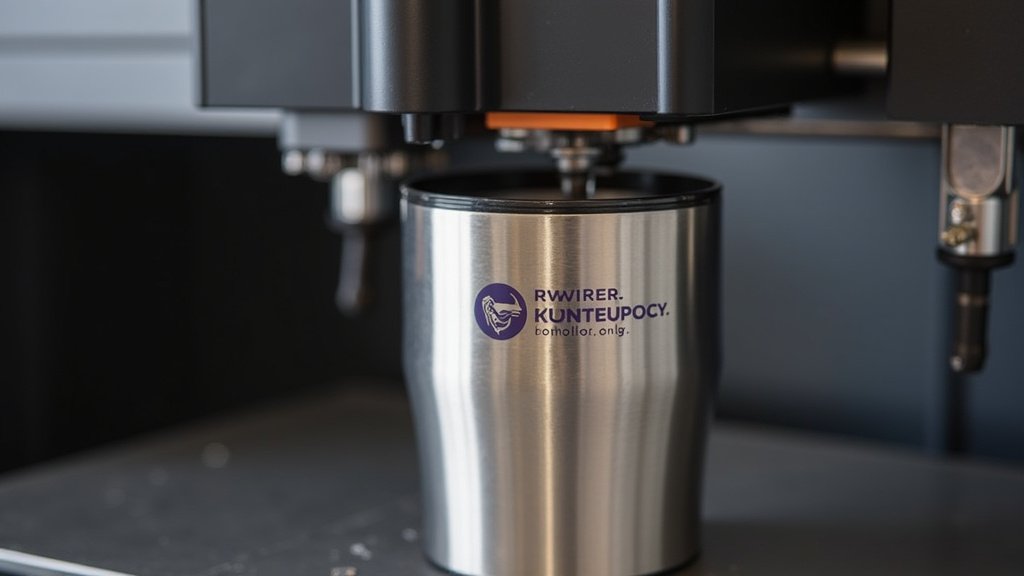
The Engraving Process
With everything set, it’s time for the laser to do its magic. This is the moment your preparation pays off!
Stay attentive during this stage. It’s not a “set it and forget it” task.
Focusing the Laser
The laser beam needs to be perfectly focused on the tumbler’s surface. An out-of-focus beam will produce a blurry or weak engraving.
Most lasers have a tool or auto-focus feature to help with this. If you’re using a manual focus, measure the distance from the laser head to the tumbler very carefully. We find that a consistent focus height gives the sharpest details.
Starting the Engrave Job
Double-check all your settings in the software. Make sure the tumbler is secure in the rotary.
Close the laser machine lid. Put on your safety glasses. Then, press “start.”
The laser head will begin moving, and the rotary attachment will spin the tumbler. You’ll see the design appear as the laser removes material or applies the marking agent.
Monitoring and Troubleshooting
Watch the engraving carefully. Does it look too light? Too dark? Is it burning the material?
- Too light: You might need to increase power, decrease speed, or add another pass.
- Too dark/burning: Decrease power or increase speed.
- Uneven engraving: Check your focus, ensure the tumbler is level, or clean the lens.
We’ve learned that small adjustments can prevent big mistakes. Don’t be afraid to stop the job if something looks wrong.
Post-Engraving Finishing Touches
You’re almost there! Once the laser finishes, a few final steps will reveal your masterpiece.
Proper cleaning ensures your design stands out clearly.
Cleaning Off Residue
After engraving, there might be some smoke residue or leftover marking spray.
For powder-coated or anodized tumblers, a quick wipe with a damp cloth or isopropyl alcohol often does the trick. Be gentle around the new engraving.
If you used marking spray, you’ll need to wash the tumbler with soap and water to remove any unbonded spray. A soft brush can help. We found that the cleaner you are, the sharper the final result appears.
Inspecting Your Work
Take a good look at your newly engraved tumbler. Are you happy with the design?
Check for any areas that might need touch-ups, although with proper settings, these should be minimal. Admire your handiwork!
Checklist for Success
Here’s a quick recap to ensure your engraving journey is smooth:
- Clean tumbler surface thoroughly before starting.
- Securely mount the tumbler in the rotary attachment.
- Double-check all laser power and speed settings.
- Confirm laser focus is correct for your tumbler.
- Always wear appropriate laser safety glasses.
- Ensure proper ventilation throughout the process.
Conclusion
You now have a solid roadmap for creating stunning, personalized tumblers. We’ve walked through choosing your laser, preparing your materials, and perfecting your settings. Remember, patience and proper testing are your best allies for achieving professional results. Laser engraving offers endless possibilities for creativity and customization.
With practice, you’ll gain confidence in your machine and your skills. So, gather your materials, fire up your laser, and start transforming ordinary tumblers into personalized masterpieces. Your next unique creation is just an engrave away!
Frequently Asked Questions
What kind of tumblers can I engrave?
You can engrave a wide variety of tumblers, most commonly those made from stainless steel with or without a powder coating, and anodized aluminum. The key is to match the tumbler material with the correct laser type and settings for the best results.
Is laser engraving a tumbler safe to do at home?
Yes, but safety is paramount. Always use proper ventilation to remove fumes, and wear the correct laser safety glasses specific to your machine’s wavelength. Never leave your laser unattended while it’s operating.
How long does it take to engrave a tumbler?
The engraving time varies greatly depending on the design’s complexity, the size of the image, and your chosen laser settings (speed and power). Simple text designs might take only a few minutes, while intricate logos could take much longer.
Can I engrave photos onto tumblers?
Absolutely! With good quality images and optimized laser settings, you can engrave detailed photographs onto tumblers. We recommend converting your photo to a grayscale or black-and-white bitmap for the best engraving outcome.
What’s the best way to clean my engraved tumbler after use?
Once engraved, your tumbler can typically be hand-washed with soap and water like any other custom drinkware. The laser engraving is permanent and durable, so it should withstand regular washing without fading or peeling.
