
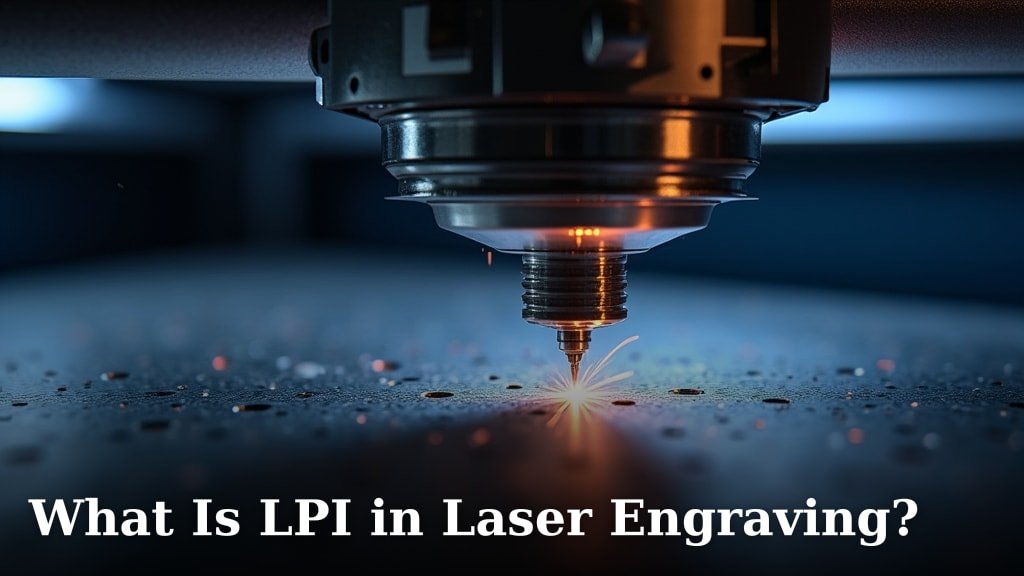
LPI in laser engraving stands for Lines per Inch. It measures how many laser lines are engraved within one linear inch. This setting directly impacts the detail and resolution of your engraved design.
Understanding LPI is essential for quality laser engraving. A higher LPI value means the laser creates more lines closer together. This results in a smoother and more detailed image, but it also takes longer to engrave.
- LPI means Lines Per Inch.
- It controls engraving detail and resolution.
- Higher LPI equals more detail but slower speeds.
- You can adjust LPI for different materials and desired effects.
Ready to master your laser engraver? Let’s dive into everything you need to know about LPI and how to use it effectively.
Understanding Lines Per Inch in Engraving
LPI, or Lines Per Inch, is a critical setting in laser engraving. It determines the density of the laser lines in your design. Think of it like pixels on a screen but for engraved surfaces.
This setting directly influences the visual quality and texture of your engraved images. Getting it right ensures your projects look professional and meet your expectations.
How LPI Affects Engraving Quality
The LPI setting dictates how many laser pulses your machine fires within each inch. More pulses mean more detail. Fewer pulses result in a coarser image.
Imagine drawing with a pen. If you draw many lines closely together, your drawing looks smooth. If you draw fewer lines, it looks more textured. LPI works similarly for your laser engraver.
High LPI for Fine Detail
When you use a high LPI setting (e.g., 600-1000 LPI), the laser engraves many lines very close to each other. This creates a detailed and smooth finish. You’ll often choose higher LPI for photographs or designs with tiny elements.
The downside? High LPI settings take longer. Your laser has to do more work. It also generates more heat, which might affect some materials (researchers at Penn State have documented thermal effects of laser processing).
Low LPI for Speed and Texture
Low LPI settings (e.g., 150-300 LPI) mean fewer lines per inch. This makes the engraving process much faster. The result is a coarser, more textured look. Sometimes, this textured feel is exactly what you want for certain designs, like text or bold logos.
It’s a great choice for quick projects or when you’re going for a rustic appearance. Just remember, fine details will be lost at these lower settings.
Finding the Right LPI for Your Material
The best LPI isn’t a single number that works for everything. It’s a balance between material type, desired effect, and engraving speed. Each material reacts differently to laser energy and line density.
You wouldn’t engrave wood the same way you engrave glass, right? Your LPI settings should reflect these differences. Experimentation is key to finding your sweet spot.
LPI for Common Materials
Let’s look at some popular engraving materials and their typical LPI ranges. These are guidelines, not strict rules. Your specific laser power and material thickness will always play a role.
- Wood: Generally, wood can handle a wide range. For detailed photos, you might use 300-600 LPI. For simple text, 150-300 LPI works fine.
- Acrylic: Acrylic often looks best with higher LPI, around 400-600, especially for clear acrylic. This helps prevent frosting or uneven marks.
- Leather: Leather usually benefits from lower to mid-range LPI, like 200-400. Too high, and you risk burning through or making it brittle.
- Anodized Aluminum: This material often shines with high LPI, 600-1000+. It allows for very crisp, clean markings.
- Glass: Engraving glass can be tricky. Often, a lower LPI (around 200-300) combined with specific raster settings works well to avoid chipping.
- Rubber/Stamp Material: For making stamps, 300-600 LPI is common to get clear, sharp lines without too much effort.
The Impact of Material Color and Finish
Does your material have a smooth, glossy finish or a dull, matte one? Is it dark or light? These factors affect how the laser interacts with the surface and thus, how LPI looks.
Darker materials sometimes show detail better at slightly lower LPI because the contrast is naturally higher. Lighter and reflective materials might demand higher LPI to achieve good visibility.
Balancing LPI with Speed and Power
LPI isn’t an isolated setting; it works in conjunction with your laser’s speed and power. Think of these three as a team. Adjusting one often means adjusting the others to get the best result.
Many experts agree that finding the perfect “trifecta” for your project takes practice. Don’t be afraid to run small test samples (University of Michigan’s laser safety guidelines suggest proper material testing).
The Relationship Between LPI, Speed, and Power
If you increase LPI (more lines), you might need to slightly increase speed or decrease power to avoid over-engraving. Conversely, if you decrease LPI (fewer lines), you might need to adjust power or speed to prevent a too-light engraving.
It’s about the total energy delivered per area. More lines at the same power and speed mean more energy. That can lead to burning, melting, or undesired results. Less lines can mean less energy, resulting in a faint mark.
Here’s a simplified look at how they interact:
| Setting Change | Effect on Engraving | Typical Adjustment Needed |
|---|---|---|
| Increase LPI | More detail, slower engraving, more heat | Decrease Power slightly OR Increase Speed slightly |
| Decrease LPI | Less detail, faster engraving, less heat | Increase Power slightly OR Decrease Speed slightly |
| Increase Power | Deeper, darker engraving | Increase Speed OR Increase LPI |
| Decrease Power | Lighter, shallower engraving | Decrease Speed OR Decrease LPI |
| Increase Speed | Lighter, faster engraving | Increase Power OR Decrease LPI |
| Decrease Speed | Darker, slower engraving | Decrease Power OR Increase LPI |
When to Adjust Each Setting
• Adjust LPI: When you want to control the resolution and smoothness of the engraving. For photos, higher LPI. For text, lower LPI.
• Adjust Power: When you need to control the depth or darkness of the engraving. If it’s too faint, increase power. If it’s burning, decrease power.
• Adjust Speed: When you want to manage the engraving time or how long the laser dwells on a spot. Faster speed means less heat exposure and quicker jobs. Slower speed means more heat exposure and deeper marks.
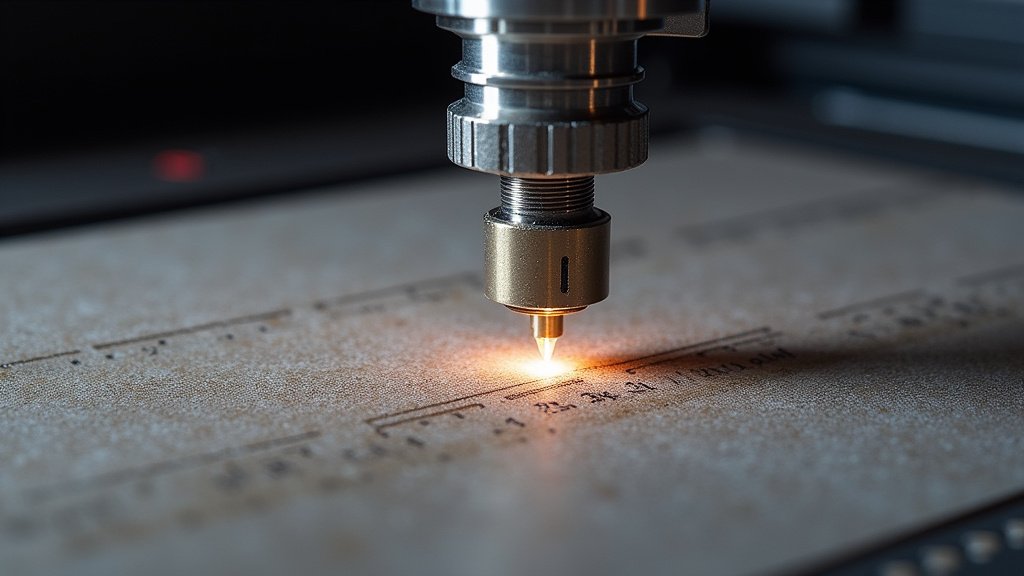
Practical Tips for Optimizing LPI Settings
Optimizing your LPI isn’t just about understanding the numbers; it’s about developing a keen eye and a consistent testing process. Don’t just guess!
Trust your instincts, but verify them with actual tests. This will save you material and frustration in the long run.
Perform Test Swatches
Always engrave a small test swatch on scrap material first. This is arguably the single most important tip for any laser user. Create a simple grid with different LPI, speed, and power settings.
By doing this, you can visually see how each combination affects the material. Keep these test pieces handy for future reference; they become your personal engraving bible.
Consider the “Dithering” Effect
Certain software settings, like “dithering,” can make a lower LPI look better. Dithering uses patterns of dots to simulate shades, much like old newspaper photos. This can boost perceived detail without increasing LPI too much.
If your engraving software offers dithering options, experiment with them. You might be surprised at the results you can achieve with lower LPI values.
Clean Your Lens and Mirrors Regularly
A dirty lens or mirror can significantly reduce your laser’s power output and consistency. This makes all your carefully chosen LPI, speed, and power settings inaccurate. You might think you need to adjust LPI when in reality, you just need a clean.
Many manufacturers recommend cleaning these components regularly, usually after every 8-10 hours of operation (consult your laser’s user manual for specific guidance).
Your LPI Optimization Checklist
Ready to make sure your LPI settings are spot on for your next project? Use this quick checklist to guide you:
- Consider the material type and its properties.
- Determine the desired level of detail for your design.
- Run a small test swatch on scrap material.
- Adjust speed and power in conjunction with LPI.
- Check your software’s dithering options if needed.
- Ensure your laser’s optics are clean.
Conclusion
Mastering LPI is key to unlocking spectacular laser engraving results. You’ve learned that LPI, or Lines per Inch, directly impacts the detail and texture of your finished product. Higher LPI delivers fine detail, while lower LPI speeds things up and offers texture.
Remember, it’s not a one-size-fits-all setting. Always consider your material, desired effect, and how LPI interacts with speed and power. Start with test swatches and keep your equipment clean. By applying these principles, you’ll consistently achieve professional-quality engravings.
Frequently Asked Questions
Can I change LPI mid-engraving?
Generally, laser engraving software doesn’t allow you to change LPI in the middle of an active job. The LPI setting is typically applied to the entire rasterized image before the engraving process begins.
If you need different LPIs on one piece, you might have to create separate sections or layers within your design software and engrave them as individual jobs.
Does LPI affect how deep the laser engraves?
Indirectly, yes. While power primarily controls engraving depth, a higher LPI means the laser passes over an area more frequently with closer lines.
This increased energy density can lead to a slightly deeper or darker mark, even if the individual power setting remains the same. You often need to adjust power or speed with LPI.
Is a higher LPI always better for quality?
Not necessarily. While higher LPI provides more detail and a smoother appearance, it also takes much longer. For some designs, like bold text or logos, a moderate or even lower LPI might look perfectly fine and save considerable time.
Also, very high LPI on certain materials can cause excessive heat, leading to burning or melting, which negatively impacts quality.
What is the difference between LPI and DPI in engraving?
LPI stands for Lines Per Inch and refers to the number of laser lines the machine engraves within one inch. DPI stands for Dots Per Inch, which typically describes the resolution of an image file itself, like a photograph.
While related to resolution, LPI describes the physical output of the laser, while DPI describes the input image’s resolution. Don’t confuse the two!
How do I know what LPI my laser engraver supports?
Your laser engraver’s specifications, usually found in the user manual or on the manufacturer’s website, will list the supported LPI range. Most machines have a range from around 75 LPI up to 1000 LPI or more.
The exact practical range you use will also depend on your laser’s wattage and the type of materials you’re working with.
