Sand intricate laser cut parts by using fine-grit sandpaper (220-400 grit), working in gentle circular motions, and supporting delicate sections with your fingers while sanding.
Start with hand sanding techniques before considering power tools, and always test your sanding method on scrap pieces first to avoid breaking fragile laser cut details.
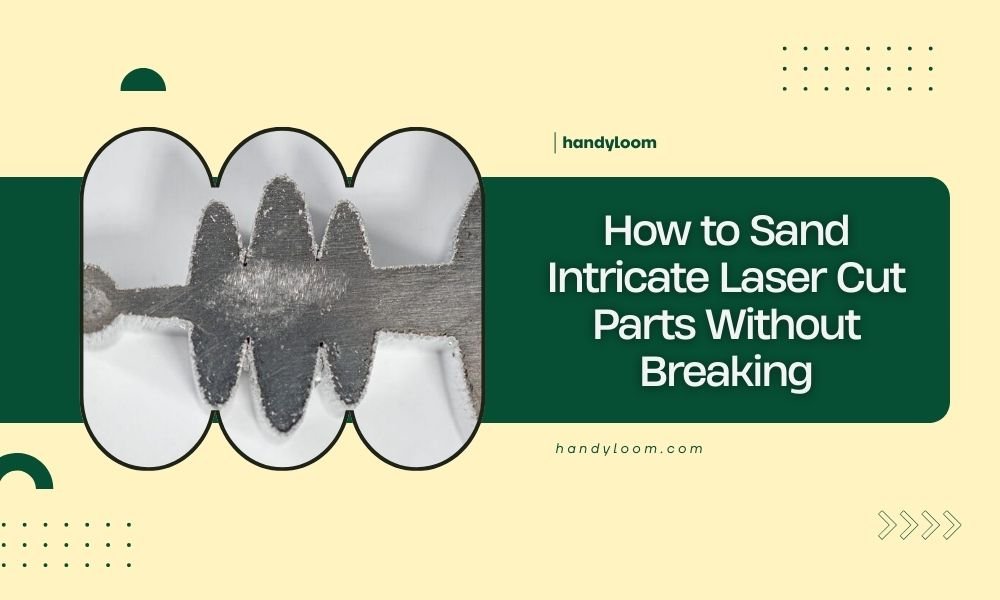
Why Laser Cut Parts Break During Sanding
Laser cutting creates precise details, but it also leaves parts vulnerable to breaking. The heat from laser cutting can make edges brittle. Thin sections become weak points that snap easily under pressure.
I found that most breaks happen when people rush the sanding process. You apply too much pressure, use the wrong grit, or don’t support the part properly. These mistakes turn hours of laser cutting work into broken pieces.
Essential Tools for Sanding Delicate Parts
Sandpaper Grit Selection
Start with 220-grit sandpaper for initial smoothing. Move to 320-grit for refining. Finish with 400-grit for smooth surfaces. Never start with coarse grits like 80 or 120 on delicate parts.
Fine grits remove less material per stroke. This gives you better control and reduces the chance of breaking thin sections.
Hand Sanding Tools
Sanding blocks work great for flat edges. Sanding sponges bend around curves. Folded sandpaper reaches tight corners and small details.
I researched different tools and found that flexibility matters most. Rigid tools can snap delicate parts when they catch an edge.
Specialty Sanding Tools
Needle files help with tiny details. Emery boards from the nail section work on very small parts. Cotton swabs wrapped with fine sandpaper reach impossible spots.
Pre-Sanding Preparation Steps
Inspect Your Parts First
Look for stress marks, cracks, or weak joints before you start. Mark these areas with a pencil. You’ll need extra care around these spots.
Check where the laser entry and exit points are. These areas often have different textures that need attention.
Create a Clean Work Surface
Use a cutting mat or soft cloth as your work surface. Hard surfaces can cause parts to flex and break when you apply sanding pressure.
Good lighting helps you see what you’re doing. You want to spot problems before they become breaks.
Organize Your Workflow
Sand similar parts together. This saves time switching between grits. Keep a scrap piece nearby for testing techniques.
Hand Sanding Techniques That Prevent Breaking
The Support Method
Always support the area you’re sanding with your other hand. Place fingers behind thin sections. This prevents them from flexing and snapping.
Think of it like holding a potato chip. You wouldn’t press on it without support underneath, right? Same principle applies here.
Pressure Control
Use light, consistent pressure. Let the sandpaper do the work. Heavy pressure doesn’t sand faster – it just breaks parts.
I found that counting strokes helps maintain consistency. Try 10 light strokes, then check your progress.
Direction of Sanding
Sand with the grain direction when possible. On laser cut edges, this usually means following the cut line direction.
Circular motions work well for curved sections. Keep circles small and controlled.
Working with Different Materials
Wood Parts
Wood laser cuts often have burn marks along edges. Start with 220-grit to remove these marks. Work up to 400-grit for smooth finishes.
Watch for grain direction changes in plywood. The alternating layers can tear if you sand against the grain.
Acrylic and Plastic Parts
Acrylic scratches easily but sands smoothly. Use wet sanding with 400-grit or higher. The water prevents heat buildup that can crack the material.
Start with dry sanding only if the part is thick enough to handle it safely.
Metal Components
Metal laser cuts have different challenges. The heat-affected zone near cut edges can be harder than the base material. Use consistent pressure to avoid uneven sanding.
Power Tool Considerations
When to Use Power Tools
Only use power tools on sturdy sections. Avoid them near thin details, sharp corners, or delicate features.
Rotary tools work for some applications, but they require steady hands and experience. Practice on scrap pieces first.
Safe Power Tool Techniques
Use the lowest speed setting. High speeds generate heat and can melt or burn your parts.
Keep the tool moving. Don’t let it sit in one spot. This prevents overheating and gouging.
Alternative Power Options
Mouse sanders work better than full-size orbital sanders for small parts. They give you more control and less vibration.
Troubleshooting Common Problems
Parts Keep Breaking
If parts break repeatedly, check your support technique. You might not be backing up thin sections properly.
Try using masking tape to reinforce weak areas during sanding. Remove it afterward.
Uneven Sanding Results
Inconsistent pressure causes uneven results. Focus on maintaining the same pressure throughout each stroke.
Check that your sandpaper isn’t loaded with debris. Clean or replace it regularly.
Scratches and Gouges
Deep scratches come from using too coarse sandpaper or applying too much pressure. Drop down to finer grit and lighter pressure.
Quality Control and Finishing
Testing Your Results
Run your finger along sanded edges. They should feel smooth without catches or rough spots.
Good lighting reveals imperfections that normal room lighting misses. Use a bright LED light or work near a window.
Final Finishing Steps
Remove all sanding dust before applying finishes. Compressed air works well for getting dust out of corners.
A tack cloth picks up fine dust that brushes miss.
When to Stop Sanding
Stop when edges feel smooth and look consistent. Over-sanding can weaken parts or change their dimensions.
| Material | Starting Grit | Finishing Grit | Special Notes |
|---|---|---|---|
| Wood | 220 | 400 | Remove burn marks first |
| Acrylic | 320 | 600 | Use wet sanding |
| Metal | 220 | 320 | Watch for heat buildup |
Conclusion
Sanding intricate laser cut parts without breaking them comes down to patience and proper technique. Support delicate areas, use appropriate grits, and let the sandpaper do the work instead of forcing it.
Remember that light, consistent pressure beats heavy-handed approaches every time. Take breaks to assess your progress and catch problems early. With these techniques, you’ll turn rough laser cut edges into smooth, professional-looking parts that won’t break during the process.
Can I use a Dremel tool on delicate laser cut parts?
Yes, but only on thicker sections and at the lowest speed setting. Practice on scrap pieces first and keep the tool moving to prevent overheating. Hand sanding is usually safer for truly delicate parts.
What’s the best way to sand inside curves and corners?
Fold fine sandpaper to create sharp edges that fit into corners. Cotton swabs wrapped with sandpaper work for very tight spaces. Needle files are perfect for tiny inside curves.
How do I know if my sandpaper is too coarse for the job?
If you see deep scratches, white stress marks, or parts starting to crack, your grit is too coarse. Switch to finer sandpaper and reduce pressure. Always test on scraps first.
Should I sand both sides of laser cut parts?
Sand both sides if both will be visible in your finished project. The laser exit side often has more rough texture than the entry side. Support the part well when flipping between sides.
How can I prevent dust from clogging my sandpaper?
Use a soft brush to clean sandpaper frequently during use. For materials that clog easily, try wet sanding with very fine grits. Replace sandpaper when cleaning no longer helps.