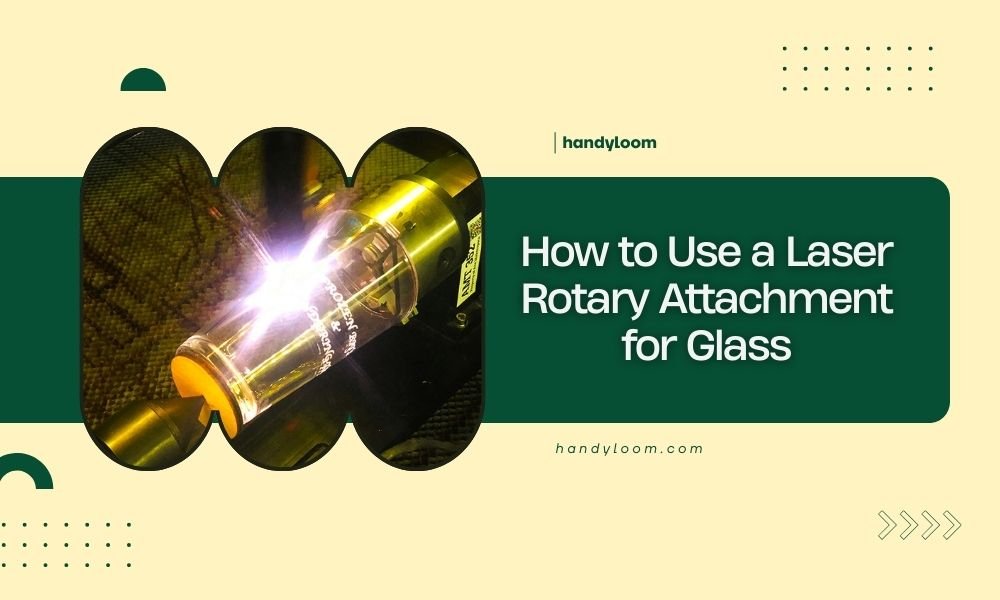
A laser rotary attachment for glass lets you engrave cylindrical glass objects like bottles, mugs, and vases by rotating them during the laser cutting process.
You’ll need proper settings, secure mounting, and careful speed control to avoid cracking or breaking your glass pieces.
What Is a Laser Rotary Attachment?
Think of a rotary attachment like a pottery wheel for your laser cutter. It spins your glass object while the laser beam stays in one spot. This creates smooth, even designs around curved surfaces.
The attachment clamps onto your laser bed. Two motorized rollers grip your glass piece and turn it slowly as the laser works. You get perfect circles, text that wraps around bottles, or patterns that flow seamlessly.
Why Glass Needs Special Care
Glass reacts differently than wood or acrylic. It can crack from heat stress or shatter if you move too fast. I found that many laser experts recommend starting with cheap practice pieces before working on expensive glassware.
The rotary attachment helps by keeping the glass moving. This spreads heat evenly and prevents hot spots that cause cracks.
Setting Up Your Rotary Attachment
Install the Hardware First
Remove your laser bed’s honeycomb insert. Most rotary attachments sit directly on the metal base. Check your manual for the exact placement – it varies by model.
Connect the motor cable to your laser controller. Some machines have a dedicated rotary port. Others share the Y-axis connection.
Level Everything Perfectly
Use the adjustment screws to make both roller wheels level. An uneven setup will wobble your glass and create uneven cuts.
I came across advice from experienced users who suggest using a spirit level. Even a small tilt can ruin your project.
Software Configuration Steps
Open your laser software and enable rotary mode. This tells the machine to treat the Y-axis as rotation instead of linear movement.
Enter your glass object’s diameter. Measure the widest part with calipers for accuracy. Wrong measurements will stretch or compress your design.
Test Your Measurements
Draw a simple rectangle in your software. Set it to 100mm wide. Run the job on paper wrapped around your glass. The burned rectangle should measure exactly 100mm when you unwrap it.
If not, adjust your diameter setting until the measurements match.
Choosing the Right Glass Objects
Best Glass Types for Beginners
Start with thick, sturdy pieces. Wine bottles work great because they’re designed to handle stress. Mason jars are another good choice.
Avoid thin glass like light bulbs or delicate ornaments. These crack easily and can be dangerous when they break.
Shape Matters Too
Cylindrical shapes work best. Perfect circles give the smoothest rotation. Slightly tapered objects like some bottles can work, but they’re trickier to mount.
Square or heavily textured glass won’t rotate smoothly. The rotary wheels need a clean, round surface to grip.
Size Limits to Consider
Check your attachment’s weight limit. Heavy glass pieces can strain the motors or slip during rotation.
Length matters too. Long objects like wine bottles need support on both ends. Some attachments include a tailstock for this purpose.
Laser Settings for Glass Engraving
Power and Speed Balance
Glass needs lower power than you might expect. I found through research that most experts start around 20-30% power for initial tests.
Speed should be slower than flat engraving. Try 200-400mm/min for your first attempts. The rotation adds complexity, so give the laser time to work properly.
Multiple Light Passes Win
Instead of one deep cut, use several light passes. This reduces heat buildup and gives you better control over the final result.
Set your software to repeat the same path 2-3 times at low power. You can always add more passes if needed.
| Glass Type | Power % | Speed mm/min | Passes |
|---|---|---|---|
| Wine Bottle | 25-30 | 300-400 | 2-3 |
| Mason Jar | 20-25 | 250-350 | 2-4 |
| Thick Mug | 30-35 | 300-450 | 1-2 |
Focus Height Adjustments
Set your laser focus to the top surface of the glass. This might mean raising or lowering your rotary attachment.
Some curved objects create focus challenges. The laser distance changes slightly as the glass rotates. For most projects, focusing on the center line works fine.
Common Problems and Quick Fixes
Glass Slipping During Rotation
Clean your glass first. Fingerprints, labels, and residue make the wheels slip. Use rubbing alcohol and let it dry completely.
Adjust wheel pressure if your attachment allows it. Too loose and it slips. Too tight and it might crack the glass.
Uneven Pressure Signs
Look for wheel marks on your finished piece. Deep grooves mean too much pressure. Light scratches are usually fine and can be polished out.
If one end grips better than the other, check that your glass is straight and both wheels are level.
Cracking and Heat Damage
Cracks usually mean too much power or speed too slow. The glass gets too hot in one spot and expands unevenly.
Try these fixes: lower power by 5-10%, increase speed by 50mm/min, or add air assist to cool the glass.
Preventing Thermal Shock
Let thick pieces warm to room temperature before starting. Cold glass from storage can crack when heated suddenly.
Don’t touch the engraved area right after cutting. Give it a few minutes to cool down naturally.
Design Tips That Work
Text and Font Choices
Simple, bold fonts engrave best on glass. Avoid thin lines or tiny details – they often disappear or look fuzzy.
Remember that your text will wrap around the object. Design it in your software’s rotary mode to see how it will actually look.
Sizing for Curved Surfaces
Text appears smaller on curved glass than on flat surfaces. Make your letters about 20% larger than you think you need.
Test with cardboard templates first. Wrap paper around your glass and draw your design by hand to check the size.
Pattern Alignment Tricks
Mark a starting point on your glass with tape. Line this up with a reference point on your rotary attachment every time.
For multiple objects, create a jig or template to position each piece exactly the same way.
Safety Guidelines You Must Follow
Personal Protection Equipment
Wear safety glasses rated for your laser wavelength. Glass can reflect the beam in unexpected directions.
Keep a vacuum or brush handy for glass dust cleanup. Don’t blow on it – you might inhale tiny particles.
Workspace Preparation
Work over a tray or towel to catch any glass pieces that might break off. Small chips can fly when the object rotates.
Have proper ventilation running. Glass engraving can create fine particles that you don’t want to breathe.
Emergency Procedures
Know where your laser’s emergency stop button is located. If glass starts cracking or moving, stop immediately.
Don’t try to catch falling glass. Let it fall and clean up afterward. Your hands are worth more than any project.
Maintenance and Care
Cleaning Your Rotary Wheels
Wipe the wheels after each session. Glass dust and residue build up quickly and affect grip.
Use a soft cloth with alcohol. Avoid harsh cleaners that might damage the wheel surface.
Motor Care Tips
Don’t force stuck objects. If something won’t rotate smoothly, stop and figure out why. Forcing it can damage the motor gears.
Store your attachment in a clean, dry place. Dust and moisture can affect the electronic components.
Troubleshooting Advanced Issues
Design Distortion Problems
If your circular designs come out oval, check your diameter settings again. This is the most common cause of shape distortion.
Mechanical slip can also cause stretching. Make sure your glass isn’t slipping on the wheels during rotation.
Software Calibration Steps
Create a test file with measured shapes. Run it and compare the results to your original measurements.
Adjust your software’s steps-per-revolution setting if your machine allows it. This fine-tunes the rotation accuracy.
Conclusion
Using a laser rotary attachment for glass opens up amazing creative possibilities. Start with simple projects on sturdy glass pieces. Focus on getting your settings right before attempting complex designs.
Remember that glass is unforgiving – low power, multiple passes, and careful heat management are your best friends. Practice on cheap pieces until you master the technique. With patience and the right approach, you’ll create beautiful engraved glassware that looks professionally made.
Can I use any rotary attachment with my laser cutter?
Not all attachments work with every laser. Check your machine’s specifications and available ports. Some require specific motor controllers or software compatibility. Contact your laser manufacturer for recommended attachments.
What happens if my glass cracks during engraving?
Stop the laser immediately and let everything cool down. Remove the pieces carefully with gloves or tongs. Clean your workspace thoroughly before starting a new project. Analyze what went wrong – usually power too high or speed too slow.
How do I engrave text that reads correctly when the glass rotates?
Your laser software handles this automatically in rotary mode. Design your text as if it’s on a flat surface – the software converts it to wrap around the cylinder correctly. Always preview and test on practice material first.
Can I engrave colored glass or only clear glass?
Most glass colors work fine, but darker colors may need different power settings. Green and brown glass often engrave well. Very dark or metallic-coated glass can be challenging. Test small areas first to find the right settings for each color.
Why does my engraving look cloudy or frosted?
This frosted appearance is normal for laser-engraved glass. The laser creates microscopic fractures that scatter light. You can polish it for a clearer look using glass polishing compound, or embrace the frosted effect as part of your design aesthetic.