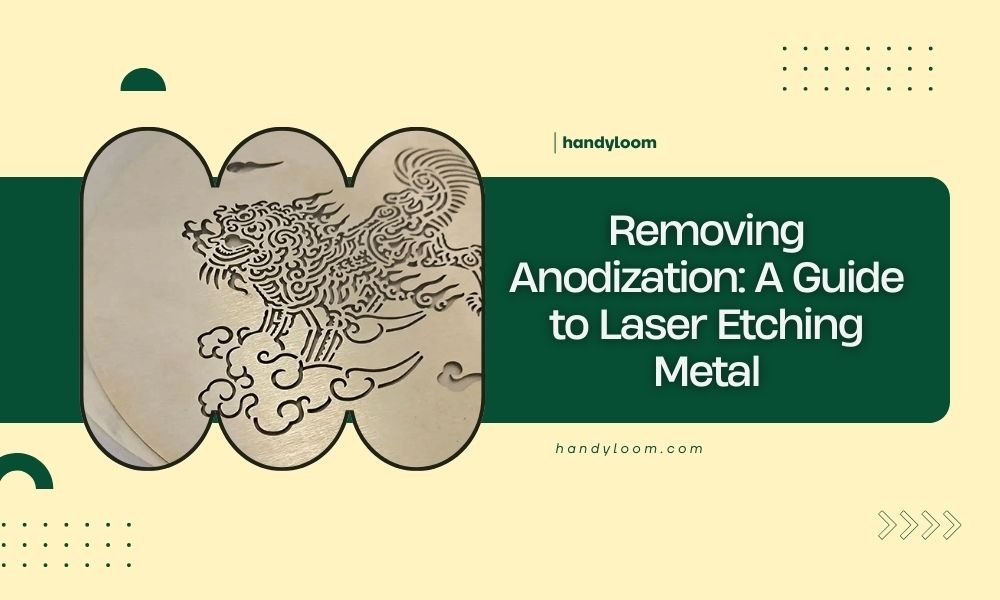
Removing anodization for laser etching metal requires chemical stripping or mechanical abrasion before etching to ensure clean, precise results on your metal surface.
You can successfully remove anodization using sodium hydroxide solutions, commercial paint strippers, or sandblasting methods depending on your project needs and safety equipment available.
Understanding Anodization and Why It Blocks Laser Etching
Anodization creates a protective oxide layer on aluminum that prevents laser beams from reaching the base metal. This coating acts like armor, deflecting your laser’s energy and creating poor etching results.
Think of it like trying to write on a piece of paper covered in plastic wrap. The ink won’t stick properly because there’s a barrier in the way.
What Makes Anodized Surfaces Challenging
The anodized coating typically measures 5-25 microns thick. Your laser needs to penetrate this layer completely to reach the actual aluminum underneath.
Without proper removal, you’ll get uneven etching, poor contrast, and inconsistent results that look unprofessional.
Chemical Stripping Methods for Anodization Removal
Chemical stripping offers the most controlled way to remove anodization from your metal pieces. You’ll get even results across the entire surface.
Sodium Hydroxide Solution Method
Sodium hydroxide (lye) dissolves anodized coatings effectively. Mix 2-3 tablespoons per gallon of warm water in a plastic container.
Submerge your metal piece for 10-30 minutes depending on coating thickness. You’ll see the surface change from colored to natural aluminum appearance.
Safety Precautions for Chemical Stripping
Always wear chemical-resistant gloves and safety glasses. Work in a ventilated area because sodium hydroxide releases fumes.
Keep a neutralizing agent like vinegar nearby in case of skin contact. Never use metal containers with sodium hydroxide solutions.
Commercial Paint Stripper Approach
Aircraft paint strippers work well on anodized surfaces. Apply with a brush and let sit for the manufacturer’s recommended time.
These products often contain methylene chloride, so proper ventilation becomes critical for your safety.
Mechanical Removal Techniques
Mechanical methods give you more control over specific areas but require more physical effort and time.
Sandblasting for Large Surfaces
Sandblasting removes anodization quickly from large pieces. Use fine aluminum oxide media (120-220 grit) for best results.
Keep the pressure moderate to avoid damaging the underlying aluminum. High pressure can create surface texture that affects laser etching quality.
Equipment Needed for Sandblasting
You’ll need a sandblaster, compressor, proper media, and protective equipment. Many tool rental shops carry sandblasting equipment if you don’t own it.
Hand Sanding for Precision Work
Fine sandpaper (400-800 grit) works for small areas or detailed work. Sand in circular motions to avoid creating directional scratches.
This method takes longer but gives you precise control over which areas get stripped.
Best Sandpaper Types
Aluminum oxide sandpaper cuts through anodization better than silicon carbide. Wet sanding reduces dust and prevents clogging.
Preparing Your Workspace
Set up your workspace before starting any removal process. Good preparation prevents mistakes and keeps you safe.
Ventilation Requirements
Chemical strippers and mechanical methods both create harmful particles or fumes. Open windows and use fans to move air away from your work area.
A respirator mask protects your lungs from fine particles during sanding or blasting.
Surface Protection Tips
Cover areas you want to keep anodized with painter’s tape and plastic sheeting. This masking technique lets you create custom designs.
Testing Your Removal Method
Always test your chosen method on a hidden area first. Different anodization processes respond differently to removal techniques.
Sample Testing Process
Pick a small corner or back edge of your piece. Apply your removal method for the recommended time and check results.
Look for complete removal without damage to the base metal. The surface should feel smooth and look uniformly matte.
Signs of Successful Removal
Properly stripped aluminum appears dull gray rather than shiny or colored. The surface should feel slightly rough to the touch.
Run your finger across the treated area. You shouldn’t feel any coating or texture differences.
Cleaning After Removal
Thorough cleaning removes residue that could interfere with laser etching. Contamination creates inconsistent results.
Neutralizing Chemical Residues
Rinse chemically stripped pieces with clean water for several minutes. Follow with a mild acid wash using white vinegar to neutralize alkaline residues.
Degreasing the Surface
Use isopropyl alcohol or acetone to remove oils and fingerprints. Clean surfaces etch more evenly and show better contrast.
Final Inspection Steps
Check for missed spots under good lighting. Any remaining anodization will show up as shinier areas or color variations.
Laser Etching After Removal
Fresh aluminum etches differently than anodized surfaces. Adjust your laser settings for optimal results.
Power and Speed Adjustments
Raw aluminum typically needs higher power settings than anodized surfaces. Start with 80-90% power and moderate speeds.
Test different settings on scrap pieces to find your ideal combination before working on final projects.
| Surface Type | Power Setting | Speed Setting | Expected Result |
|---|---|---|---|
| Anodized Aluminum | 60-70% | Fast | Light etching |
| Stripped Aluminum | 80-90% | Medium | Deep, clear etching |
Troubleshooting Common Problems
Even experienced crafters run into issues during anodization removal. Here are solutions to common problems.
Uneven Removal Patterns
Patchy removal usually means insufficient contact time or weak solution concentration. Increase treatment time or solution strength.
Surface Damage Prevention
Over-treatment can pit or roughen aluminum surfaces. Watch timing carefully and check progress frequently.
Conclusion
Removing anodization opens up new possibilities for your laser etching projects. Chemical stripping with sodium hydroxide offers the most consistent results, while mechanical methods give you precise control over treated areas. Remember to prioritize safety with proper ventilation and protective equipment. Test your chosen method first, clean thoroughly afterward, and adjust your laser settings for the newly exposed aluminum surface. With these techniques, you’ll create professional-looking etched designs that stand out beautifully.
Can I selectively remove anodization from specific areas only?
Yes, use painter’s tape and plastic sheeting to mask areas you want to keep anodized. This technique works well with both chemical and mechanical removal methods.
How long does sodium hydroxide take to strip anodization completely?
Most anodized coatings dissolve within 10-30 minutes in a 2-3 tablespoon per gallon sodium hydroxide solution. Thicker coatings may need up to an hour.
Will removing anodization affect the aluminum’s corrosion resistance?
Yes, removing anodization eliminates the protective coating, making the aluminum more susceptible to oxidation and corrosion over time.
Can I re-anodize aluminum after laser etching the stripped areas?
Professional re-anodizing is possible but requires specialized equipment and chemicals. Home anodizing kits exist but produce different results than commercial processes.
What’s the safest anodization removal method for beginners?
Hand sanding with fine-grit sandpaper offers the safest approach for beginners, though it takes more time and effort than chemical methods.