To laser cut fabric without burning the edges, use low power settings between 10-30%, high cutting speeds of 80-100%, and proper air assist to blow away heat and debris.
The key to clean fabric laser cutting lies in managing heat buildup through precise parameter control and choosing the right fabric types that respond well to laser cutting.
Understanding Why Fabric Burns During Laser Cutting
Fabric burns happen when your laser delivers too much heat energy to the material. Think of it like cooking – too much heat for too long creates charred edges instead of clean cuts.
Most fabric burning occurs because of three main factors: excessive power, slow cutting speed, or poor air circulation. When these combine, heat builds up faster than it can escape.
Heat Buildup Problems
Your laser beam creates intense heat in a tiny spot. Natural fibers like cotton absorb this heat quickly. Synthetic materials can melt rather than burn, creating different edge problems.
I found through research that fabric thickness plays a huge role too. Thicker fabrics need more energy to cut through, which increases burning risk.
Choosing the Right Fabrics for Laser Cutting
Not all fabrics work the same way with laser cutting. Some materials naturally resist burning better than others.
Best Fabric Types for Clean Cuts
Cotton and linen cut beautifully when you get the settings right. These natural fibers create clean edges that often self-seal slightly.
Felt works amazingly well for beginners. It cuts clean and rarely burns because of its loose fiber structure that dissipates heat quickly.
- 100% cotton fabrics
- Linen and hemp materials
- Wool felt (synthetic or natural)
- Canvas and denim
- Thin leather (under 3mm)
Fabrics to Avoid or Use Carefully
Synthetic materials like polyester can melt and create messy edges. Some release toxic fumes too, which creates safety concerns.
Stretchy fabrics often shift during cutting, making clean edges harder to achieve. The laser can also cause them to pucker or distort.
Essential Laser Settings for Clean Fabric Cuts
Getting your laser settings right makes the difference between burned edges and professional-looking cuts. Start conservative and adjust from there.
Power Settings That Work
Most fabrics cut cleanly with power settings between 10-30%. This sounds low, but fabric cuts easier than wood or acrylic.
I researched various laser cutting forums and found that beginners often use too much power. Start at 15% power for thin cotton and adjust up slowly.
Speed Settings for Success
Fast cutting speeds help prevent burning by reducing heat exposure time. Aim for 80-100% speed on most laser cutters.
Think of it like running your finger through a candle flame – quick passes don’t burn, but slow movement creates heat buildup.
| Fabric Type | Power % | Speed % | Passes |
|---|---|---|---|
| Thin Cotton | 15-20 | 90-100 | 1 |
| Felt | 20-25 | 80-90 | 1 |
| Denim | 25-35 | 70-80 | 1-2 |
| Canvas | 30-40 | 60-70 | 2 |
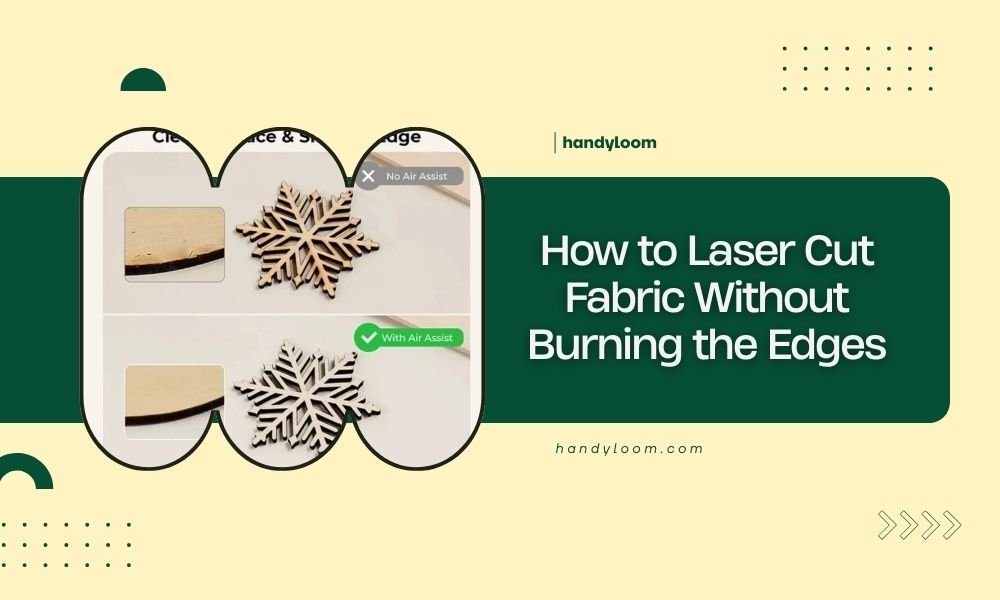
Air Assist Setup for Better Results
Air assist blows away heat, smoke, and debris from your cutting area. This prevents heat buildup that causes burning.
Proper Air Flow Direction
Point your air assist nozzle at the cutting area, but not too close. About 1-2 inches away works well for most fabric projects.
Strong air flow helps, but don’t blast lightweight fabrics off your cutting bed. Find the balance between cooling and fabric stability.
Alternative Cooling Methods
Some laser cutters don’t have built-in air assist. You can use a small fan positioned to blow across your cutting area.
I came across several DIY solutions where crafters use aquarium pumps with air hoses for budget-friendly air assist systems.
Preparing Your Fabric for Cutting
Proper fabric preparation prevents shifting and burning problems during cutting. A few simple steps make a big difference.
Securing Fabric Properly
Use masking tape or magnets to hold fabric flat against your cutting bed. Wrinkles or lifted edges can catch fire from reflected laser light.
Don’t stretch the fabric too tight. This can cause distortion when the material relaxes after cutting.
Pre-treating for Better Results
Slightly damp fabric sometimes cuts with less burning, though this varies by material type. Test on scraps first.
Remove any sizing or starch from new fabrics. These chemical treatments can increase burning risk.
Testing and Adjusting Your Settings
Always test on fabric scraps before cutting your final project. This saves material and prevents disappointment.
Running Test Cuts
Cut small squares or simple shapes to check your settings. Look for clean edges without brown or black charring.
Make small adjustments – change power by 5% increments or speed by 10% until you get clean results.
Reading Your Test Results
Brown edges mean too much heat – reduce power or increase speed. Incomplete cuts need more power or slower speed.
Melted edges on synthetic materials usually mean your power is too high for that specific fabric type.
Troubleshooting Common Burning Issues
Even with good settings, you might still get some edge burning. Here’s how to fix the most common problems.
Persistent Edge Darkening
If you still get brown edges with low power, try multiple light passes instead of one heavy cut. This distributes heat better.
Clean your laser lens and mirrors. Dirty optics reduce cutting efficiency and require higher power settings.
Uneven Burning Patterns
Uneven burning often comes from inconsistent fabric thickness or wrinkles in your material. Check your fabric preparation.
Your cutting bed might not be level, causing focus problems in different areas. Most laser cutters have bed leveling procedures.
Advanced Techniques for Perfect Edges
Once you master basic settings, these advanced methods can improve your results even more.
Using Sacrificial Materials
Place thin cardboard or paper under your fabric. This absorbs reflected laser energy and reduces back-burning on the fabric bottom.
Some crafters use honeycomb cutting mats specifically designed for laser work. These reduce heat reflection better than solid surfaces.
Focus Distance Adjustments
Slightly defocusing your laser beam spreads the energy over a wider area. This can reduce burning on delicate fabrics.
Try raising your focus point 1-2mm above the fabric surface for gentler cutting action.
Safety Considerations
Fabric laser cutting creates smoke and potentially harmful fumes. Proper ventilation keeps you safe and improves cut quality.
Ventilation Requirements
Always use exhaust fans when cutting fabric. Smoke contains particles that can harm your lungs and dirty your laser optics.
Never cut unknown synthetic materials without researching their composition first. Some release dangerous gases when heated.
Conclusion
Laser cutting fabric without burning comes down to using the right combination of low power, high speed, and proper air flow. Start with conservative settings around 15-20% power and 80-90% speed, then adjust based on your test cuts. Remember that different fabrics behave differently, so always test on scraps first. With practice and patience, you’ll consistently achieve clean, professional-looking cuts that make your fabric projects shine.
Can I laser cut stretchy fabrics like spandex?
Stretchy fabrics are challenging to laser cut because they can shift during cutting and often contain synthetic fibers that melt rather than cut cleanly. If you must cut stretchy materials, use very low power and stabilize the fabric with temporary spray adhesive on your cutting bed.
Why do my fabric edges look melted instead of burned?
Melted edges typically indicate you’re cutting synthetic materials like polyester or nylon. These plastics melt at relatively low temperatures. Try reducing power further and increasing speed, or switch to natural fiber fabrics for cleaner cuts.
How thick can fabric be for laser cutting?
Most laser cutters handle fabric up to about 6mm thick, though thinner materials (under 3mm) give the best results. Thick fabrics like heavy canvas or multiple layers require higher power settings that increase burning risk.
Should I wash fabric before laser cutting?
Yes, washing removes sizing chemicals and fabric treatments that can increase burning risk. Pre-washing also prevents shrinkage that might affect your cut dimensions later. Make sure fabric is completely dry before cutting.
What’s the best way to clean burned edges if they happen?
Light sanding with fine sandpaper can remove minor charring on sturdy fabrics. For delicate materials, try gently brushing with a soft toothbrush. Prevention through proper settings works better than trying to fix burned edges afterward.