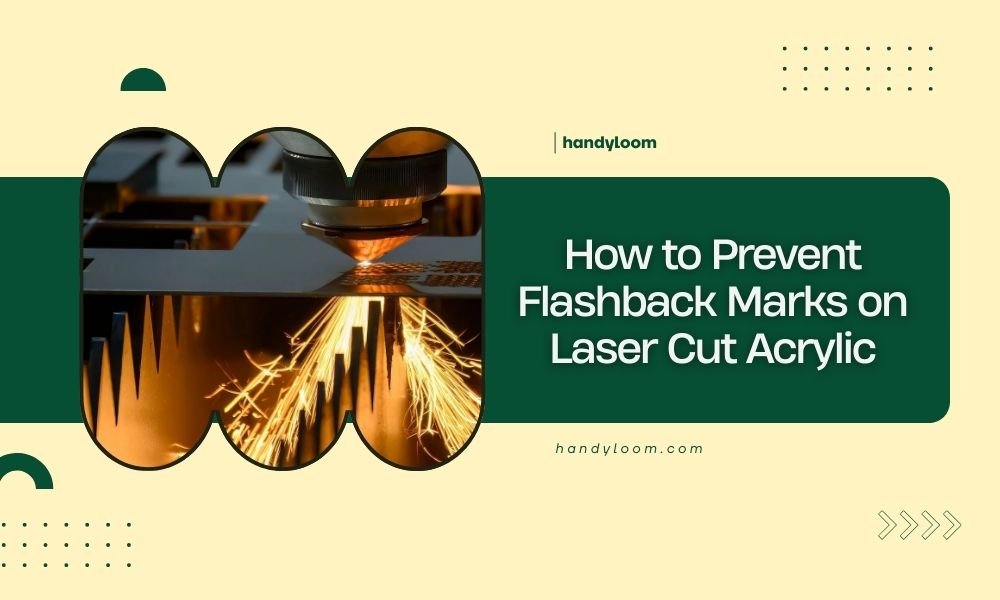
Flashback marks on laser cut acrylic happen when the laser beam reflects off the cutting table back onto your material, creating unsightly burn marks and discoloration.
You can prevent flashback marks by adjusting your cutting table setup, using proper support methods, and fine-tuning your laser settings for cleaner cuts.
What Are Flashback Marks and Why Do They Ruin Your Projects?
Picture this: you’ve spent hours designing the perfect acrylic project, only to find ugly brown streaks and burn marks on the back of your finished piece. That’s flashback in action.
Flashback occurs when your laser beam bounces off the cutting table or support surface and reflects back up into your acrylic. This reflected energy creates additional heat that burns and discolors your material.
The marks typically show up as dark lines, streaks, or patches on the bottom surface of your acrylic. Sometimes they’re mild discoloration. Other times they’re deep burns that ruin the entire piece.
The Main Causes Behind Flashback Problems
I found through research that several factors contribute to flashback marks. Understanding these causes helps you tackle the problem at its source.
Reflective Cutting Surfaces
Metal honeycomb tables are common culprits. Their shiny aluminum surface acts like a mirror, bouncing laser energy right back at your acrylic.
Even some cutting mats can be too reflective if they’re made from certain materials or have gotten polished smooth from use.
Improper Material Support
When your acrylic sits too close to the cutting surface, there’s nowhere for the laser energy to escape. It gets trapped between your material and the table.
Gaps that are too small create the same problem. The laser bounces around in that tiny space like a pinball machine.
Wrong Laser Settings
Too much power or cutting too slowly gives the laser more time to create heat buildup. This extra energy has to go somewhere, and it often reflects back up.
Quick Solutions That Work Right Away
Let me share the most effective methods I found from laser cutting experts. These techniques can eliminate flashback marks on your next project.
Use a Sacrificial Layer
Place a piece of cardboard, paper, or thin wood between your acrylic and the cutting table. This absorbs the excess laser energy instead of reflecting it back.
Corrugated cardboard works great because it’s cheap and the air gaps help dissipate heat. Replace it when it gets too burned up.
Best Materials for Sacrificial Layers
- Corrugated cardboard (most popular choice)
- Kraft paper (for thin acrylic)
- Thin plywood or MDF
- Foam core board
Raise Your Material Higher
Create more distance between your acrylic and the cutting surface. This gives the laser energy room to spread out and lose intensity.
You can use small blocks, washers, or specialized standoffs to lift your material. Aim for at least 1/4 inch of clearance when possible.
Angle Your Cutting Surface
If you tilt your honeycomb table slightly, reflected beams won’t bounce straight back up. They’ll angle away from your material instead.
Even a few degrees makes a big difference. This technique works well for production runs where you’re cutting many identical pieces.
Advanced Prevention Techniques
Ready to take your flashback prevention to the next level? These methods require a bit more setup but deliver excellent results.
Create Custom Support Fixtures
Build specialized jigs that hold your acrylic exactly where you need it. Use thin metal rods or pins to support the material with minimal contact points.
This approach works brilliantly for complex shapes or when you need perfect repeatability across multiple pieces.
Materials for Support Fixtures
- Thin steel or aluminum rods
- 3D printed plastic supports
- Small metal brackets
- Adjustable standoffs
Use Water Tables
Some laser cutters can accommodate water tables underneath your cutting area. The water absorbs excess laser energy without creating reflections.
This method works best for thicker acrylic pieces that can handle the humidity. Make sure your laser is compatible before trying this approach.
Optimizing Your Laser Settings
The right cutting parameters can reduce flashback risk significantly. I researched optimal settings used by professional laser cutting shops.
Power and Speed Balance
Higher speed with moderate power often works better than low speed with high power. This reduces the total heat input to your material.
Start with faster speeds and adjust power up until you get clean cuts. This approach minimizes the time the laser spends in any one spot.
Recommended Starting Points
| Acrylic Thickness | Power (%) | Speed (mm/min) |
|---|---|---|
| 3mm | 60-70 | 800-1200 |
| 6mm | 75-85 | 400-600 |
| 10mm | 85-95 | 200-300 |
Multiple Pass Cutting
Instead of trying to cut through thick acrylic in one pass, use multiple lighter passes. This spreads the heat input over time and reduces flashback risk.
Each pass should cut about halfway through your material thickness. The total cutting time might be longer, but you’ll get cleaner results.
Air Assist Optimization
Proper air flow helps blow away debris and cool your cut edge. This reduces the heat available for flashback reactions.
Too much air can actually make things worse by disturbing your cut quality. Find the sweet spot where debris clears without creating turbulence.
Material Selection Tips
Not all acrylic is created equal when it comes to laser cutting. Some types are more prone to flashback marks than others.
Cast vs. Extruded Acrylic
Cast acrylic generally cuts cleaner with fewer flashback issues. The molecular structure handles laser heat more evenly.
Extruded acrylic can be more challenging because of internal stresses. These stresses can create uneven heating that makes flashback worse.
Color Considerations
Clear and light-colored acrylics tend to show flashback marks more obviously. Dark colors can hide minor discoloration but still suffer from actual damage.
Some colored acrylics contain additives that react differently to laser energy. Test cut small samples before committing to large projects.
Troubleshooting Common Issues
Even with prevention measures, you might still encounter flashback problems. Here’s how to diagnose and fix the most common issues.
Marks Only on Certain Areas
If flashback appears in specific spots, check for uneven support or debris on your cutting table. Small particles can create local reflection points.
Clean your table thoroughly and ensure your material sits flat across the entire surface.
Intermittent Flashback
Random flashback marks often indicate inconsistent air flow or power delivery. Check your air assist system and laser tube condition.
Worn equipment can create power fluctuations that lead to unpredictable results.
Quick Diagnostic Checklist
- Is your cutting table clean and flat?
- Are support points consistent across the material?
- Is air assist flowing steadily?
- Are laser settings appropriate for your material thickness?
- Is your sacrificial layer fresh and properly positioned?
Maintaining Your Equipment
Regular maintenance prevents many flashback issues before they start. A well-maintained laser system produces more consistent results.
Keep Your Cutting Table Clean
Remove debris and residue after each cutting session. Built-up material can create hot spots that contribute to flashback.
Use appropriate cleaners that won’t damage your table surface or leave residue behind.
Monitor Your Laser Alignment
Misaligned lasers can create uneven power distribution. This leads to inconsistent cutting and increased flashback risk.
Have your alignment checked regularly by a qualified technician. Many problems start with simple alignment drift.
Cost-Effective Prevention Strategies
You don’t need expensive equipment upgrades to prevent flashback marks. Many effective solutions cost very little to implement.
DIY Solutions That Work
Simple materials from your local hardware store can solve most flashback problems. Creativity often beats expensive commercial solutions.
Cardboard, foam padding, and basic hardware can create effective support systems for a few dollars.
When to Invest in Better Equipment
If you’re running a business or doing high-volume work, professional-grade solutions might be worth the investment. Calculate the time and material savings against the equipment cost.
Commercial flashback prevention systems pay for themselves quickly in production environments.
Conclusion
Preventing flashback marks on laser cut acrylic comes down to controlling reflected laser energy. By using sacrificial layers, proper material support, and optimized cutting settings, you can eliminate these frustrating marks from your projects. The key is understanding that flashback happens when laser energy has nowhere to go except back into your material. Give that energy an escape route, and you’ll get clean, professional-looking cuts every time. Start with simple solutions like cardboard backing, then move to more advanced techniques as your skills and projects demand. With these methods, flashback marks will become a thing of the past.
What thickness of sacrificial material should I use under my acrylic?
Use sacrificial material that’s about 1/8 to 1/4 inch thick for most projects. Corrugated cardboard works well because the air gaps help absorb laser energy. Thicker sacrificial layers provide better protection but use more material.
Can I reuse cardboard backing after laser cutting?
You can reuse cardboard backing until it becomes too charred or develops deep cuts that affect material support. Light scorch marks are fine, but replace the cardboard when it starts falling apart or creating uneven surfaces.
Why do I get flashback marks with some acrylic colors but not others?
Different colored acrylics contain various additives and dyes that absorb laser energy differently. Clear and light colors often show flashback more easily, while some additives can make certain colors more prone to heat damage and discoloration.
Should I change my laser settings when using sacrificial backing?
You might need to increase power slightly when using thick sacrificial backing, as some laser energy gets absorbed by the backing material. Start with your normal settings and adjust power up by 5-10% if cuts aren’t going all the way through.
How do I prevent flashback when cutting very thin acrylic sheets?
For thin acrylic (under 2mm), use minimal sacrificial backing like kraft paper or thin cardboard. Reduce your laser power and increase cutting speed to minimize heat buildup. Ensure your material lies completely flat to prevent warping during cutting.