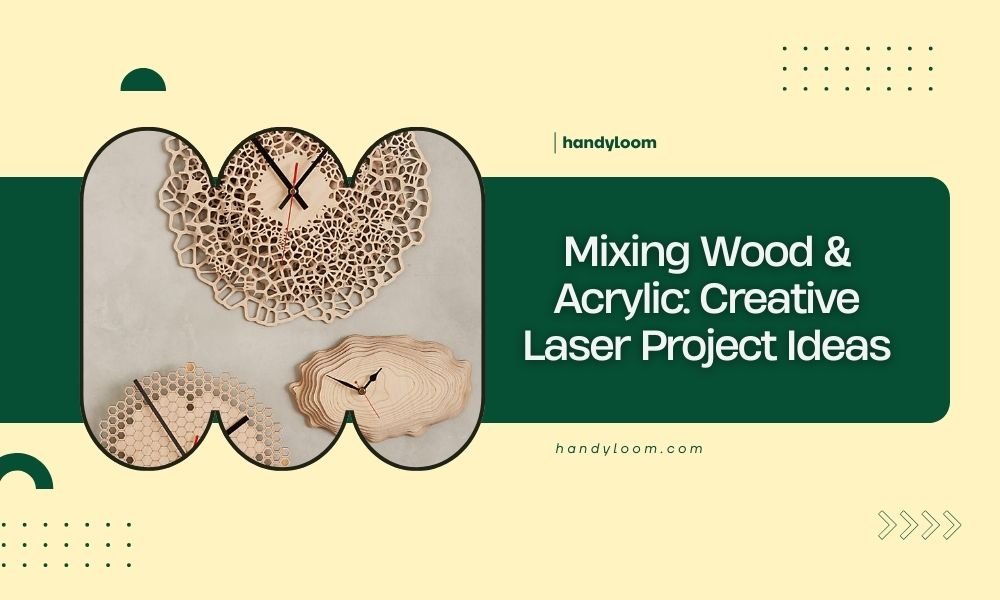
Mixing wood and acrylic in laser cutting projects creates stunning visual contrasts and opens up endless creative possibilities for crafters and makers.
You can combine these materials to make jewelry, home decor, signage, and artistic pieces that showcase the warm natural beauty of wood alongside the sleek modern appeal of acrylic.
Why Wood and Acrylic Make Perfect Partners
Wood and acrylic complement each other like peanut butter and jelly. The organic texture of wood balances the clean, polished look of acrylic beautifully.
Both materials laser cut easily with similar settings. You won’t need to switch between completely different machines or techniques when working with both.
The cost factor works in your favor too. Wood stays budget-friendly while acrylic adds that premium touch without breaking the bank.
Essential Materials for Mixed Media Projects
Best Wood Types for Laser Cutting
Birch plywood tops the list for beginners. It cuts cleanly and has minimal grain patterns that won’t compete with your acrylic elements.
Maple and cherry work great for premium projects. They bring rich colors and interesting grain patterns to your designs.
Avoid softwoods like pine for detailed work. They can create uneven edges and don’t pair as nicely with acrylic’s precision.
Choosing the Right Acrylic
Cast acrylic gives you the smoothest cuts and clearest finish. It costs more than extruded acrylic but the quality difference shows.
Stick with 3mm thickness for most projects. It’s thick enough to feel substantial but thin enough to cut quickly and cleanly.
Clear acrylic works for most designs, but colored options can create amazing effects when layered with wood tones.
Design Principles That Actually Work
Creating Visual Balance
Use the 70-30 rule as your starting point. Make one material dominant and let the other provide accent details.
Think about weight distribution. Acrylic appears lighter visually, so you might need larger acrylic sections to balance smaller wood pieces.
Color Harmony Tips
Dark woods like walnut pair beautifully with clear or white acrylic. The contrast makes both materials pop.
Light woods work well with colored acrylics. Try blue or green tinted acrylic with birch for a fresh, modern look.
Avoid mixing warm and cool tones unless you’re going for a specific artistic effect. Stick with one temperature family for cohesive results.
Practical Project Ideas You Can Start Today
Jewelry and Accessories
Layered Earrings
Cut matching shapes in wood and acrylic, then layer them with small spacers. The depth creates visual interest and catches light beautifully.
Try geometric shapes like circles or hexagons for modern appeal. Nature-inspired forms like leaves work great for boho styles.
Statement Necklaces
Create pendant designs where wood forms the base and acrylic adds decorative overlays. This approach keeps costs reasonable while maximizing visual impact.
Consider inlay techniques where you cut matching shapes and fit acrylic pieces into wood cutouts. The flush finish looks professional and feels smooth.
Home Decor Projects
Wall Art Combinations
Design modular wall pieces where wood and acrylic components can be arranged in different patterns. Your customers can customize their display.
Backlit designs work amazing with this material combo. The wood blocks light while acrylic glows, creating dramatic shadow and light effects.
Functional Storage Solutions
Build desk organizers with wood bases and acrylic dividers. You get durability from wood and easy visibility through clear acrylic sections.
Key holders combining wood backing with acrylic labels offer both function and style. The contrast makes text pop while wood adds warmth.
Signage and Business Applications
Professional Name Plates
Layer engraved acrylic text over wood bases for elegant desk accessories. The dimensional effect looks much more expensive than flat alternatives.
Try reverse engraving in acrylic for frosted text effects. When mounted over dark wood, the contrast becomes really striking.
Retail Display Elements
Create product stands where wood provides stability and acrylic showcases merchandise. The mixed materials appeal to different customer preferences.
Technical Tips for Better Results
Laser Settings for Mixed Projects
I found that cutting both materials separately gives more consistent results than trying to cut them together in one pass.
Wood typically needs higher power and slower speeds than acrylic. Plan your cuts accordingly to avoid having to readjust mid-project.
Assembly Techniques That Hold Strong
Mechanical fasteners work better than glue for mixed materials. Different expansion rates can break glue bonds over time.
Small bolts or Chicago screws actually become design elements when chosen thoughtfully. Brass fasteners complement both materials nicely.
Surface Preparation Methods
Sand wood lightly after cutting to remove any laser char. Start with 220 grit and move to 320 for smooth results.
Clean acrylic with isopropyl alcohol before assembly. Even tiny fingerprints show up badly on clear surfaces.
Common Mistakes to Avoid
Design Pitfalls
Don’t make your designs too busy. Both materials have strong visual presence, so simple shapes often work better than complex patterns.
Avoid tiny details in wood sections. What looks great in acrylic might be impossible to cut cleanly in wood grain.
Technical Issues
Never use the same cut settings for both materials in sequence. Always test cut small pieces first to dial in your settings.
Don’t forget about material thickness variations. Even small differences can throw off your assembly fits.
Finishing Techniques for Professional Results
Wood Finishing Options
Clear polyurethane protects without changing wood color much. It also helps wood and acrylic feel similar to touch.
Tung oil brings out natural wood beauty but requires more maintenance over time. Great for high-end art pieces.
Acrylic Edge Polishing
Flame polishing gives the clearest edges but requires practice. Start with scrap pieces to get your technique down.
Progressive sanding from 400 to 2000 grit creates professional edges without flames. Takes longer but feels safer for beginners.
Scaling Your Mixed Media Business
Cost Management Strategies
Buy materials in bulk when possible. Both wood and acrylic have better pricing at larger quantities.
Design projects that use standard material sizes efficiently. Minimize waste by planning cuts carefully.
Customer Appeal Factors
Many customers love the story behind mixed materials. They appreciate the craftsmanship involved in combining different elements thoughtfully.
The contrast photographs beautifully for social media marketing. Mixed material projects often get more engagement than single-material designs.
Conclusion
Mixing wood and acrylic in your laser cutting projects opens up a world of creative possibilities that neither material can achieve alone. The natural warmth of wood combined with the modern precision of acrylic creates pieces that appeal to diverse tastes and price points.
Start with simple projects like layered jewelry or basic signage to get comfortable with the material combination. As your skills grow, you can tackle more complex designs that really showcase what these materials can do together.
Remember to focus on balance, keep your designs clean, and don’t rush the finishing process. With practice, you’ll develop an eye for combinations that make people stop and look twice.
Can you laser cut wood and acrylic at the same time?
While technically possible, cutting them separately gives much better results. Wood needs different laser settings than acrylic, and cutting together often leads to poor edge quality on one or both materials.
What thickness works best for layered wood and acrylic projects?
3mm thickness for both materials creates nice proportional balance. This thickness cuts quickly, feels substantial, and keeps material costs reasonable while still looking professional.
How do you prevent wood staining the acrylic during assembly?
Apply your wood finish completely and let it cure before touching acrylic parts. Use painter’s tape to protect acrylic surfaces during wood finishing, and handle pieces with clean cotton gloves during final assembly.
What’s the most durable way to join wood and acrylic permanently?
Small stainless steel bolts or Chicago screws work best for permanent joints. They accommodate different expansion rates between materials and actually add visual interest when chosen as design elements rather than hidden fasteners.
Which wood types should you avoid when pairing with acrylic?
Avoid oily woods like teak or highly resinous softwoods like pine. These can interfere with adhesives if needed and don’t laser cut as cleanly. Stick with stable hardwoods like maple, cherry, or quality birch plywood for best results.