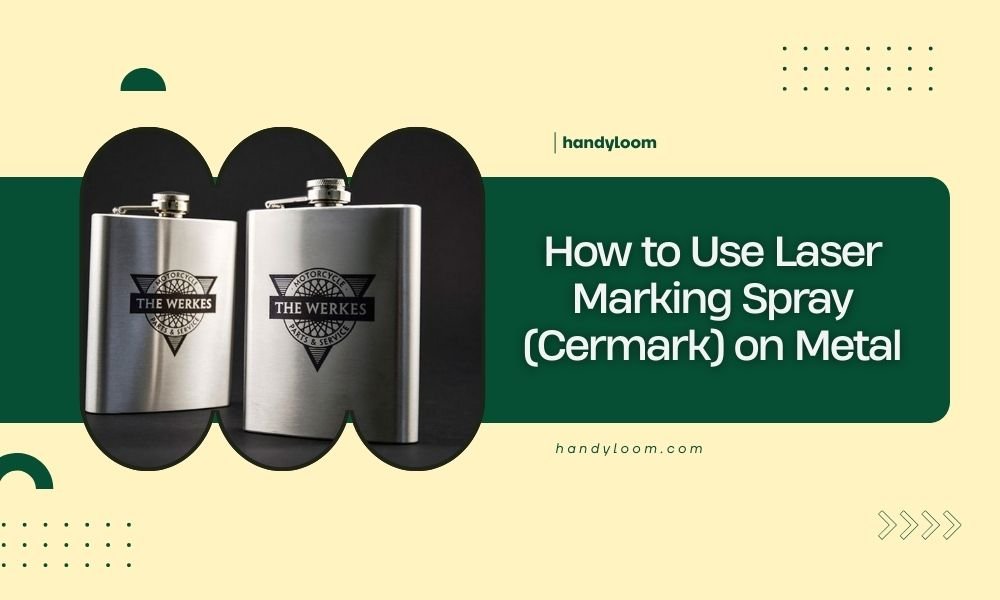
Laser marking spray like Cermark creates permanent marks on metal by applying a thin coating that bonds with the metal surface when heated by your laser beam.
You simply clean the metal, spray an even coat of Cermark, let it dry, then laser engrave your design at specific power settings to create dark, durable marks.
What Is Laser Marking Spray and How Does It Work
Think of laser marking spray as a special paint that reacts to heat. When your laser hits the coated surface, it creates a chemical reaction that bonds permanently with the metal.
Cermark is the most popular brand, but other companies make similar products. The spray contains metal oxides that fuse with your base metal when heated to the right temperature.
Why Regular Engraving Doesn’t Work on All Metals
Some metals reflect laser light instead of absorbing it. Stainless steel, aluminum, and brass often give you weak or no marks without coating.
The spray solves this by giving the laser something to grip onto. It’s like adding texture to a smooth wall before painting.
Materials and Equipment You Need
Getting good results starts with having the right supplies ready. You don’t need fancy equipment, but quality matters.
Essential Supplies
- Cermark or similar laser marking spray
- Clean metal surface (stainless steel, aluminum, brass, etc.)
- Degreasing cleaner or isopropyl alcohol
- Clean cloths or paper towels
- Masking tape (optional)
- Well-ventilated workspace
Safety Equipment
Always protect yourself when working with sprays and lasers. Wear safety glasses, work in good ventilation, and keep a first aid kit nearby.
I found that many laser shops recommend using a spray booth or working outdoors when possible.
Step-by-Step Application Process
Getting professional results comes down to following each step carefully. Rush the prep work and your final marks will show it.
Step 1: Clean Your Metal Surface
Start with a spotless surface. Any oil, fingerprints, or dirt will create uneven coating.
Use degreasing cleaner or 99% isopropyl alcohol. Wipe in one direction, not circles. Let it air dry completely before moving to the next step.
Common Cleaning Mistakes
Don’t touch the clean surface with bare hands. Skin oils transfer instantly and create weak spots in your coating.
Paper towels can leave lint behind. Clean microfiber cloths work better for the final wipe-down.
Step 2: Apply the Spray Coating
Hold the can 6-8 inches from your metal surface. Spray in light, even coats rather than one heavy application.
Move the can in steady strokes, overlapping each pass by about 50%. You want thin coverage, not thick globs.
Getting Even Coverage
Two thin coats work better than one thick coat. Let the first coat dry for 5-10 minutes before adding the second.
The coating should look uniform with no streaks or bare spots. Hold the piece up to the light to check for missed areas.
Step 3: Drying and Curing Time
Most marking sprays need 15-30 minutes to dry properly. Don’t rush this step even if the surface feels dry to touch.
Temperature and humidity affect drying time. Cold or humid conditions take longer. Plan your project timing around this.
Laser Settings and Parameters
Your laser settings make or break the final result. Too much power burns through the coating. Too little power creates weak marks.
| Metal Type | Power Setting | Speed Setting | Passes |
|---|---|---|---|
| Stainless Steel | 60-80% | Medium-Fast | 1-2 |
| Aluminum | 40-60% | Medium | 1 |
| Brass | 50-70% | Medium-Slow | 1-2 |
Finding Your Sweet Spot
Every laser machine runs differently. Start with lower settings and test on scrap pieces first.
Make small test squares with different power levels. Mark each square with its settings so you remember what worked.
Signs You Need to Adjust Settings
Light gray marks mean you need more power or slower speed. Burned or rough edges mean you’re using too much power.
Perfect marks look dark and smooth with clean edges. The coating should bond completely without burning the base metal.
Troubleshooting Common Problems
Even experienced users run into issues sometimes. Most problems trace back to preparation or settings.
Uneven or Patchy Marks
This usually means uneven spray application or contaminated surfaces. Clean everything again and reapply the coating.
Check your spray pattern too. Clogged nozzles create streaky coverage that shows up in your final marks.
Marks That Rub Off
Weak bonding happens when you don’t use enough laser power or the coating wasn’t dry enough.
Let the coating cure longer next time. Some users wait up to an hour in humid conditions.
Testing Mark Durability
Good marks should resist normal handling and light abrasion. Try rubbing with your thumb or a pencil eraser.
Permanent marks won’t budge with reasonable pressure. If they smear or fade, adjust your process.
Advanced Tips and Techniques
Once you master the basics, these tricks help you get professional results every time.
Masking for Clean Edges
Use masking tape to create sharp borders or protect areas you don’t want marked. Remove the tape while the coating is still warm for cleanest edges.
Low-tack tape works better than regular masking tape. It removes cleanly without pulling up your coating.
Working with Complex Shapes
Curved or angled surfaces need extra attention during spraying. Rotate the piece to keep your spray angle consistent.
Multiple light coats from different angles cover complex shapes better than trying to hit everything in one pass.
Fixture and Clamping Tips
Secure your coated pieces without touching the sprayed surface. Use edge clamps or fixtures that grip uncoated areas.
Mark your fixture positions before coating so you know exactly where to clamp afterward.
Cleaning and Maintenance
Taking care of your equipment and workspace keeps everything running smoothly for future projects.
Cleaning Overspray
Clean up overspray immediately while it’s still wet. Dried coating takes more effort to remove.
Use the same alcohol or degreaser you used for surface prep. Keep plenty of clean rags on hand.
Storing Leftover Spray
Store cans upright in a cool, dry place. Shake well before each use, especially if the can has been sitting for weeks.
Check expiration dates regularly. Old coating doesn’t bond as well and can cause inconsistent results.
Safety Considerations
Working safely protects you and creates better working conditions for good results.
Ventilation Requirements
Always work with good air circulation. The spray contains solvents that shouldn’t be inhaled in large amounts.
Open windows or use fans to move air through your workspace. Consider a spray booth for regular production work.
Fire Safety
Keep spray cans away from your laser and any heat sources. The propellant is flammable until it evaporates.
Wait for complete drying before starting your laser work. This eliminates fire risk and improves mark quality.
Cost Analysis and Tips
Understanding your material costs helps you price projects accurately and minimize waste.
Coverage Estimates
One can of Cermark typically covers 15-20 square feet with proper application technique. Heavy coaters use more and get less coverage.
Practice your spray technique on cardboard first. This builds muscle memory without wasting expensive coating.
When to Use Alternatives
Some projects work fine with cheaper marking compounds or even flat black spray paint for testing.
Save the premium coatings for final products and client work. Use alternatives for practice and setup pieces.
Conclusion
Using laser marking spray on metal opens up new possibilities for your projects. Clean preparation, even application, and proper laser settings create professional results every time.
Start with test pieces to dial in your process before working on final products. The extra time spent learning pays off in consistent, high-quality marks that satisfy your customers and build your reputation.
Remember that each metal type and laser machine combination works a little differently. Keep notes on what settings work best for your specific equipment and favorite materials.
Can I use regular spray paint instead of Cermark for laser marking?
Regular spray paint won’t create permanent marks like Cermark does. Paint may burn off or create poor-quality marks that rub away easily. Specialized laser marking sprays contain metal oxides that bond permanently with the base metal when heated.
How long do Cermark marks last on outdoor metal projects?
Properly applied Cermark marks resist weather, UV exposure, and normal wear for many years outdoors. The chemical bond with the base metal creates marks as durable as the metal itself. Poor application or incorrect laser settings reduce longevity.
What happens if I apply too much marking spray?
Thick coatings create uneven marks, longer drying times, and waste expensive material. Heavy application can also cause the coating to run or drip, creating streaky final results. Two thin coats always work better than one thick application.
Can I remove laser marking spray after application but before lasering?
Yes, you can remove uncured coating with alcohol or the same cleaner used for surface preparation. Work quickly before the coating fully cures. Once laser-processed, the marks become permanent and very difficult to remove.
Do I need different spray types for different metals?
Standard Cermark works on most metals including stainless steel, aluminum, and brass. Some specialty formulations exist for specific applications like anodized aluminum or titanium, but the regular formula handles most common projects effectively.