The ramping feature in laser engraving gradually increases and decreases laser power at the start and end of cuts to prevent burn marks and overheating. This creates smoother edges and better cut quality by controlling how the laser beam enters and exits material.
You can typically adjust ramping settings in your laser software by enabling the feature and setting parameters like ramp distance, start power percentage, and end power percentage. Most modern laser engravers include ramping options in their control software.
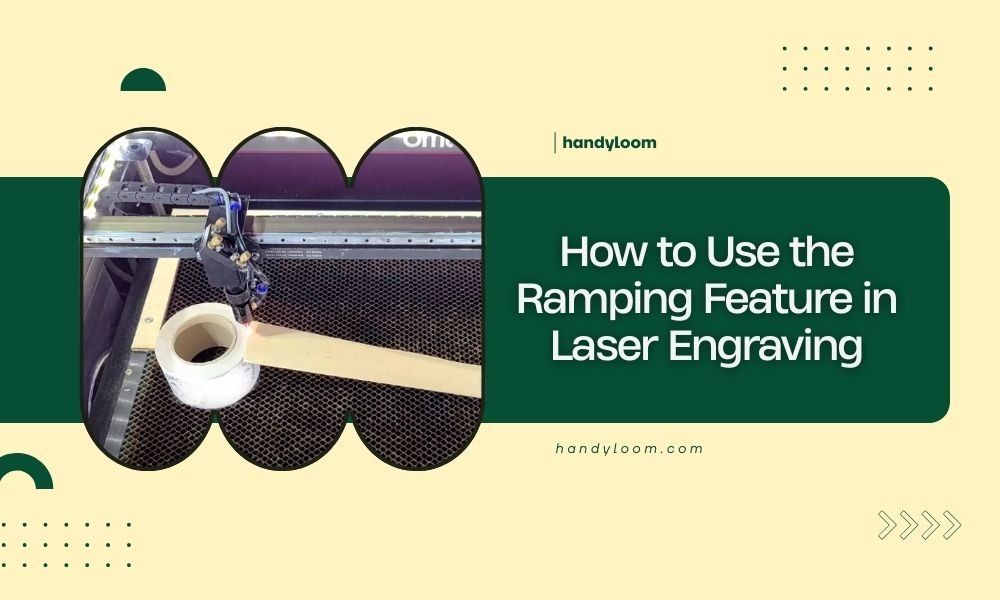
What Is Laser Ramping and Why Do You Need It
Think of ramping like slowly pressing the gas pedal instead of flooring it. When your laser starts cutting at full power instantly, it can burn or melt the material at that exact spot. The same thing happens when it stops cutting abruptly.
Ramping solves this by creating a smooth power transition. Your laser starts at a lower power setting, gradually increases to full cutting power, then decreases again before stopping. This prevents those ugly burn marks and rough edges that make your projects look unprofessional.
Common Problems Ramping Fixes
I found that ramping addresses several annoying issues that frustrate laser users. Burn spots at cut entry points disappear when you use proper ramping settings. Those rough, charred edges become clean and smooth.
Overheating problems also reduce significantly. Materials like acrylic and wood handle the gradual power changes much better than sudden full-power blasts.
Setting Up Ramping in Popular Laser Software
Most laser control programs include ramping features, but they call them different names. Let me walk you through the common ones you’ll encounter.
LightBurn Ramping Settings
LightBurn calls this feature “Lead In” and “Lead Out.” You’ll find these options in the Cut Settings Editor when you select your layer. Enable both options and set your distances.
Start with a 2mm lead-in distance for most materials. Set your start power to about 70% of your cutting power. The software will handle the gradual increase automatically.
LightBurn Power Ramping
Under the “Advanced” tab, look for power ramping options. Set your ramp length to match your lead-in distance. This keeps everything consistent and predictable.
LaserGRBL Ramping Options
LaserGRBL handles ramping through its cutting parameters menu. Look for “Soft Start” and “Soft Stop” checkboxes in your layer settings. Enable both for the best results.
Set your ramp distance between 1-3mm depending on your material thickness. Thicker materials need longer ramp distances to work properly.
Custom Ramping Commands
Advanced users can add custom G-code commands for more control. Insert M3 S[lower power] before your cut starts, then gradually increase to your target power. This gives you complete control over the ramping curve.
Choosing the Right Ramping Settings
Your material type determines most of your ramping settings. Different materials react differently to laser power, so you need to adjust accordingly.
Wood Ramping Settings
Wood responds well to gradual power increases. Start with these baseline settings and adjust from there:
- Ramp distance: 2-3mm
- Start power: 60-70% of cutting power
- End power: 50-60% of cutting power
- Ramp duration: 0.2-0.5 seconds
Hardwoods need longer ramp distances than softwoods. I found that oak and maple work better with 3-4mm ramp distances, while pine and cedar do fine with 2mm.
Plywood Considerations
Plywood has multiple layers that can burn differently. Use slightly longer ramp distances (3-4mm) to account for the varied material density throughout the thickness.
Acrylic Ramping Parameters
Acrylic melts rather than burns, so your ramping approach needs to be different. Heat buildup is your biggest enemy with this material.
- Ramp distance: 1-2mm (shorter than wood)
- Start power: 80-85% of cutting power
- End power: 70-80% of cutting power
- Ramp duration: 0.1-0.3 seconds
The key with acrylic is maintaining enough power to cut cleanly while avoiding heat buildup that causes melting and rough edges.
Thick Acrylic Adjustments
Acrylic thicker than 6mm needs special attention. Increase your ramp distance to 2-3mm and use multiple passes instead of trying to cut through in one go. This prevents heat buildup that ruins your edges.
Advanced Ramping Techniques
Once you master basic ramping, you can use advanced techniques to get even better results on challenging projects.
Variable Power Ramping
Some materials benefit from non-linear power ramping. Instead of a straight line from low to high power, you can create curves that match your material’s characteristics.
I researched different ramping curves and found that exponential curves work well for materials that heat up quickly. Linear curves suit most general applications, while logarithmic curves help with materials that need gradual heat buildup.
Creating Custom Ramp Profiles
Advanced software lets you create custom ramping profiles. You define multiple power points along the ramp distance, creating exactly the power curve your material needs.
Start with a basic profile and make small adjustments based on your results. Document what works so you can reuse successful profiles on similar projects.
Speed Ramping Combined with Power
You can also ramp cutting speed along with power. This technique works especially well on materials that are sensitive to heat buildup.
Start at slower speeds with lower power, then increase both together. This gives your material time to absorb and dissipate heat without burning or melting.
Troubleshooting Ramping Issues
Even with proper settings, you might run into problems. Here’s how to fix the most common ramping issues.
Burn Marks Still Appearing
If you’re still getting burn marks with ramping enabled, your ramp distance might be too short. Try increasing it by 1mm and test again.
You might also need to lower your starting power percentage. Drop it by 10% and see if that helps. Some materials are more sensitive than others.
Insufficient Cutting Power
When your ramping settings are too conservative, you won’t cut through the material completely. This usually happens when your starting power is too low or your ramp distance is too long.
Increase your starting power by 5-10% or reduce your ramp distance slightly. Make small changes and test each adjustment.
Inconsistent Cut Quality
Inconsistent results often mean your ramping settings don’t match your cutting speed. Faster cutting speeds need shorter ramp distances and quicker power transitions.
Match your ramping timing to your cutting speed. If you’re cutting at 200mm/min, a 2mm ramp distance takes 0.6 seconds to complete. Make sure your power ramping happens within that timeframe.
Testing Your Ramping Settings
Before running your final project, test your ramping settings on scrap material. This saves time and prevents ruined projects.
Creating Test Patterns
Design simple test patterns that let you evaluate ramping performance. I found that straight lines, circles, and sharp corners reveal different ramping issues.
Cut several identical patterns with different ramping settings. Label each test so you can compare results and choose the best settings.
Evaluation Criteria
Look for clean entry and exit points without burn marks. Check that your cuts go completely through the material without rough edges or melted areas.
Feel the cut edges with your finger. Smooth edges indicate good ramping settings, while rough or raised edges suggest you need adjustments.
Material-Specific Ramping Charts
Different materials need different approaches. Here’s a reference table based on what I found works well across various laser systems:
| Material | Ramp Distance | Start Power % | End Power % | Notes |
|---|---|---|---|---|
| Softwood (3mm) | 2mm | 65% | 55% | Works for pine, cedar |
| Hardwood (3mm) | 3mm | 70% | 60% | Oak, maple, cherry |
| Acrylic (3mm) | 1.5mm | 85% | 75% | Focus on heat control |
| Cardboard | 1mm | 50% | 40% | Very sensitive material |
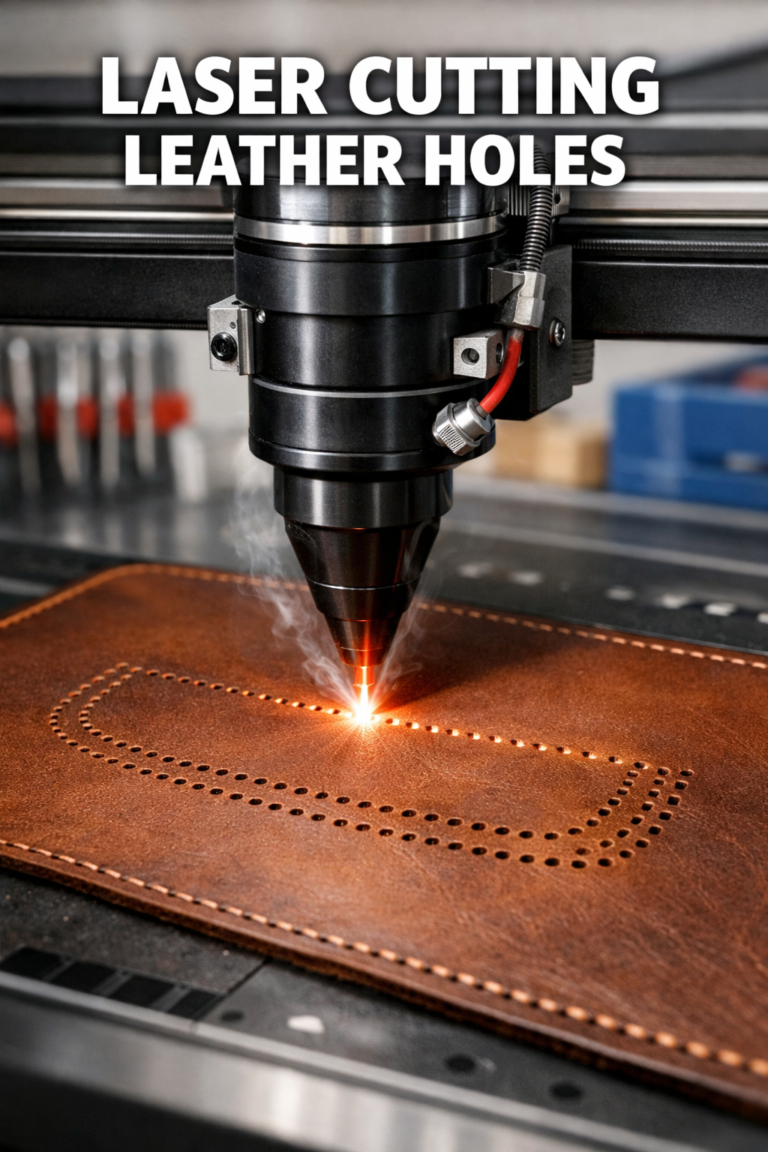
| Leather | 2mm | 60% | 50% | Natural variations affect settings |
Adjusting for Thickness
Thicker materials generally need longer ramp distances and higher starting powers. Double the thickness usually means increasing ramp distance by 50% and starting power by 10-15%.
Very thin materials (under 1mm) often work better with shorter ramp distances or no ramping at all. The material doesn’t have enough mass to absorb heat buildup.
Conclusion
Mastering the ramping feature transforms your laser cutting results from amateur to professional quality. Start with conservative settings and gradually adjust based on your specific materials and projects. Remember that every laser system behaves slightly differently, so invest time in testing and documenting what works best for your setup. The extra effort you put into dialing in your ramping settings will show in every project you complete. Clean cuts and smooth edges make all the difference in the final appearance of your work.
How long should my ramp distance be for beginners?
Start with 2mm for most materials when you’re learning. This distance works well for wood, leather, and many other common materials. You can adjust shorter or longer once you see how your specific laser responds to different materials.
Can I use ramping on very thin materials like paper?
Paper and other materials under 0.5mm thick often work better without ramping or with very short ramp distances (0.5mm or less). These materials cut so quickly that ramping can actually cause more problems than it solves by creating heat buildup in a small area.
Why does my laser software not have ramping options?
Older or basic laser control software might not include ramping features. You can often achieve similar results by manually adjusting your power settings at the start and end of cuts, or by upgrading to more advanced software like LightBurn that includes these features.
Should ramping settings change with different laser power levels?
Yes, your ramping settings should scale with your overall cutting power. If you’re cutting at 80% power instead of 100%, reduce your starting power percentage proportionally. The ramp distance can usually stay the same unless you’re also changing cutting speeds significantly.
How do I know if my ramping distance is too long?
Signs of excessive ramping distance include incomplete cuts at corners, reduced cutting efficiency, and visible power transitions in your cut lines. If your cuts look like they have different depths or qualities along their length, try reducing your ramp distance by 0.5-1mm and test again.