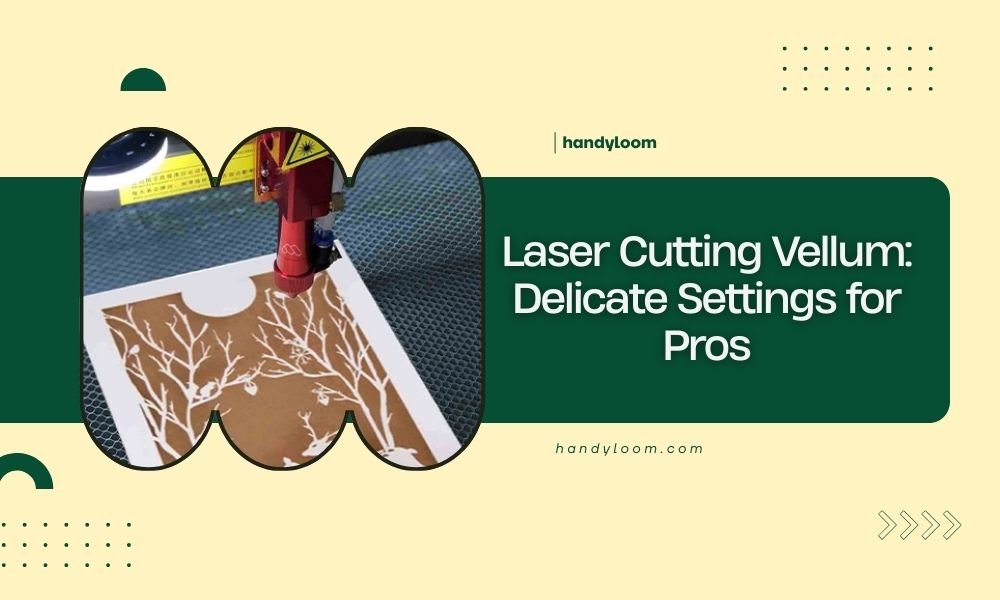
Laser cutting vellum requires power settings between 10-30% and speeds of 80-100% to avoid burning this delicate translucent paper.
The key to successful vellum laser cutting lies in using multiple light passes rather than one heavy cut, with proper ventilation to prevent heat damage.
Understanding Vellum Material Properties
Vellum behaves differently than regular paper when you laser cut it. This translucent material contains more moisture and oils, making it sensitive to heat buildup.
I found that vellum’s fiber structure reacts quickly to laser energy. Too much power creates brown edges and warping. Too little power leaves incomplete cuts that tear when you remove pieces.
Types of Vellum for Laser Cutting
Not all vellum works the same way. Drafting vellum cuts cleaner than decorative varieties because it has consistent thickness.
- Drafting vellum: 16-20 lb weight works best
- Translucent vellum: Requires 20% less power than opaque versions
- Colored vellum: Darker colors need slightly higher settings
- Textured vellum: Creates uneven cuts, use with caution
Essential Equipment Settings for Vellum
Your laser cutter needs specific adjustments for vellum success. Standard paper settings will ruin your project before you start.
Power Settings by Laser Type
CO2 lasers handle vellum better than diode lasers because of their wavelength. Here’s what I found works consistently:
| Laser Type | Power % | Speed % | Passes |
|---|---|---|---|
| 40W CO2 | 15-25% | 90-100% | 2-3 |
| 60W CO2 | 10-20% | 85-95% | 2-3 |
| 80W+ CO2 | 8-15% | 80-90% | 2-4 |
| Diode 5W+ | 30-50% | 70-85% | 3-5 |
Air Assist Configuration
Air assist prevents heat buildup but can blow lightweight vellum around. Use gentle air pressure or install a honeycomb bed weight system.
Focus Distance Adjustments
Focus your laser beam slightly above the vellum surface. This defocusing reduces heat concentration and prevents burning.
Pre-Cutting Preparation Steps
Preparation makes the difference between clean cuts and wasted material. Skip these steps and you’ll likely restart your project.
Material Conditioning
Store your vellum flat for 24 hours before cutting. Curled or wrinkled vellum creates uneven cuts because the laser distance changes.
Room temperature matters too. Cold vellum becomes brittle. Warm vellum gets too soft and may stick to your cutting bed.
Securing Vellum to the Bed
Vellum moves easily during cutting. Use these methods to keep it flat:
- Painter’s tape on corners (never over cut lines)
- Magnetic hold-downs if your bed supports them
- Vacuum tables work best for multiple pieces
- Weight corners with small metal pieces outside your cut area
Design Considerations for Vellum Projects
Your design choices affect cutting success. Some patterns work better than others with vellum’s delicate nature.
Line Spacing and Thickness
Keep cut lines at least 2mm apart. Closer spacing creates weak points that tear during handling.
Avoid hairline details under 0.5mm width. These features disappear or break off when you remove the finished piece.
Corner and Curve Design
Sharp corners concentrate stress and tear easily. Round your corners with at least 1mm radius curves.
Complex curves need slower cutting speeds. The laser head acceleration can shift lightweight vellum during direction changes.
Text and Font Selection
Sans-serif fonts cut cleaner than decorative scripts. Thin serifs often break off or burn away completely.
Keep text height above 8mm for best readability. Smaller text becomes illegible when vellum’s translucent properties blur the edges.
Step-by-Step Cutting Process
Follow this sequence every time you cut vellum. Skipping steps leads to inconsistent results.
Initial Test Cuts
Always test your settings on scrap vellum first. Cut a small square with your planned settings and check these points:
- Clean cut edges without brown discoloration
- No uncut sections requiring manual finishing
- Minimal heat warping around cut lines
- Easy removal without tearing
Adjusting Based on Test Results
Brown edges? Reduce power by 2-3% or increase speed by 5-10%.
Incomplete cuts? Add another pass rather than increasing power. Multiple light passes prevent heat damage.
Production Cutting Sequence
Start cutting from the center of your design and work outward. This prevents the material from shifting as support structures get removed.
For multiple pieces, cut the largest elements first. Small details cut better when the surrounding material provides stability.
Post-Processing and Handling
Your work isn’t finished when the laser stops. Proper handling preserves your cuts and prevents damage.
Cooling and Removal
Let vellum cool for 30 seconds before touching it. Hot vellum tears easily and may still be slightly soft from laser heat.
Remove pieces slowly using tweezers or a weeding tool. Your fingers can leave oils that show up on translucent vellum.
Edge Finishing Techniques
Light sanding with 400-grit paper removes minor burn marks. Sand gently in one direction only.
For stubborn discoloration, try a clean art eraser on the affected edges. This works better than chemical cleaners that might stain.
Troubleshooting Common Problems
Even experienced users run into issues with vellum. Here’s how to fix the most common problems.
Burn Marks and Discoloration
Yellow or brown edges usually mean too much heat. Reduce your power settings and increase cutting speed.
Check your air assist flow too. Insufficient airflow lets combustion gases settle on the material surface.
Incomplete or Ragged Cuts
Ragged edges often come from dull laser optics or incorrect focus. Clean your lens and mirrors, then recheck focus distance.
If cuts aren’t going all the way through, add passes instead of more power. Patient cutting gives better results than force.
Material Warping Issues
Warped vellum means uneven heating. Slow down your cutting speed and check that your material lies perfectly flat.
High humidity makes warping worse. Store vellum in a dry environment before cutting.
Safety and Ventilation Requirements
Vellum produces different fumes than regular paper when laser cut. Proper ventilation protects both you and your equipment.
I found that vellum smoke contains more particulates than standard paper. Your exhaust system needs extra filtration to handle these fine particles.
Recommended Safety Equipment
- HEPA filtration on exhaust systems
- Fire extinguisher rated for paper fires
- Smoke detector near your laser cutter
- First aid supplies for minor burns
Conclusion
Laser cutting vellum successfully comes down to gentle settings, multiple passes, and careful preparation. Start with 10-30% power and 80-100% speed, then adjust based on your test cuts.
Remember that patience beats power when working with delicate materials. Take time to test your settings, secure your material properly, and handle finished pieces with care.
Your vellum projects will have that professional look when you master these techniques. The translucent beauty of well-cut vellum makes the extra effort worthwhile.
Can I use the same settings for all types of vellum?
No, different vellum types need adjusted settings. Drafting vellum cuts at standard settings, while decorative vellum often needs 10-20% less power to prevent burning.
Why does my vellum curl up during cutting?
Curling happens from uneven heating or insufficient hold-down pressure. Use more securing points around your material and reduce laser power slightly.
How do I prevent small pieces from falling through my cutting bed?
Place a sheet of copy paper under your vellum before cutting. The paper catches small pieces and removes easily afterward without affecting cut quality.
What’s the thickest vellum I can laser cut?
Most laser cutters handle vellum up to 24 lb weight effectively. Heavier vellum requires significantly more power and may produce inconsistent results.
How do I clean burn residue from vellum edges?
Use a soft art eraser first, then try 400-grit sandpaper for stubborn marks. Avoid liquid cleaners as they can stain or warp the translucent material.