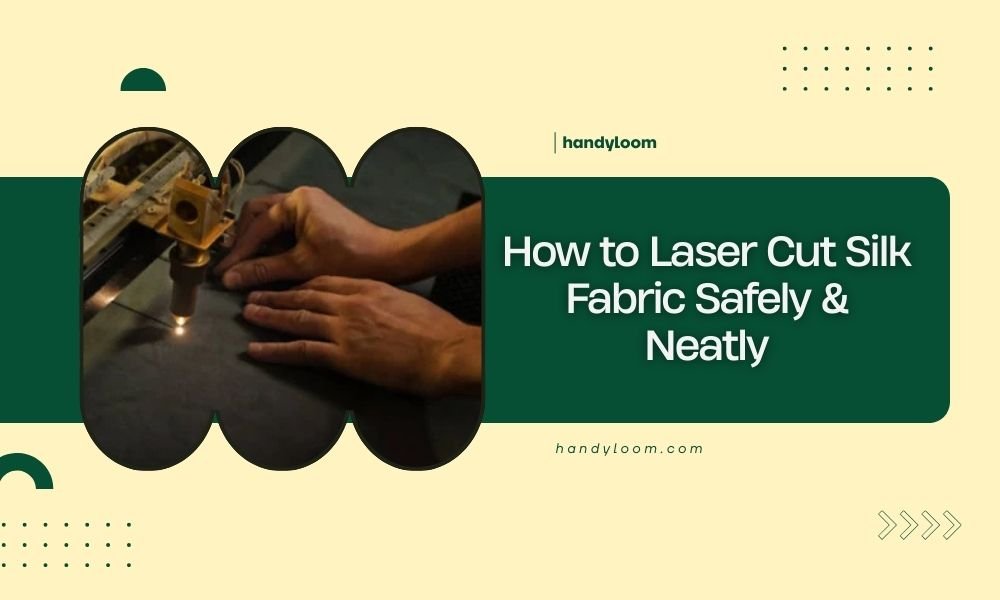
To laser cut silk fabric safely, use low power settings (10-30%), high speed (80-100%), and multiple light passes instead of one heavy cut to prevent burning.
Always test on fabric scraps first, secure the silk with low-tack tape, and ensure proper ventilation since silk produces harmful fumes when cut.
Why Silk Needs Special Care When Laser Cutting
Silk isn’t like cotton or polyester. It’s a protein fiber that burns differently than plant or synthetic materials. Think of it like cooking an egg – too much heat too fast, and you get a mess.
When I researched laser cutting silk, I found that most problems happen because people treat it like other fabrics. Silk melts and chars at lower temperatures. It also releases different fumes that need proper handling.
What Makes Silk Different
Silk fibers are delicate protein chains. They break down around 170°C (338°F). Most laser cutters run much hotter than this on default settings.
The fabric also has a loose weave in many cases. This means heat spreads unevenly. You might get perfect cuts in one spot and burnt edges two inches away.
Essential Safety Setup Before You Start
Safety comes first. Silk produces different fumes than cotton when it burns. You need proper ventilation and protective gear.
Ventilation Requirements
Set up strong exhaust fans that pull air away from your work area. I found online that protein fibers release sulfur compounds when heated. These smell bad and can irritate your lungs.
Open windows aren’t enough. You need active air movement pulling fumes outside.
Personal Protection
Wear safety glasses and avoid breathing directly over the cutting area. Keep a fire extinguisher nearby. Silk can flare up if your settings are wrong.
Fire Safety Checklist
- Fire extinguisher within arm’s reach
- Clear workspace with no flammable materials nearby
- Someone else in the building while you work
- First aid kit accessible
Choosing the Right Laser Settings
Here’s where most people mess up. They use settings that work for cotton or wood. Silk needs a completely different approach.
Power Settings That Work
Start with 10-15% power. I know it sounds low, but silk cuts easier than you think. Many experts recommend never going above 30% power for thin silk.
High power creates heat buildup. This leads to melted edges and burn marks you can’t fix.
Speed Settings
Run your laser fast – 80-100% speed. Fast movement prevents heat from building up in one spot. Think of it like moving your finger through a candle flame versus holding it still.
Multiple Pass Strategy
Instead of one heavy cut, make 2-3 light passes. Each pass should barely mark the fabric. This prevents burning and gives you cleaner edges.
| Silk Type | Power % | Speed % | Passes |
|---|---|---|---|
| Thin silk (chiffon) | 8-12% | 90-100% | 1-2 |
| Medium silk (habotai) | 12-18% | 80-90% | 2-3 |
| Heavy silk (dupioni) | 18-25% | 70-80% | 3-4 |
Preparing Your Silk for Cutting
Preparation makes the difference between success and disaster. You can’t just throw silk on the cutting bed and hope for the best.
Cleaning the Fabric First
Wash your silk before cutting if possible. Dirt, oils, and sizing chemicals can cause uneven burning. Even new fabric from the store has chemicals that affect laser cutting.
Securing the Fabric
Silk moves around more than heavier fabrics. Use low-tack masking tape around the edges. Don’t use regular tape – it’s too sticky and might damage the silk when you remove it.
Positioning Tips
Keep the fabric as flat as possible. Even small wrinkles can cause focus problems. The laser beam needs to hit the fabric at the same angle everywhere.
I found that placing a piece of paper under thin silk helps prevent sticking to the cutting bed.
Test Cuts Are Your Best Friend
Never start with your final piece. Always test on scraps first. This saves you from ruining expensive fabric.
How to Do Proper Test Cuts
Cut small squares or circles on fabric scraps. Use the same silk type and thickness as your final project. Different silk weights need different settings.
Test at least 3 different power levels. Start low and work up. Write down what works and what doesn’t.
What to Look For
- Clean cuts with no melting
- Minimal discoloration around edges
- No fraying or loose threads
- Smooth cut lines without jagged spots
Common Problems and How to Fix Them
Even with perfect settings, things can go wrong. Here’s what I learned about the most common issues.
Burnt or Melted Edges
This happens when power is too high or speed is too slow. Reduce power by 5% and increase speed by 10%. Try again on a test piece.
Incomplete Cuts
If the laser isn’t cutting all the way through, don’t increase power first. Try another pass at the same settings. Sometimes silk just needs that extra pass.
Focus Issues
Check your laser focus. Silk is thin, so small focus changes make big differences. The beam should be perfectly focused on the fabric surface.
Design Considerations for Silk
Not every design works well with laser-cut silk. Some patterns are just asking for trouble.
Avoid Tiny Details
Small cuts and intricate patterns are harder to do cleanly on silk. The fabric can shift slightly during cutting, making fine details look sloppy.
Plan for Fabric Movement
Leave extra space between cut pieces. Silk can move during cutting, and pieces might end up closer together than you planned.
Corner and Curve Considerations
Sharp corners are trouble spots. The laser slows down at corners, creating more heat buildup. Consider rounding sharp corners slightly in your design.
Post-Cutting Care
Your work isn’t done when the cutting stops. How you handle the silk afterward affects the final quality.
Immediate Inspection
Check edges right away while the fabric is still positioned. Look for spots that didn’t cut completely. You can make another pass while everything is still lined up.
Cleaning Cut Edges
Some silk types leave tiny bits of melted fiber on cut edges. Gently brush these away with a soft brush. Don’t pull or scrape hard – you might damage the surrounding fabric.
Storage After Cutting
Store cut silk pieces flat if possible. Rolling or folding can create pressure marks along the cut edges.
Troubleshooting Specific Silk Types
Different silk weaves and weights need slightly different approaches. What works for chiffon won’t work for raw silk.
Lightweight Silks (Chiffon, Georgette)
These are the trickiest. They move around more and can get sucked up by exhaust fans. Use lower power and faster speeds. Consider placing a piece of paper underneath for stability.
Medium Weight Silks (Habotai, Crepe de Chine)
These are easier to work with. They stay in place better and cut more predictably. Standard settings usually work well.
Heavy Silks (Dupioni, Raw Silk)
These need more power but are more forgiving. The thicker weave handles heat better. You can use slightly higher power settings without burning.
Maintenance and Equipment Care
Cutting silk creates different residue than other materials. Your laser cutter needs special attention afterward.
Cleaning Your Laser
Silk leaves protein residue that can build up over time. Clean your lens and mirrors more often when cutting silk regularly.
I read that protein residue can cause focusing problems if it builds up on optical components.
Air Assist Considerations
Use air assist if your machine has it. This helps blow debris away from the cut line and can reduce charring. But don’t use too much air pressure – it can blow lightweight silk around.
Conclusion
Laser cutting silk safely comes down to patience and proper technique. Start with low power, high speed, and multiple light passes. Always test first, ensure good ventilation, and keep safety equipment handy. With the right approach, you can get clean, professional cuts without burning or melting. Take your time, follow these guidelines, and your silk projects will turn out beautifully.
Can you laser cut silk without any burning at all?
Yes, with proper low power settings (8-15%) and high speed (80-100%), you can achieve clean cuts with minimal to no visible burning. The key is using multiple light passes instead of trying to cut through in one heavy pass.
What happens if you use regular cotton settings on silk?
Using cotton settings on silk will likely cause severe burning, melting, and potentially ignite the fabric. Silk burns at much lower temperatures than cotton and needs significantly reduced power levels and different cutting strategies.
Is the smell from laser cutting silk dangerous?
Silk produces sulfur compounds when heated that can irritate your respiratory system. While not extremely toxic in small amounts, you should always use proper ventilation and avoid breathing the fumes directly. Work in well-ventilated areas with exhaust fans.
Why do some silk cuts look melted instead of cut?
Melted edges occur when the laser power is too high or the cutting speed is too slow, causing heat buildup. Silk is a protein fiber that melts rather than burns cleanly when overheated. Reduce power and increase speed to get clean cuts.
Can you laser engrave designs on silk fabric?
Engraving silk is very difficult and often damages the fabric. Unlike cutting, engraving requires the laser to remove material, which typically burns or melts silk. It’s better to focus on cutting designs rather than trying to engrave details into the fabric surface.