How to Emboss Leather Using Your Laser Cutter
Yes, you can emboss leather using your laser cutter by adjusting the power to 10-20% and using multiple passes to create raised designs without cutting through the material. Laser embossing…

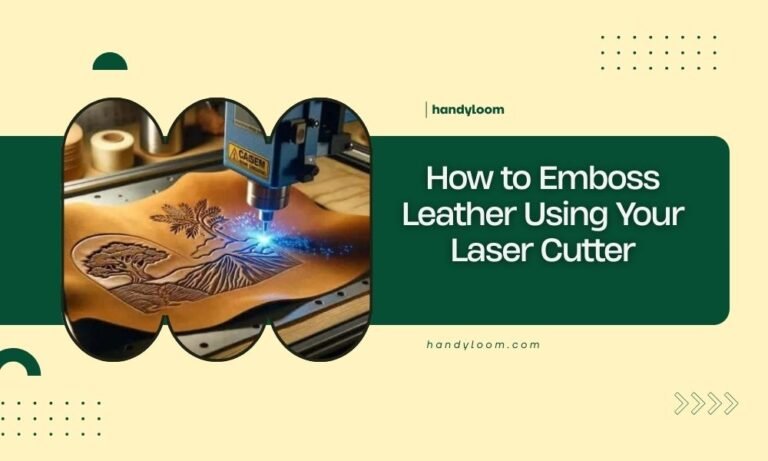
Yes, you can emboss leather using your laser cutter by adjusting the power to 10-20% and using multiple passes to create raised designs without cutting through the material. Laser embossing…
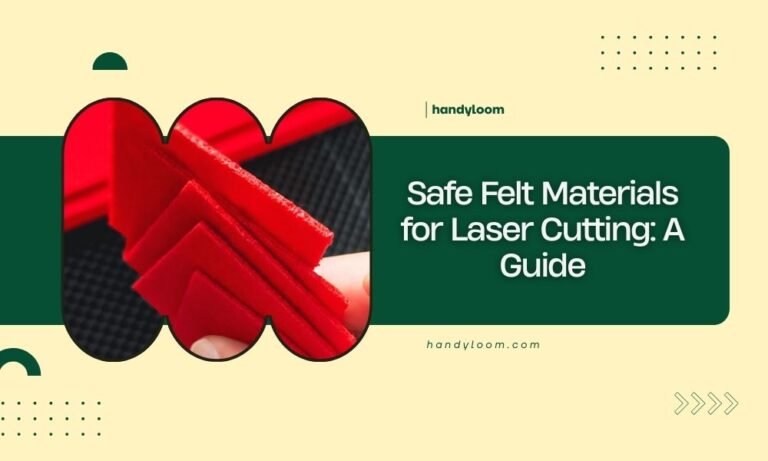
Safe felt materials for laser cutting include 100% wool felt, synthetic polyester felt, and acrylic felt that contain no harmful additives or PVC components. You should always check the manufacturer’s…
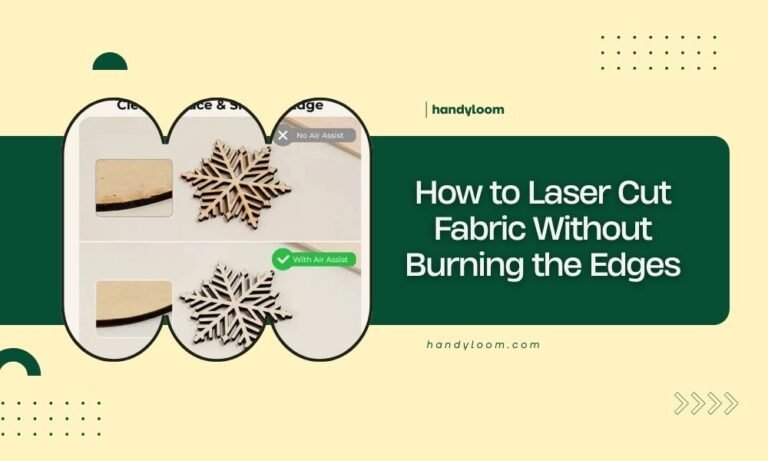
To laser cut fabric without burning the edges, use low power settings between 10-30%, high cutting speeds of 80-100%, and proper air assist to blow away heat and debris. The…
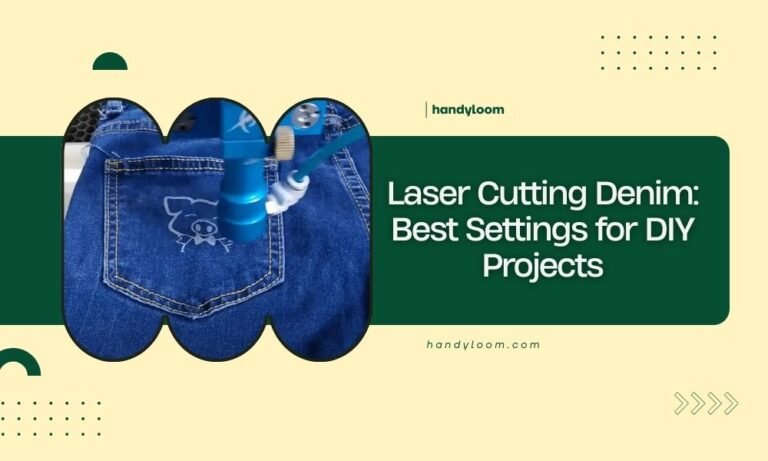
For laser cutting denim, use power settings of 80-100% with speed settings between 10-30mm/min, depending on your denim weight and desired edge quality. Thicker denim requires higher power (90-100%) and…
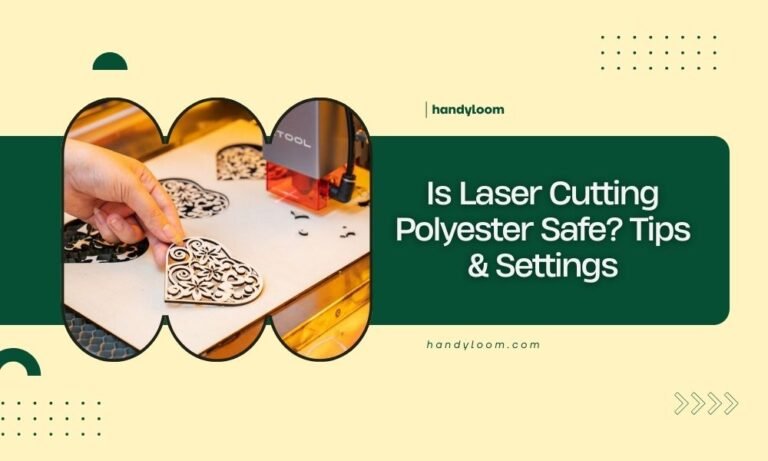
Laser cutting polyester is safe when you use proper ventilation, correct settings, and follow safety protocols to prevent toxic fume inhalation. The key to safe polyester laser cutting lies in…
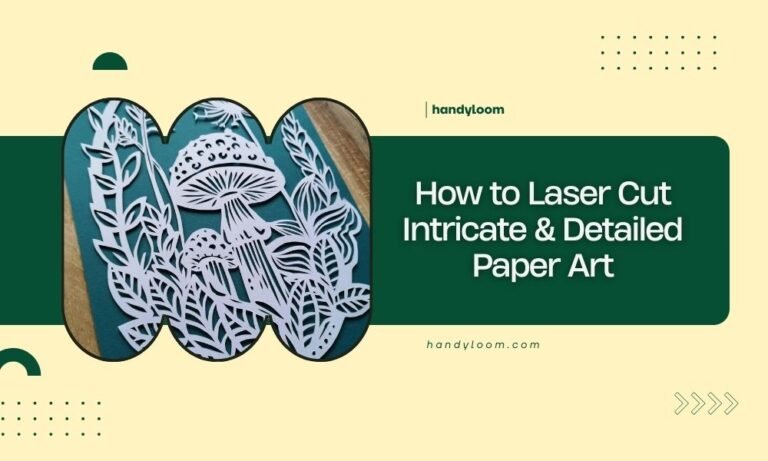
Laser cutting paper art requires precision settings, high-quality paper, and careful speed adjustments to achieve clean, detailed cuts without burning or tearing. Success comes from using vector graphics, proper ventilation,…
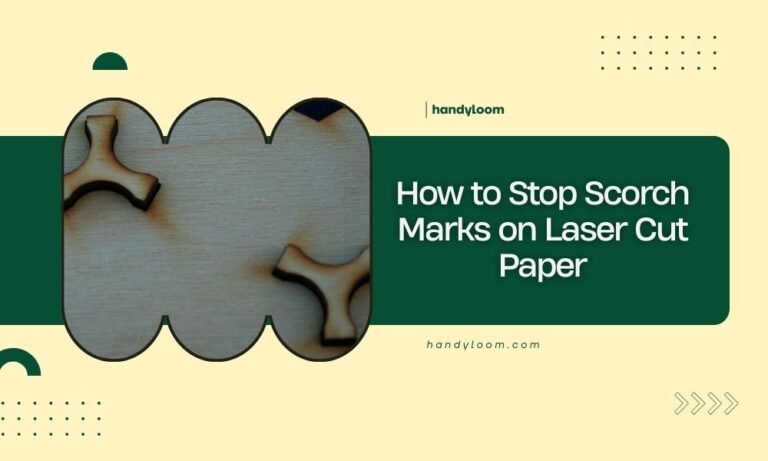
To stop scorch marks on laser cut paper, reduce your laser power by 10-20% and increase cutting speed while using compressed air assist to blow away heat and debris. The…
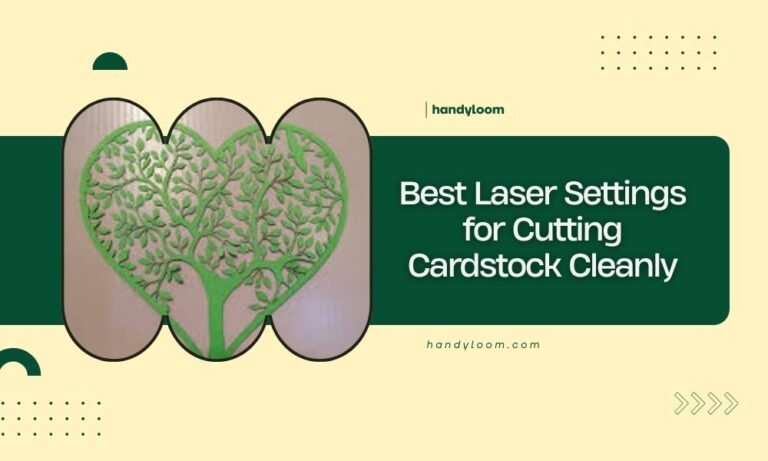
The best laser settings for cutting cardstock cleanly are 10-15% power at 100-150 mm/min speed with 1000 DPI resolution for most 250-300 GSM cardstock. You’ll need to adjust these baseline…
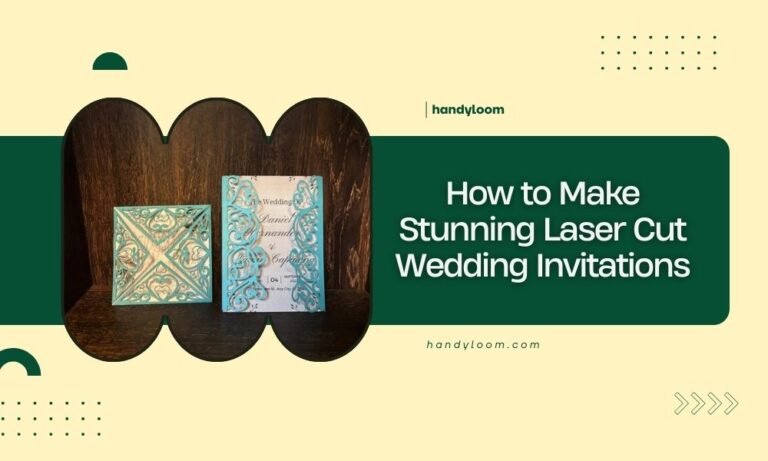
Laser cut wedding invitations combine precision cutting technology with elegant design to create stunning, professional-looking invites that cost 60-80% less than traditional letterpress options. You can make these invitations at…
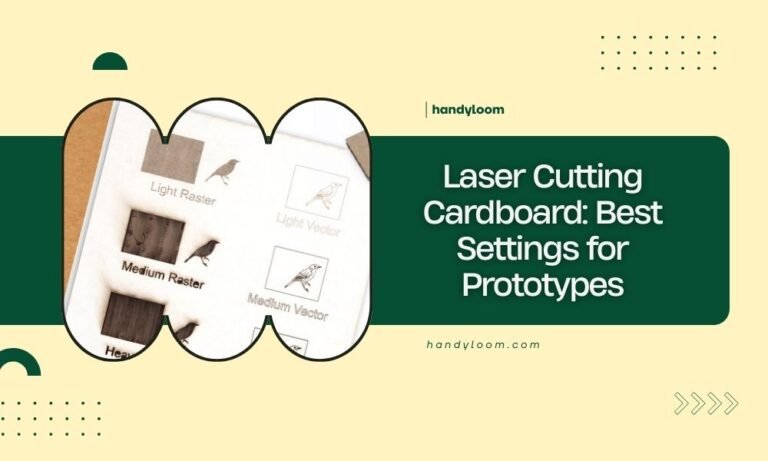
Laser cutting cardboard requires power settings between 60-80% and speeds of 15-25 mm/second for clean prototype cuts. Your air assist should stay at medium pressure while keeping multiple light passes…
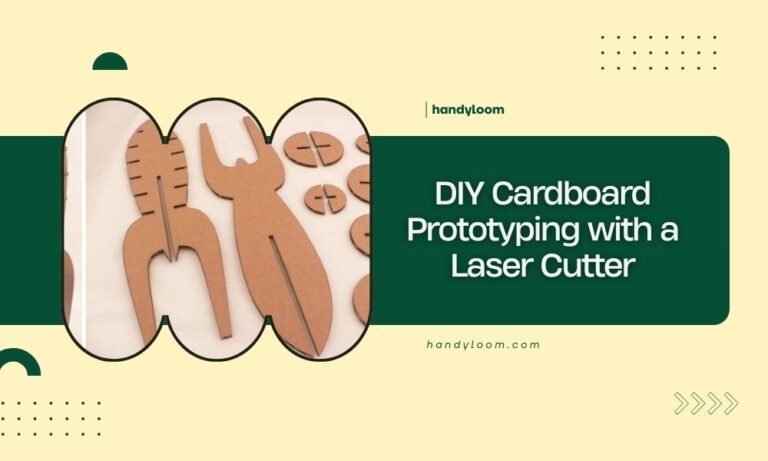
DIY cardboard prototyping with a laser cutter lets you create precise, professional-looking models quickly and affordably using corrugated cardboard sheets. You can prototype everything from product designs to architectural models…
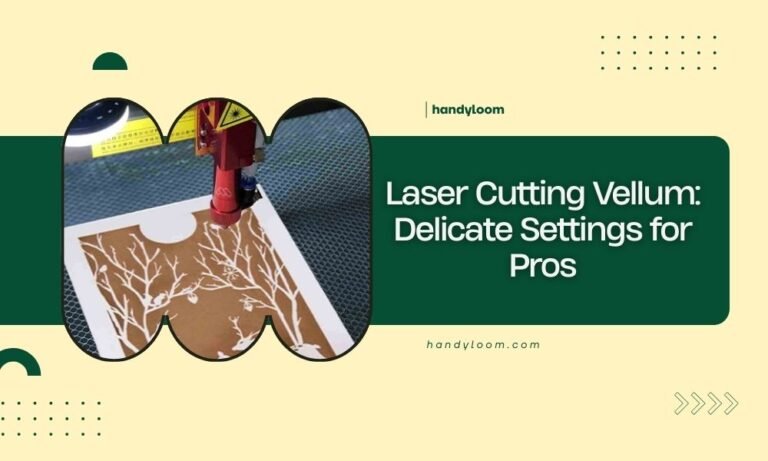
Laser cutting vellum requires power settings between 10-30% and speeds of 80-100% to avoid burning this delicate translucent paper. The key to successful vellum laser cutting lies in using multiple…
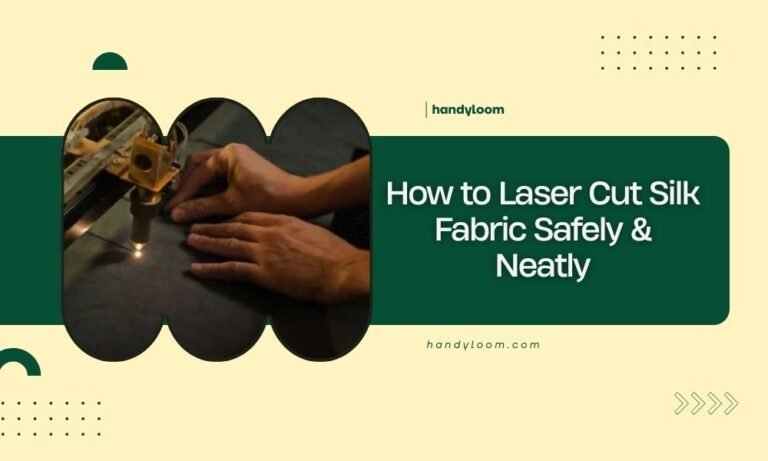
To laser cut silk fabric safely, use low power settings (10-30%), high speed (80-100%), and multiple light passes instead of one heavy cut to prevent burning. Always test on fabric…
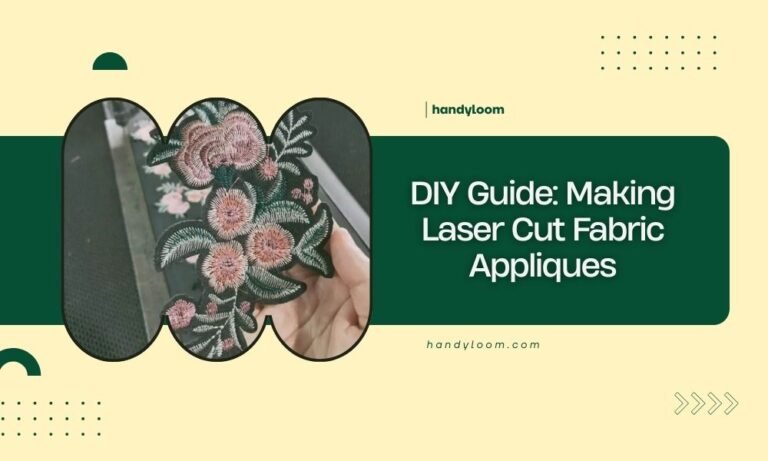
Laser cut fabric appliques are decorative fabric pieces cut with precision laser technology that you can attach to clothing, bags, or home decor items for personalized designs. You can make…

Laser cutting neoprene for DIY coasters requires specific settings: use 40-60% power, 15-25% speed, and multiple light passes instead of one deep cut to prevent melting. The key to successful…
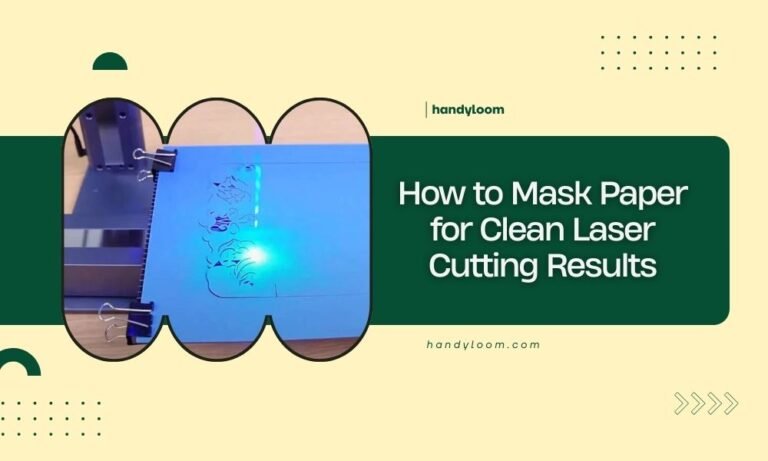
Masking paper for laser cutting involves applying protective film or tape to prevent burn marks and ensure clean edges on your finished project. You can use specialized laser cutting masks,…
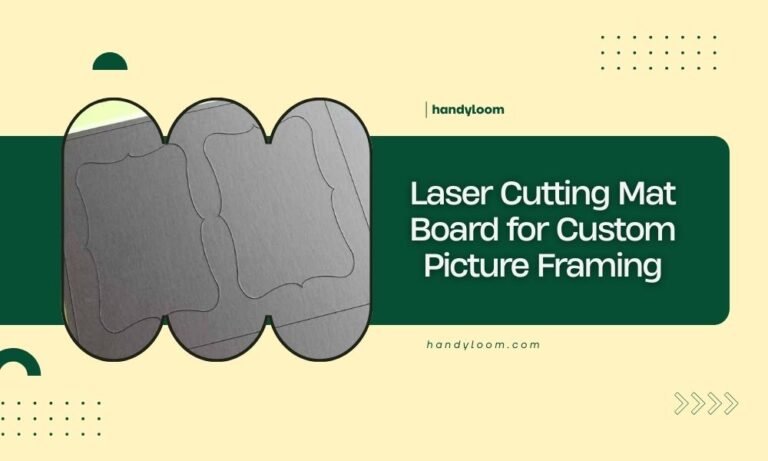
Laser cutting mat board creates precise, clean edges for professional picture framing without the need for expensive cutting tools or manual measuring. You can cut multiple mat boards simultaneously with…
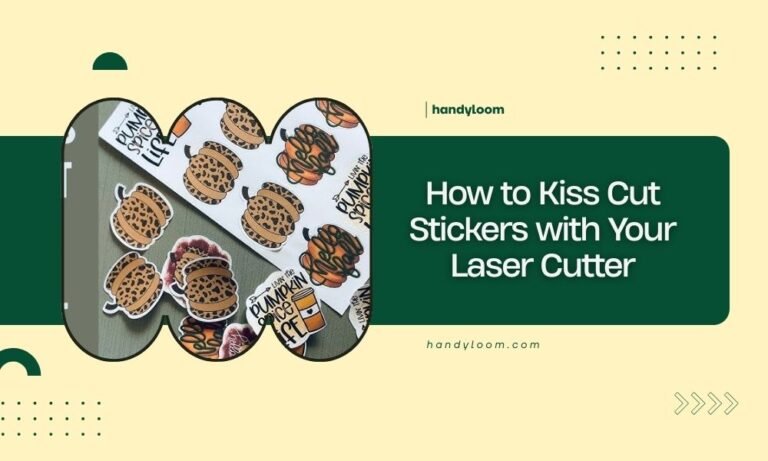
Kiss cut stickers are created by cutting through only the sticker material while leaving the backing paper intact, making them easy to peel and apply. You can kiss cut stickers…
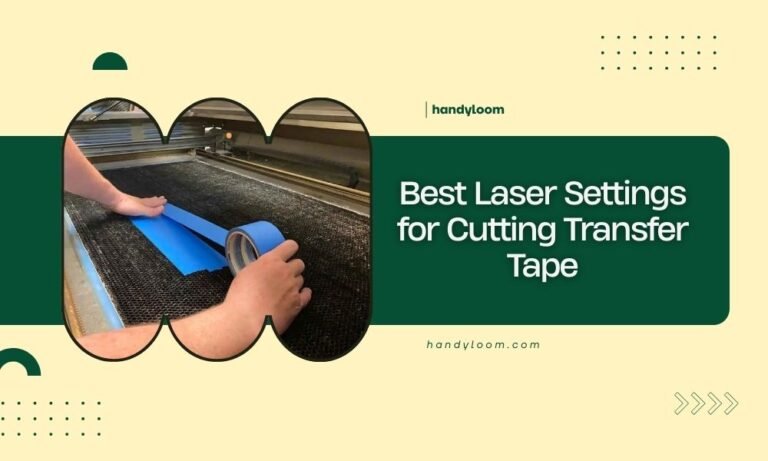
For optimal transfer tape cutting, set your laser to 40-60% power with speeds of 300-600 mm/min and a frequency of 1000-2000 Hz. The exact best laser settings for cutting transfer…
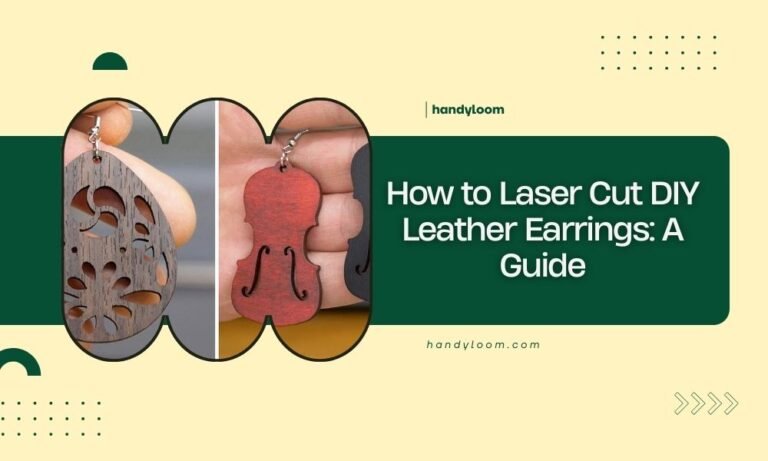
Laser cut DIY leather earrings require a CO2 laser cutter, 2-3oz vegetable-tanned leather, and proper design files to create clean, professional cuts without burning the material. The key to successful…
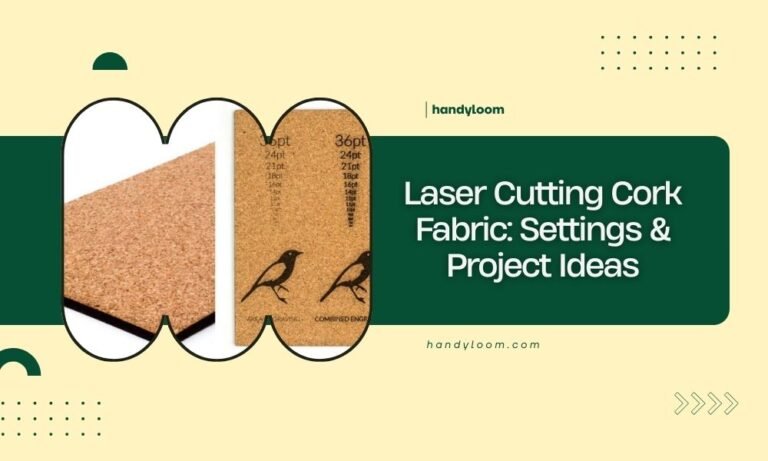
Laser cutting cork fabric requires low power settings of 10-20% and slow speeds of 100-200 mm/min to prevent burning and achieve clean cuts. Cork fabric works best with 40-60W CO2…
To reduce char marks on laser cut white paper, lower your laser power by 10-20% and increase cutting speed by 15-25% from your current settings. You can also use masking…
Yes, you can laser cut multiple sheets of paper at once, but the number depends on your laser’s power, paper thickness, and desired cut quality. Most hobby laser cutters can…

Laser engraving glass bottles requires a CO2 laser with 10-40% power, 100-500 mm/min speed, and multiple passes at 300-600 DPI resolution for crisp results. The key to professional glass bottle…

Dish soap works as an excellent lubricant for engraving glass because it reduces friction and prevents the engraving tool from slipping or chattering. Using dish soap for engraving glass creates…
To laser engrave glass without chipping, use low power settings (10-20%), slow speeds, and apply painter’s tape or soap solution to the glass surface before engraving. The key is controlling…
A laser rotary attachment for glass lets you engrave cylindrical glass objects like bottles, mugs, and vases by rotating them during the laser cutting process. You’ll need proper settings, secure…

For laser engraving slate coasters, the best settings are typically 100% power at 100-200 speed with multiple passes for deep, clean results. Most laser cutters work well with slate using…
To seal laser engraved slate for a dark look, apply multiple thin coats of polyurethane or acrylic sealer, allowing each layer to dry completely before adding the next. The key…
For laser engraving river rocks, use 70-80% power, 500-800 mm/min speed, and 300-600 DPI resolution for best results on most stone types. Clean your rocks thoroughly and apply masking tape…
You can laser mark stainless steel without a fiber laser by using CO2 lasers with marking compounds, diode lasers with specialized coatings, or MOPA lasers with proper parameter adjustments. The…
Laser marking spray like Cermark creates permanent marks on metal by applying a thin coating that bonds with the metal surface when heated by your laser beam. You simply clean…
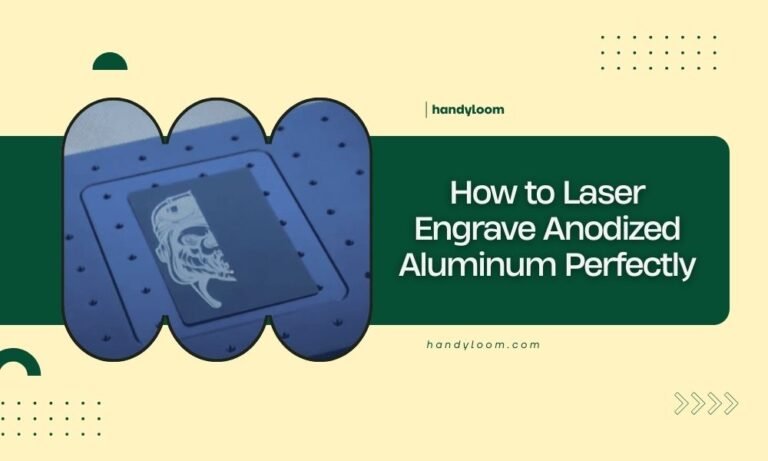
To laser engrave anodized aluminum perfectly, use low power settings (10-30%), slow speeds (100-500 mm/min), and high pulse frequency (20kHz+) to remove the anodized coating without damaging the base metal….

Removing anodization for laser etching metal requires chemical stripping or mechanical abrasion before etching to ensure clean, precise results on your metal surface. You can successfully remove anodization using sodium…
Laser engraving granite tiles requires power settings between 90-100% with slow speeds of 100-300mm/min for deep, clean results. The key to successful granite engraving lies in proper surface preparation, multiple…
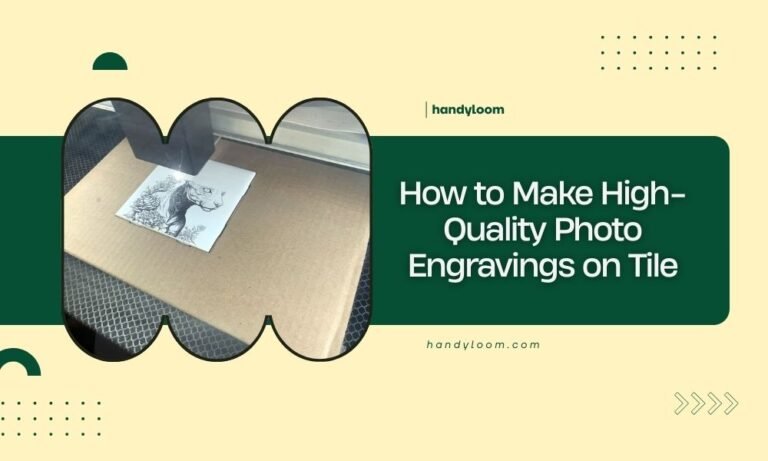
Creating high-quality photo engravings on tile requires a laser engraver set to 300-600 DPI with proper image preparation and ceramic-safe settings. You’ll need grayscale images, clean tile surfaces, and precise…
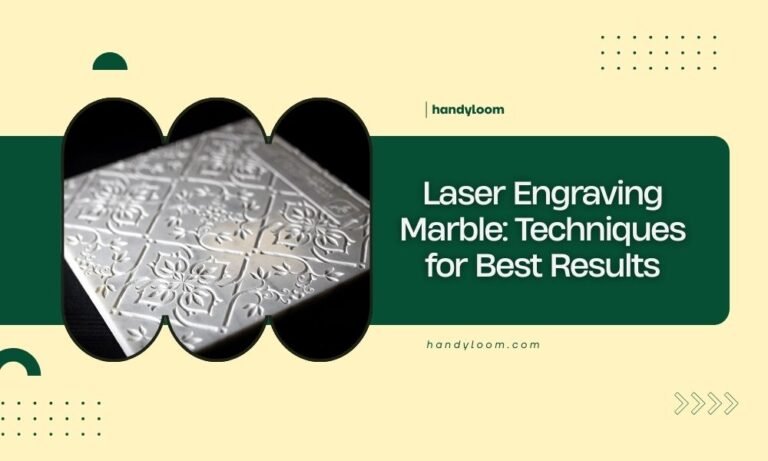
Laser engraving marble requires specific settings and techniques to achieve clean, detailed results without cracking or chipping the stone. You’ll need low power settings (10-30%), multiple passes, and proper surface…
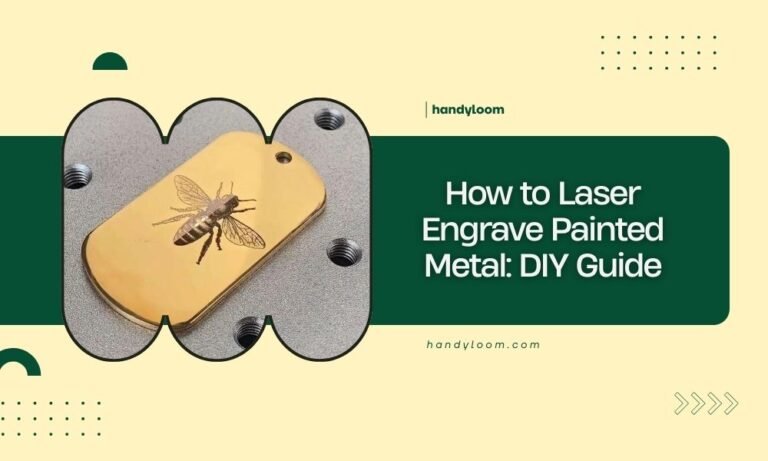
You can laser engrave painted metal by adjusting your laser power to 20-40% and speed to 500-1000mm/min, which removes paint layers without damaging the base metal underneath. The key is…
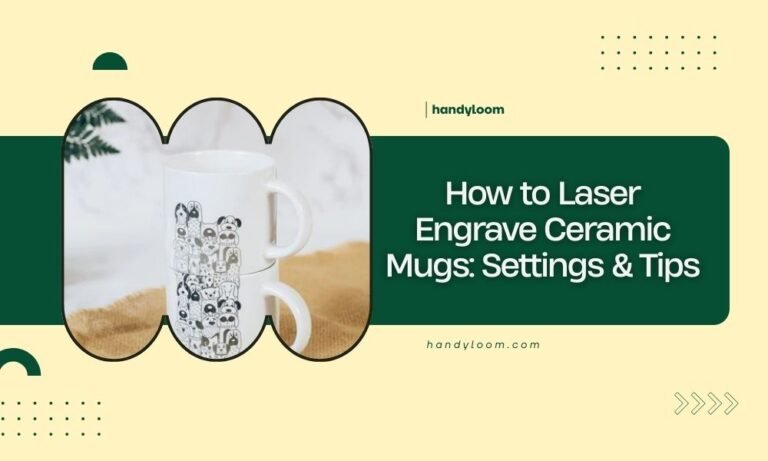
To laser engrave ceramic mugs, set your laser to 30-50% power with 60-80% speed and use multiple passes at 200-300 DPI resolution for best results. The key to successful ceramic…
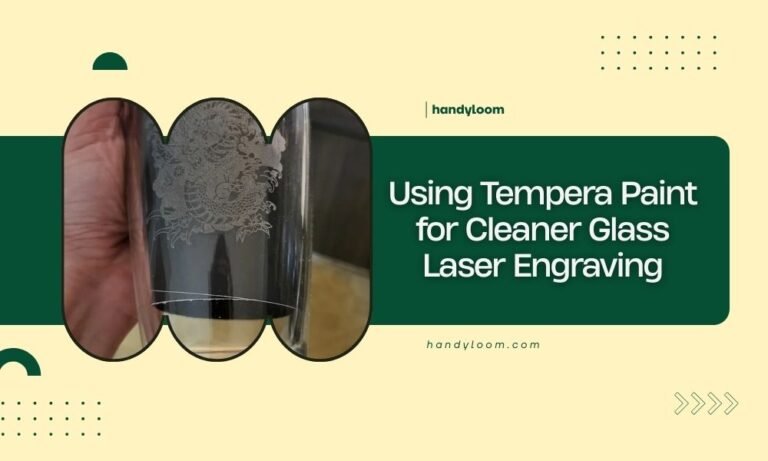
Tempera paint creates a protective coating on glass that helps laser engravers achieve cleaner, more precise engravings with less heat damage and chipping. When you apply tempera paint before laser…
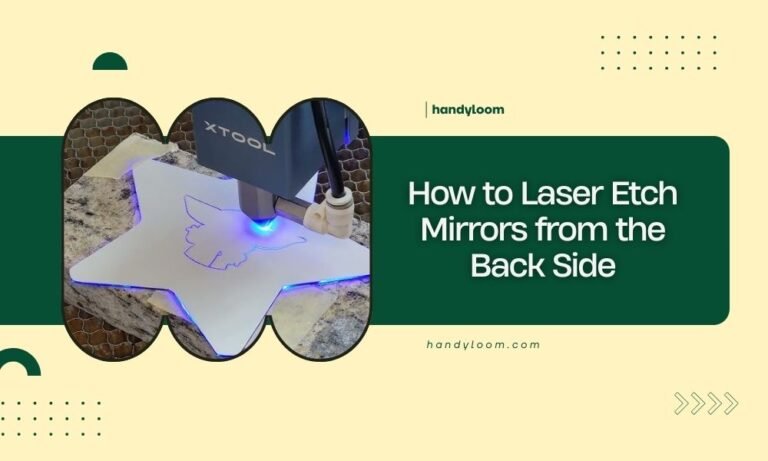
Laser etching mirrors from the back side requires removing the reflective coating in specific patterns, then using low-power laser settings to create designs on the exposed glass surface. You’ll need…
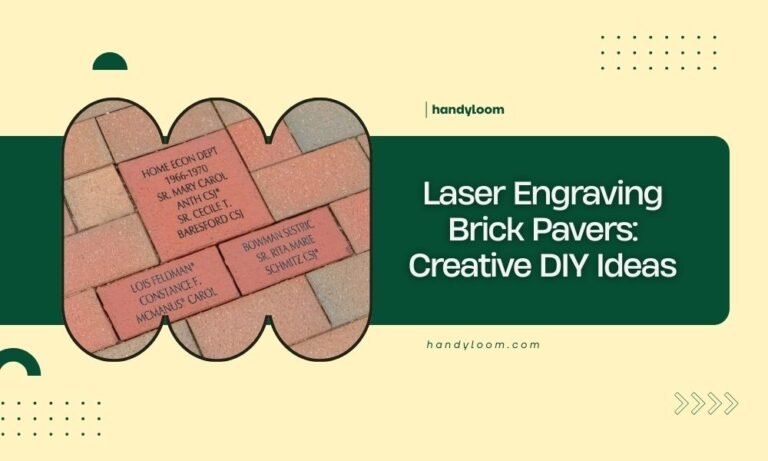
Laser engraving brick pavers transforms ordinary outdoor spaces into personalized works of art using precision laser technology to etch designs, text, or patterns directly onto brick surfaces. You can create…
Darkening laser engraving on slate requires heat application, specialized products, or hand-filling techniques to make the engraved areas more visible and durable. The most effective methods include using a torch…
Laser marking brass requires precise power settings: CO2 lasers work best at 10-15% power with 300-500 mm/min speed, while fiber lasers need 20-30% power at 200-400 mm/min speed. The key…
To laser engrave coated tumblers like YETI-style cups, you need to remove the powder coating first using your laser at high speed and low power before engraving the metal underneath….
To clean residue off laser engraved glass, use isopropyl alcohol (70% or higher) with a lint-free cloth, gently wiping in circular motions to avoid scratching the engraved areas. For stubborn…
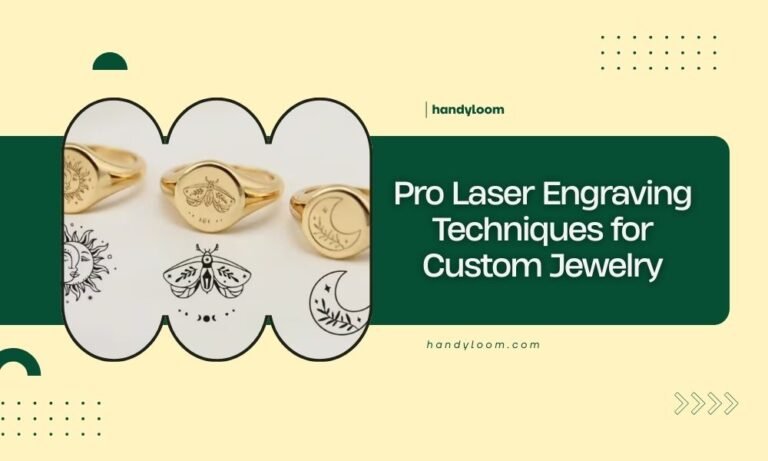
Pro laser engraving techniques for custom jewelry include using low power settings for delicate metals, proper focus calibration, and multi-pass engraving for deeper impressions. Start with test pieces to dial…
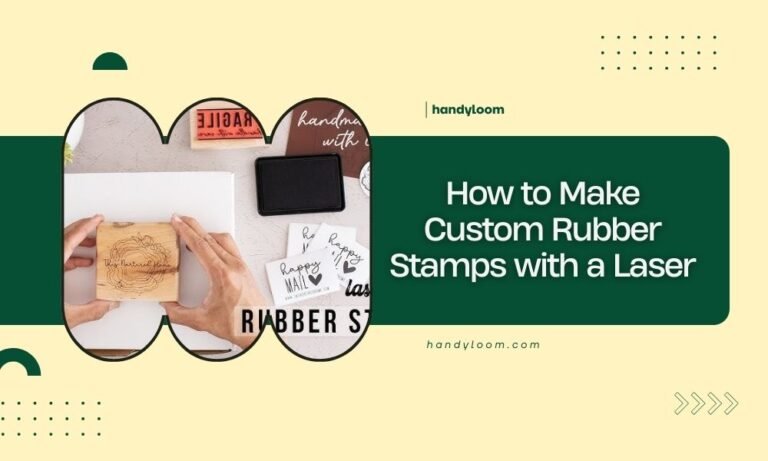
You can make custom rubber stamps with a laser by cutting rubber sheets at 10-20% power and slow speeds around 100-300mm/min. The laser removes material to create raised areas that…
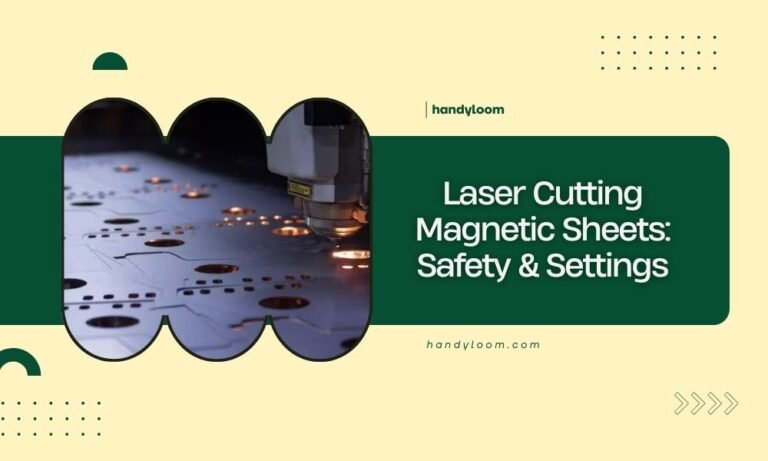
Laser cutting magnetic sheets requires setting your laser power to 50-70% with multiple passes at 10-20mm/min speed to avoid overheating the magnetic material. Safety precautions include proper ventilation, fire extinguisher…
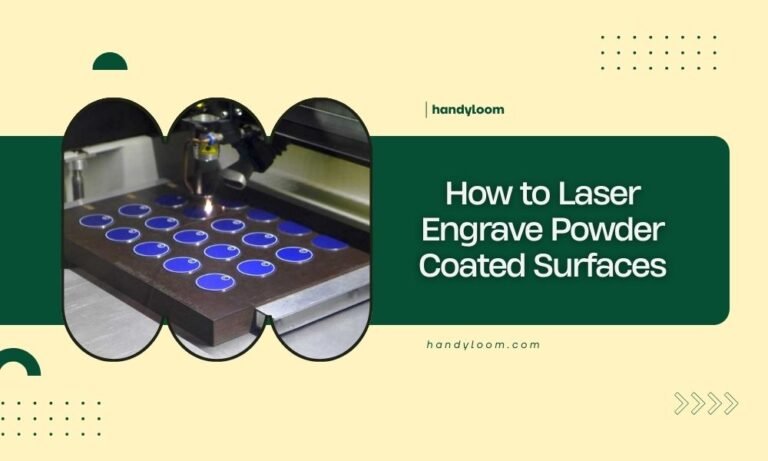
You can laser engrave powder coated surfaces by adjusting your laser settings to remove the coating layer and reveal the substrate beneath. The key is using the right power and…
To cleanly remove coating from engraved tumblers, use acetone or nail polish remover with a soft cloth, working in gentle circular motions around the engraved areas. Heat methods like hair…
Laser engraving mother of pearl requires power settings between 10-30% and multiple light passes to avoid cracking this delicate material. The key to successful mother of pearl engraving lies in…
You can engrave silicone watch bands using a laser engraver with specific settings: 10-15% power, 800-1200 mm/min speed, and multiple light passes to avoid melting the material. The key to…
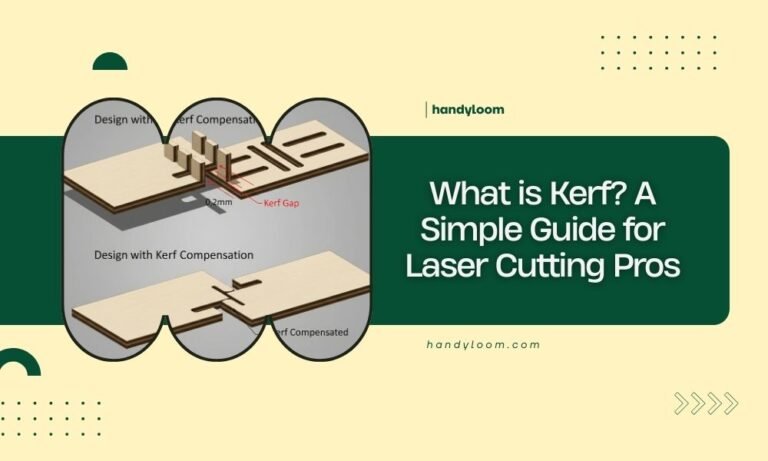
Kerf is the width of material that gets removed when your laser cuts through it, creating a narrow gap along the cut line. Understanding kerf helps you make precise cuts…
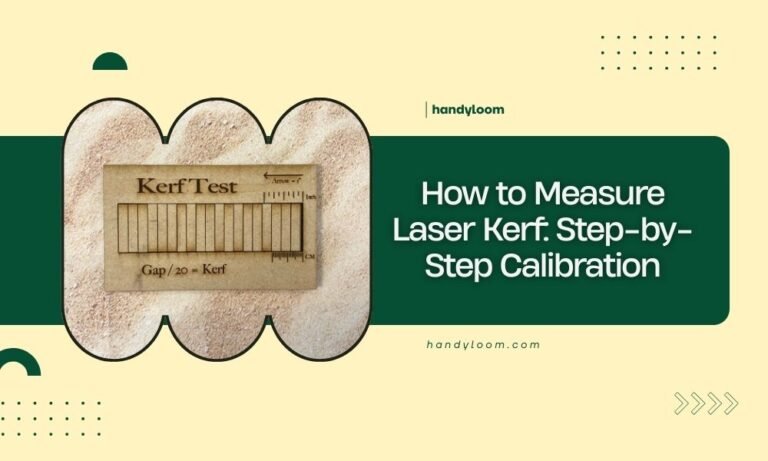
Measuring laser kerf requires cutting test squares and comparing their actual size to the original design dimensions – the difference divided by 2 equals your kerf width. You can calibrate…
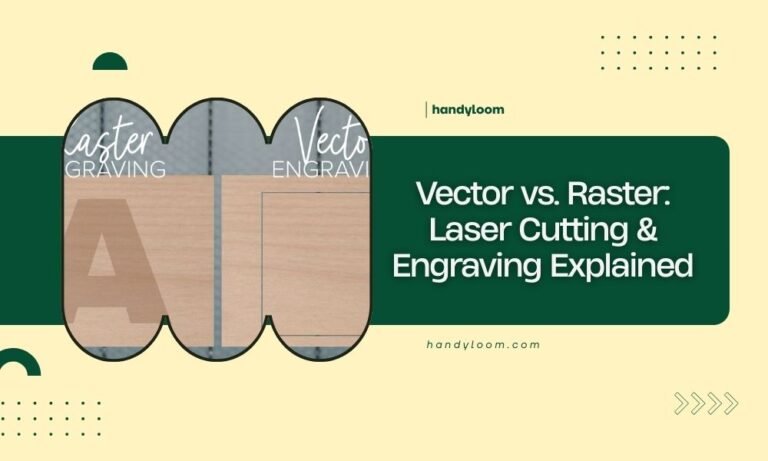
Vector files use mathematical formulas to create scalable graphics, while raster files are made of individual pixels. For laser cutting and engraving, vectors work best for cutting paths, and rasters…
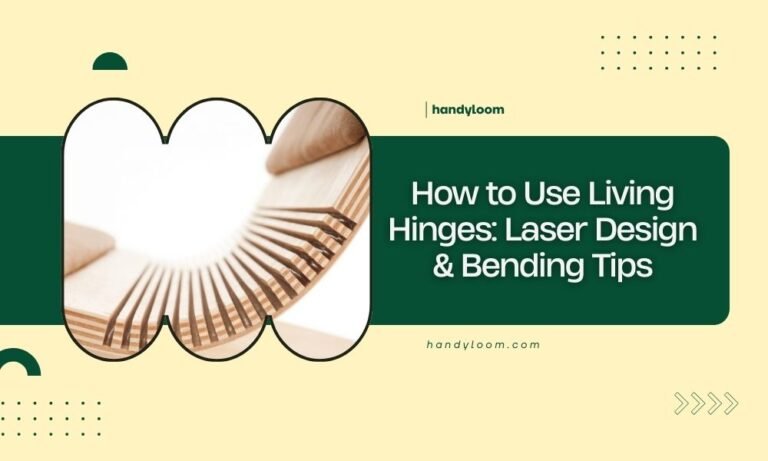
Living hinges are flexible connections laser-cut as a series of cuts that let rigid materials bend like plastic or paper. You create living hinges by cutting parallel lines, waves, or…
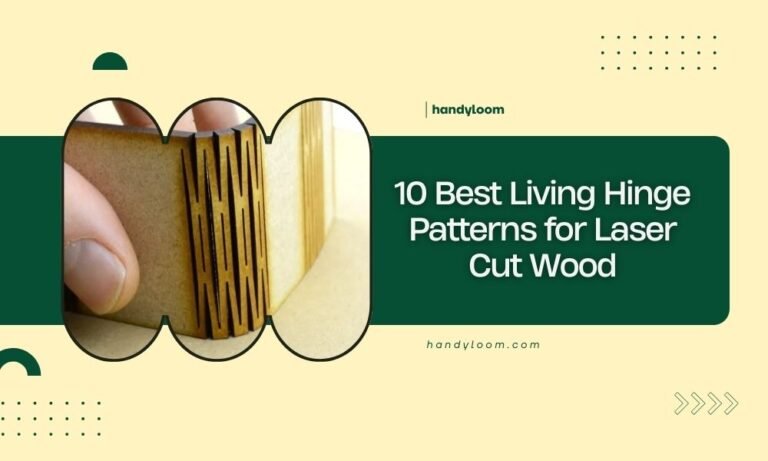
The best living hinge patterns for laser cut wood include wave, diamond, hexagonal, and linear designs that flex smoothly without breaking. Living hinge patterns work by creating strategic cuts that…

Perfect laser cut box finger joints require precise kerf compensation, proper material thickness calculations, and consistent spacing between fingers that’s typically 1.5 to 3 times your material thickness. Your finger…

Designing tabs and slots for laser models requires precise measurements and proper joint spacing to create strong, interlocking connections between your cut pieces. The key to successful tab and slot…
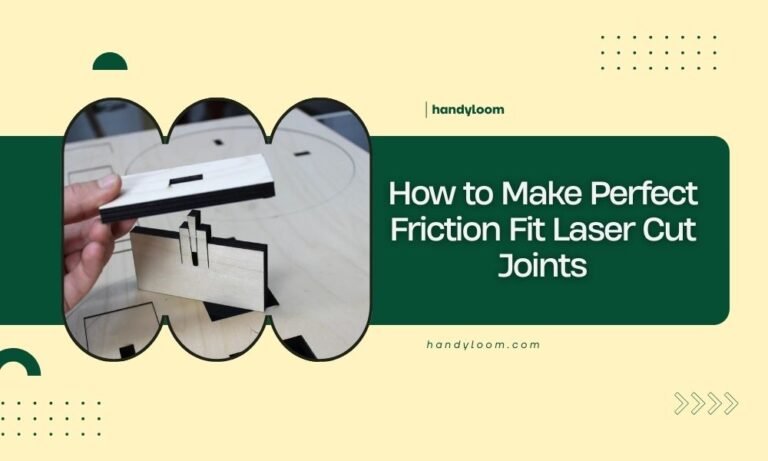
Perfect friction fit laser cut joints require precise kerf compensation and material consideration to create connections that hold firmly without glue or fasteners. The key to successful friction fit joints…
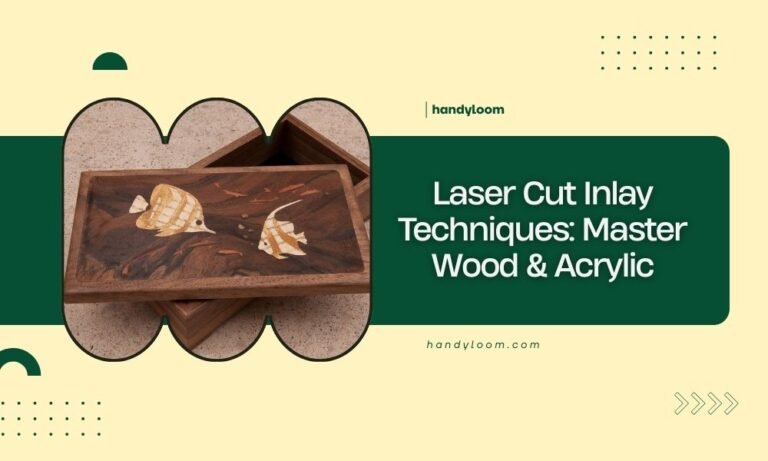
Laser cut inlay techniques combine precision cutting with creative design to embed materials like wood and acrylic seamlessly into each other. You can master these techniques by understanding proper kerf…
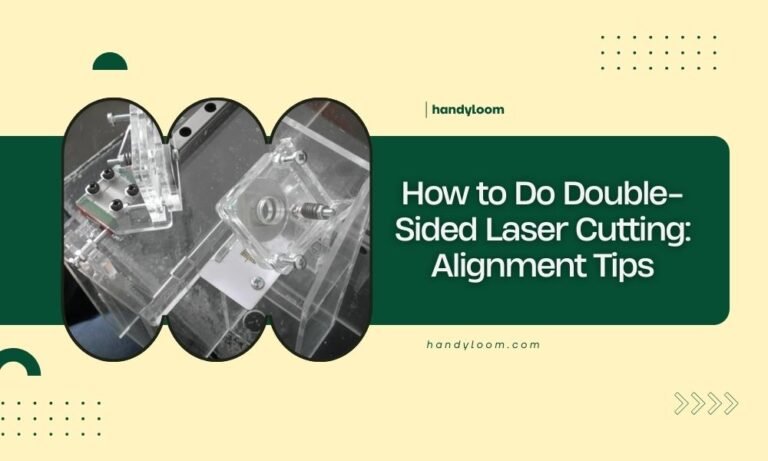
Double-sided laser cutting requires perfect alignment between the front and back cuts to create clean, professional results. You can achieve precise double-sided laser cutting by using registration marks, jigs, and…
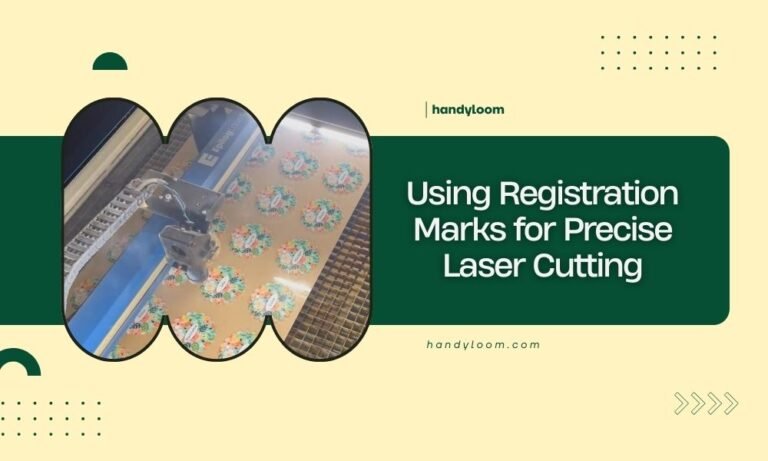
Registration marks are reference points laser cutters use to align materials perfectly for precise cuts. These small marks ensure your designs cut exactly where intended, eliminating waste and improving accuracy….
You can cut materials larger than your laser bed size by using pass-through cutting, which involves sliding long materials through your laser cutter’s pass-through slot while cutting in sections. Pass-through…
Snap-fit joints for laser cutting combine a male protrusion with a female receptacle that clicks together permanently or temporarily without adhesives or fasteners. You’ll need to design with 0.1-0.2mm clearance,…
Creating halftone images for laser engraving involves converting photos into dot patterns that your laser can process effectively. You’ll need image editing software, proper dot spacing settings, and the right…
Laser dithering modes control how your laser cutter converts photo details into patterns of dots and lines for engraving. The best dithering mode depends on your photo type: Floyd-Steinberg works…

To focus your laser cutter for sharpest results, adjust the focal distance so the laser beam hits exactly at your material’s surface. Most laser cutters need the focal point set…
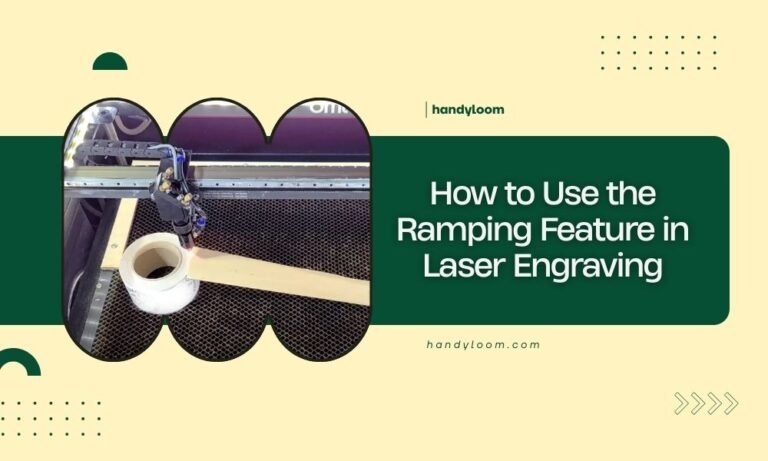
The ramping feature in laser engraving gradually increases and decreases laser power at the start and end of cuts to prevent burn marks and overheating. This creates smoother edges and…
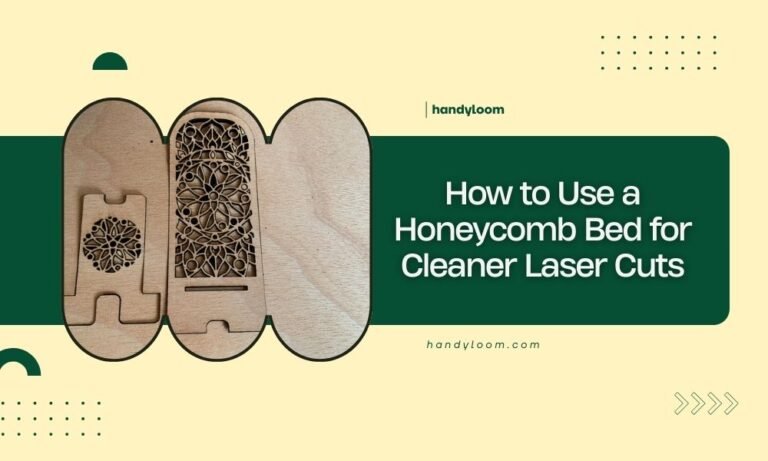
A honeycomb bed creates an air gap beneath your material, allowing laser fumes and debris to fall away instead of getting trapped under your project. This simple setup dramatically reduces…
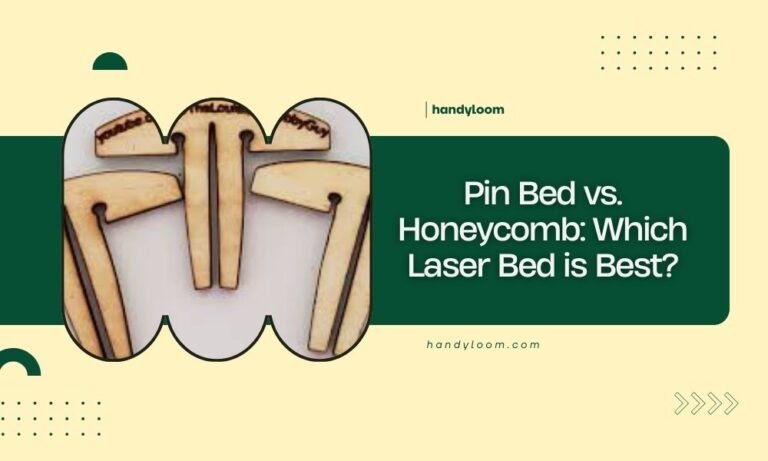
Pin bed laser cutting tables offer excellent support for delicate materials and intricate cuts, while honeycomb beds provide superior ventilation and are ideal for thicker materials that need strong airflow….
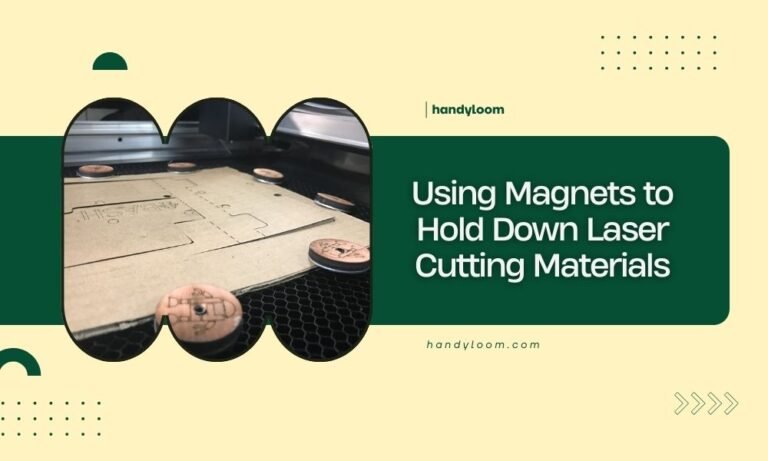
Using magnets to hold down laser cutting materials works well for ferrous metals like steel and iron, providing strong, even pressure without damaging your workpiece. Magnetic hold-downs create secure material…

You can upgrade your laser air assist pump for depth by installing a higher CFM pump, adjusting pressure settings, and optimizing nozzle positioning for deeper cuts. The key upgrade involves…
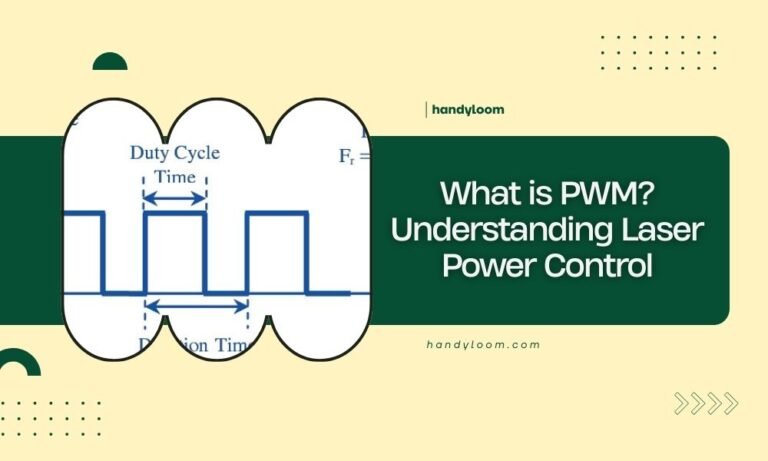
PWM stands for Pulse Width Modulation, a method that controls laser power by rapidly switching the laser on and off in precise intervals. This technique lets you adjust cutting depth,…
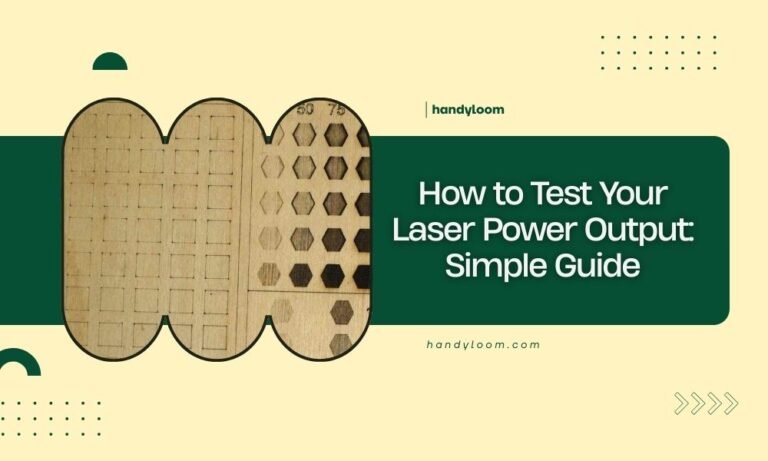
You can test your laser power output using a simple power meter device or by performing burn tests on different materials at various settings. Regular laser power testing helps maintain…

Steps per MM calibration determines how far your laser moves for each motor step, directly affecting cutting and engraving precision. Incorrect calibration causes dimensional errors, poor cut quality, and wasted…
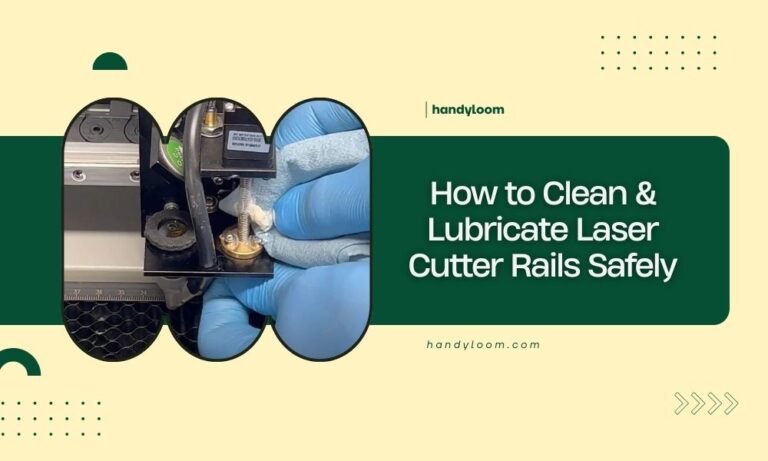
Clean your laser cutter rails by powering down the machine, removing debris with a lint-free cloth, and applying appropriate lubricant to the linear guides. Regular rail maintenance prevents costly breakdowns…
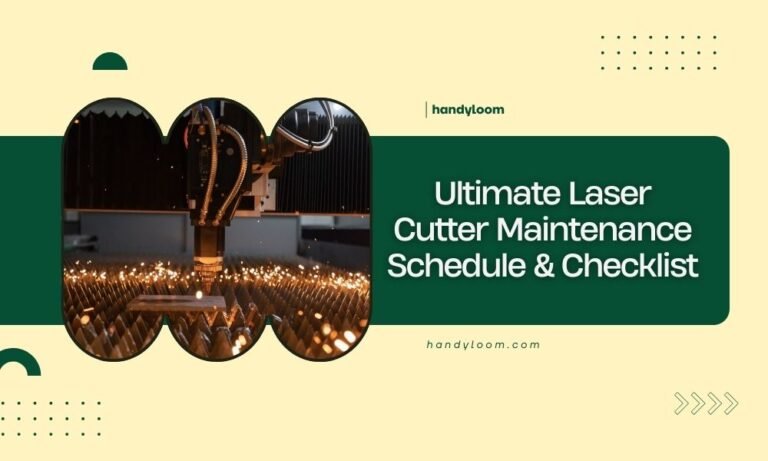
Your laser cutter maintenance schedule should include daily cleaning, weekly lens checks, and monthly alignment tests to prevent costly repairs and maintain cutting quality. A proper laser cutter maintenance checklist…
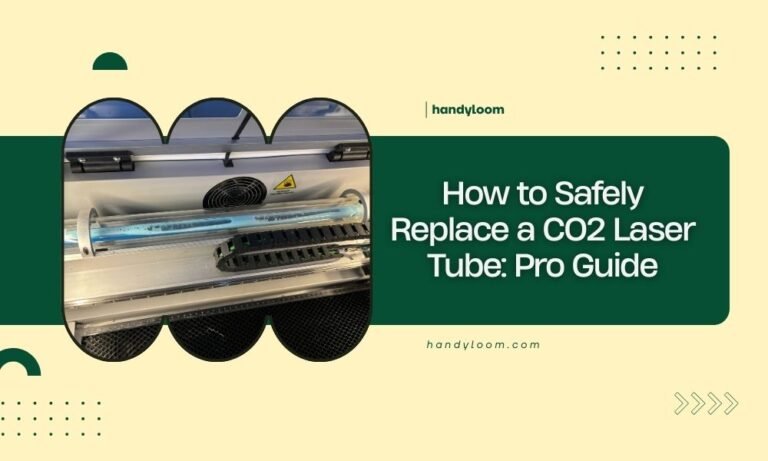
Replacing a CO2 laser tube safely requires turning off power, wearing safety equipment, and following proper disconnection steps. Most laser tubes need replacement every 8,000-10,000 hours of use or when…
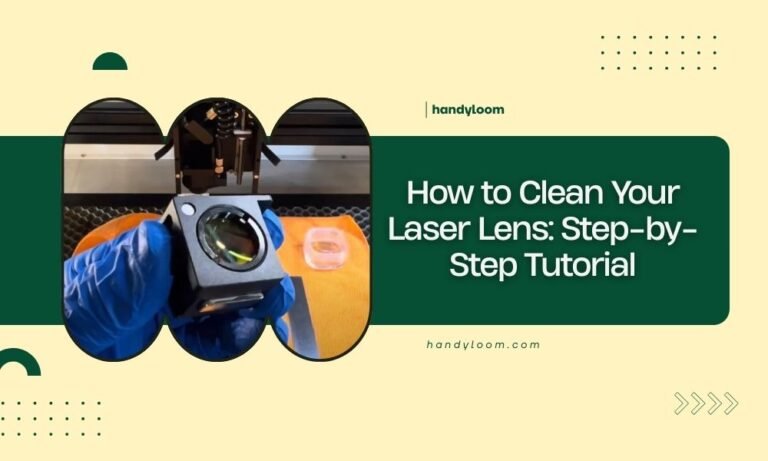
Clean your laser lens by first powering down your machine, then gently wiping the lens with isopropyl alcohol and a lint-free cloth in circular motions from center outward. A dirty…
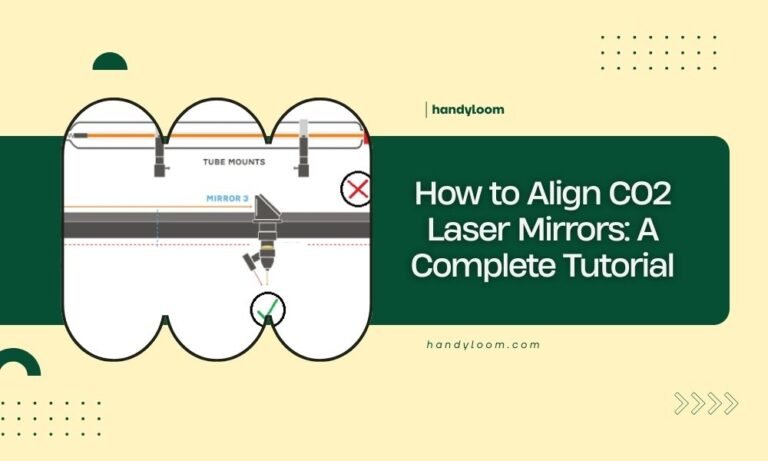
Aligning CO2 laser mirrors requires adjusting each mirror in sequence, starting from the tube and working toward the cutting head, using burn tests on masking tape to check beam alignment…
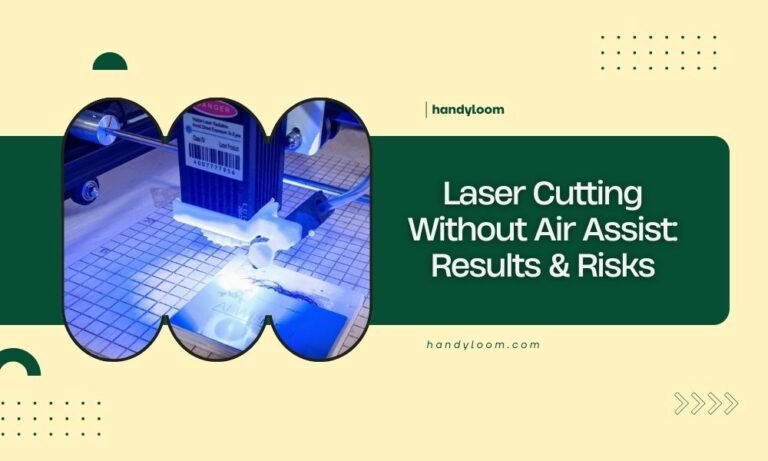
Laser cutting without air assist produces rougher cuts, more heat damage, and increased fire risk compared to using air assist systems. You can laser cut without air assist, but expect…
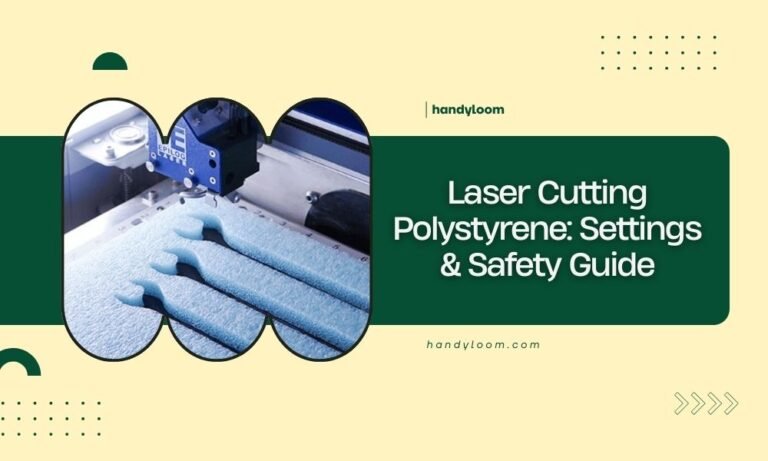
Laser cutting polystyrene requires specific settings: 10-20% power at 30-50mm/min speed with multiple passes to prevent melting and toxic fume release. Always work in a well-ventilated area or use proper…
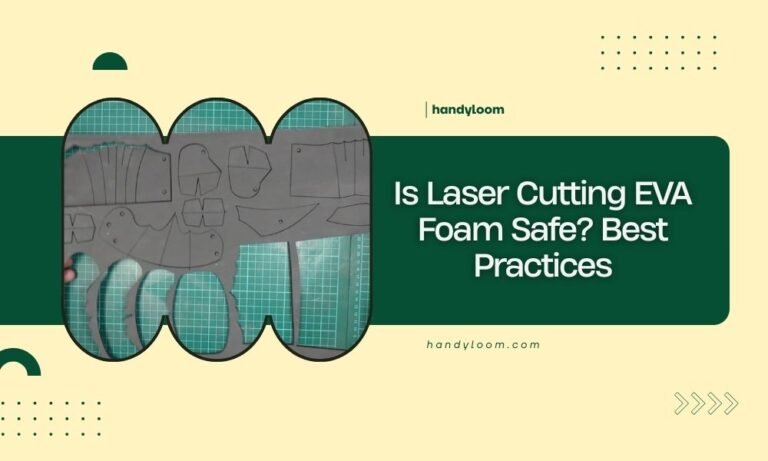
Laser cutting EVA foam is generally not safe due to toxic fume release and potential fire hazards when the material overheats. Most laser cutting experts recommend avoiding EVA foam entirely,…
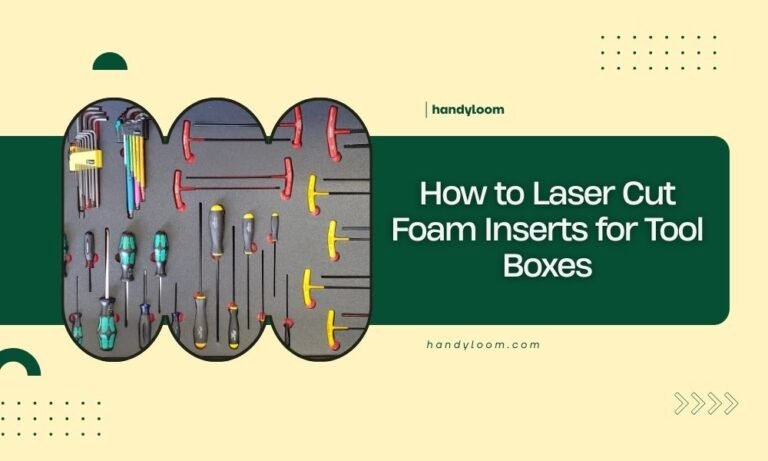
To laser cut foam inserts for tool boxes, set your laser to low power settings (10-30%), use slow cutting speeds, and ensure proper ventilation for safe foam cutting. Choose closed-cell…
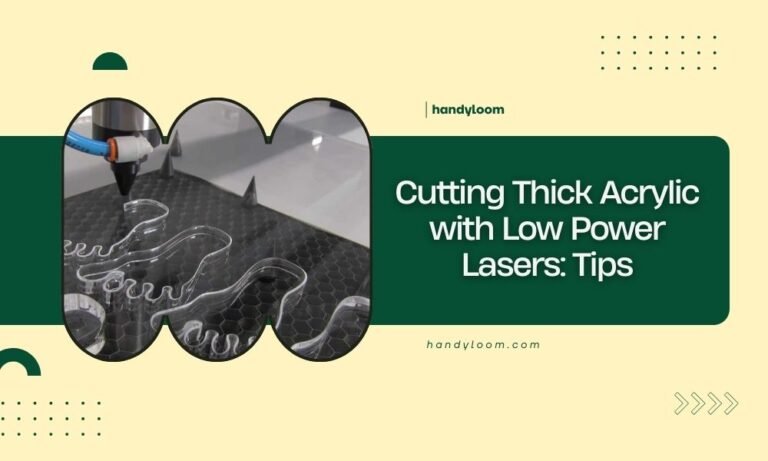
You can cut thick acrylic with low power lasers by using multiple passes at reduced speed, proper ventilation, and optimal focus settings. The key to cutting thick acrylic with low…
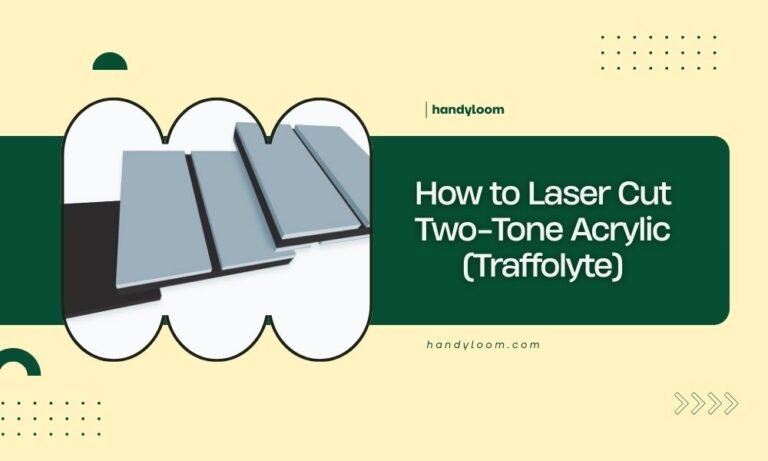
Laser cutting two-tone acrylic (Traffolyte) requires specific settings and techniques to achieve clean cuts without melting the layered material. You need lower power settings, higher cutting speeds, and proper air…

Making laser cut acrylic jewelry requires designing your pattern, choosing the right acrylic thickness, and using proper cutting settings for clean edges. You can create stunning acrylic jewelry pieces at…
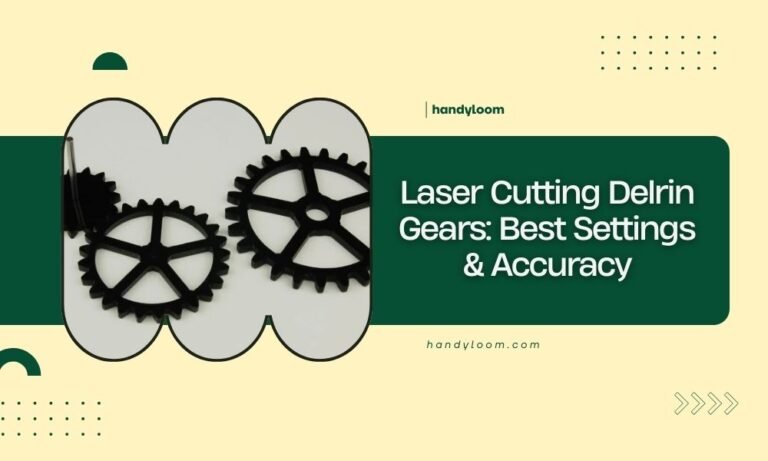
Laser cutting Delrin gears requires speeds of 150-300 mm/min and power settings between 60-80% for clean, accurate cuts. The key to perfect Delrin gear cutting lies in proper ventilation, multiple…
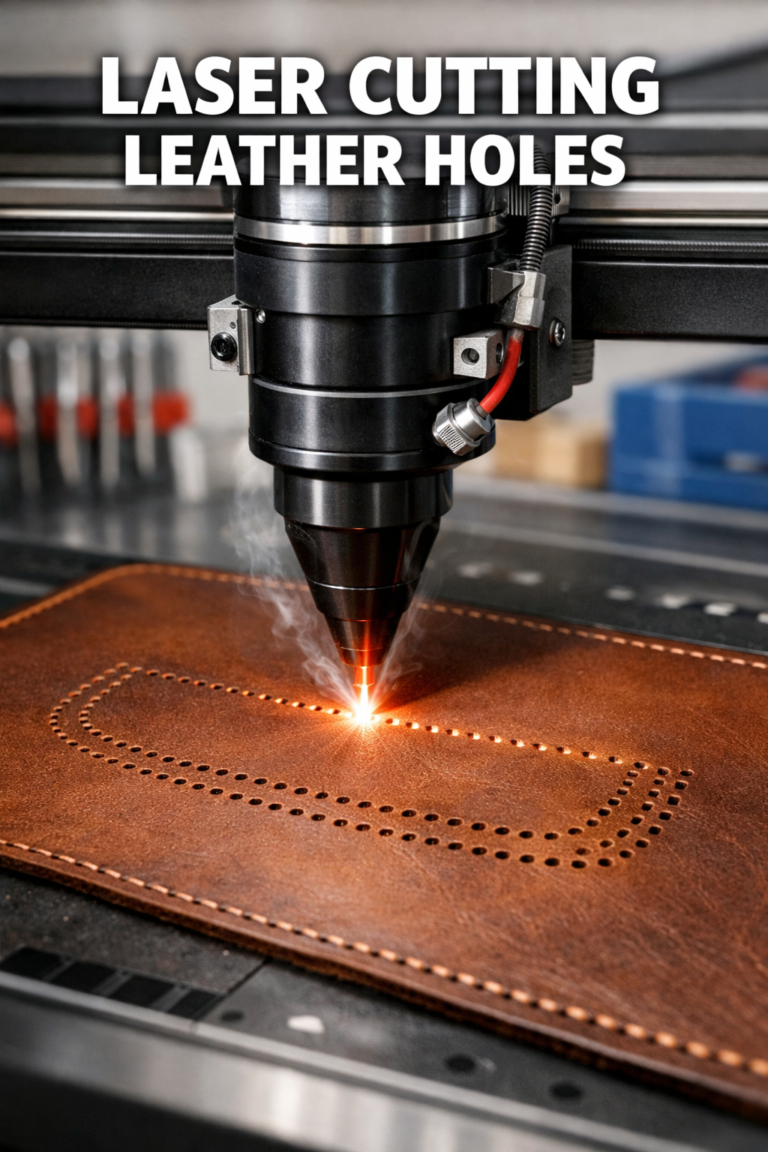
Adding laser cut sewing holes to leather requires precise marking, proper laser settings, and clean finishing techniques to create professional-quality perforations for your projects. You can achieve perfect sewing holes…
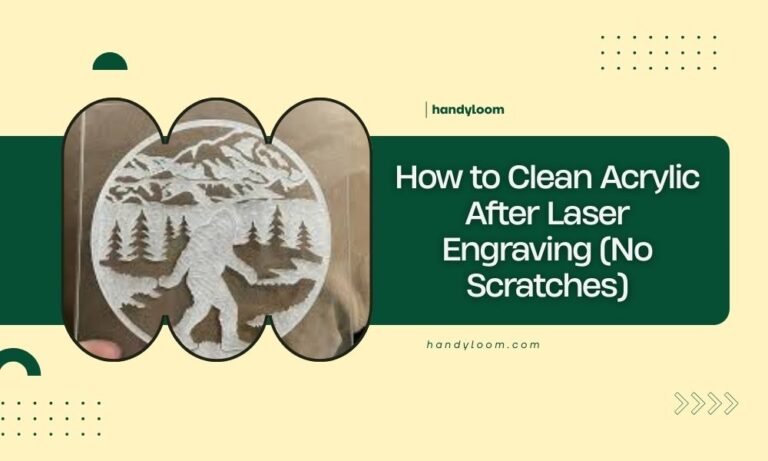
To clean acrylic after laser engraving without scratches, use warm soapy water with a microfiber cloth, moving in straight lines rather than circles. Avoid abrasive cleaners and always remove the…
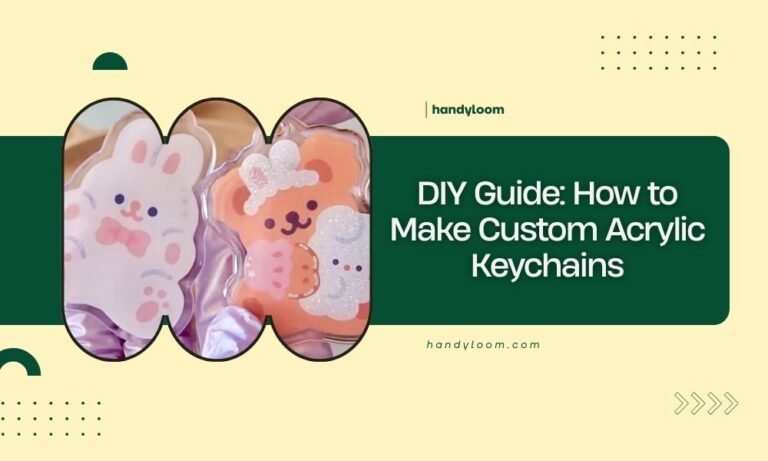
Making custom acrylic keychains requires cutting acrylic sheets with laser cutting tools or manual methods, then adding design elements and keychain hardware for a personalized finished product. You can create…
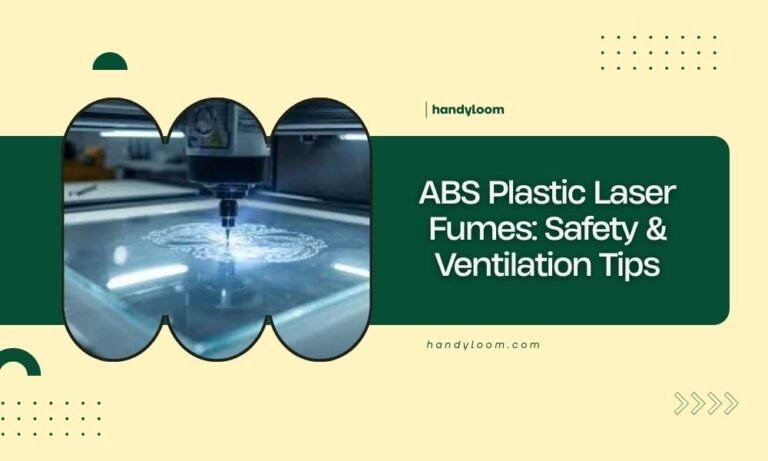
ABS plastic laser fumes contain harmful chemicals including hydrogen cyanide, carbon monoxide, and other toxic compounds that require proper ventilation and safety measures. You need exhaust ventilation, air filtration systems,…

Laser cutting polypropylene requires power settings between 40-70% and speeds of 15-25 mm/s for clean cuts without melting. The key to successful polypropylene cutting lies in finding the balance between…
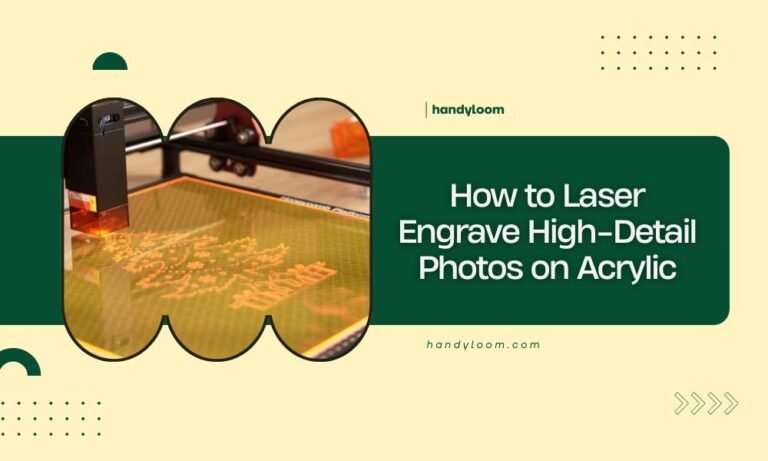
To laser engrave high-detail photos on acrylic, you need to convert your image to grayscale, adjust the contrast and brightness, then use specific laser settings with low power (10-30%) and…
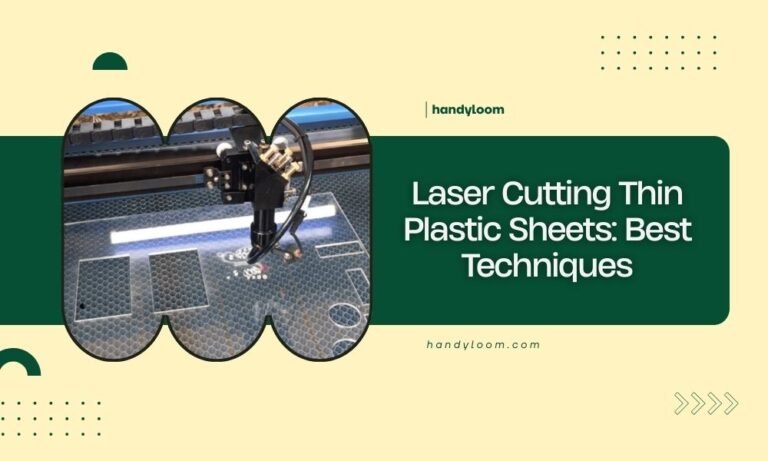
Laser cutting thin plastic sheets requires proper settings, material preparation, and ventilation to achieve clean cuts without melting or warping. The best techniques for laser cutting thin plastic sheets include…
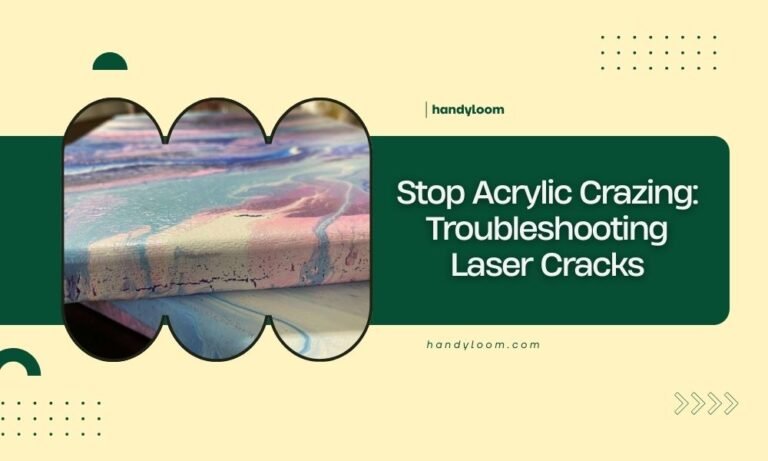
Acrylic crazing happens when your laser cuts create stress fractures that look like spider webs in the material. You can prevent laser cracks by using proper power settings, slower cutting…
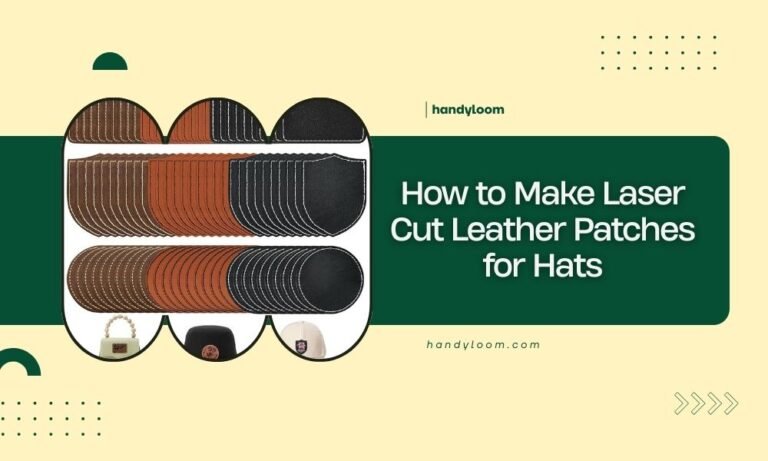
Making laser cut leather patches for hats requires choosing the right leather thickness, creating digital designs, and using proper laser settings for clean cuts without burning. You can create professional-looking…
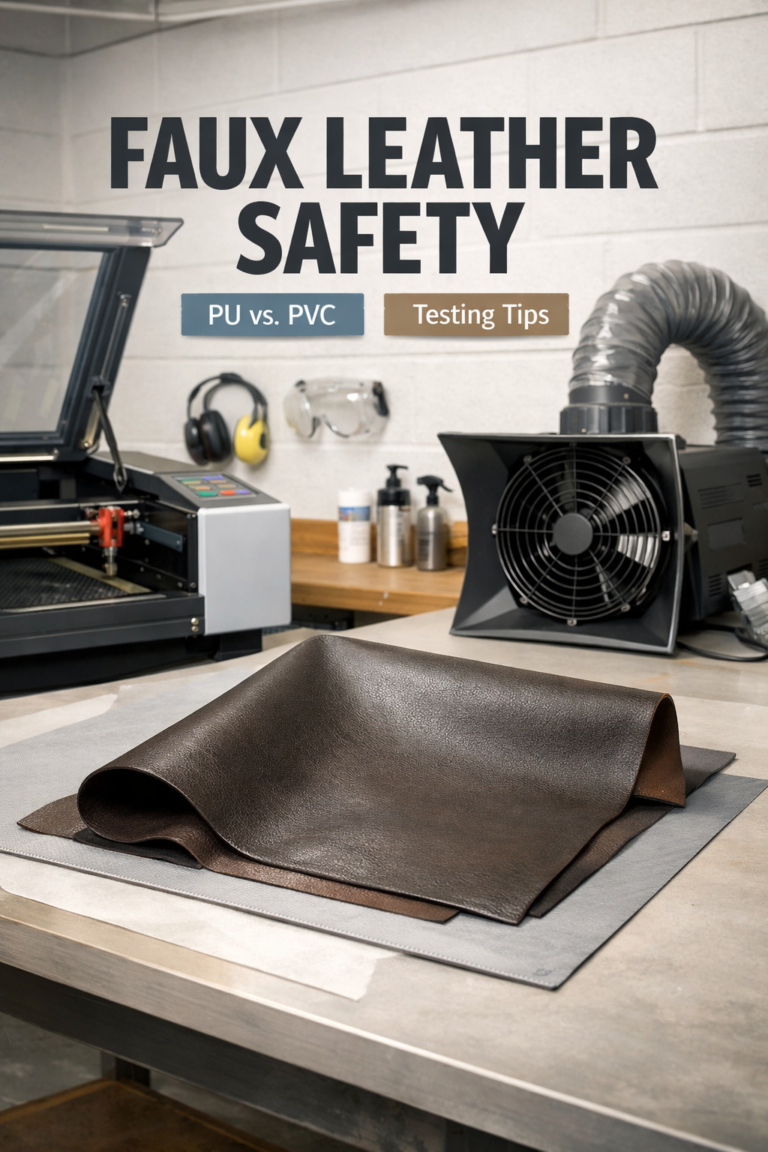
Faux leather is generally safe to laser cut if you use synthetic materials like polyurethane (PU) rather than PVC-based versions. The key is knowing what type of faux leather you’re…
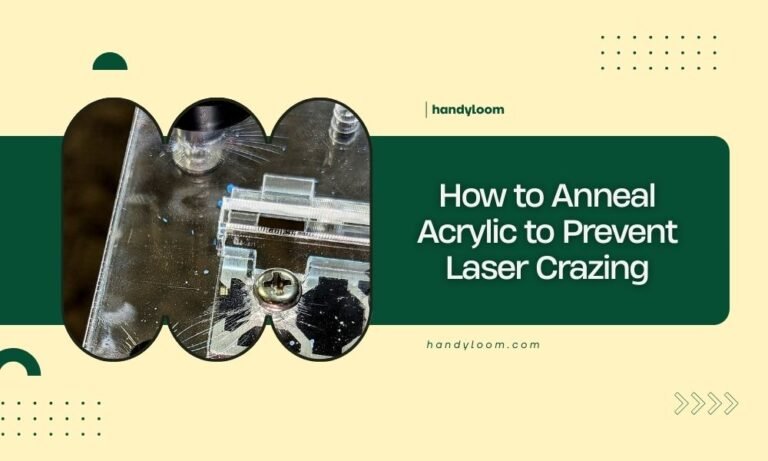
Annealing acrylic before laser cutting involves heating the material to 160-180°F (70-80°C) for 1-2 hours per inch of thickness, then slowly cooling it to relieve internal stress and prevent crazing….
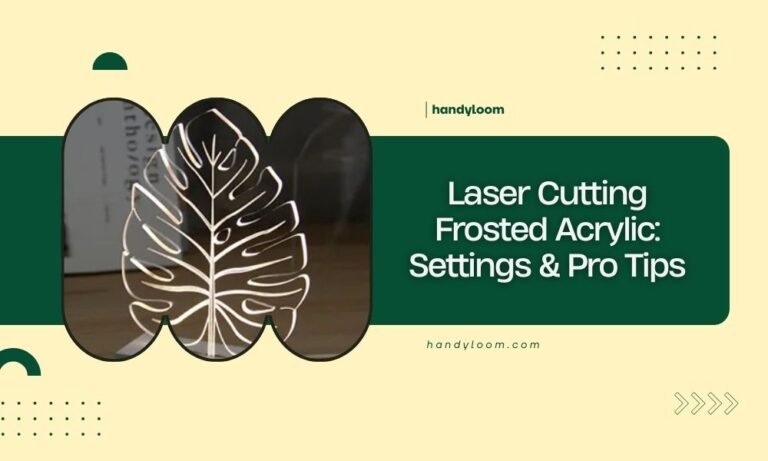
Laser cutting frosted acrylic requires lower power settings (20-40%) and slower speeds (5-15 mm/s) compared to clear acrylic to prevent melting and achieve clean edges. The key to perfect frosted…
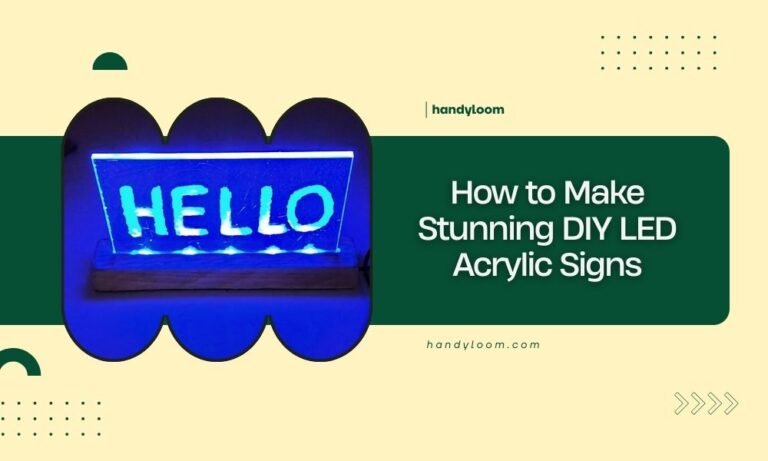
You can make stunning DIY LED acrylic signs by cutting clear acrylic with a laser cutter and installing LED strip lights along the edges to create an illuminated effect. The…
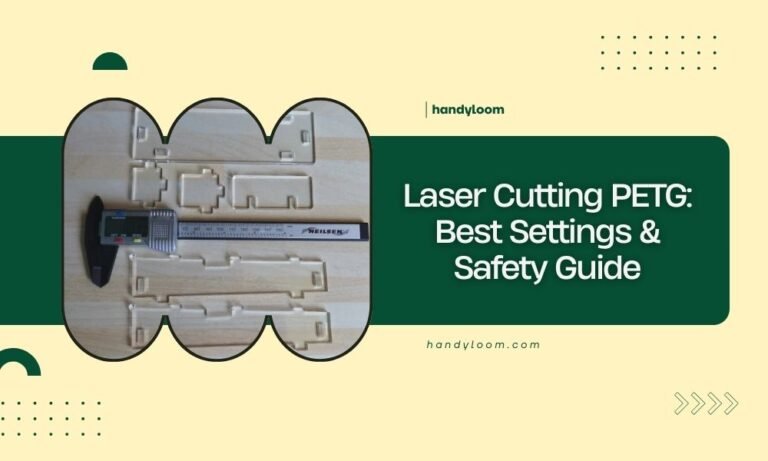
Laser cutting PETG requires specific power settings between 40-60% with speeds of 20-40 mm/s for clean cuts without melting. PETG material needs proper ventilation and temperature control since it releases…
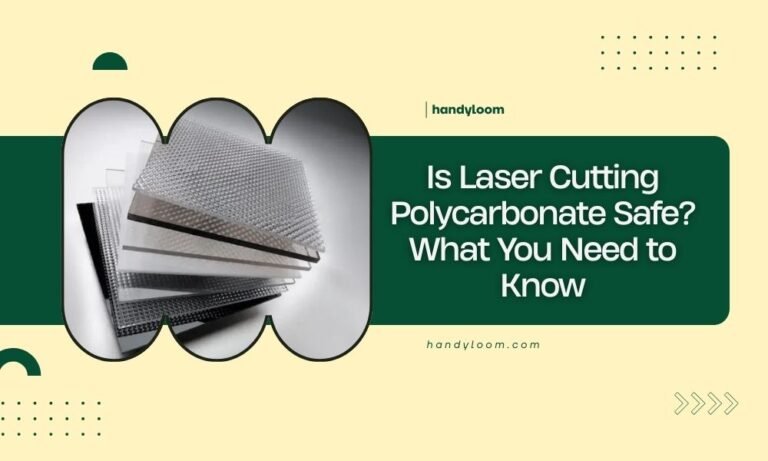
Laser cutting polycarbonate is generally safe when you use proper ventilation and follow safety guidelines, but the process releases toxic fumes that require careful handling. You need adequate ventilation, protective…
You can identify chlorine in plastics for laser safety by checking recycling codes and using burn tests to spot dangerous chlorinated materials like PVC. Laser cutting chlorine-containing plastics releases toxic…
No, it is not safe to laser cut PVC because it releases toxic chlorine gas and hydrochloric acid that can seriously harm your health and damage your laser cutting equipment….
Perfect mylar stencil settings for your laser cutter start with 70-80% power and 700-800 mm/min speed for most machines. These settings create clean cuts without melting the edges or leaving…
To bend laser cut acrylic, heat it to 160-180°F using a heat gun or strip heater, then gently bend it over a jig or form until it reaches your desired…
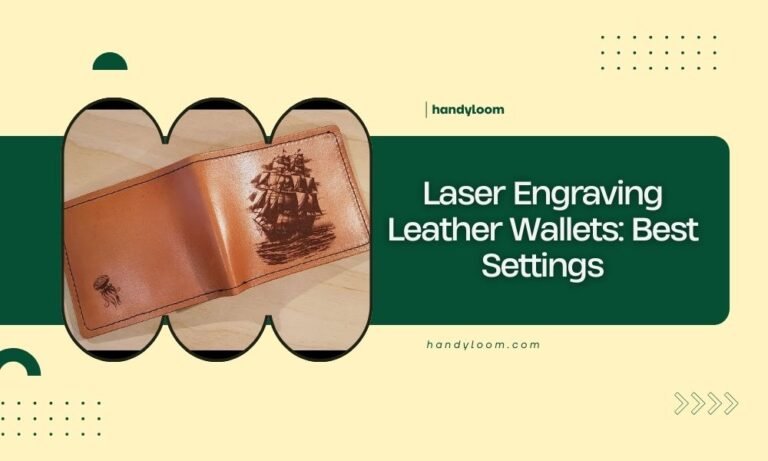
For laser engraving leather wallets, use 20-30% power with 300-500 mm/min speed on 1200-1500 DPI settings. These laser engraving leather wallet settings work best for most genuine leather types and…
To clean soot off laser cut leather easily, use isopropyl alcohol on a cotton swab or soft cloth to gently wipe away the dark residue from cut edges. For stubborn…
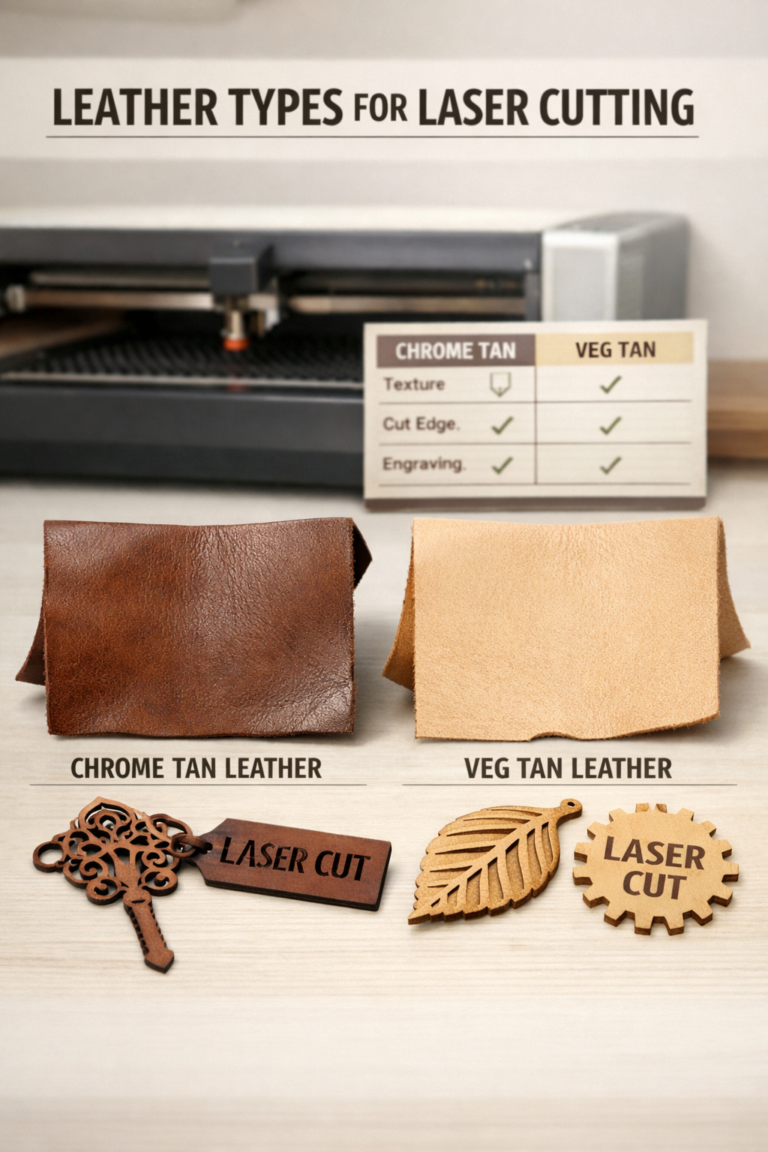
Chrome tan leather works best for laser cutting because it’s uniform, stable, and produces clean edges with minimal charring. Veg tan leather can be laser cut but requires more careful…
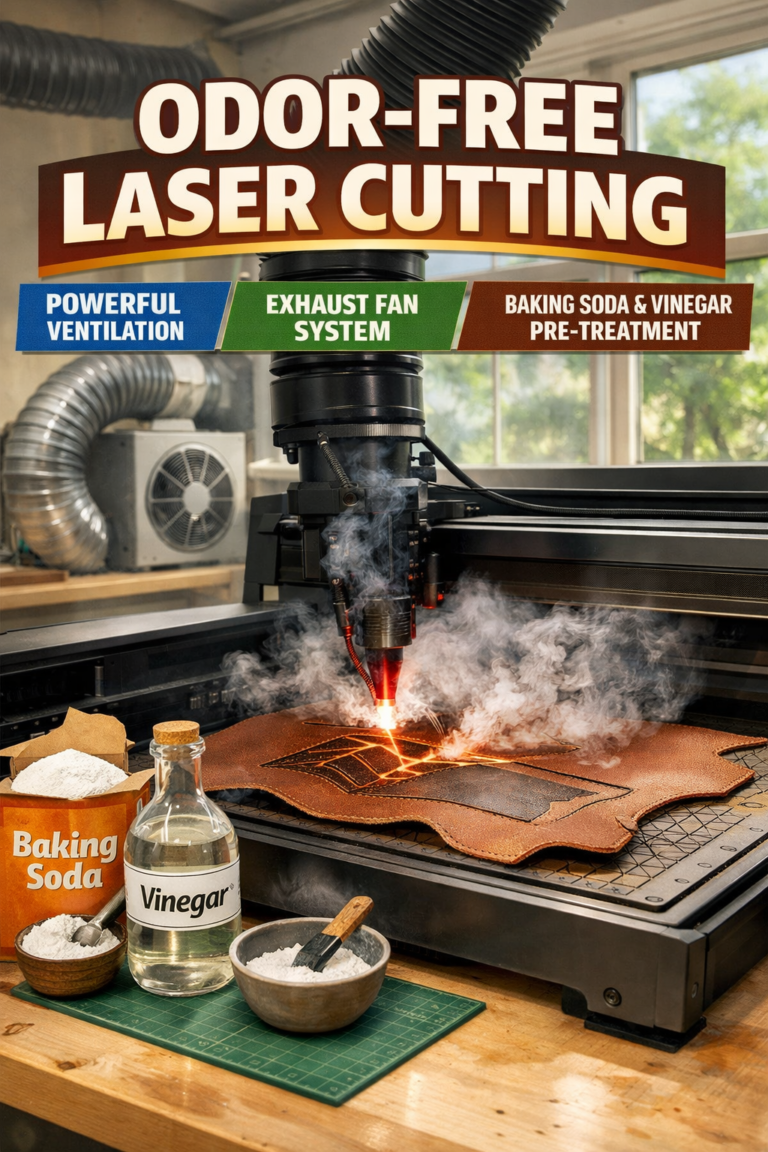
You can laser cut leather without smell by using proper ventilation, lower power settings, and pre-treating your leather with baking soda solution. The key to odor-free laser cut leather projects…
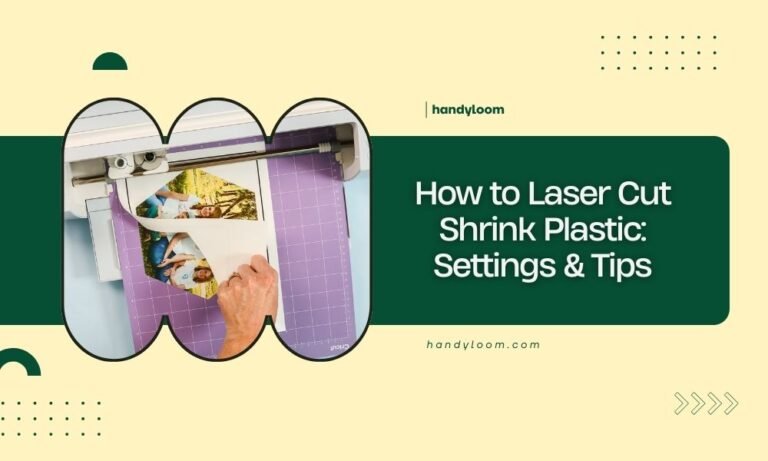
Laser cut shrink plastic using 10-15% power at 200-300 speed on a 40-watt CO2 laser for clean cuts without melting. The key to perfect shrink plastic cutting is low power…
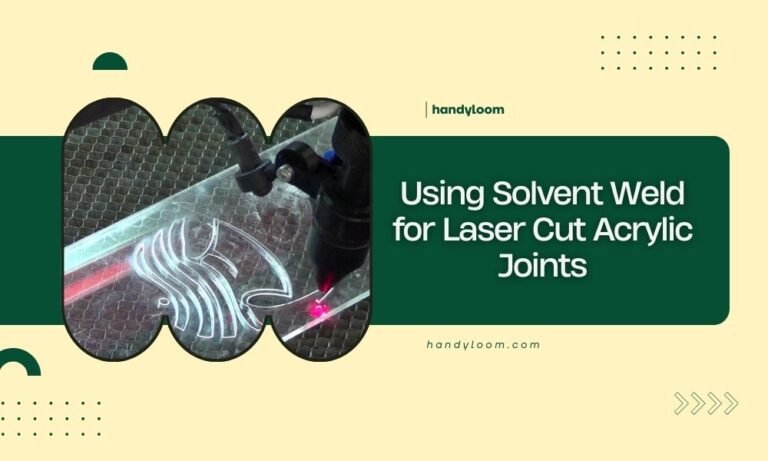
Solvent weld creates permanent, crystal-clear bonds for laser cut acrylic joints by chemically fusing the plastic pieces together at a molecular level. This welding method works by dissolving a thin…
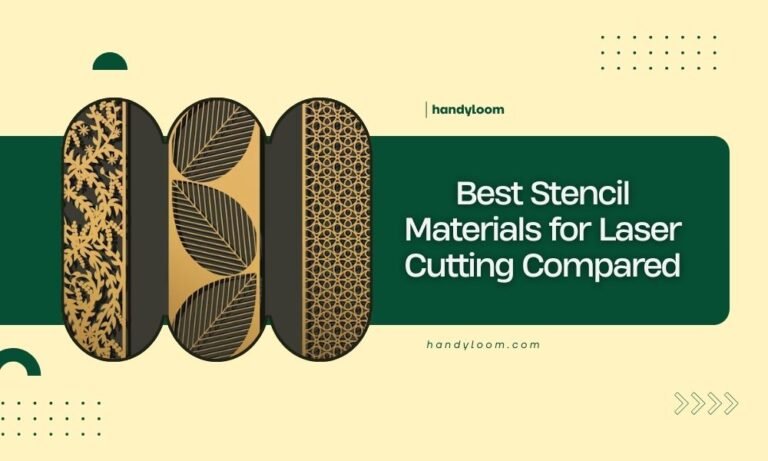
The best stencil materials for laser cutting are mylar, acetate, cardboard, and thin plywood, each offering different durability and precision levels for your projects. Mylar provides the longest-lasting stencils, while…
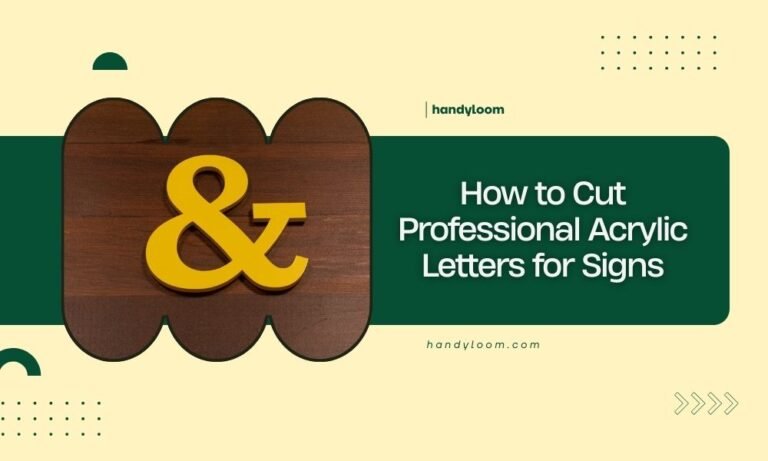
Cutting professional acrylic letters for signs requires a laser cutter, proper acrylic material, and precise design files to achieve clean, commercial-quality results. You’ll need 3-6mm cast acrylic, vector graphics software,…
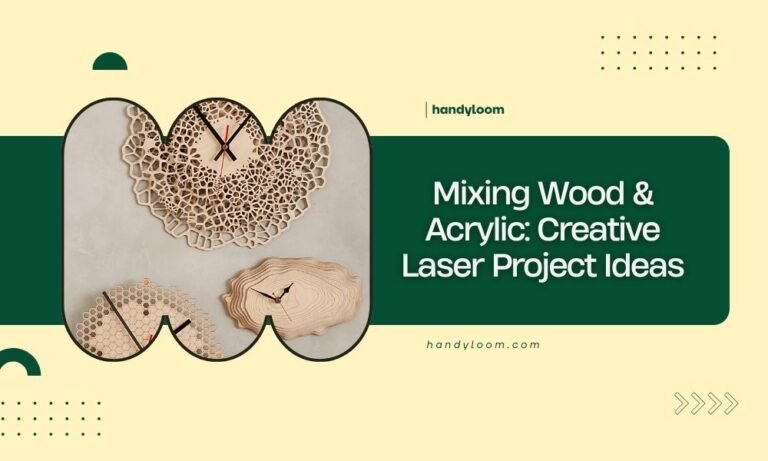
Mixing wood and acrylic in laser cutting projects creates stunning visual contrasts and opens up endless creative possibilities for crafters and makers. You can combine these materials to make jewelry,…
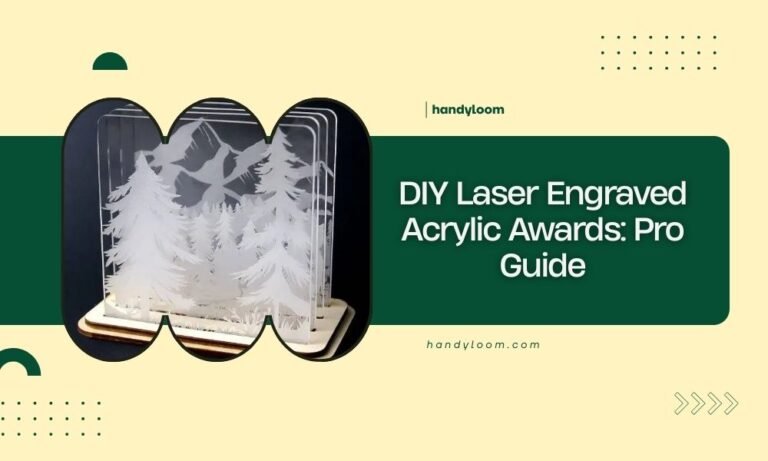
DIY laser engraved acrylic awards combine precision cutting with creative design to create professional-looking recognition pieces at home. You can make stunning custom acrylic awards using basic laser cutting equipment,…
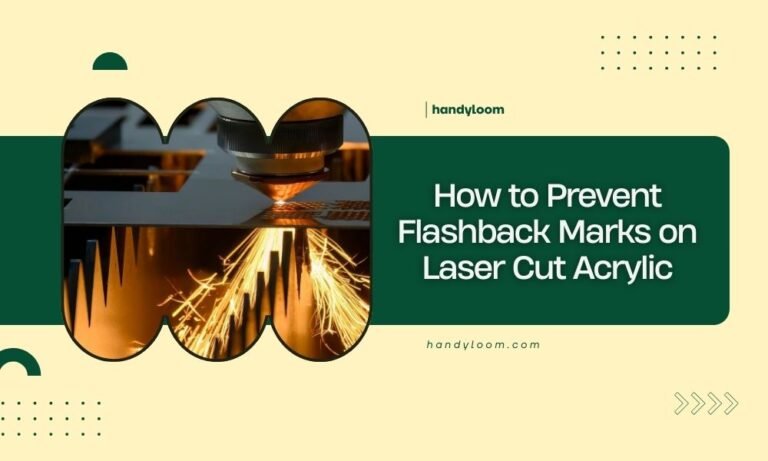
Flashback marks on laser cut acrylic happen when the laser beam reflects off the cutting table back onto your material, creating unsightly burn marks and discoloration. You can prevent flashback…
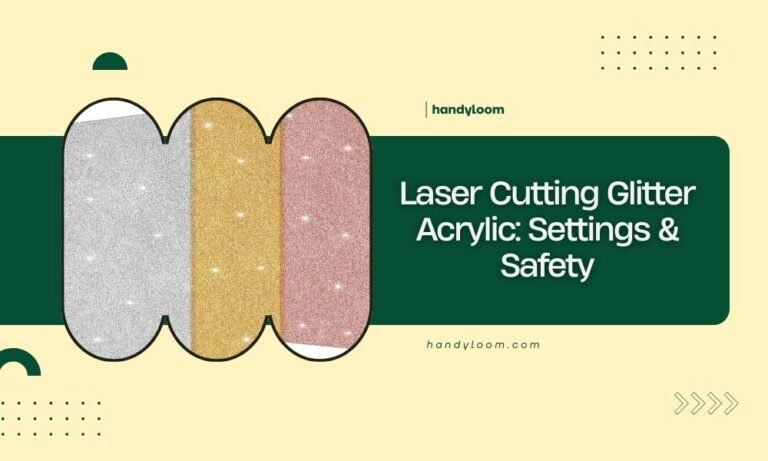
Laser cutting glitter acrylic requires power settings between 40-60% with speeds of 300-500mm/min, depending on material thickness and your machine’s capabilities. Proper ventilation and protective equipment are non-negotiable when laser…
Paint filling engraved acrylic requires acrylic paint, a small brush, and patience to work the paint into the grooves without spilling over. The key to perfect paint fill engraved acrylic…

Removing back masking from laser cut acrylic requires careful peeling from corners using proper angles and heat application when needed. The key to successful back masking removal is working slowly…
To laser cut mirrored acrylic without damage, use low power settings, slow cutting speeds, and remove protective film only after cutting. The key is controlling heat buildup through proper ventilation,…
The best settings for engraving clear acrylic are typically 30-60% power and 800-1200mm/min speed, with multiple passes at low power producing cleaner results than single high-power passes. Your laser’s wattage,…
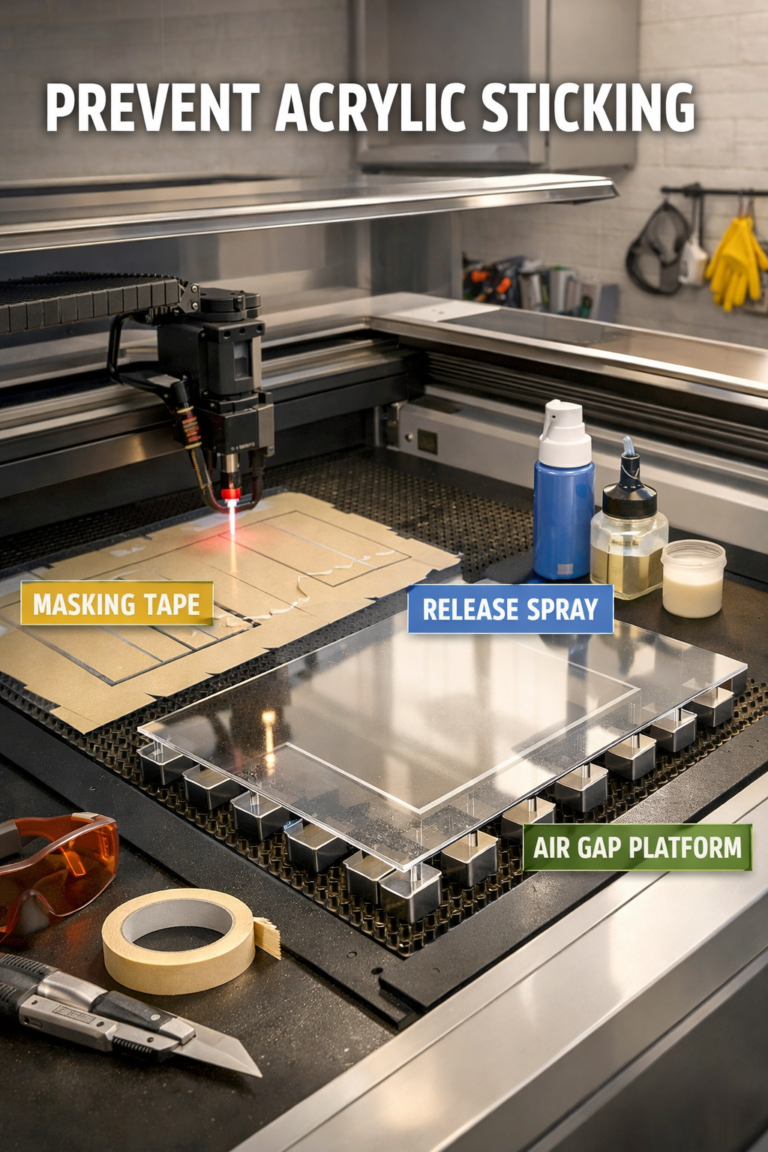
To prevent acrylic from sticking to the laser bed, use masking tape, apply release agents like soapy water, or create an air gap with honeycomb platforms. The most effective methods…
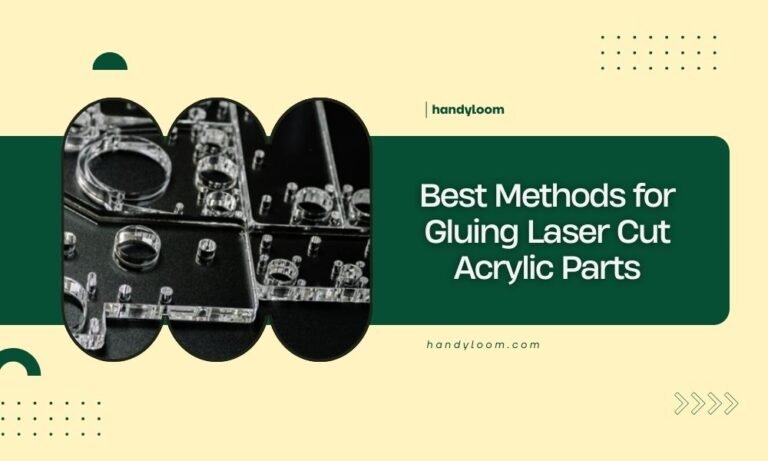
The best methods for gluing laser cut acrylic parts include using acrylic cement, cyanoacrylate glue, or epoxy adhesive depending on your project needs. Acrylic cement creates the strongest bonds by…
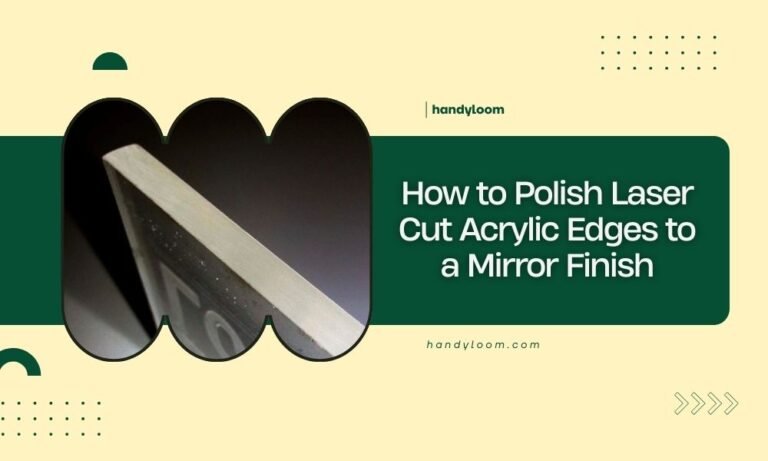
You can polish laser cut acrylic edges to a mirror finish using progressive sandpaper grits from 400 to 2000, followed by polishing compound and flame polishing for the clearest results….
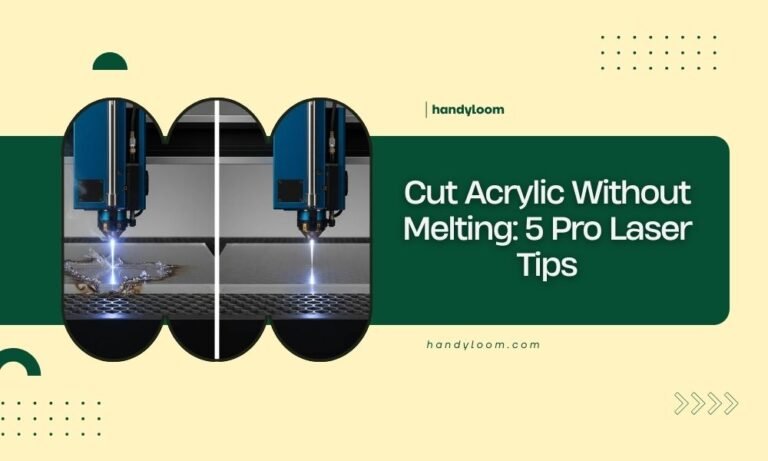
You can cut acrylic without melting by using low power settings, high cutting speeds, and proper air assist to keep the material cool during laser cutting. The key is balancing…
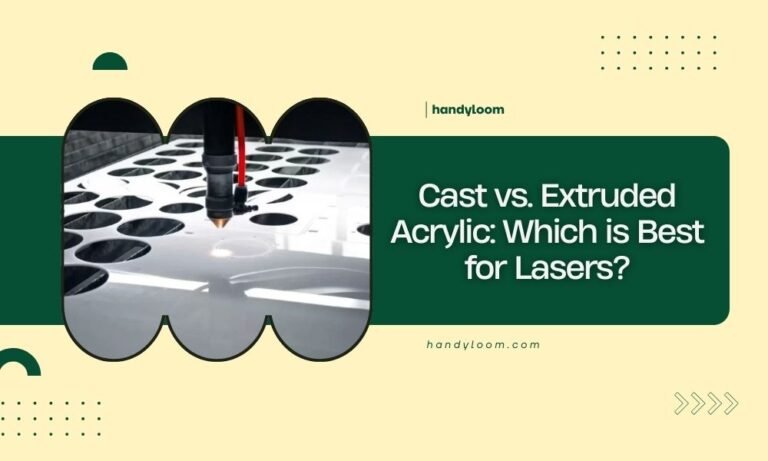
Cast acrylic delivers cleaner cuts and fewer cracks when laser cutting, while extruded acrylic is more affordable but produces rougher edges and flame-polished surfaces. Your choice between cast vs. extruded…
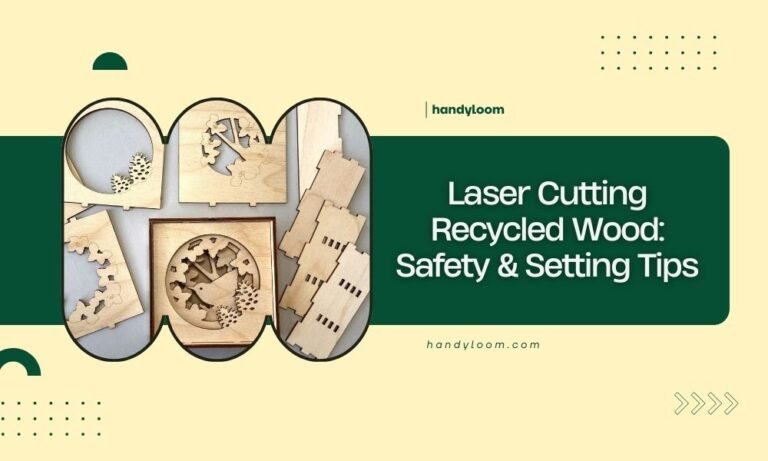
Laser cutting recycled wood requires proper ventilation, protective equipment, and careful material inspection to ensure safe operation and quality results. Your laser settings should start at lower power levels for…
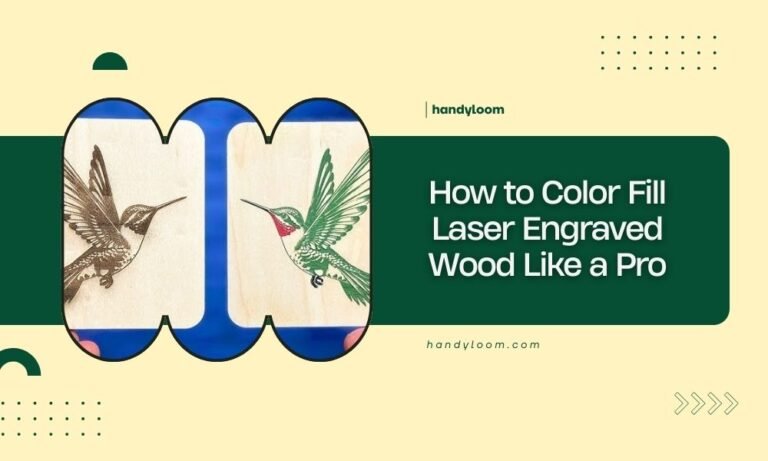
Color filling laser engraved wood requires cleaning the engraved areas first, then applying acrylic paint or wood stain with a small brush, and wiping away excess from the surface. The…
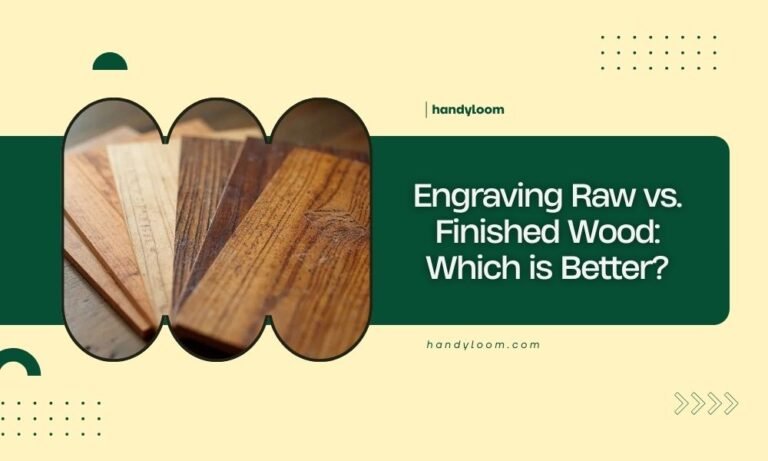
Raw wood often produces darker, more defined engravings because its natural fibers react strongly to laser heat, while finished wood gives lighter, more subtle results due to protective coatings. Your…

Wood architectural models using laser cutting require specific wood types, precise file preparation, and proper laser settings to achieve professional results with clean edges and accurate details. The best woods…
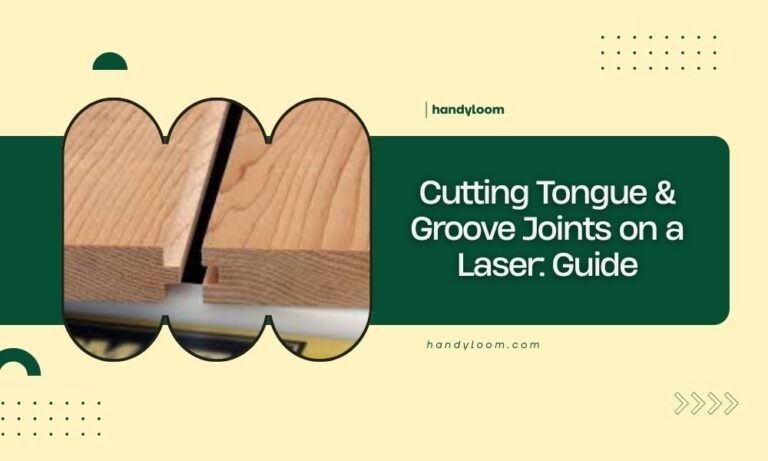
Cutting tongue and groove joints on a laser requires specific kerf width calculations and precise material positioning to create interlocking pieces that fit perfectly together. You can achieve professional-quality tongue…
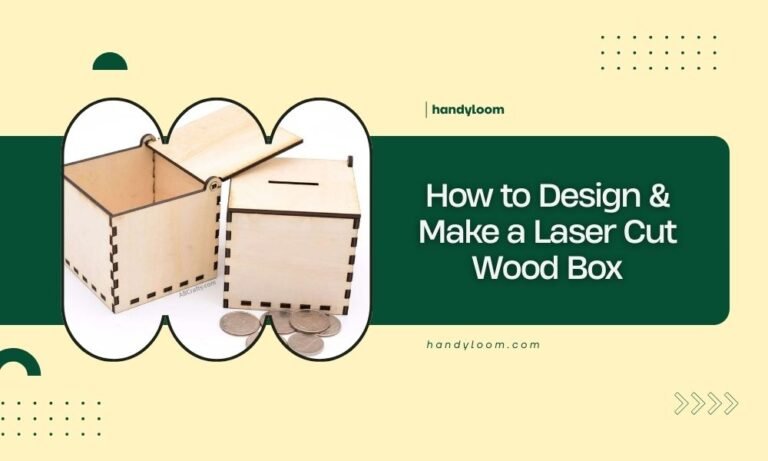
To design and make a laser cut wood box, you need a digital design file, wood material, and access to a laser cutting machine. The process involves creating your design…
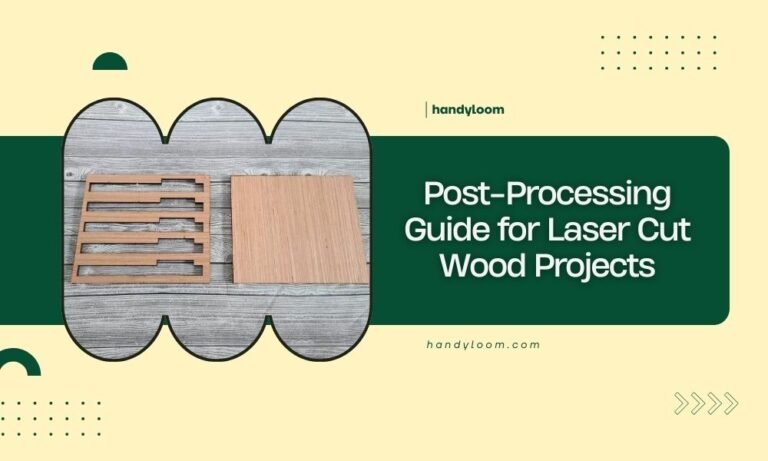
Post-processing transforms rough laser cut wood into professional-looking finished projects through sanding, assembly, and protective treatments. Most laser cut wood projects need light sanding, careful assembly with proper adhesives, and…
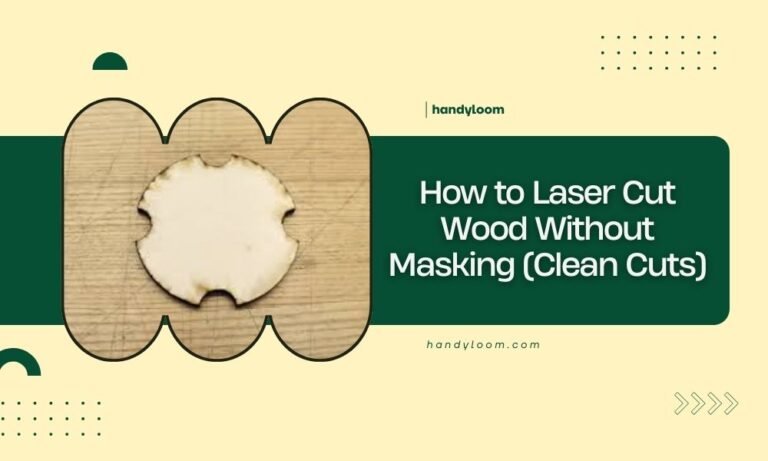
You can laser cut wood without masking by using proper power and speed settings, applying compressed air, and choosing the right wood types that resist burn marks. The key to…
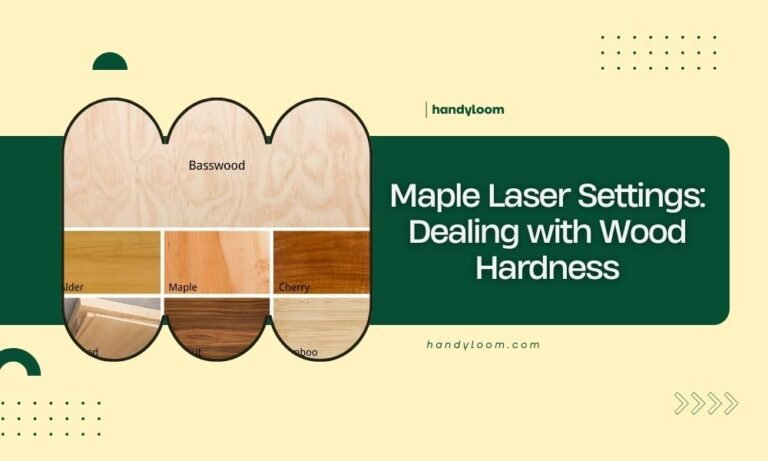
Maple laser settings require power levels between 70-85% and speeds of 150-300 mm/min due to maple’s medium hardness rating of 995-1450 on the Janka scale. You’ll need to adjust your…

Laser cutting Jarrah wood requires settings of 15-20 watts power, 200-300 mm/min speed, and 3-5 passes for clean cuts through 3-6mm thickness. You’ll need proper ventilation and dust extraction since…
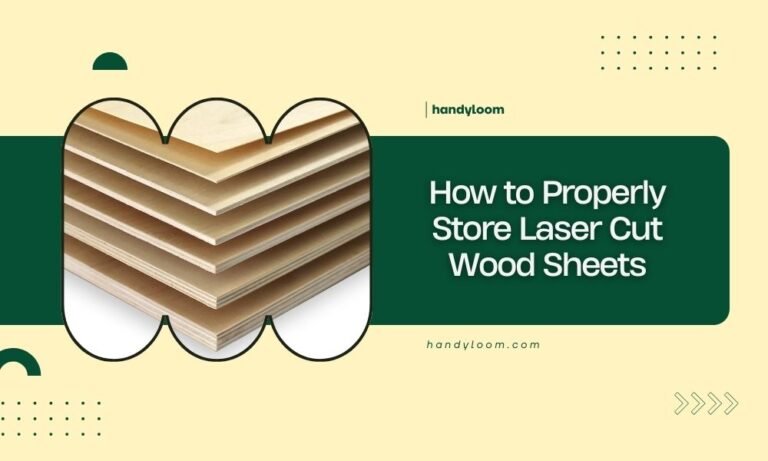
Store laser cut wood sheets in a dry, climate-controlled environment with humidity levels between 30-50% to prevent warping and cracking. Keep your laser cut wood sheets flat, separated by acid-free…
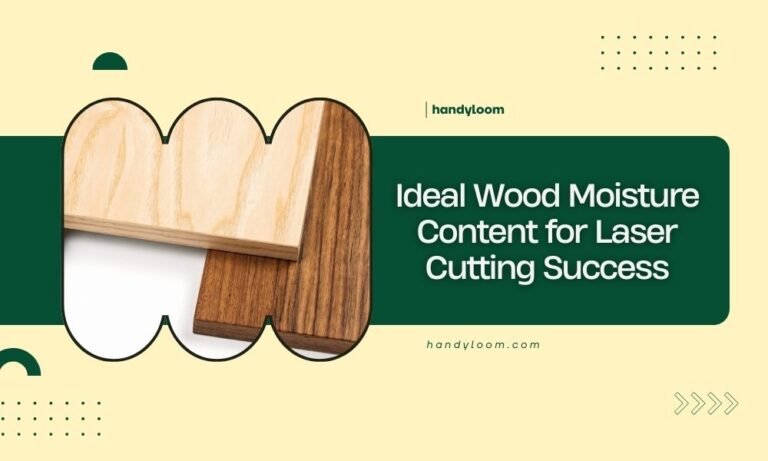
The ideal wood moisture content for laser cutting is between 6% and 12%, with 8-10% being optimal for most projects. Wood with higher moisture content can cause burn marks, warping,…
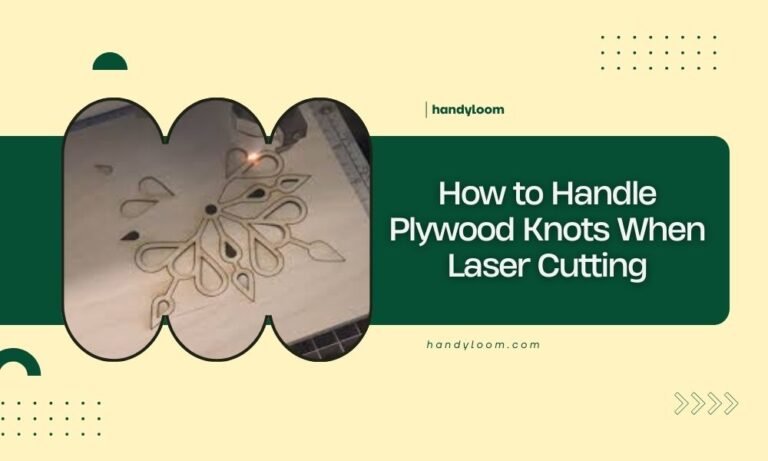
To handle plywood knots when laser cutting, slow down your cutting speed by 20-30% and increase power by 10-15% when approaching knot areas. Pre-drilling small pilot holes through large knots…

Laser cut wood jewelry combines precision technology with natural materials to create unique, lightweight accessories that you can customize completely to your style. You’ll need a laser cutter, design software…
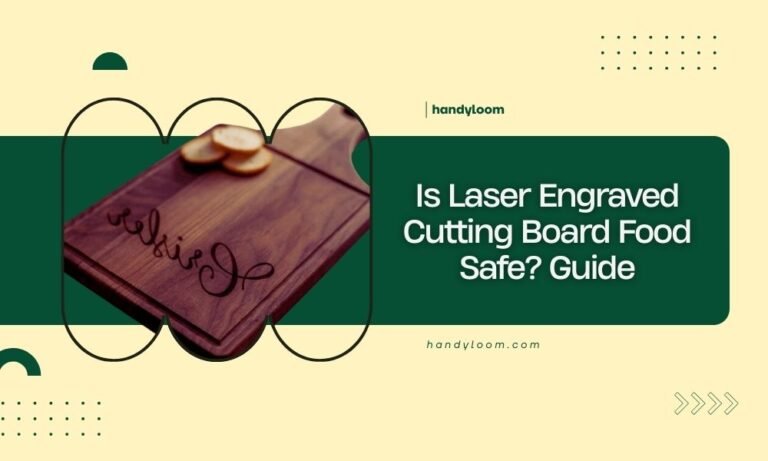
Yes, laser engraved cutting boards are food safe when properly sealed and maintained. The laser engraving process itself doesn’t make wood unsafe, but exposed grooves need proper sealing to prevent…
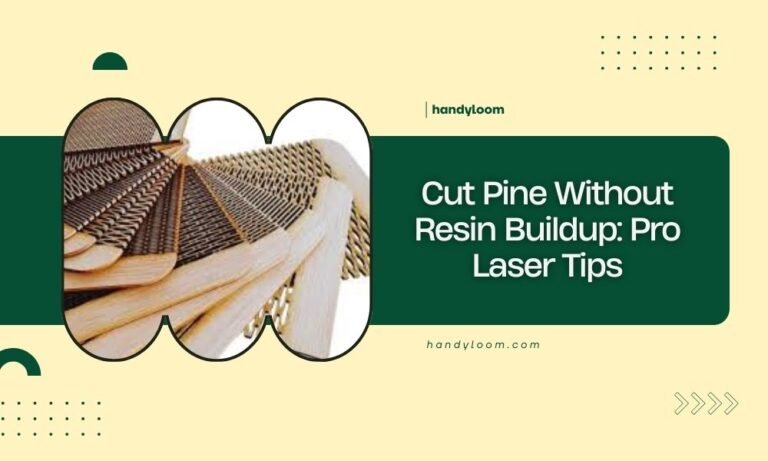
To cut pine without resin buildup on your laser, use lower power settings and faster cutting speeds to minimize heat that activates pine resin. Regular cleaning between cuts and proper…
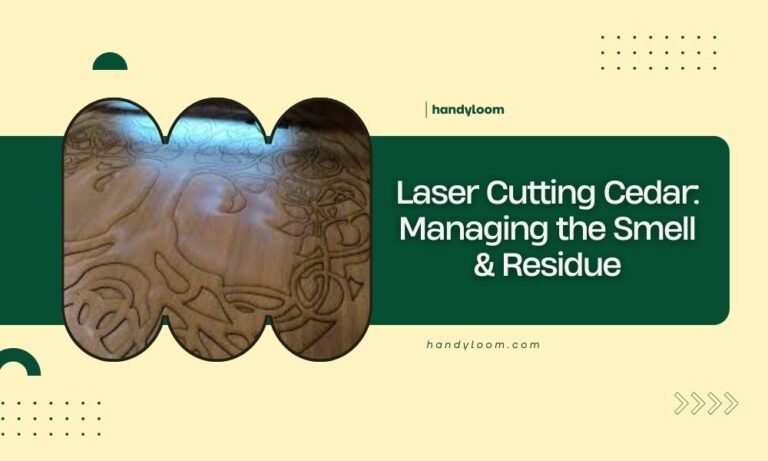
Laser cutting cedar produces a strong, smoky smell and sticky residue that can overwhelm your workspace and damage your equipment if not managed properly. You can control cedar odor and…
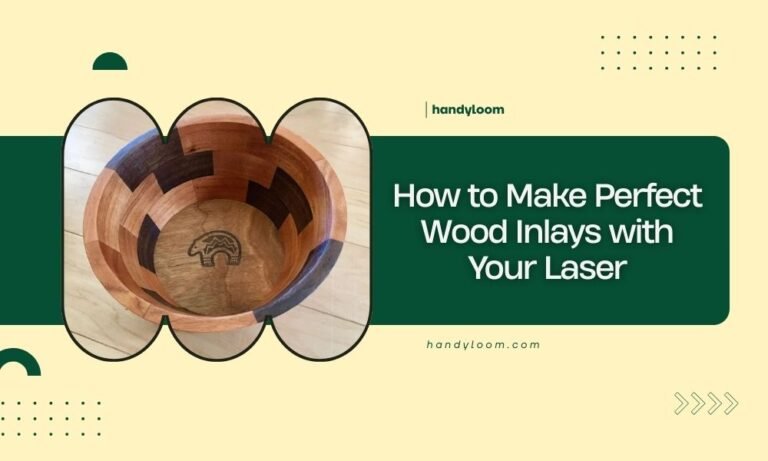
Wood inlays with your laser require precise cutting of both the base wood and inlay material, followed by careful fitting and gluing to create seamless decorative patterns. Perfect laser-cut wood…
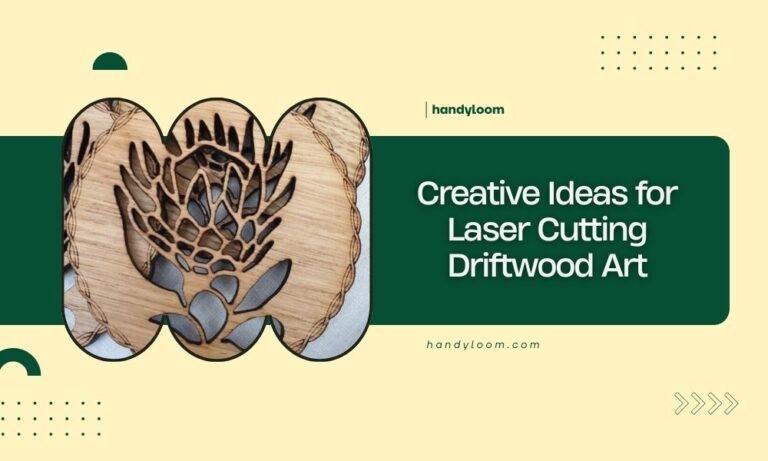
Laser cutting driftwood creates stunning art pieces by combining natural beauty with precise technology, offering endless creative possibilities for both beginners and experienced crafters. The key to successful driftwood laser…

Wood engraving depth typically ranges from 0.001 to 0.030 inches, with most projects requiring 0.005 to 0.015 inches for clear, readable results. The perfect wood engraving depth depends on your…
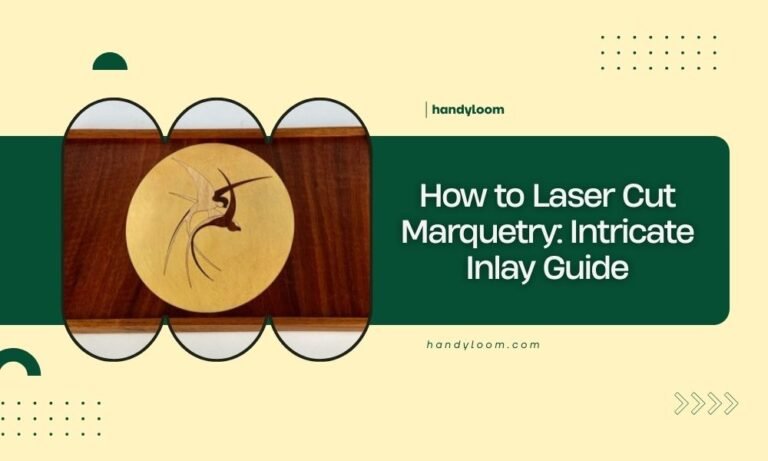
Laser cut marquetry uses computer-controlled precision to create wood inlay patterns with exact tolerances impossible to achieve by hand. You’ll need a CO2 laser cutter, vector design software like Adobe…
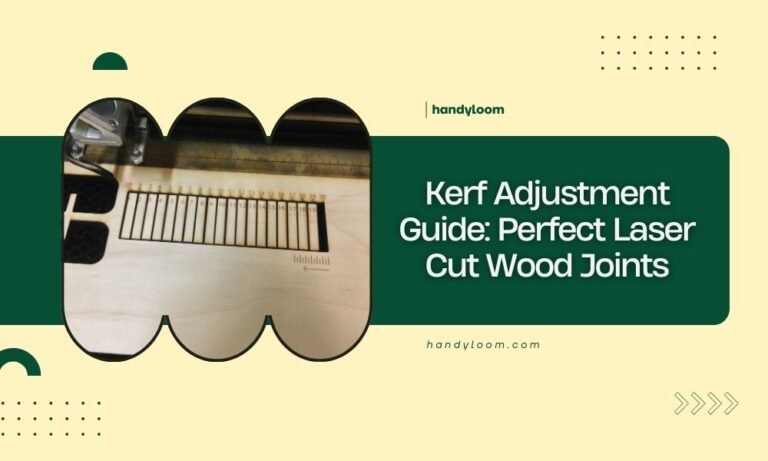
Kerf adjustment for laser cut wood joints requires compensating for the material thickness removed by the laser beam, typically 0.1-0.3mm depending on your laser settings and wood type. You can…
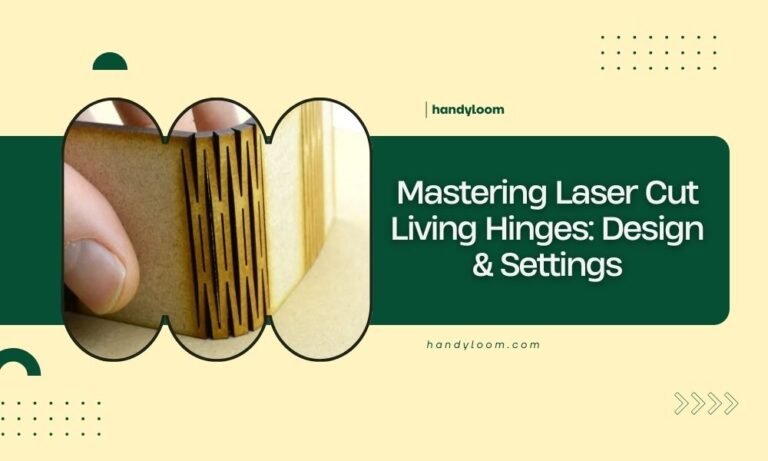
Laser cut living hinges are flexible connections created by cutting thin parallel lines into material, allowing it to bend smoothly without breaking or adding separate hardware. Success with living hinges…
The best wood glue tips for laser cut parts include using PVA glue for most joints, applying thin even coats, and clamping pieces for 30 minutes minimum. Clean laser-cut edges…
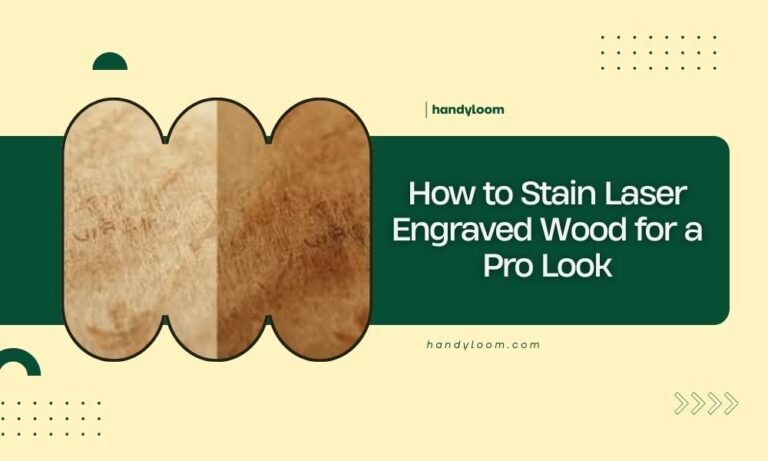
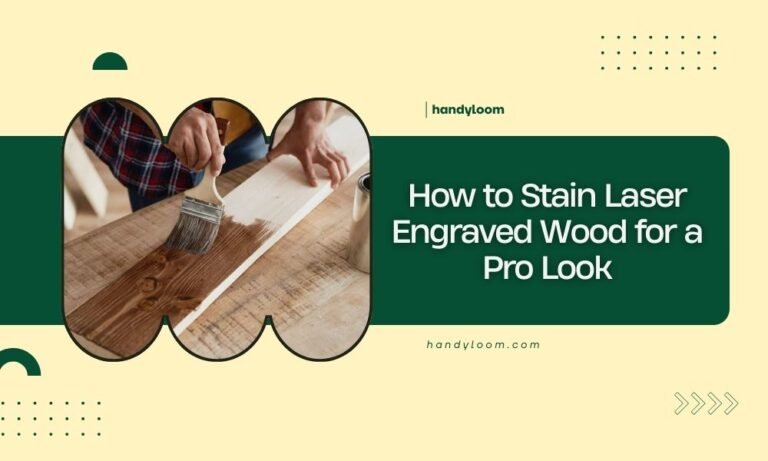
To stain laser engraved wood for a professional look, clean the surface with tack cloth, apply pre-stain conditioner to softwoods, then use gel stain or water-based stain with a foam…
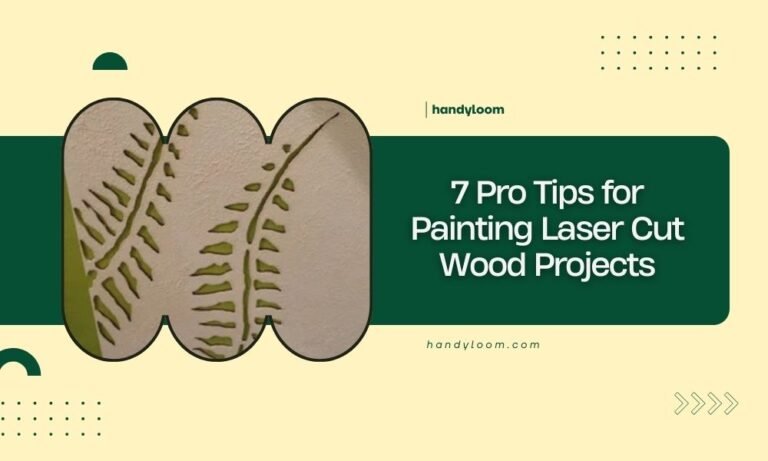
The key to painting laser cut wood projects is proper surface preparation and choosing the right paint type for your specific wood material. Most laser cut wood projects need light…
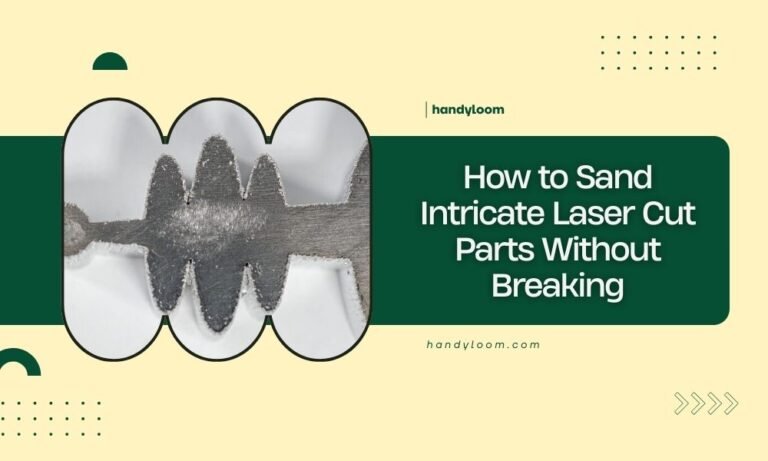
Sand intricate laser cut parts by using fine-grit sandpaper (220-400 grit), working in gentle circular motions, and supporting delicate sections with your fingers while sanding. Start with hand sanding techniques…

MDF works better for laser cutting because it creates cleaner cuts and produces less toxic fumes than hardboard, making it safer for your workspace. Hardboard vs MDF comes down to…

To cut basswood for architectural models, use a sharp craft knife or fine-toothed saw with gentle, controlled strokes along a straightedge. The key to clean basswood cuts is keeping your…
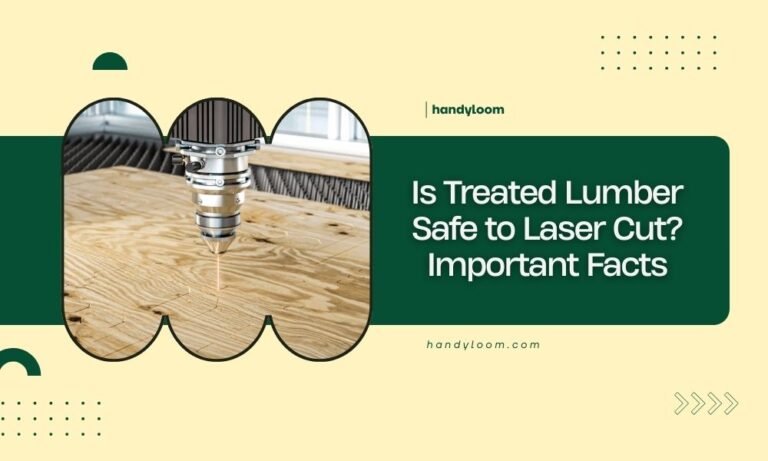
Treated lumber is generally not safe to laser cut due to toxic chemical emissions that can damage equipment and pose serious health risks. The preservatives in treated lumber release harmful…
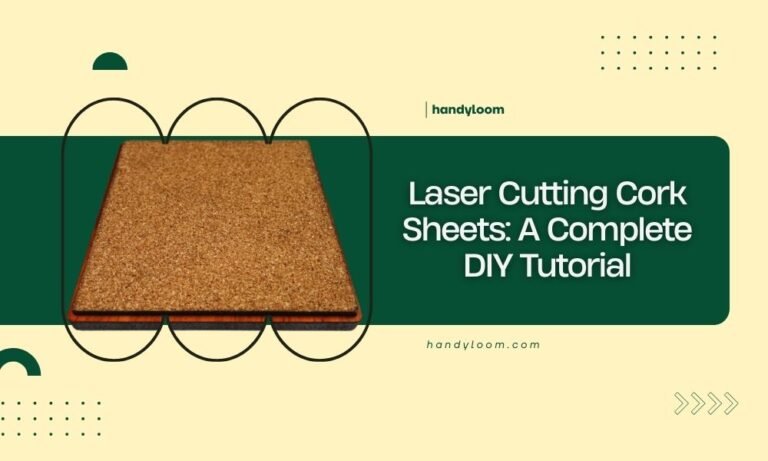
Laser cutting cork sheets requires a CO2 laser cutter with 10-40 watts power, operating at low speeds (100-300 mm/min) to prevent burning the natural material. You’ll get clean, precise cuts…
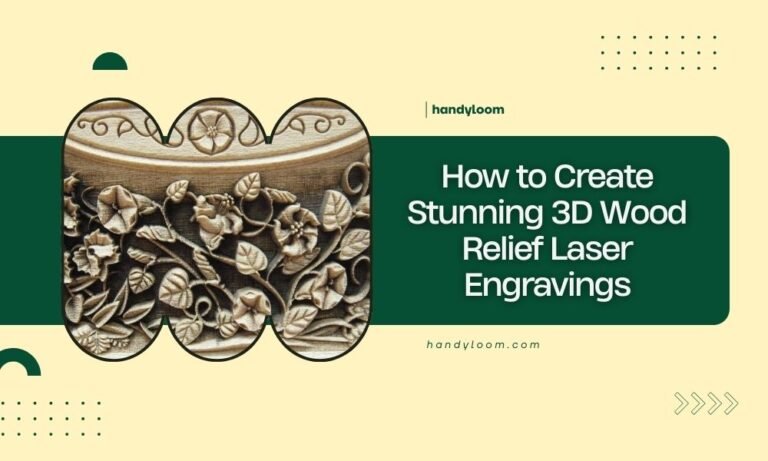
Creating stunning 3D wood relief laser engravings requires selecting the right wood type, optimizing your laser settings, and using proper grayscale images with good contrast and depth. The key to…
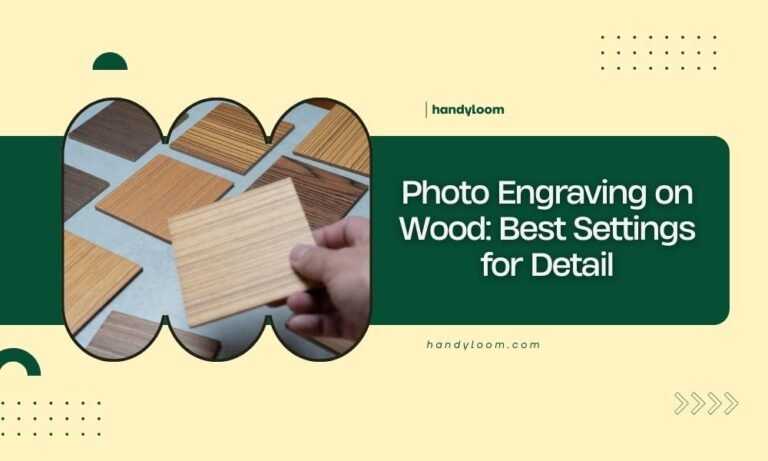
For photo engraving on wood, use 10-15% power with 80-100% speed for light woods like pine, and 20-30% power with 60-80% speed for hardwoods like oak. The key to detailed…
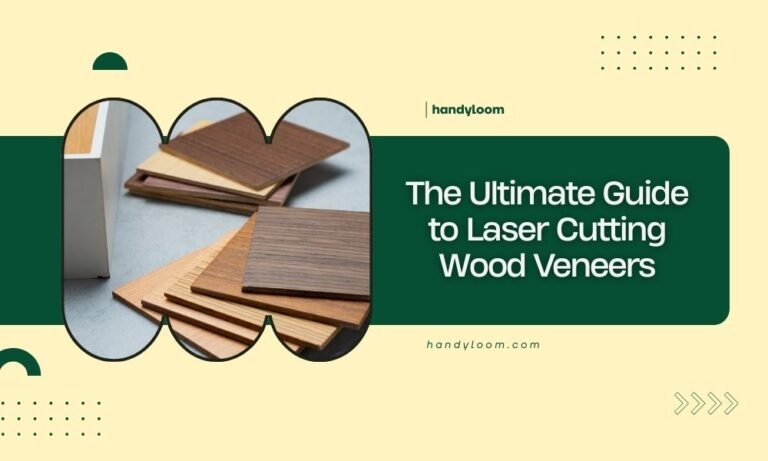
Laser cutting wood veneers requires precise settings, proper material preparation, and understanding how thin wood layers respond to laser heat and power. Success with veneer laser cutting depends on choosing…

To flatten wood for better laser cutting results, use a planer, belt sander, or hand plane to create an even surface that sits flush against your laser bed. Flat wood…
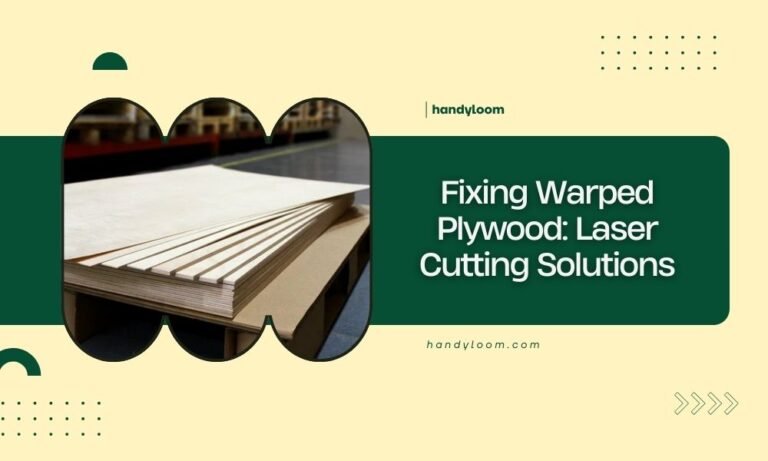
Warped plywood can be fixed using laser cutting techniques that remove tension points and create relief cuts along the grain direction. The most effective laser cutting solutions for warped plywood…
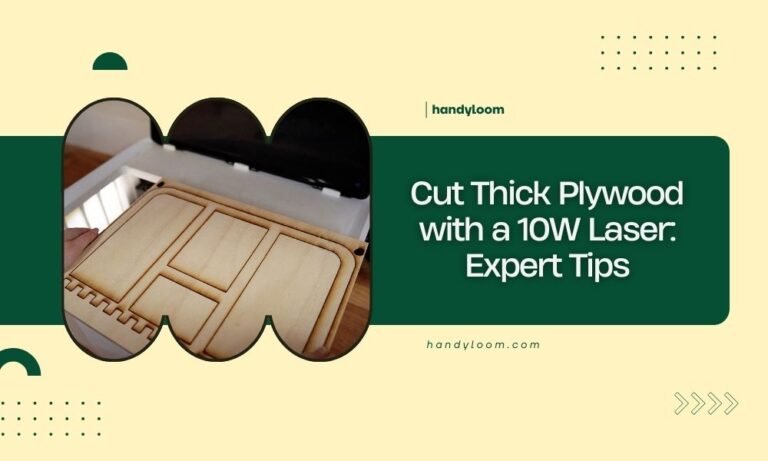
A 10W laser can cut plywood up to 3-4mm thick in multiple passes, but thicker plywood requires slower speeds and specialized techniques to achieve clean cuts. Your 10W laser works…
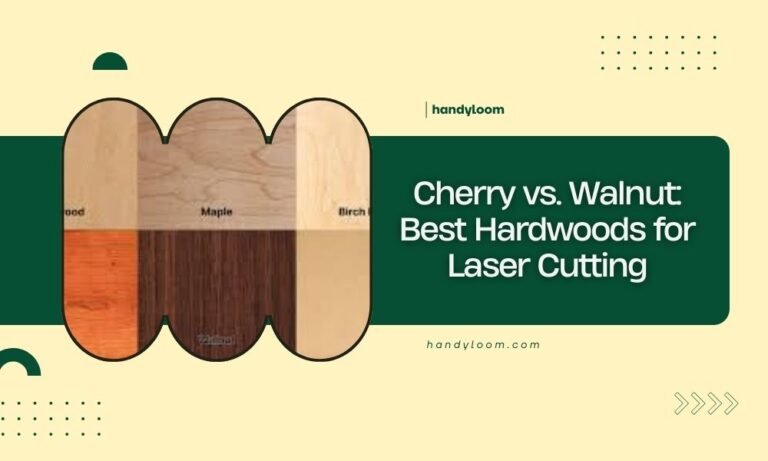
Cherry and walnut are both excellent hardwoods for laser cutting, with cherry offering cleaner cuts and lighter color while walnut provides rich dark tones and premium appearance. Cherry typically works…

Sealing laser engraved wood requires polyurethane, lacquer, or wax finishes to protect the wood and preserve your detailed engravings. The best approach is applying thin, even coats while avoiding heavy…
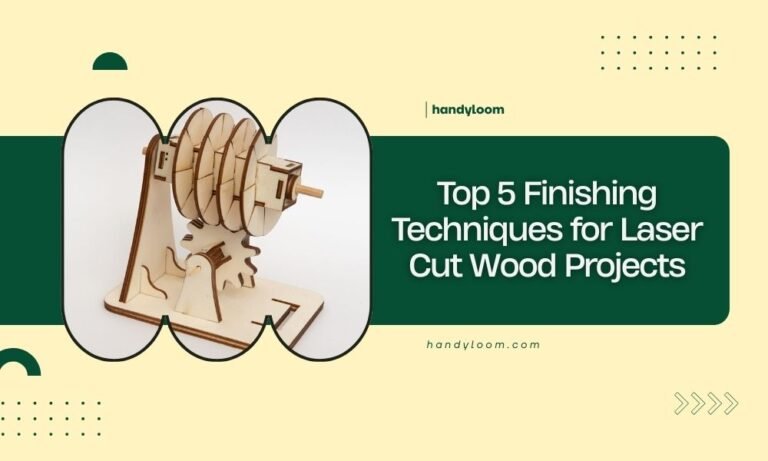
The top 5 finishing techniques for laser cut wood projects are sanding, staining, painting, sealing, and wood burning for enhanced detail work. These laser cut wood finishing methods transform raw…
Set your CO2 laser to 70% power and 15mm/s speed for clean bamboo cuts without burning or charring the edges. Always wear safety glasses, use proper ventilation, and test settings…
To clean laser cut wood edges, you can sand them with fine-grit paper, scrape off char with a sharp blade, or use denatured alcohol to dissolve residue. These three methods…
You can remove smoke stains from laser cut wood using gentle cleaning solutions like dish soap mixed with warm water, followed by light sanding if needed. The best approach combines…
The best masking tape for wood laser cutting is 3M ScotchBlue Painter’s Tape #2090, which provides clean removal without residue and protects wood surfaces from heat damage during cutting. You’ll…
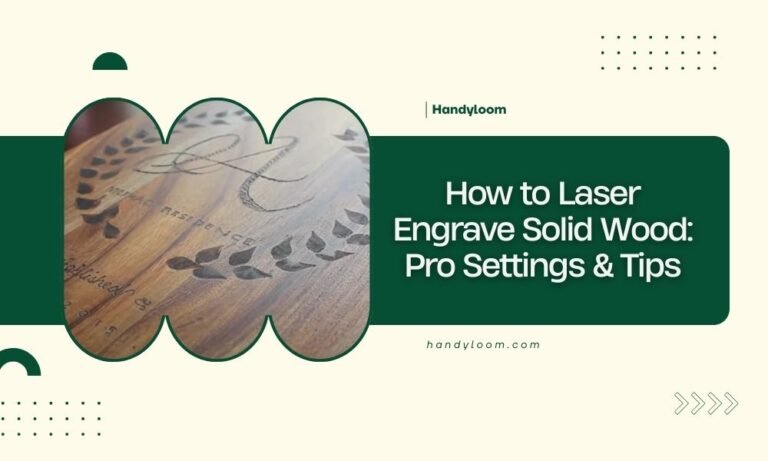
To laser engrave solid wood successfully, set your laser power between 20-40% with speeds of 800-1500 mm/min, adjusting based on wood hardness and desired depth. The key to professional results…
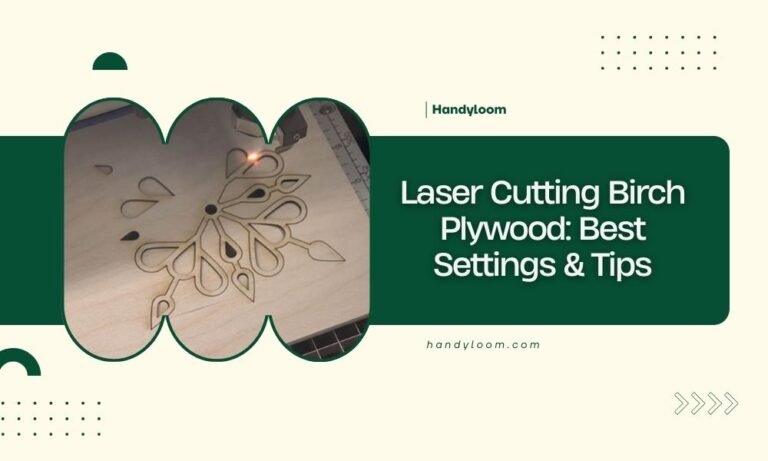
For laser cutting birch plywood, use power settings between 60-80%, speed at 10-15 mm/s, and make multiple passes for thicker wood (6mm+). The key to clean birch plywood cuts lies…
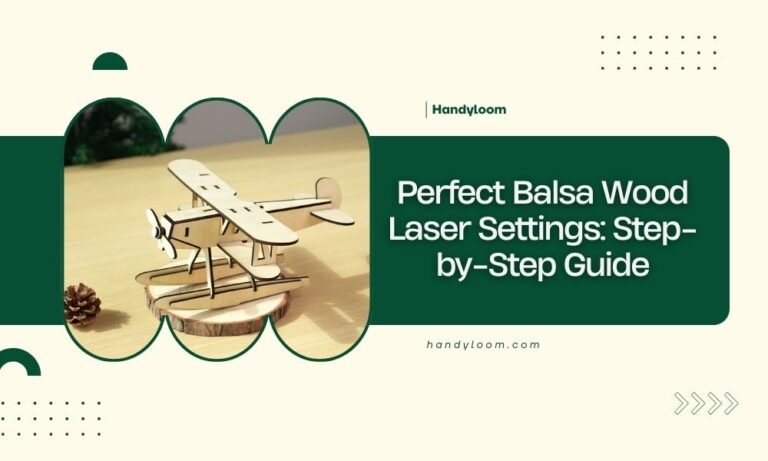
The perfect balsa wood laser settings typically range from 10-15% power at 100-200mm/min speed for cutting 3mm balsa, with multiple light passes preventing burn marks and ensuring clean edges. Your…
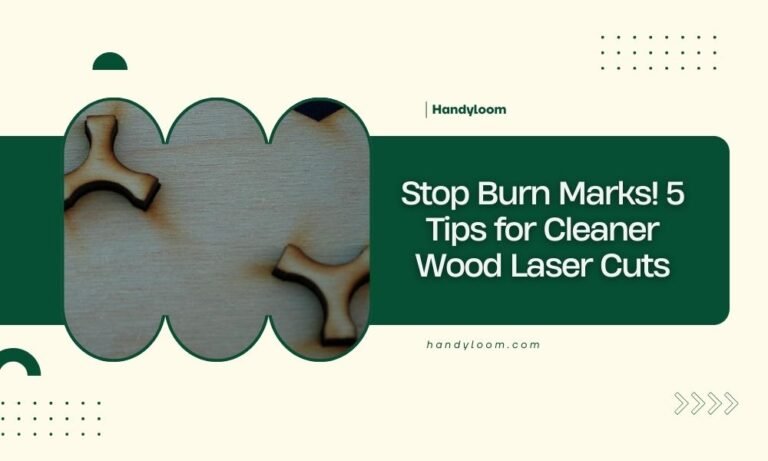
To stop burn marks on wood laser cuts, control your laser power (40-60% for most woods), increase cutting speed, and use proper air assist to blow away debris during cutting….
Plywood is generally better for laser cutting because it cuts cleaner, produces less toxic fumes, and gives you more precise results than MDF. MDF works for laser cutting too, but…
The safest woods for laser cutting include basswood, birch, cherry, maple, walnut, poplar, alder, beech, oak, and cedar – all of which produce minimal toxic fumes and cut cleanly. These…
Custom buttons are a small detail that can make a big impact. Whether you’re creating branded merchandise, control panels, fashion accessories, or DIY projects, laser cutting offers precision, flexibility, and…