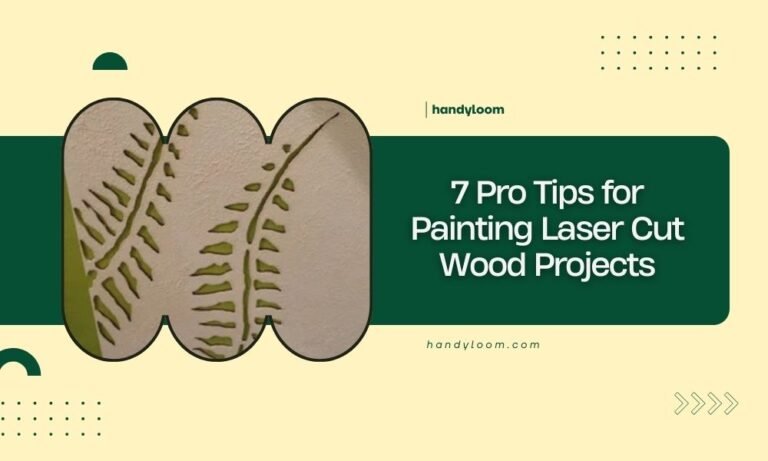
The top 5 finishing techniques for laser cut wood projects are sanding, staining, painting, sealing, and wood burning for enhanced detail work.
These laser cut wood finishing methods transform raw pieces into professional-looking crafts that last longer and look stunning.
Why Finishing Your Laser Cut Wood Projects Matters
Your laser cutter did the hard work. Now comes the fun part that makes your project shine.
Raw laser cut wood often has burn marks, rough edges, and an unfinished look. The right finishing technique changes everything. It protects your work from moisture, UV damage, and wear. Plus, it makes your project look like something from a high-end craft store.
I found that most beginners skip finishing steps and regret it later. Don’t be that person.
Technique 1: Sanding for Smooth Perfection
Why Sanding Comes First
Think of sanding as the foundation of your house. Everything else builds on this step.
Laser cutting leaves tiny burn marks and rough spots along cut edges. These flaws show through paint and stain like bumps under wallpaper.
The Right Sanding Process
Start with 220-grit sandpaper for most projects. This removes burn marks without creating deep scratches.
Sand with the wood grain, not against it. Move in long, smooth strokes. Don’t press hard or you’ll create divots.
- Light pressure works better than heavy sanding
- Clean dust between grits with a tack cloth
- Finish with 320-grit for ultra-smooth surfaces
- Pay extra attention to cut edges where burns collect
Pro Sanding Tips
I came across this trick from experienced woodworkers: wrap sandpaper around a small block for even pressure. Your fingers create uneven spots that show later.
For intricate details, fold sandpaper into small triangles. This reaches tight corners your block can’t touch.
Technique 2: Staining for Natural Beauty
When to Choose Stain Over Paint
Stain lets wood grain show through while adding rich color. Perfect for projects where natural texture matters.
I found that lighter woods like birch and maple take stain beautifully. Dense woods like cherry might need pre-stain conditioner for even coverage.
Stain Application Steps
Test your stain on scrap wood first. What looks perfect on the can might surprise you on your actual project.
Apply stain with a clean cloth or brush. Work in thin, even coats. Too much at once creates blotchy spots that won’t sand out easily.
Avoiding Common Stain Mistakes
Many beginners rush the drying time. Give each coat the full recommended time. Impatience here costs hours of fixing later.
Wipe excess stain within the working time listed on your product. Leaving it too long makes surfaces sticky and uneven.
Technique 3: Painting for Bold Colors
Choosing the Right Paint Type
Acrylic paint works best for most laser cut projects. It dries fast, cleans up with water, and comes in endless colors.
For outdoor projects, upgrade to exterior acrylic or polyurethane-based paint. The extra cost pays off in durability.
Primer: Your Secret Weapon
Primer seems like an extra step you can skip. Don’t fall for this trap.
Wood primer blocks stains and burn marks from bleeding through your paint. It also helps paint stick better and look more vibrant.
- Use white primer for light paint colors
- Gray primer works better under dark colors
- Let primer dry completely before painting
- Sand lightly between primer and paint if needed
Paint Application Techniques
Thin coats beat thick ones every time. Two thin coats look smoother and last longer than one thick coat.
Brush marks disappear when you maintain a wet edge. Don’t let sections dry while you’re still painting nearby areas.
Technique 4: Sealing for Long-Term Protection
Why Every Project Needs a Sealer
Sealers are like sunscreen for your wood. They block moisture, UV rays, and daily wear that slowly destroy your hard work.
Research from woodworking experts shows that sealed projects last 3-5 times longer than unsealed ones in normal home conditions.
Types of Wood Sealers
| Sealer Type | Best For | Finish Look | Durability |
|---|---|---|---|
| Polyurethane | High-use items | Glossy or satin | Excellent |
| Paste Wax | Decorative pieces | Natural matte | Good |
| Lacquer | Fine details | Crystal clear | Very good |
| Oil finish | Natural look | Low sheen | Fair |
Application Tips for Perfect Sealing
Apply sealer in dust-free conditions. That garage with sawdust everywhere? Not the right spot for this step.
Use long, smooth strokes with minimal overlap. Too much overlap creates thick spots that look cloudy when dry.
Technique 5: Wood Burning for Custom Details
Adding Personality with Pyrography
Wood burning lets you add custom text, patterns, or shading that laser cutting can’t achieve.
I found that this technique works especially well for personalizing gifts or adding fine details to larger laser cut pieces.
Wood Burning Basics
Start with a quality wood burning pen. Cheap tools make uneven lines that look amateur.
Practice on scrap wood first. Wood burning can’t be erased like pencil marks. Get comfortable with pressure and speed before touching your real project.
Temperature and Technique
Lower temperatures work better for detail work. High heat burns too fast and creates uneven lines.
Move the pen steadily without stopping. Pausing creates dark spots that stand out like mistakes.
Combining Finishing Techniques
Layering Methods for Best Results
The magic happens when you combine techniques. Sand first, then stain or paint, then seal. This order prevents problems.
Wood burning goes between sanding and sealing. Don’t burn over sealed surfaces or the sealer will bubble and peel.
Time Management Tips
Plan your finishing schedule around drying times. Most projects need 2-3 days total when you factor in proper drying between steps.
Rush the process and you’ll spend more time fixing problems than you saved skipping steps.
Common Finishing Problems and Solutions
Blotchy Stain Coverage
This usually means the wood wasn’t sanded evenly or you skipped pre-stain conditioner on dense wood.
Paint Drips and Runs
Too much paint applied at once. Sand smooth when dry and apply thinner coats.
Cloudy Sealer Finish
Applied in humid conditions or over incompatible undercoats. Strip and start over with compatible products.
Tools You Need for Success
Essential Finishing Tools
- Sandpaper in 220 and 320 grits
- Sanding block for flat surfaces
- Tack cloths for dust removal
- High-quality brushes in multiple sizes
- Lint-free rags for stain application
- Drop cloths to protect work surfaces
Nice-to-Have Upgrades
A random orbital sander speeds up sanding on larger pieces. Air compressors blow dust from detailed areas better than cloths.
Spray equipment gives the smoothest finish but requires practice and proper ventilation.
Safety First
Ventilation Requirements
Most finishing products release fumes that cause headaches or worse. Work outside when possible or use fans to move air.
Never work with solvents in closed spaces. That includes garages with closed doors.
Personal Protection
Wear nitrile gloves when handling stains and sealers. Latex gloves dissolve in some solvents.
Dust masks protect your lungs during sanding. N95 masks work fine for wood dust.
Conclusion
These five finishing techniques turn basic laser cut wood into professional-looking projects you’ll be proud to display or give as gifts. Start with proper sanding, choose the right coloring method for your vision, and always seal your work for lasting beauty.
Remember that finishing takes patience, but the results are worth every minute invested. Your laser cutter creates the shape, but finishing creates the magic that makes people ask “where did you buy that?”
What’s the best finish for laser cut wood coasters?
Polyurethane sealer works best for coasters since they face constant moisture from drinks. Skip stain if you want easy cleaning, or use water-based stain under the polyurethane for color that won’t water-spot.
How long should I wait between finishing coats?
Most products need 4-6 hours between coats, but humidity affects drying time. Test a hidden area with your fingernail – if it leaves a mark, wait longer before applying the next coat.
Can I use spray paint instead of brush-on paint for laser cut projects?
Yes, but thin multiple coats work better than heavy single coats. Hold the can 8-12 inches away and move in steady passes. Spray paint requires better ventilation than brush-on paint.
What causes my wood stain to look streaky?
Uneven sanding creates streaky stain because rough spots absorb more color. Sand everything to the same grit level and use pre-stain conditioner on woods like pine or maple that absorb unevenly.
Should I sand between coats of polyurethane?
Light sanding with 320-grit paper between polyurethane coats removes dust bumps and helps the next coat stick better. Clean with a tack cloth after sanding and before applying the final coat.