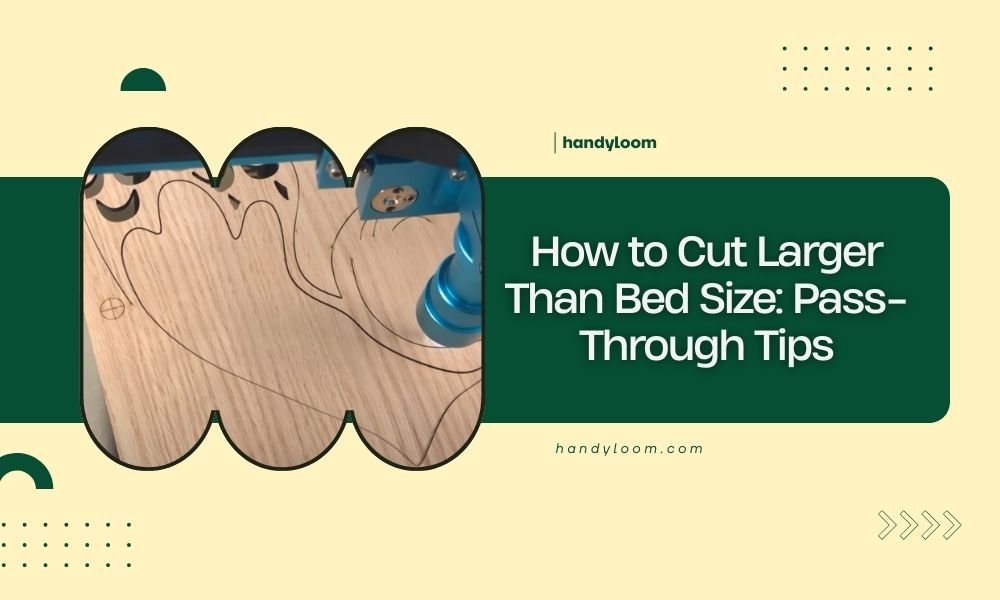
You can cut materials larger than your laser bed size by using pass-through cutting, which involves sliding long materials through your laser cutter’s pass-through slot while cutting in sections.
Pass-through cutting requires careful alignment, proper material support, and sectioned cutting patterns to maintain precision across the entire length of your project.
What Is Pass-Through Cutting?
Pass-through cutting lets you work with materials longer than your laser bed. Think of it like feeding paper through a printer, but with laser precision.
Most laser cutters have a small opening in the front and back. This slot allows long materials to slide through while you cut section by section.
Which Laser Cutters Support Pass-Through?
Not all laser cutters offer pass-through capabilities. You’ll find this feature mainly on desktop CO2 lasers and some fiber lasers.
Popular Models with Pass-Through
- Glowforge Pro and Basic models
- Full Spectrum laser cutters
- Epilog Zing series
- Boss laser desktop models
I researched online and found that most entry-level diode lasers don’t include pass-through slots. Check your manual or contact the manufacturer to confirm.
Materials That Work Best for Pass-Through
Some materials handle pass-through cutting better than others. Flexibility and thickness play big roles in your success.
Ideal Materials
- Thin plywood (1/8 inch or less)
- Cardboard and poster board
- Leather and fabric
- Thin acrylic sheets
- Paper and vinyl
Materials to Avoid
- Thick hardwood (over 1/4 inch)
- Rigid plastics that don’t bend
- Glass or ceramic
- Very thin materials that wrinkle easily
Setting Up Your Workspace
Proper setup makes the difference between success and frustration. You need stable support on both sides of your laser.
Front Support Setup
Place a sturdy table at the same height as your laser bed. This catches your material as it exits the machine.
Make sure the surface is smooth and clean. Any bumps or debris can shift your material during cutting.
Back Support Requirements
Your material needs support behind the laser too. Use another table or adjustable stands.
Keep the material level with your laser bed. Even small height differences can cause alignment problems.
Material Feed System
Long materials can sag or twist without proper support. Consider using roller stands like those for woodworking.
Some crafters build simple PVC pipe rollers. These help materials slide smoothly without binding.
Planning Your Cut Pattern
You can’t just extend your normal design and hope for the best. Pass-through cutting requires strategic planning.
Breaking Down Large Designs
Divide your project into sections that fit your bed size. Each section should have clear reference points for alignment.
Leave small tabs or alignment marks between sections. These help you position the material for the next cut.
Overlap Zones
Plan 1-2 inches of overlap between cutting sections. This gives you room to align properly and fix small errors.
Mark these overlap areas clearly in your design software. You’ll reference them during the actual cutting process.
Step-by-Step Pass-Through Process
Ready to make your first pass-through cut? Follow these steps for the best results.
Initial Material Loading
Feed your material through the pass-through slot. Position the first cutting area on your bed.
Use masking tape to mark the material edges on your bed. These marks help with repositioning later.
First Section Cut
Cut your first section completely before moving the material. Double-check that all cuts went through properly.
Don’t remove the waste material yet. It helps maintain the original shape and alignment.
Material Advancement
Carefully slide your material forward to expose the next cutting area. Use your overlap marks as guides.
Take your time here. Rushing this step causes the most alignment problems.
Alignment Check Points
Before cutting the next section, verify your alignment. Use a ruler to check that your material is square to the bed.
Look for your reference marks from the previous section. They should line up with your new cutting area.
Subsequent Sections
Repeat the cutting and advancing process for each section. Stay patient and check alignment every time.
Remove waste material from completed sections if it starts interfering with the process.
Common Problems and Solutions
Even experienced crafters run into issues with pass-through cutting. Here’s how to handle the most common problems.
Material Shifting
Materials can shift between cuts, throwing off your entire project. This happens when support tables aren’t level or when you rush the advancement.
Solution: Use alignment jigs or stops on your support tables. Many experts recommend creating simple wooden guides.
Misaligned Cuts
When sections don’t line up properly, you get visible seams or gaps in your final piece.
Solution: Always test with scrap material first. Mark your bed with tape to create consistent positioning points.
Incomplete Cuts
Long cutting sessions can reveal inconsistencies in your laser power or focus.
Solution: Clean your laser lens between sections. Check that your material hasn’t warped or lifted in places.
Advanced Tips for Better Results
Once you master the basics, these techniques will improve your pass-through projects.
Creating Registration Marks
Add small alignment marks to your design. Cut these first, then use them to position subsequent sections.
Place marks in areas that won’t show in your final project. Corners and edges work well for most designs.
Using Jigs and Fixtures
Build simple wooden jigs that help position your material consistently. This saves time and improves accuracy.
I found online that many crafters create L-shaped guides that reference off the laser bed edges.
Digital Measuring Tools
Consider using digital calipers or measuring tapes for precise positioning. Small measurement errors multiply across long cuts.
Safety Considerations
Pass-through cutting creates unique safety challenges. Long materials can catch fire more easily and are harder to monitor.
Fire Prevention
Keep fire extinguishers accessible on both sides of your laser. Long materials can ignite outside your normal viewing area.
Never leave pass-through cuts unattended. The extended cutting time and material handling increase fire risk.
Ventilation Requirements
Ensure your exhaust system can handle the extended cutting time. Longer cuts produce more fumes and particles.
Open doors or windows if your ventilation seems inadequate. From what I read, proper airflow becomes more important with extended cutting sessions.
Project Ideas for Pass-Through Cutting
Ready to put your new skills to use? These projects work great with pass-through techniques.
Long Decorative Panels
Create room dividers, fence panels, or wall art longer than your bed size. Geometric patterns hide seams well.
Custom Signage
Make business signs or banners that span multiple bed lengths. Text and simple graphics work best for beginners.
Fabric and Leather Projects
Cut long strips for belts, straps, or decorative trim. These flexible materials handle pass-through cutting very well.
Architectural Models
Build scale models of long buildings or bridges. The precision of laser cutting makes detailed architectural features possible.
Conclusion
Pass-through cutting opens up a world of possibilities for laser crafters. While it requires more planning and patience than standard cutting, the results are worth the effort. Start with simple projects using flexible materials, then work your way up to more complex designs. Remember that proper setup and careful alignment are your keys to success. With practice, you’ll be creating projects that seem impossible for your bed size.
Can I use pass-through cutting with any material thickness?
Material thickness is limited by your laser’s pass-through slot height, typically 1-2 inches. Thicker materials also require more power and may cause focus issues as they extend beyond your bed.
How do I prevent my material from warping during long cuts?
Use proper support on both sides of your laser and maintain consistent room temperature. Clamp or weight down the material edges if needed, but avoid interfering with the laser path.
What’s the maximum length I can cut using pass-through?
The maximum length depends on your workspace and material handling setup rather than the laser itself. Most crafters successfully cut materials 8-12 feet long with proper support systems.
Do I need special software for pass-through cutting?
You don’t need special software, but you’ll need to manually divide your design into sections that fit your bed size. Most laser software can handle sectioned designs with proper planning.
How accurate can pass-through cuts be compared to single-bed cuts?
With careful setup and alignment, pass-through cuts can achieve accuracy within 1-2mm across long lengths. The key is maintaining consistent material positioning and taking time with each alignment step.