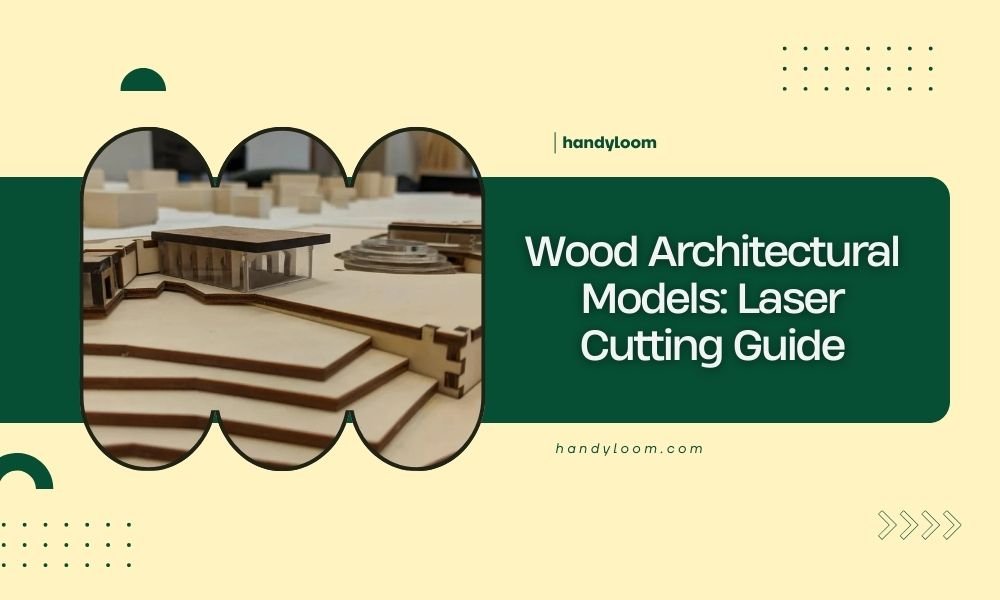
Wood architectural models using laser cutting require specific wood types, precise file preparation, and proper laser settings to achieve professional results with clean edges and accurate details.
The best woods for laser cutting architectural models are birch plywood, basswood, and MDF due to their consistent density, minimal warping, and ability to cut cleanly without charring.
Why Choose Laser Cutting for Architectural Models?
You get precision that traditional tools simply can’t match. Laser cutting gives you clean edges, perfect corners, and details as small as 0.1mm. This matters when you’re creating windows, doors, and decorative elements.
Speed is another huge advantage. What takes hours with a craft knife takes minutes with a laser cutter. You can cut multiple pieces at once and repeat designs perfectly.
Benefits Over Traditional Methods
No tool marks or rough edges to sand. The laser beam creates smooth cuts that look professional right off the machine. You save hours of cleanup work.
Complex shapes become easy. Curved windows, intricate facades, and detailed roof patterns that would challenge even skilled craftspeople become simple computer tasks.
Selecting the Right Wood Materials
Your material choice makes or breaks your project. Different woods behave very differently under laser heat.
Top Wood Choices for Models
Birch plywood cuts beautifully and stays flat. The light color shows details well, and it glues easily. I found that 3mm thickness works best for most architectural elements.
Basswood offers the smoothest cuts. It’s soft enough to cut quickly but strong enough for detailed work. Many model makers prefer it for delicate features.
MDF cuts consistently and costs less. The surface takes paint well if you want to add color. Just watch for more dust during cutting.
Woods to Avoid
Skip hardwoods like oak or maple. They require too much power and often char badly. Pine creates sticky residue that gums up your laser lens.
Particle board and chipboard create toxic fumes and cut unevenly. Your health and your model quality both suffer.
Thickness Guidelines
Most architectural models use 1.5mm to 6mm wood. Thin sheets (1.5-3mm) work for walls and details. Thicker pieces (4-6mm) provide stability for base structures.
Match thickness to your model’s scale. A 1:100 scale building needs thinner walls than a 1:50 scale version.
Design File Preparation
Your digital file determines your physical results. Small mistakes in design create big problems during cutting.
Software Recommendations
AutoCAD works great for precise architectural drawings. You can import existing building plans and convert them directly to cutting files.
Fusion 360 offers free access for hobbyists. It handles both 2D cutting paths and 3D visualization. You can see how pieces fit before cutting.
Adobe Illustrator creates clean vector files. Many laser cutters read AI files directly without conversion issues.
File Format Requirements
Vector formats work best: DXF, SVG, or AI files. Avoid image formats like JPG or PNG. They create rough, pixelated edges.
Set your units correctly from the start. A 10mm window shouldn’t become 10 inches because of wrong settings.
Design Considerations
Leave tabs to hold pieces in place during cutting. Small bridges prevent delicate parts from falling through the cutting bed.
Add kerf compensation for tight-fitting joints. The laser beam removes material equal to its width – usually 0.1-0.2mm.
Joint Design Tips
Finger joints work well for corners. They’re strong and look professional. Size fingers about 3 times your material thickness.
Notch joints help with assembly. Cut matching slots so pieces slide together easily without glue.
Laser Settings and Parameters
Wrong settings waste material and time. Each wood type needs specific power and speed combinations.
Basic Setting Guidelines
| Wood Type | Thickness | Power (%) | Speed (mm/min) |
|---|---|---|---|
| Birch Plywood | 3mm | 75-85 | 800-1200 |
| Basswood | 3mm | 65-75 | 1000-1400 |
| MDF | 3mm | 80-90 | 600-1000 |
These are starting points. Your specific laser may need adjustments. Always test on scrap pieces first.
Multi-Pass Cutting
Thick materials often cut better with multiple passes. Use lower power for each pass to reduce charring and heat damage.
Two passes at 60% power often work better than one pass at 100%. The wood stays cooler and cuts cleaner.
Engraving Settings
Surface details like brick patterns or window frames use different settings than cutting. Lower power and higher speed create shallow grooves.
Start with 20-30% power for engraving. Increase gradually until you get the depth you want.
Cutting Techniques and Best Practices
Proper technique prevents mistakes and safety issues. Small changes in approach make big differences in results.
Material Preparation
Flatten warped wood before cutting. Clamp it down or weigh it with books overnight. Curved material creates uneven cuts.
Clean both sides of your wood. Dust and debris can catch fire during cutting.
Bed Setup
Use a honeycomb cutting bed if available. It supports small pieces and allows smoke to escape underneath.
Pin down loose edges with masking tape. This prevents pieces from shifting during cutting.
Cutting Order Strategy
Cut interior details first, then outer edges. This keeps pieces stable longer during the cutting process.
Group similar elements together on your cutting bed. This saves material and reduces waste.
Ventilation and Safety
Always use proper ventilation. Wood smoke contains particles that irritate lungs and eyes.
Keep a spray bottle nearby for small flare-ups. Never leave your laser unattended while cutting.
Post-Processing and Finishing
Raw laser-cut pieces need finishing work to look professional. A few simple steps make a huge difference.
Cleaning Cut Edges
Light sanding removes char marks and smooths rough spots. Use 220-grit sandpaper and work gently.
Compressed air blows out debris from detailed areas. A soft brush works too if you don’t have an air compressor.
Removing Burn Marks
Masking tape during cutting prevents most burn marks. Apply it before cutting and remove it afterward.
For existing burns, try gentle sanding or wood bleach. Test on hidden areas first.
Assembly Techniques
Dry-fit everything before gluing. Mark piece locations with pencil so assembly goes smoothly.
PVA glue works well for most joints. It dries clear and bonds wood fibers strongly. Apply thin, even coats.
Finishing Options
Natural wood looks great with just clear coating. Polyurethane protects against handling damage.
Paint works well on MDF and basswood. Prime first for even color coverage.
Troubleshooting Common Issues
Problems happen, but most have simple solutions. Knowing what to look for saves time and materials.
Incomplete Cuts
Usually means power is too low or speed too high. Increase power by 10% or slow down by 200mm/min.
Dirty lenses also cause weak cuts. Clean your lens with lens paper and appropriate cleaner.
Excessive Charring
Too much power creates burn marks and char. Reduce power and try multiple passes instead.
Better air assist also helps. Strong airflow blows combustion products away from the cut.
Warped Pieces
Heat stress can warp thin pieces during cutting. Use lower power settings or cut more slowly.
Weight pieces flat while they cool. A heavy book works perfectly for this.
Advanced Techniques
Once you master basics, these advanced methods add professional touches to your models.
Layered Construction
Build up wall thickness by laminating thin sheets. This creates realistic proportions and adds strength.
Different wood colors create natural contrast between layers. Light and dark woods alternate beautifully.
Mixed Material Approaches
Combine wood with acrylic for windows. The contrast looks realistic and assembly is straightforward.
Fabric backing behind cut-out windows suggests interior spaces. Choose colors that complement your wood choice.
Conclusion
Wood architectural models showcase the precision and beauty possible with laser cutting. Start with quality materials like birch plywood or basswood, prepare your design files carefully, and use appropriate cutting settings for clean results. Practice on simple shapes before attempting complex buildings. With patience and attention to detail, you’ll create stunning architectural models that impress clients and showcase your design skills. Remember that each project teaches you something new about material behavior and cutting techniques.
What’s the minimum detail size possible with laser cutting wood models?
Most lasers can cut details as small as 0.5mm in wood, though 1mm features are more reliable for architectural models. Thinner materials allow finer details than thick pieces.
How do I prevent small pieces from falling through the cutting bed?
Use a honeycomb cutting surface or place sacrificial material underneath your wood. Leave connecting tabs in your design to hold small pieces until cutting completes.
Can I cut multiple model pieces from different wood types simultaneously?
No, different woods require different laser settings. Cut each material type separately to avoid incomplete cuts or excessive charring on some pieces.
What causes wavy or rough cut edges in architectural models?
Dull or dirty laser lenses, incorrect focus height, or cutting speed too fast all create poor edge quality. Clean your optics and run test cuts to dial in proper settings.
How thick can wood be for detailed architectural features?
For fine details like window muntins or decorative trim, stay under 4mm thickness. Thicker wood makes small features harder to cut cleanly and may char excessively.