
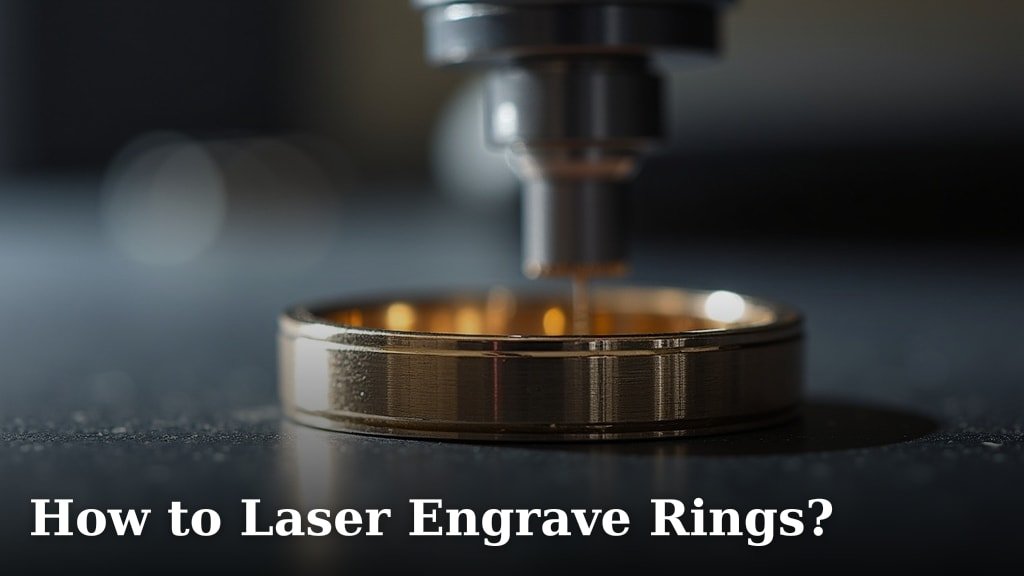
To laser engrave rings, you primarily need a specialized laser engraving machine capable of handling cylindrical objects, usually with a rotary attachment. This method offers incredible precision and permanence for personalizing jewelry. We found that the process involves careful setup and choosing the right laser type.
Engraving rings with a laser can transform a simple band into a deeply personal keepsake. Whether it’s a wedding band with a special date or a gift with a meaningful message, laser engraving lets you add unique details. You’re giving life to your creative ideas right on the metal.
TL;DR:
- Identify the right type of laser for your ring material.
- Understand the importance of a rotary attachment for engraving curved surfaces.
- Prepare your ring and design for optimal engraving results.
- Learn about different engraving depths and finishes.
- Follow safety guidelines for laser operation.
Ready to turn a plain ring into a work of art? Let’s walk through exactly how to laser engrave rings, step by step.
Getting Started with Ring Engraving
You’re ready to add that special touch to a ring. But where do you begin? The first step is understanding the tools and materials involved. We’ll guide you through the essential equipment you need for successful ring engraving.
Choosing the Right Laser Engraver for Rings
Not all laser engravers are created equal, especially when it comes to rings. You’ll need a machine that can handle small, curved objects. This usually means a fiber laser engraver for metals or a CO2 laser for non-metals, paired with a rotary attachment.
Fiber Laser vs. CO2 Laser for Ring Materials
What kind of ring are you working with? This dictates your laser choice. Fiber lasers are the champions for engraving metals like gold, silver, platinum, stainless steel, and titanium. They deliver a very precise, dark mark that lasts. CO2 lasers, on the other hand, are better suited for organic materials like wood, acrylic, or certain plastics. So, if it’s a metal ring, a fiber laser is your go-to (National Institute of Standards and Technology).
The Essential Rotary Attachment
Imagine trying to engrave a straight line on a rolling pin. Tricky, right? That’s why a rotary attachment is non-negotiable for rings. This device spins the ring consistently during engraving, allowing the laser to create a continuous, seamless design all the way around. Without it, your engraving would be distorted and uneven. Think of it as a potter’s wheel for your laser.
Preparing Your Rings for Engraving Success
Before the laser beam even touches the ring, a little preparation goes a long way. Proper cleaning and securing are key to getting a perfect result. Skipping these steps can lead to disappointing marks or even damage.
Cleaning and Securing the Ring
Dust, oils, and fingerprints can interfere with the laser’s precision. Always gently clean your ring with a soft cloth and a suitable jewelry cleaner. Make sure it’s completely dry. Then, load the ring onto the rotary attachment. It needs to be snug and centered. Any wobble will cause your engraving to be blurry or off-kilter. We found that a secure setup saves a lot of headaches later on.
Testing Engraving Settings
You wouldn’t cut an expensive piece of wood without a test cut. The same goes for rings! Before engraving your final piece, always run a test. Use a similar scrap material or the inside of a less visible part of the ring. Adjust the laser power, speed, and frequency until you achieve the desired depth and clarity. This practice prevents costly mistakes (American Gem Society).
Designing Your Ring Engraving
Now for the fun part: bringing your vision to life! The right design software and a clear understanding of the text or graphics you want are paramount. This stage sets the blueprint for your finished product.
Software for Design Creation
You’ll need graphic design software to create your engraving file. Programs like Adobe Illustrator, CorelDRAW, or even simpler vector-based software work well. You’ll create your text or image as a vector file, which means it scales without losing quality. This is crucial for crisp, clean lines on tiny surfaces.
Understanding Engraving Depth and Detail
How deep do you want the engraving to be? This isn’t just about aesthetics; it also affects durability. A shallow engraving might be subtle, but it could wear away faster. A deeper engraving will last longer but requires more laser power and potentially more passes. Consider the ring’s material and the desired longevity of the design. We found that most customers prefer a noticeable, yet not too deep, mark.
Font Selection and Image Preparation
Small spaces demand careful font choices. Opt for clear, simple fonts that are easy to read at a small size. Cursive or overly decorative fonts can become illegible. If you’re engraving an image, make sure it’s high-resolution and simple. Complex images with fine details can get lost on a tiny ring surface. Think minimalist for maximum impact.
The Engraving Process: Step-by-Step
With your design ready and your ring secure, it’s time to fire up the laser. This is where precision and patience pay off. You’ll move from software setup to the actual engraving in a few key stages.
Loading Your Design into the Laser Software
Transfer your vector design file from your graphic software to your laser engraver’s operating software. Here, you’ll specify the engraving area and size. Double-check that your design is perfectly centered for the ring. Many machines have a “frame” or “trace” function that uses a low-power laser to show you exactly where the engraving will occur. Use it!
Here’s a quick checklist before pressing start:
- Is the ring clean and secure in the rotary attachment?
- Are the laser power, speed, and frequency settings correct for your material?
- Is the design file loaded and scaled appropriately?
- Have you performed a “frame” or “trace” to confirm placement?
- Are all safety precautions in place?
Monitoring the Engraving and Post-Process Cleaning
Once you hit “start,” watch the magic happen! Stay near the machine and monitor the process. Modern lasers are quite safe, but keeping an eye on things is always smart. After engraving, the ring might have some residue or discoloration. Use a soft cloth and an appropriate cleaner to gently polish the ring. This step reveals the crisp, finished engraving. Some metals might require a mild abrasive or polishing compound for the best finish.
Safety Considerations for Laser Engraving
Working with lasers means dealing with powerful beams of light. Your safety, and the safety of those around you, is paramount. Never compromise when it comes to protective measures.
Essential Personal Protective Equipment (PPE)
Always wear approved laser safety glasses that are rated for your specific laser’s wavelength. Regular eyeglasses or sunglasses offer no protection. You need to shield your eyes from direct and reflected laser light. We cannot stress this enough: unprotected exposure can cause severe eye damage (Occupational Safety and Health Administration).
Additionally, ensure your work area is well-ventilated to remove any fumes or particles generated during engraving. Some materials can release harmful substances when exposed to a laser. A fume extractor is an excellent investment.
Machine Safety Features and Environment
Modern laser engravers usually come with safety interlocks that stop the laser if a door opens. Don’t bypass these! Keep the laser machine in a secure area, away from curious children or pets. Consider having a fire extinguisher handy, just in case. Although rare, fires can occur with certain materials. Knowing your machine’s safety features and maintaining a cautious environment ensures a smooth, safe engraving experience.
Conclusion
Laser engraving rings empowers you to create truly unique and lasting pieces. We’ve walked through choosing the right equipment, preparing your rings, and crafting your designs with precision. You’ve learned the importance of proper settings and critical safety measures. It’s a detailed process, but the results—personalized keepsakes with crisp, permanent marks—are incredibly rewarding. Now, take these steps and confidently transform ordinary rings into extraordinary, sentimental treasures.
Frequently Asked Questions
What’s the best way to clean a laser-engraved ring without damaging the engraving?
For most laser-engraved rings, a soft cloth and mild jewelry cleaner are sufficient. Avoid harsh chemicals or abrasive scrubs, as these might dull the finish of the ring itself or accumulate within the engraved lines. Always ensure the cleaner is safe for your specific ring material.
Can I laser engrave materials other than metal for rings, like wood or plastic?
Yes, you can engrave rings made from various materials beyond metal. CO2 lasers are ideal for organic materials like wood, acrylic, or certain plastics. However, remember that softer materials might not provide the same level of permanence or crisp detail as metal engravings.
How long does a laser engraving on a ring typically last?
A properly executed laser engraving on a durable metal ring is highly permanent. Fiber lasers create a deep, indelible mark that resists wear and fading, often lasting the lifetime of the ring itself. Engravings on softer materials might show wear over many years of heavy use.
Is it possible to engrave inside a ring as well as the outside?
Absolutely, laser engraving machines with a rotary attachment are designed to handle both internal and external ring surfaces. The rotary spins the ring, allowing the laser to apply the design seamlessly around the circumference, whether on the inner band or the outer surface.
What should I do if my laser engraving looks faint or inconsistent?
If your engraving appears faint or inconsistent, first re-check your laser settings. You might need to increase the power, reduce the speed, or increase the frequency for a deeper mark. Ensure the ring is perfectly clean and securely mounted without any wobble, as movement can cause uneven results.
