

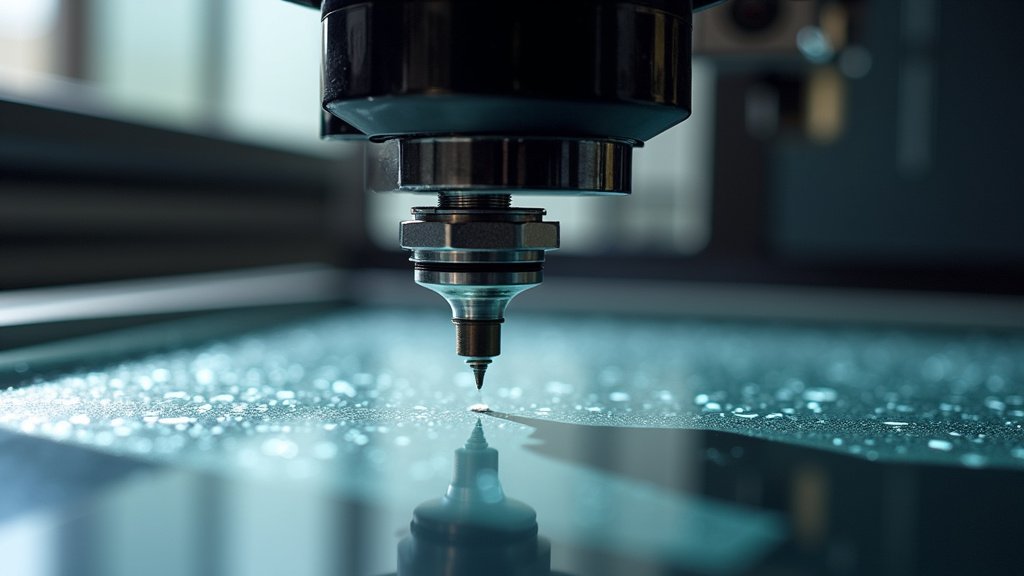
To laser engrave glass, you use a CO2 laser to create tiny fractures on the glass surface. This process results in a frosted or etched appearance, making your designs permanent and beautiful. It’s a popular way to personalize various glass items.
You can laser engrave almost anything made of glass, from drinking glasses to mirrors and bottles. We found that proper settings and preparation are key to achieving a clean, professional etch. It’s a creative process, but it needs a bit of know-how.
TL;DR:
- Lasers create micro-fractures for a frosted look.
- CO2 lasers are best for glass.
- Preparation prevents cracking and chipping.
- You can engrave many glass types.
- Settings are crucial for quality results.
Let’s walk through exactly how to laser engrave glass, step by step, so you can start creating your own stunning projects.
Getting Started with Glass Laser Engraving
Ready to try your hand at glass engraving? It’s a rewarding hobby, and we found that a little preparation goes a long way. Before you power up your laser, let’s gather your tools and get familiar with the process. Think of it as setting the stage for a perfect performance.
Understanding Your Glass Type
Not all glass is created equal, especially when it comes to laser engraving. The type of glass you choose can significantly affect your results. Some types engrave beautifully, while others might be more challenging or even unsuitable. We’ve all seen those blurry, uneven engravings; often, the glass itself is the culprit.
Common Engravable Glass Materials
Most common glass items you encounter daily are good candidates. We found that soda-lime glass, which is used for most drinking glasses, bottles, and windows, works very well. Borosilicate glass, found in Pyrex and some scientific glassware, can also be engraved, but often requires slightly different settings. It’s tougher stuff.
- Drinking Glasses: Tumblers, wine glasses, mugs.
- Bottles: Wine bottles, spirit bottles, jars.
- Mirrors: You’ll engrave the back (coated) side for a “frosted” front.
- Picture Frames: The glass inserts are usually suitable.
- Vases: Thicker glass might need more power.
Glass Types to Approach with Caution
Some glass types are best avoided or require extreme care. Crystal, for example, often contains lead, which can make it more prone to chipping and can even produce harmful fumes when laser-engraved. Likewise, very thin glass can be quite fragile. It’s like trying to cut butter with a dull knife; it just won’t be clean.
- Leaded Crystal: High lead content can cause inconsistent results and release fumes.
- Art Glass with Inclusions: Variations in density can lead to uneven engraving or cracking.
- Coated Glass (non-mirror): Some coatings can melt or discolor rather than engrave cleanly.
Essential Tools and Materials You’ll Need
Having the right gear makes all the difference. You wouldn’t try to bake a cake without flour, right? The same goes for laser engraving. Gathering everything beforehand saves time and prevents frustration. We’ve put together a checklist of what you’ll want on hand.
Your primary tool, of course, is a CO2 laser engraver. Make sure it’s properly maintained and that your work area is well-ventilated. Safety first! Beyond the laser, you’ll need a few other items to ensure successful engraving.
The Non-Negotiables: Your Core Setup
- CO2 Laser Engraver: The heart of your operation. Ensure it’s correctly aligned.
- Fume Extraction System: Vital for safety to remove glass dust and fumes.
- Protective Eyewear: Laser-specific glasses are a must to protect your eyes.
- Glass Item to Engrave: Cleaned and ready for design.
- Design Software: CorelDRAW, Adobe Illustrator, or specialized laser software.
Helpful Extras: Elevating Your Engraving
These aren’t strictly necessary for every project, but they can greatly improve your results and make the process smoother. Think of these as your secret weapons for perfection.
- Rotary Attachment: Essential for engraving cylindrical objects like bottles and glasses.
- Wet Paper Towel/Newspaper: To help dissipate heat and create a smoother etch.
- Dish Soap/Detergent: For cleaning the glass thoroughly before engraving.
- Rubbing Alcohol: To degrease the glass surface.
- Masking Tape or Contact Paper: For reverse engraving or protecting areas.
- Soft Cloth: For cleaning and wiping.
Preparing Your Glass for Engraving
This step is crucial and often overlooked. A clean, properly prepared surface is key to a crisp, beautiful etch. Imagine trying to paint on a dusty canvas; it just wouldn’t work. We found that taking a few extra minutes here saves a lot of headaches later.
The main goals are to ensure the glass is absolutely clean, free of oils, and positioned correctly. Any residue or unevenness can lead to inconsistent engraving results, ugly marks, or even cracking. You want that frosted look, not a cracked mess.
Thorough Cleaning is Non-Negotiable
First things first: wash your glass item thoroughly. Use warm water and dish soap to remove any fingerprints, dust, or manufacturing oils. Rinse it well to ensure no soap residue remains. Then, let it air dry completely or dry it with a lint-free cloth. We often follow up with a quick wipe
Conclusion
You’ve seen that laser engraving glass is all about precision and preparation. Getting your glass type right, having the proper tools, and thoroughly cleaning your items are critical first steps. These efforts prevent common issues like cracking or uneven etching, ensuring a beautiful frosted finish every time. By following these foundational steps, you’re well on your way to creating stunning, personalized glass pieces. Now, go confidently create your next masterpiece!
Frequently Asked Questions
What power settings should I use for glass engraving?
The ideal power settings vary depending on your specific laser engraver, the type of glass, and your desired effect. Generally, we found that using higher speed and lower power settings works best to create the frosted look without causing deep cracks or chipping. Always perform test engraves on scrap pieces first.
Can I engrave curved glass surfaces?
Yes, you can engrave curved glass surfaces like bottles and wine glasses. For best results, you’ll need a rotary attachment for your laser engraver. This accessory rotates the object evenly under the laser, allowing for consistent engraving across the curved area.
Why is my glass cracking during engraving?
Glass cracking often occurs due to excessive heat or incorrect laser settings. Using too much power or too slow a speed can overheat the glass, leading to thermal shock and breakage. Ensure your glass is clean, use proper power/speed settings, and consider applying a wet paper towel to help dissipate heat.
Do I need to clean the engraved glass afterwards?
Absolutely! After engraving, you’ll likely see a fine glass dust or residue on the etched surface. We recommend gently washing the engraved item with soap and water, or wiping it with a damp cloth, to remove this dust and reveal the crisp, frosted design.
Can all colors of glass be laser engraved?
Most common glass colors can be engraved, as the laser is reacting with the glass material itself, not just its surface color. However, very dark or opaque colored glass might sometimes show less contrast in the frosted etch compared to clear glass. Always test on an inconspicuous area first.
