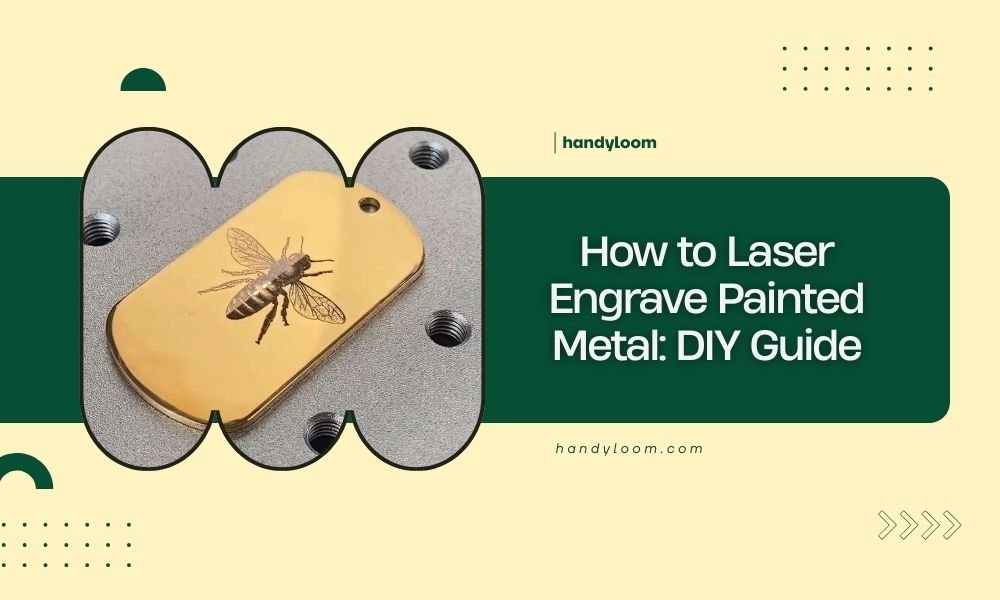
You can laser engrave painted metal by adjusting your laser power to 20-40% and speed to 500-1000mm/min, which removes paint layers without damaging the base metal underneath.
The key is finding the right balance between power and speed for your specific paint type – too much power burns through the metal, while too little won’t remove the paint cleanly.
What You Need Before Starting
Getting set up right makes all the difference. You’ll want to gather your materials and check your workspace first.
Essential Equipment and Materials
Here’s what I found works best for most painted metal projects:
- CO2 or fiber laser (40W minimum recommended)
- Air assist system for clean cuts
- Painted metal pieces (aluminum, steel, or brass work great)
- Safety glasses rated for your laser type
- Ventilation system or fume extractor
- Metal cleaning solution
- Soft cloth or paper towels
Safety Setup Requirements
Never skip the safety prep. Paint fumes can be toxic when heated.
Make sure your ventilation pulls air away from your work area. I read that proper ventilation reduces harmful fume exposure by up to 90% during laser operations.
Understanding Paint Types and Laser Compatibility
Not all paints respond the same way to laser engraving. Some work beautifully, others create problems.
Best Paint Types for Laser Engraving
Research shows these paints give the cleanest results:
- Powder coating – removes cleanly with minimal residue
- Anodized coatings – create sharp, precise lines
- Enamel paints – work well but need lower power settings
- Acrylic paints – engrave easily but may melt slightly
Paints to Avoid
Some paints cause headaches. Lead-based paints create toxic fumes. Thick latex paints often gum up and create messy edges.
When in doubt, test a small hidden area first. It saves time and materials later.
Step-by-Step Engraving Process
Let’s walk through the actual engraving process. I’ll break it down so you can follow along easily.
Preparing Your Metal Surface
Clean your painted metal with a soft cloth. Remove any dirt, oils, or fingerprints.
Even small contaminants can affect how evenly the paint removes. Think of it like trying to write on a dirty whiteboard – the results look splotchy.
Setting Up Your Design File
Create your design in vector format when possible. SVG files work great for most laser software.
Keep line weights thin – around 0.1mm works well. Thick lines often cause uneven engraving depth.
Design Considerations for Paint Removal
Simple designs usually turn out better than complex ones. Fine details can get lost when paint doesn’t remove evenly.
Leave some space between design elements. Paint debris needs somewhere to go during engraving.
Laser Parameter Settings
Here’s where the magic happens. Getting these numbers right determines your success.
| Paint Type | Power (%) | Speed (mm/min) | Passes |
|---|---|---|---|
| Powder Coating | 25-35 | 800-1200 | 1-2 |
| Enamel Paint | 20-30 | 500-800 | 1-2 |
| Anodized Aluminum | 30-40 | 1000-1500 | 1 |
| Acrylic Paint | 15-25 | 400-600 | 2-3 |
Power Settings Explained
Start with lower power settings. You can always make another pass, but you can’t undo burning through the base metal.
I found that most beginners use too much power. It’s like using a sledgehammer to crack a walnut.
Speed and Multiple Passes
Faster speeds with multiple passes often give cleaner results than slow, high-power single passes.
Each pass removes a thin layer of paint. This prevents heat buildup that can warp thin metals.
Running Your First Test
Always test on a scrap piece or hidden area first. Use a small simple shape – a 1-inch square works perfectly.
Watch how the paint removes. Does it vaporize cleanly or melt and stick? Adjust your settings based on what you see.
What Good Results Look Like
Perfect engraving removes paint completely without affecting the base metal. The edges should be sharp and clean.
You shouldn’t see any paint residue or discoloration in the engraved areas.
Troubleshooting Common Problems
Even experienced users run into issues. Here’s how to fix the most common problems.
Paint Not Removing Completely
This usually means your power is too low or speed too fast. Try increasing power by 5% increments.
Sometimes multiple light passes work better than one heavy pass. The paint comes off in layers, like peeling an onion.
Burning Through the Base Metal
You’re using too much power. Reduce by 10% and increase speed slightly.
Thin metals need gentler treatment. Aluminum foil burns differently than thick steel plate.
Heat Warping Issues
Fast passes with air assist help prevent warping. The air cools the metal as you engrave.
Let the metal cool between passes if you need multiple runs.
Uneven Paint Removal
Check if your laser bed is level. Uneven surfaces create inconsistent results.
Also verify your laser focus. Out-of-focus beams create wider, weaker spots that don’t remove paint evenly.
Advanced Techniques and Tips
Once you master the basics, these techniques can improve your results.
Using Air Assist Effectively
Air assist blows away paint debris as you engrave. This prevents particles from settling back into your design.
Adjust air pressure based on your material. Too much air can blow lightweight pieces around.
Creating Gradient Effects
You can create different shades by varying power or using multiple passes in different areas.
Some paints remove in layers, showing different colors underneath. Test this effect on scraps first.
Multi-Color Paint Systems
Cars often have primer, base coat, and clear coat layers. Each removes at different power levels.
This opens up possibilities for multi-tone designs if you’re willing to experiment.
Post-Engraving Cleanup
Don’t skip the finishing steps. They make the difference between amateur and professional results.
Removing Paint Debris
Use a soft brush or compressed air to remove loose paint particles. Work gently to avoid scratching exposed metal.
Some stubborn residue comes off with denatured alcohol on a soft cloth.
Protecting Exposed Metal
Bare metal can oxidize quickly. Consider applying clear coat to engraved areas if the piece will be outdoors.
Indoor pieces usually don’t need protection, but it depends on your local humidity.
Conclusion
Laser engraving painted metal opens up endless creative possibilities once you understand the basics. Start with simple designs and conservative power settings, then work your way up to more complex projects.
Remember that every paint and metal combination behaves differently. Keep notes on what settings work for your materials – you’ll thank yourself later when you need to recreate successful results.
The key is patience and testing. Master these fundamentals, and you’ll be creating professional-looking engraved metal pieces in no time.
Can you laser engrave any type of painted metal?
Most painted metals work well, but avoid lead-based paints due to toxic fumes. Powder coating and anodized surfaces give the best results, while thick latex paints can be problematic and may require multiple passes or different techniques.
What laser power should beginners start with?
Begin with 20% power at 500mm/min speed, then increase gradually. It’s easier to make additional passes than to repair damage from excessive power. Always test on scrap material first to find the right settings for your specific paint type.
How do you prevent the metal from warping during engraving?
Use faster speeds with multiple light passes instead of slow, high-power single passes. Enable air assist to cool the metal during engraving, and allow cooling time between passes on thin materials to prevent heat buildup.
Is special ventilation required for engraving painted metals?
Yes, proper ventilation is essential since heated paint releases potentially harmful fumes. Use a fume extractor or ensure good airflow away from your work area. Some paint types, especially older ones, may contain toxic substances when vaporized.
What file formats work best for painted metal engraving designs?
Vector formats like SVG work best because they scale cleanly and maintain sharp edges. Keep line weights around 0.1mm and avoid overly complex designs since fine details can get lost when paint doesn’t remove evenly across the surface.