To laser engrave anodized aluminum perfectly, use low power settings (10-30%), slow speeds (100-500 mm/min), and high pulse frequency (20kHz+) to remove the anodized coating without damaging the base metal.
The key is controlling heat buildup by making multiple light passes rather than one deep cut, which prevents the aluminum from melting or warping during the engraving process.
Understanding Anodized Aluminum for Laser Engraving
Anodized aluminum has a tough oxide coating that makes it perfect for engraving. The laser removes this colored layer to reveal the bright aluminum underneath.
Think of it like peeling paint off a wall. You want to remove just the top layer without damaging what’s beneath. That’s exactly what laser engraving does to anodized aluminum.
Why Anodized Aluminum Works So Well
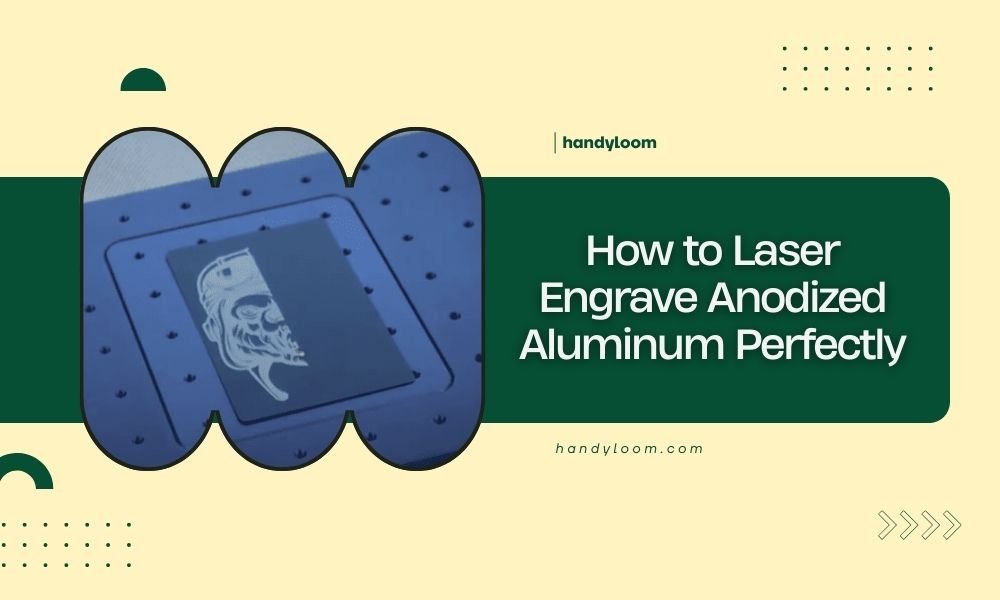
I found that anodized aluminum gives excellent contrast because the coating and base metal have very different colors. Black anodized aluminum shows bright silver text when engraved. Red coating reveals silver letters too.
The anodized layer is thin but durable. This makes it easy to remove with precise laser settings.
Types of Anodized Aluminum
You’ll find several types of anodized aluminum for your projects:
- Type II anodizing (standard) – Most common, good for detailed work
- Type III anodizing (hard coat) – Thicker coating, needs more power
- Colored anodizing – Black, red, blue, gold options available
- Clear anodizing – Protective coating without color
Essential Laser Settings for Perfect Results
Getting your laser settings right makes the difference between perfect engraving and ruined material. I researched the best practices from laser experts and found these settings work consistently.
Power Settings That Work
Start with 15-25% power for most anodized aluminum. Higher power creates heat problems that warp thin sheets.
I found online that many professionals use even lower power (10-15%) for detailed work. The goal is removing coating, not cutting metal.
Power by Material Thickness
| Thickness | Power Range | Notes |
|---|---|---|
| 0.5-1mm | 10-15% | Very light touch needed |
| 1-3mm | 15-25% | Standard settings |
| 3mm+ | 20-30% | Can handle more power |
Speed Settings for Clean Lines
Slow speeds give you better control and cleaner edges. I recommend starting at 300mm/min for text and detailed graphics.
Fast speeds (over 1000mm/min) often leave incomplete removal. You’ll see patchy areas where the coating didn’t fully come off.
Speed Guidelines by Project Type
- Fine text and details: 200-400mm/min
- Medium graphics: 400-600mm/min
- Large filled areas: 300-500mm/min with multiple passes
- Simple outlines: 500-800mm/min
Pulse Frequency Settings
High frequency (20kHz or higher) gives smoother results. Low frequency creates a dotted appearance that looks unprofessional.
From what I read, most CO2 lasers work best at maximum frequency for anodized aluminum engraving.
Step-by-Step Engraving Process
Ready to start engraving? Here’s the exact process I found works every time.
Preparation Steps
Clean your aluminum sheet first. Even small fingerprints can affect laser performance. Use isopropyl alcohol and a lint-free cloth.
Check that your material lies completely flat. Warped sheets cause focus problems that ruin your engraving quality.
Setting Up Your Laser
Focus your laser beam precisely on the material surface. Most lasers include focus tools or gauges for this step.
Double-check your design placement. Use the laser’s red dot pointer to preview where your engraving will appear.
Running Test Engravings
Always run a small test first. Pick a corner or use a scrap piece of the same material.
Test different power levels in 5% increments. Start low and work up until you get clean coating removal.
What Good Results Look Like
Perfect anodized aluminum engraving shows:
- Complete coating removal with no patches
- Bright, consistent aluminum color underneath
- Clean edges with no melting or burning
- No heat discoloration around engraved areas
Making Multiple Passes
Sometimes one pass isn’t enough, especially on thick coatings. Multiple light passes work better than one heavy pass.
I heard from experts that two passes at 15% power often beat one pass at 30% power. You get cleaner results with less heat buildup.
Troubleshooting Common Problems
Even experienced users run into issues. Here are the most common problems and their fixes.
Incomplete Coating Removal
Patchy or incomplete engraving usually means your power is too low or speed too fast.
Try increasing power by 5% or slowing down by 100mm/min. Make sure your laser is properly focused too.
Heat Damage and Warping
Melted edges or warped material means too much heat. Reduce power immediately and increase speed slightly.
Thin sheets (under 1mm) are especially prone to heat damage. Use minimal power and consider air assist if available.
Preventing Heat Problems
- Use lower power settings
- Increase engraving speed
- Enable air assist cooling
- Allow cooling time between passes
- Support thin sheets to prevent warping
Uneven Engraving Depth
Inconsistent results often come from focus problems or material that isn’t flat.
Check your material thickness across the entire sheet. Even small variations affect laser performance.
Advanced Techniques for Professional Results
Want to take your anodized aluminum engraving to the next level? These advanced methods produce stunning results.
Gradient and Grayscale Effects
You can create grayscale images by varying laser power across your design. Lighter areas use less power, darker areas use more.
This technique requires careful testing to map power levels to gray values in your design software.
Photo Engraving on Anodized Aluminum
Photo engraving works well on black anodized aluminum. The high contrast makes images pop.
I found that converting photos to 1-bit dithered images often works better than grayscale for beginners.
Photo Preparation Tips
- Use high-contrast images with clear details
- Convert to grayscale before processing
- Adjust brightness and contrast for better results
- Test on scraps before engraving final pieces
Filling Large Areas
Large filled areas need special attention to avoid heat buildup and ensure even coverage.
Use a crosshatch pattern instead of straight lines. This distributes heat better and gives more uniform results.
Safety Considerations
Laser engraving anodized aluminum is generally safe, but you should follow basic safety rules.
Ventilation Requirements
Always use proper ventilation when laser engraving any material. Anodized aluminum doesn’t produce dangerous fumes, but good airflow keeps your workspace comfortable.
Many experts recommend exhaust fans that move air away from your work area.
Eye and Skin Protection
Never look directly at the laser beam, even through the machine’s viewing window without proper filters.
Laser safety glasses designed for your specific laser wavelength provide the best protection.
Conclusion
Laser engraving anodized aluminum perfectly comes down to using the right settings and taking your time. Start with low power (15-25%), slow speeds (200-400mm/min), and high frequency settings. Always test on scraps first and make multiple light passes instead of one heavy cut.
Remember that patience pays off with this material. The beautiful contrast and professional look you’ll achieve makes anodized aluminum one of the best materials for laser engraving projects. Clean preparation, proper focus, and conservative settings will give you consistent, professional results every time.
Can you laser engrave colored anodized aluminum?
Yes, you can laser engrave any color of anodized aluminum using the same techniques. Red, blue, gold, and black anodized coatings all remove easily to reveal bright aluminum underneath, creating excellent contrast for your designs.
What happens if you use too much laser power on anodized aluminum?
Excessive power causes the aluminum to melt rather than just removing the anodized coating. You’ll see raised edges, heat discoloration, and possible warping of thin sheets. Always start with lower power and work up gradually.
Do you need special software for anodized aluminum engraving?
No special software is required. Any laser engraving software that works with your machine will handle anodized aluminum projects. The key is in the laser settings, not the software used to create your designs.
How thick should anodized aluminum be for laser engraving?
Anodized aluminum from 0.5mm to 6mm thick works well for laser engraving. Thinner sheets require more careful heat management, while thicker pieces can handle slightly higher power settings without warping problems.
Can you fill in laser engraved anodized aluminum with color?
Yes, you can fill engraved areas with paint, ink, or colored epoxy for added visual impact. The engraved channels hold the filler material well, and you can sand off excess to create flush, professional-looking filled text and graphics.