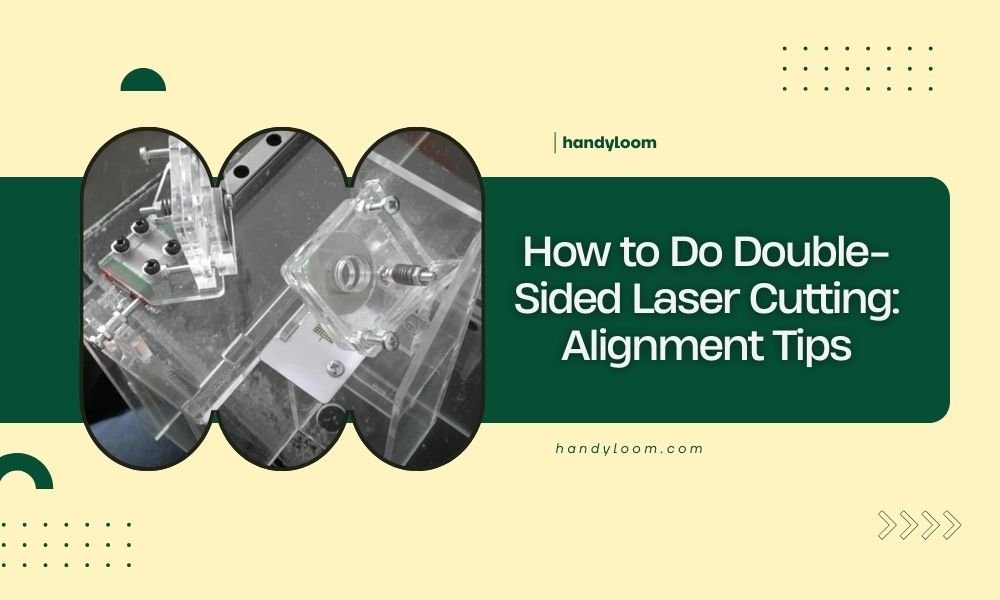
Double-sided laser cutting requires perfect alignment between the front and back cuts to create clean, professional results.
You can achieve precise double-sided laser cutting by using registration marks, jigs, and careful material positioning techniques.
Understanding Double-Sided Laser Cutting
Double-sided laser cutting lets you create designs on both sides of your material. Think of it like printing on both sides of paper, but with laser precision. You cut or engrave one side, flip the material, then work on the other side.
The biggest challenge? Getting both sides to line up perfectly. Even a tiny shift can ruin your project. I found that most laser cutting failures happen because of alignment issues, not machine problems.
Why Alignment Matters So Much
Poor alignment creates visible gaps, uneven edges, or completely misplaced designs. Your project looks amateur instead of professional. Good alignment makes your work look like it came from a high-end factory.
Essential Tools for Perfect Alignment
You need the right tools before starting any double-sided project. Here’s what works best:
- Registration pins or dowels
- Alignment jigs (store-bought or homemade)
- Corner squares
- Measuring tape or rulers
- Masking tape
- Fine-tip markers
Making Your Own Alignment Jig
A simple jig costs less than buying one. Cut a piece of scrap material slightly larger than your project. Create corner guides or pin holes that hold your material in the exact same spot every time.
I found online that many professionals use cardboard jigs for lightweight projects. They’re cheap, easy to replace, and work surprisingly well.
The Registration Mark Method
Registration marks are small reference points you cut into your material. They help you align both sides perfectly. This method works for almost any material thickness.
Creating Effective Registration Marks
Place small circles, squares, or crosses in the corners of your design. Make them about 2-3mm in size. Keep them outside your final project area so you can trim them off later.
Cut these marks first, before your main design. They become your reference points for the flip side. Always use at least two marks on opposite corners.
Using Registration Marks Step-by-Step
Start by cutting your registration marks and front-side design. Remove the material carefully without moving it. Place it on a flat surface and mark the registration points with a pen.
Flip your material and place it back in the laser bed. Line up your registration marks with the laser’s crosshairs. Test the alignment by pulsing the laser at low power over your marks.
Corner Pin Alignment System
Corner pins create physical stops for your material. You place pins or dowels in fixed positions, then push your material against them for consistent placement.
Setting Up Corner Pins
Place two pins at a 90-degree angle in one corner of your laser bed. Your material should fit snugly against both pins. This creates the same starting position every time.
Mark the pin locations on your laser bed with tape. You can remove and replace the pins while keeping the same reference points for future projects.
Benefits of Pin Systems
Pins work great for rectangular materials. They’re fast, reliable, and don’t require cutting extra marks. You spend less time measuring and more time creating.
Material-Specific Alignment Tips
Different materials need different approaches. What works for wood might fail with acrylic or fabric.
Wood and Plywood Projects
Wood grain can shift during cutting. Always check your alignment after the first few cuts. Wood also tends to warp slightly from heat, so work quickly between sides.
I heard from experts that letting wood cool for 2-3 minutes between sides reduces warping. It’s worth the wait for better results.
Acrylic and Plastic Materials
Acrylic melts and can stick to your laser bed. Use a sacrificial layer underneath to prevent sticking. Clean any melted residue before flipping your material.
Static electricity can move lightweight plastics. Ground your material with anti-static spray or wipes before cutting.
Fabric and Leather Alignment
Flexible materials stretch and move easily. Pin them to a backing board or use temporary adhesive to hold them flat. Remove pins carefully to avoid tearing.
Common Alignment Mistakes to Avoid
Even experienced makers mess up alignment sometimes. Here are the most common problems I found that people face:
Rushing the Setup Process
Taking time upfront saves hours of frustration later. Measure twice, cut once applies perfectly to laser cutting. Double-check your alignment before starting each side.
Ignoring Material Movement
Materials can shift from air currents, vibration, or thermal expansion. Check your alignment periodically during long cuts. Stop and realign if something looks off.
Using Worn or Dirty Equipment
Clean your laser bed and check that your material lies flat. Dust, debris, or warped surfaces throw off your measurements. A clean workspace prevents most alignment issues.
Advanced Alignment Techniques
Once you master basic alignment, these advanced methods can improve your precision even more.
Camera-Based Alignment Systems
Some laser cutters have built-in cameras. You can use them to visually align your flipped material with your original design. This works well for complex or irregular shapes.
Software Alignment Features
Many laser cutting programs have mirror or flip functions. Design both sides of your project in the same file, then use software to flip your design instead of manually calculating positions.
Multiple Registration Point Systems
For large or complex projects, use 4-6 registration points instead of just 2. More points mean better accuracy, especially on materials that might warp or flex.
Testing Your Alignment Setup
Always test your alignment system before working on your final project. Use scrap material that’s the same thickness as your project material.
Creating Test Patterns
Design a simple test pattern with shapes on both sides that should line up perfectly. Cut the test piece and check how well the front and back align.
Make adjustments to your system based on the test results. Small tweaks now prevent big problems later.
Troubleshooting Alignment Problems
When things go wrong, here’s how to fix them quickly.
Slight Misalignment Issues
If your alignment is off by 1-2mm, check if your material moved between cuts. Re-measure your reference points and adjust your positioning.
Major Alignment Failures
Large alignment errors usually mean your jig or pin system shifted. Check that all your reference points are still in the correct positions. Rebuild your setup if needed.
Maintaining Consistent Results
Good alignment becomes easier with practice and consistent methods.
Documenting Your Process
Keep notes about what works for different materials and project types. Take photos of your successful setups. This saves time on future projects.
Regular Equipment Maintenance
Clean your laser bed regularly. Check that your laser head moves smoothly and consistently. Small mechanical problems can cause alignment issues.
| Alignment Method | Best For | Accuracy Level | Setup Time |
|---|---|---|---|
| Registration Marks | All materials | High | Medium |
| Corner Pins | Rigid rectangles | Medium | Low |
| Camera System | Complex shapes | Very High | High |
| Custom Jigs | Repeated projects | High | High |
Conclusion
Double-sided laser cutting alignment doesn’t have to be frustrating. The key is choosing the right method for your project and taking time to set it up properly. Registration marks work well for most projects, while corner pins are perfect for simple rectangular pieces. Always test your alignment system before cutting your final material.
Remember that practice makes perfect. Your first few double-sided projects might take extra time, but you’ll get faster and more accurate with experience. Clean equipment, careful measurement, and patience will give you professional-looking results every time.
What’s the easiest alignment method for beginners?
Corner pins are the simplest method for rectangular materials. They require minimal setup and provide consistent results. Registration marks work better for irregular shapes but take more time to learn properly.
How accurate should my double-sided alignment be?
For most decorative projects, alignment within 0.5mm is acceptable. Functional parts that need to fit together require alignment within 0.1mm or better. Test your tolerance requirements with scrap material first.
Can I fix slightly misaligned cuts after finishing?
Minor misalignment can sometimes be fixed with careful sanding or filing, depending on your material. Prevention is always better than correction, so take time to align properly from the start.
What causes my material to shift between cuts?
Common causes include thermal expansion from heat, air currents from ventilation systems, vibration from the laser moving, or sticky residue on the laser bed. Address the root cause rather than just repositioning your material.
Should I flip my material or flip my design in software?
Flipping your design in software is more accurate because the material never moves. However, this only works if your laser can cut from both directions or if you plan your cuts carefully to avoid quality differences.