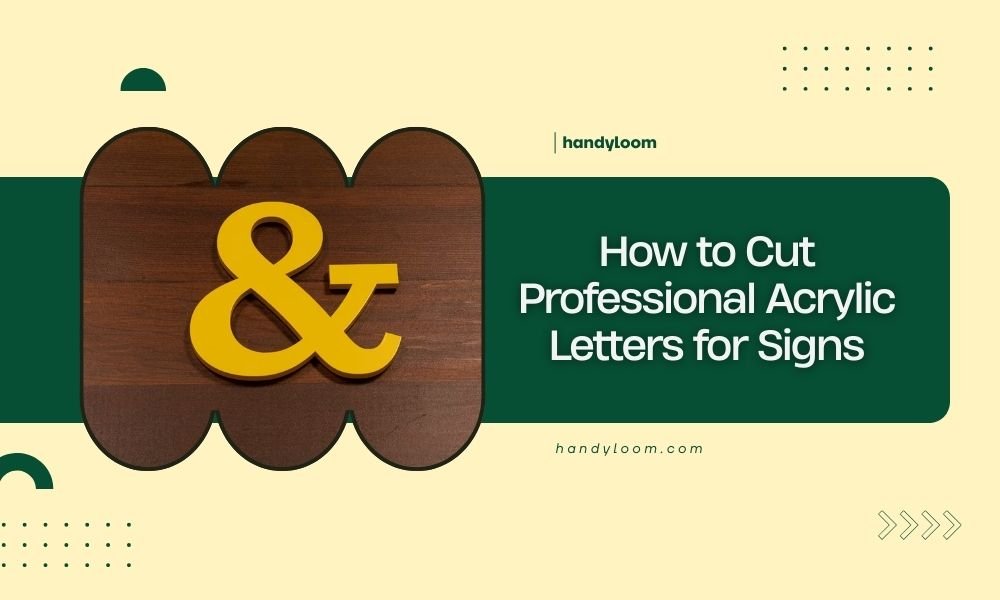
Cutting professional acrylic letters for signs requires a laser cutter, proper acrylic material, and precise design files to achieve clean, commercial-quality results.
You’ll need 3-6mm cast acrylic, vector graphics software, and correct laser settings to create sharp edges and professional lettering that matches commercial sign standards.
Materials You Need for Professional Acrylic Letters
Starting with the right materials makes all the difference. Cast acrylic works better than extruded acrylic for laser cutting. The edges come out cleaner and the material doesn’t melt as easily.
I found that 3mm thickness works great for most indoor signs. Go with 6mm if you need letters that stand out more or for outdoor applications.
Best Acrylic Types for Letter Cutting
Cast acrylic gives you flame-polished edges when laser cut. Extruded acrylic tends to crack and produces rough edges.
White and black are your safest bets for professional results. Clear acrylic looks stunning but shows every tiny imperfection.
Thickness Guidelines
- 3mm: Perfect for indoor signs up to 12 inches tall
- 6mm: Best for outdoor signs or letters over 12 inches
- 9mm: Heavy-duty applications and dimensional effects
Setting Up Your Design Files
Your design file determines everything about the final product. Vector files work best because they scale without losing quality.
I always use Adobe Illustrator or free alternatives like Inkscape. The key is creating clean vector paths that your laser can follow smoothly.
Font Selection for Laser Cutting
Not all fonts cut well on a laser. Avoid fonts with very thin strokes or tiny details. They often break during cutting or handling.
Sans-serif fonts like Arial, Helvetica, and Futura work great. Script fonts can work but test them first on scrap material.
Minimum Stroke Width
Keep strokes at least 2mm wide for 3mm acrylic. Thinner strokes break easily and look unprofessional.
Letter Spacing Considerations
Leave enough space between letters for easy weeding and mounting. I found 1.5x the material thickness works well as minimum spacing.
File Preparation Steps
Convert all text to outlines before sending to your laser. This prevents font substitution issues.
Set your stroke width to 0.001 inches or the thinnest setting. Most laser software recognizes this as a cut line.
Laser Cutter Settings for Acrylic
Getting the settings right saves time and material. Start with conservative settings and adjust up if needed.
Every laser is different, but these ranges work for most CO2 lasers cutting cast acrylic.
| Thickness | Speed (mm/min) | Power (%) | Passes |
|---|---|---|---|
| 3mm | 300-500 | 70-85 | 1 |
| 6mm | 200-300 | 85-95 | 1-2 |
| 9mm | 150-200 | 95-100 | 2-3 |
Testing Your Settings
Always test on scrap pieces first. Cut a small sample letter to check edge quality and make sure it cuts all the way through.
Perfect settings give you clean edges with minimal melting. You shouldn’t need much cleanup work.
Signs Your Settings Need Adjustment
- Rough or melted edges: Lower power or increase speed
- Incomplete cuts: Increase power or slow down speed
- Cracking: Switch to cast acrylic or reduce power
Cutting Process Step by Step
Place your acrylic flat on the cutting bed. Remove any protective film from both sides – it can catch fire during cutting.
Focus your laser properly. Most acrylic cuts best when focused right at the surface.
Loading and Positioning Material
Clean your acrylic with isopropyl alcohol before cutting. Dust and fingerprints can cause uneven cuts.
Use your laser’s red dot pointer to position the design exactly where you want it.
Safety Precautions
Never leave your laser unattended when cutting acrylic. It can flare up if settings are wrong.
Keep a spray bottle of water nearby just in case. Good ventilation removes fumes that aren’t great to breathe.
During the Cut
Watch for consistent cutting action. The laser should move smoothly without stopping or stuttering.
You’ll see a small flame during cutting – this is normal and actually helps create those polished edges.
Troubleshooting Common Issues
If letters start warping during cutting, your power might be too high. The heat builds up and distorts the material.
Incomplete corner cuts usually mean you need to slow down or increase power slightly.
Finishing and Quality Control
Let your letters cool completely before handling. Hot acrylic is flexible and can warp easily.
Most well-cut letters need minimal finishing. Just remove any small bits of debris with a soft cloth.
Edge Quality Assessment
Professional letters have smooth, clear edges that look almost glass-like. Rough edges mean your settings need work.
Small flame-polished edges are perfect. They catch light beautifully and look expensive.
When to Sand or Polish
Only sand if you have significant roughness. Use 400-grit sandpaper and work up to 1000-grit for best results.
Flame polishing with a torch works but takes practice. I recommend sticking with good laser settings instead.
Mounting Preparation
Clean letters again before mounting. Use lint-free cloths to avoid scratches.
Plan your mounting points during design. Small holes or tabs make installation much easier.
Professional Tips for Better Results
I found that cutting letters individually rather than in sheets gives better quality. You can optimize settings for each letter size.
Keep a log of settings that work well for different thicknesses and colors. This saves tons of time on future projects.
Batch Cutting Strategies
Group similar-sized letters together when possible. Small letters can use faster speeds than large ones.
Leave enough space between letters so heat doesn’t build up and affect neighboring cuts.
Quality Control Checklist
- Edges are smooth and clear
- No burn marks or discoloration
- Letters cut completely through
- No cracks or stress marks
- Consistent thickness throughout
Conclusion
Cutting professional acrylic letters takes the right materials, proper settings, and attention to detail. Start with cast acrylic and conservative laser settings, then fine-tune based on your results. Clean vector files and appropriate fonts make the biggest difference in final quality. With practice, you’ll produce letters that match or beat commercial sign shops. Remember to always test settings on scrap material and prioritize safety throughout the process.
How thick should acrylic be for outdoor sign letters?
Use 6mm cast acrylic minimum for outdoor letters. This thickness resists weather better and looks more substantial. Go up to 9mm for letters larger than 18 inches or in harsh climates.
Can you cut acrylic letters without removing protective film?
No, always remove protective film before laser cutting. The film can catch fire, create toxic fumes, and leave residue on cut edges that’s difficult to remove later.
What’s the smallest letter size you can laser cut in acrylic?
You can cut letters as small as 1 inch tall in 3mm acrylic, but keep stroke widths at least 2mm. Smaller details often break during handling or installation.
Why do some acrylic letters crack during cutting?
Cracking usually happens with extruded acrylic or when laser power is too high. Switch to cast acrylic and reduce power settings while slightly slowing cutting speed.
How do you prevent acrylic letters from warping during cutting?
Reduce laser power and ensure good air flow across the cutting bed. Warping happens when too much heat builds up in the material during the cutting process.