
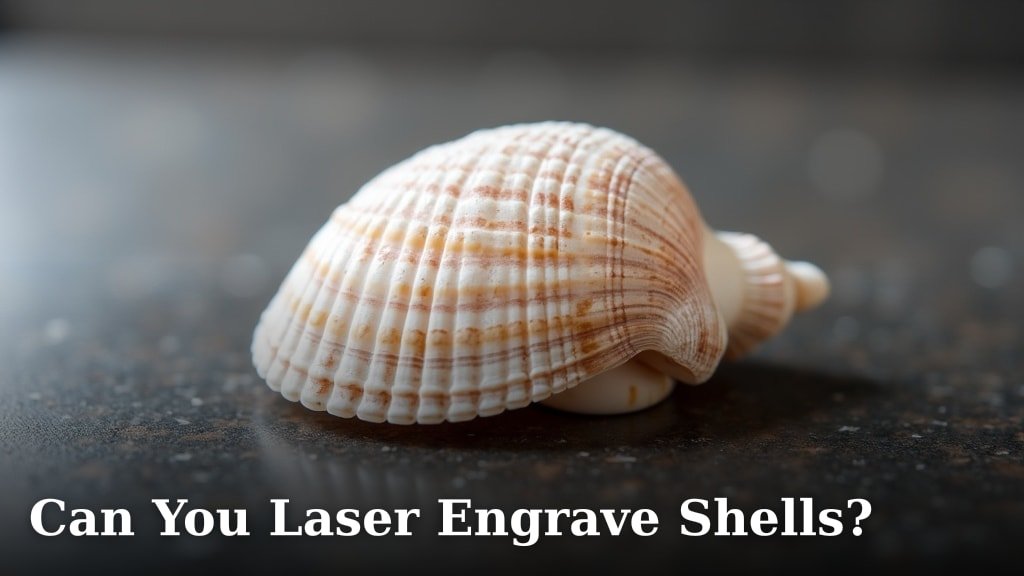
Yes, you absolutely can laser engrave shells! It’s a fantastic way to add unique designs and personal touches to natural shells. With the right laser settings, you can create stunning and detailed artwork on many types of shells.
This technique works on a variety of shells, from smooth sea shells to more textured ones. Proper preparation and understanding your laser’s capabilities are key to achieving beautiful results without damaging the shell. You’ll find that different shells react differently to the laser.
- Laser engraving shells is possible.
- It allows for detailed custom designs.
- Various shell types can be engraved.
- Proper settings are essential for good results.
- Preparation is key to avoiding damage.
Ready to see how you can transform your shells? Let’s walk through exactly what you need to know to get started with laser engraving shells.
Laser Engraving on Shells: Your Guide
Yes, you can definitely laser engrave shells! It’s a wonderful way to turn ordinary shells into personalized art pieces. You might be wondering how this works and what you need to know to get started. We’ve got you covered!
Understanding Shell Engraving with Lasers
Laser engraving works by using a focused beam of light to vaporize or alter the surface of a material. For shells, this means we can precisely remove a thin layer of the shell’s surface or change its color, creating your desired design. It’s like drawing with light!
How the Laser Interacts with Shells
Different shell materials react in unique ways. Some shells might get a lighter engraving, while others could produce a darker mark. The key is finding the right balance of power, speed, and frequency for the specific shell you’re working with. It’s a bit like tuning a radio to get the clearest signal.
What Types of Shells Can You Engrave?
You’ll find that many types of shells work well. Smooth, hard shells are often the easiest to start with. Think of items like cowrie shells or scallops. Textured shells can also be engraved, but they might require more careful settings to capture the detail.
- Seashells: These are the most common and usually yield great results.
- Snail Shells: Both large and small snail shells can be engraved.
- Oyster Shells: The flatter surface of oyster shells is good for engraving.
- Scallop Shells: Their distinct shape offers unique engraving possibilities.
Seashells vs. Other Materials
Compared to materials like wood or acrylic, shells present a different challenge. They are natural materials, so their thickness and composition can vary even within the same species. This means consistency is key, and you might need to test settings more often.
Factors Affecting Engraving Quality
Several things influence how well your engraving turns out. The type of laser you use matters. Also, the shell’s surface quality and its natural color play a role. Don’t forget the ambient temperature and humidity; they can sometimes play a small part too!
Getting Your Shells Ready for Laser Engraving
Preparation is super important for success. You wouldn’t paint a dirty canvas, right? The same applies here. A clean, stable shell will give you the best engraving results and help prevent damage.
Cleaning Your Shells
Start by washing your shells gently. Use mild soap and water. You want to remove any dirt, sand, or algae. After washing, let them air dry completely. Some people even use a bit of rubbing alcohol for a final clean to ensure no oils remain.
Why is Cleaning So Important?
Residue on the shell can cause the laser to react unevenly. It might lead to burn marks or smudged designs. A clean surface ensures the laser beam hits only the shell material, giving you a crisp and clear engraving. It’s about achieving a pure mark.
Securing Your Shells
This is where it gets a little tricky. Shells are often curved or irregular. They need to be held firmly in place so they don’t move during engraving. A moving target makes for a fuzzy picture!
Methods for Securing Shells
You can use a rotary attachment with your laser engraver if you have one. This is perfect for round shells. For flatter shells, you might use specialized jigs or even just painter’s tape. Some makers create custom holders out of foam or clay. Just make sure whatever you use is laser-safe and won’t melt or catch fire.
Laser Settings: The Sweet Spot for Shell Engraving
Finding the right laser settings is like finding the perfect recipe. Too much heat, and you can damage the shell. Too little, and you won’t see your design. This is where experimentation comes in.
Power, Speed, and Frequency Explained
Power controls how much energy the laser delivers. Speed determines how fast the laser head moves. Frequency (or PPI – pulses per inch) affects the density of the dots the laser makes. Each of these needs to be adjusted based on the shell type and your laser.
Typical Setting Ranges to Consider
For many common shells with a diode laser, you might start with settings around 10-20% power, 300-500 mm/s speed, and a frequency of 500-1000 Hz. CO2 lasers often require different settings, usually higher power and slower speeds. We found that a good starting point for many users is to run test patterns on a scrap piece of similar material, if possible.
| Laser Type | Power (%) | Speed (mm/s) | Frequency (Hz) | Notes |
|---|---|---|---|---|
| Diode Laser | 10-25% | 300-500 | 500-1000 | Best for simpler designs; test first! |
| CO2 Laser | 20-40% | 100-200 | 300-600 | More powerful; better for detail but risk of damage. |
The Importance of Test Engravings
Always, always do a test! Before you engrave your prize shell, try on a less perfect one or a scrap piece. You can use a small square or circle pattern. This allows you to adjust settings and see how the shell reacts without ruining your main piece. It’s the most reliable way to dial in your settings.
Color and Contrast in Engraving
The laser engraving process often results in a color change on the shell. This is usually a light brown or off-white mark. For some shells, especially darker ones, the contrast might be less pronounced. You can sometimes enhance this contrast using paint or permanent markers after engraving, if desired.
Achieving the Best Contrast
Experiment with your laser’s focus. A slightly out-of-focus beam can sometimes create a wider, lighter mark. Also, consider the material’s natural color. A dark shell will show a light engraving better than a very light shell. Many users find that slightly slower speeds can deepen the engraving mark, improving contrast.
Design Considerations for Shell Engraving
What you choose to engrave is as important as how you engrave it. Simple designs often work best, especially when you’re starting out.
Choosing Your Designs
Think about the shell’s shape and texture. A detailed portrait might get lost on a highly textured shell. Simple logos, patterns, names, or dates often look fantastic. You can also get creative with outlines or negative space.
Vector vs. Raster Engraving
Most laser engraving software allows you to choose between vector and raster engraving. Vector engraving traces lines and curves, great for outlines and text. Raster engraving works like a printer, filling areas with lines of dots, ideal for shading and detailed images. For shells, you might find that vector engraving gives cleaner lines.
A Quick Checklist for Your First Shell Engraving Project
Ready to jump in? Here’s a quick rundown to get you started:
- Gather your shells and clean them thoroughly.
- Ensure your shells are securely mounted in your laser engraver.
- Prepare your design file and choose engraving settings.
- Run test engravings on a scrap shell or similar surface.
- Adjust settings based on test results for optimal contrast and detail.
- Execute your final engraving with confidence!
Conclusion
You’ve learned that laser engraving shells is definitely possible and a fantastic way to create personalized art. By focusing on proper cleaning, secure mounting, and careful laser settings, you can achieve beautiful results on various shell types. Remember that testing your settings is the most critical step to avoid damaging your shells and to get the perfect mark. With a little practice and attention to detail, you’ll be transforming your collected shells into unique keepsakes in no time. Your next step is to gather your shells and try out these techniques to see what amazing creations you can make!
Frequently Asked Questions
Will laser engraving damage my shells?
Laser engraving can damage shells if the settings are too high or if the shell is not properly secured. It’s important to start with low power and slow speeds, always performing test engravings on scrap shells first. Proper preparation and careful testing are key to preventing damage.
What is the best type of shell for laser engraving?
Smoother, harder shells tend to engrave best and are easier to start with. Cowrie shells, scallop shells, and oyster shells are often good choices. More textured or porous shells might require more experimentation with settings to achieve clear results without burning.
Can I get color engraving on shells?
Direct color engraving on shells is generally not possible with standard laser engraving. The laser process typically creates a mark by vaporizing or altering the shell’s surface, resulting in a color change that is usually a light brown or off-white. You can add color afterward with paint or markers if you desire.
How do I clean shells before laser engraving?
You should gently wash your shells with mild soap and water to remove dirt, sand, or debris. Ensure they are completely dry before engraving. Some people also use a light wipe with rubbing alcohol to remove any oily residue. A clean surface ensures a cleaner, crisper engraving.
Is a rotary attachment necessary for laser engraving shells?
A rotary attachment is very helpful, especially for round or cylindrical shells like snail shells. It allows the shell to rotate evenly as the laser engraves, ensuring a consistent design. For flatter shells, you might be able to use specialized jigs or other methods to secure them without a rotary attachment.
