
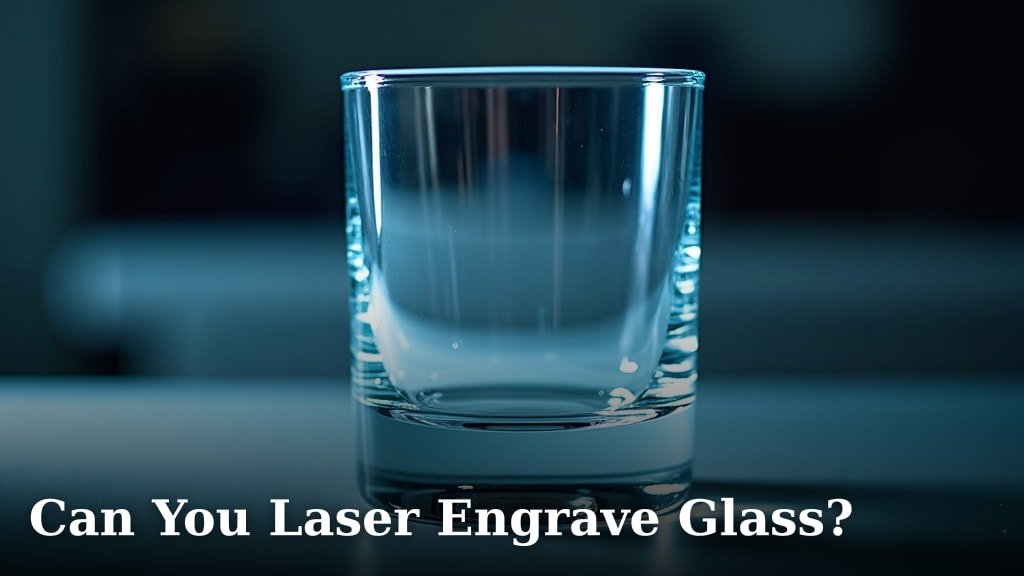
Yes, you absolutely can laser engrave glass, and it’s a popular way to personalize many items. While it takes a bit of know-how, using a CO2 laser machine allows you to create beautiful, frosted designs on glass surfaces. We’ve gathered lots of information to guide you.
Laser engraving works by creating tiny fractures on the glass surface. This controlled process results in a smooth, frosted look that stands out. You can engrave everything from drinking glasses to mirrors and even glass bottles for a unique touch.
- Laser engraving glass creates a frosted appearance.
- CO2 lasers are typically used for this purpose.
- Different glass types might need different settings.
- Surface preparation makes a big difference.
- There are ways to achieve a whiter, more even etch.
Ready to turn ordinary glass into something extraordinary? Let’s walk through everything you need to know about laser engraving glass, step by step.
Unlocking the Potential of Glass Engraving with a Laser
Yes, you can absolutely engrave glass with a laser, opening up a world of customization. It’s a fantastic way to add a personal touch to glassware, awards, and decorative items.
When you laser engrave glass, you’re not cutting into it like wood or metal. Instead, the laser beam creates tiny, controlled fractures on the surface. This produces that lovely frosted effect you see on engraved glass.
Which Lasers Work Best for Glass?
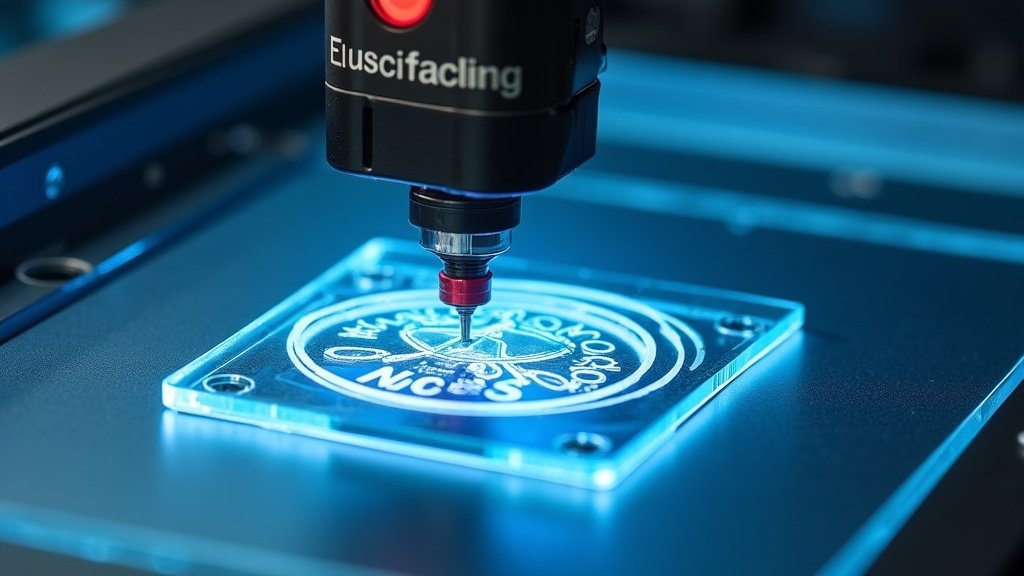
For glass engraving, you’ll generally use a CO2 laser machine. These lasers operate at a specific wavelength that the glass absorbs well. Fiber lasers, while great for metals, don’t typically work for glass because the wavelength passes right through it.
Most hobbyist and professional engravers rely on CO2 lasers for their versatility with various non-metal materials, including glass. You’ll find these machines in different power levels, which can influence how quickly and deeply you can engrave.
Understanding the Engraving Process
The magic happens when the laser’s energy heats the glass surface very rapidly. This causes tiny bits of glass to chip away, creating the frosted appearance. It’s a delicate balance; too much power can cause unwanted cracks or even shatter the glass. Too little, and you won’t get a visible etch.
Think of it like gently tapping a small hammer against hard candy. You want to make a mark, not smash it. The laser does this precisely and repeatedly, following your design.
The Science Behind the Frost
When the laser hits the glass, it creates a phenomenon called thermal shock. Glass expands when heated and contracts when cooled. The laser heats microscopic areas almost instantly, causing them to expand. The surrounding cooler glass resists this expansion, leading to tiny, controlled fractures. This micro-fracturing is what creates the visible white, frosted texture. It’s quite clever!
Types of Glass You Can Engrave
Most common glass types are suitable for laser engraving. You’ll often see engravings on soda-lime glass, which is what most drinking glasses, bottles, and windows are made from. Borosilicate glass (like Pyrex) can also be engraved, though it’s often more resistant due to its heat-resistant properties, meaning you might need different settings.
Keep in mind that crystal glass (which contains lead) can be engraved, but sometimes results in a lighter etch or requires careful handling. Mirrored glass can be engraved on the back side, etching away the silvering to reveal the clear glass underneath. We found that colored glass often works, but the contrast of the etch might vary.
| Glass Type | Engraving Suitability | Common Uses |
|---|---|---|
| Soda-Lime Glass | Excellent, easy to engrave | Drinking glasses, jars, window panes |
| Borosilicate Glass | Good, may need higher power | Bakeware, laboratory glass |
| Crystal Glass | Fair to Good, can be delicate | Figurines, decorative drinkware |
| Mirror | Engrave from back side | Vanity mirrors, decorative art |
| Frosted/Etched Glass | Not recommended (already etched) | Privacy windows, pre-decorated items |
Prepping Your Glass for Engraving Success
Preparation is key for a great result. A clean surface ensures the laser energy is directed exactly where you want it. Any dust, fingerprints, or oils can interfere with the laser and lead to an uneven or smudged etch.
< Checklist for Glass Prep >
- Clean the glass thoroughly with soap and water to remove any grease or debris.
- Use a lint-free cloth or paper towel for drying to avoid leaving fibers.
- Clean with rubbing alcohol for a streak-free finish, if desired.
- Ensure the glass is completely dry before placing it in the laser.
- Handle clean glass by the edges to prevent new fingerprints.
- Place a thin, damp paper towel on the glass surface (more on this below!).
Optimizing Laser Settings for Glass
This is where things can get a little nuanced, but don’t worry – it’s mostly about experimentation. There isn’t one universal setting for all glass and all lasers. Your laser’s wattage, the type of glass, and even the desired etching depth will influence your settings.
Generally, for glass, you’ll use lower power and higher speed. This creates the light, frosted effect without cracking the glass. Many experts say starting with 20-30% power and 70-80% speed is a good baseline, then adjusting from there (Engraving Magazine).
The “Wet Paper Towel” Trick
Here’s a fantastic tip we’ve found that can significantly improve your glass engraving results: place a thin, damp paper towel over the area you plan to engrave. The moisture helps to dissipate heat from the glass surface, reducing micro-fractures and producing a whiter, more even etch. It’s like giving the glass a little protective buffer.
Make sure the paper towel is just damp, not soaking wet, and lies flat without wrinkles. After engraving, the paper towel will usually be charred and can be easily removed. This simple trick can really make your engravings pop.
Achieving a Whiter, Brighter Etch
Many people strive for a crisp, bright white frosting on their engraved glass. There are several techniques you can try:
- Optimized Settings: As discussed, finding the right balance of power and speed is crucial. Too much power can make the etch look dusty or “blown out.”
- Damp Paper Towel: This is arguably the most effective method for a whiter etch.
- Dish Soap Coating: Some users report success with applying a thin layer of liquid dish soap to the glass and allowing it to dry before engraving. The soap acts similarly to the damp paper towel, helping with heat distribution.
- Engraving Direction: You might find that engraving from bottom-up or top-down changes the result slightly. Experiment to see what works best with your laser.
Remember, practice makes perfect. Don’t be afraid to try different settings on scrap pieces of glass. Each piece of glass can react a little differently, and getting to know your machine’s capabilities is a fun part of the process.
Common Challenges and How to Solve Them
While laser engraving glass is rewarding, you might encounter a few hurdles. One common issue is chipping or flaking, where larger pieces of glass come off than desired. This usually means your laser power is too high or your speed is too low. Try reducing power or increasing speed.
Another challenge is an uneven etch. This could be due to dirty glass, an uneven surface, or issues with your laser’s focus. Always ensure your focal distance is set correctly. If your laser has an air assist, turning it off for glass can sometimes help prevent excessive chipping, depending on the machine.
Sometimes, engravings can look dull or not bright enough. This often comes back to needing to refine your settings or using the damp paper towel method. Don’t give up if your first few attempts aren’t perfect. It’s all part of the learning curve.
Conclusion
You’ve seen that laser engraving glass is completely possible and surprisingly versatile. By understanding the types of glass, mastering your CO2 laser’s settings, and using clever tricks like the damp paper towel method, you can achieve stunning frosted designs. Don’t be afraid to experiment with power and speed to get that perfect etch.
Each piece of glass offers a chance to create something truly unique. Now that you have the knowledge, grab some scrap glass, dial in those settings, and start transforming ordinary items into personalized works of art!
Frequently Asked Questions
Can any laser engrave glass?
No, not all lasers can engrave glass effectively. You’ll primarily need a CO2 laser machine. Fiber lasers, for instance, aren’t suitable because their wavelength passes right through glass without creating an etch.
Does laser engraving weaken the glass?
Laser engraving creates tiny, controlled fractures on the surface, which technically can slightly alter the structural integrity in the engraved area. However, for most decorative and practical uses like drinking glasses, this weakening is usually negligible and doesn’t impact normal use.
How do I prevent glass from cracking while engraving?
Cracking usually occurs if the laser power is too high or the temperature changes too rapidly. Use lower power and higher speed settings. Also, applying a damp paper towel to the engraving area helps dissipate heat and can significantly reduce the risk of cracking.
Can I engrave curved glass surfaces like bottles?
Yes, you can engrave curved surfaces, but you’ll need a rotary attachment for your laser engraver. This accessory rotates the item as the laser etches, ensuring a consistent focal distance and an even design around the circumference of the glass.
Is laser engraved glass dishwasher safe?
Generally, yes, laser engraved glass is dishwasher safe. The frosting is a permanent physical alteration to the glass surface, not a coating that can wash off. However, always exercise caution with delicate items or very thin glass.
