
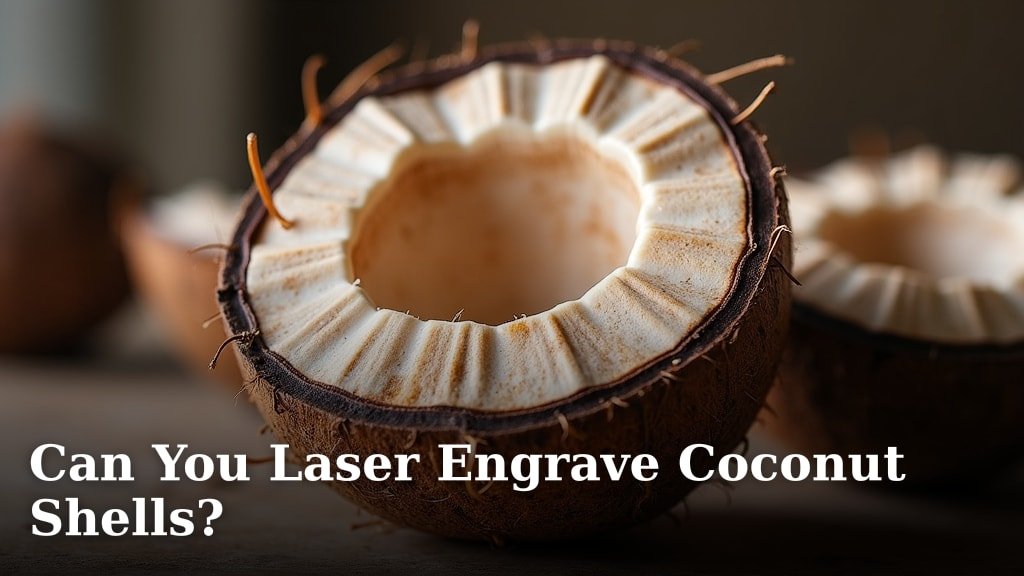
Yes, you can definitely laser engrave coconut shells! It’s a fantastic way to create unique designs on these natural materials. Many crafters and artists have found success with laser engraving coconut shells for a variety of projects.
Coconut shells offer a sturdy and beautiful surface for laser art. The process involves using a laser to carefully burn away layers of the shell. This creates detailed patterns and images that stand out. We found that with the right settings, you can achieve some really impressive results on coconut shells.
- You can laser engrave coconut shells.
- It’s a great way to personalize bowls, decorations, and more.
- Different lasers and power settings will yield different results.
- Preparation of the shell is important for best outcomes.
- Safety precautions are necessary when working with lasers.
Ready to transform your coconut shells? Below, we’ll walk you through how to laser engrave coconut shells and what you need to consider for beautiful outcomes.
Engraving Coconut Shells with a Laser: Your Complete Guide
Yes, you absolutely can laser engrave coconut shells! It’s a fantastic way to add your personal touch to these natural wonders. You might be wondering how to get started or what to expect. We’ve gathered the key information to help you turn ordinary coconut shells into unique art pieces.
Preparing Your Coconut Shell for Laser Engraving
Before you fire up your laser, a little preparation goes a long way. Think of it like getting a canvas ready for paint. You want a clean, smooth surface for the best results. This ensures your laser can do its magic without interference.
Cleaning and Drying the Shell
First things first: get that shell clean. You’ll want to remove any remaining coconut flesh and debris. A good scrub with warm water and soap should do the trick. For tougher bits, a gentle scraping tool might be needed. After washing, make sure the shell is completely dry.
Leaving moisture behind can cause problems during laser engraving. Water can turn to steam, potentially affecting the engraving quality or even damaging your laser. Pat it dry thoroughly with a towel. Then, let it air dry for a day or two. You can speed this up by placing it in a well-ventilated area or even a very low-temperature oven for a short time, but always keep a close eye on it.
Sanding for a Smoother Finish
For an even better engraving surface, consider sanding. Start with a coarser grit sandpaper, like 100 or 120 grit, to remove any rough patches or imperfections. Then, move to a finer grit, such as 220 grit, to achieve a smoother finish. A smoother surface leads to more consistent engraving.
You can sand by hand or use a power sander. Just be gentle to avoid damaging the shell’s structure. The goal is a nice, even surface that will accept the laser marks beautifully. After sanding, wipe away any dust with a clean, dry cloth. You want a dust-free surface before you start engraving.
Securing the Shell for Engraving
Coconut shells are often round and can roll. This means you’ll need to secure them on your laser bed. If the shell rolls during engraving, your design will be ruined. It’s also a safety concern, as the laser could misfire.
You can use painter’s tape to hold it in place on a flat surface. Some people use specialized jigs or holders designed for irregular objects. For bowls, you might be able to use a stable base to prevent tipping. Ensuring the shell is firmly in place is a critical step for successful engraving.
Laser Settings for Engraving Coconut Shells
Finding the right laser settings is key. Coconut shells can vary in thickness and density. This means you might need to adjust your power, speed, and frequency settings. What works for one shell might be slightly different for another.
Power and Speed: Finding the Sweet Spot
Generally, you’ll want to use a moderate power setting. Too high, and you risk burning too deep or charring the shell. Too low, and the engraving might be too faint to see. Speed is also important. A slower speed allows the laser more time to etch the design.
Many users find success with settings in the range of 50-80% power and speeds between 100-300 mm/s. However, these are just starting points. Your specific laser type and model will influence these numbers. It’s always best to do a test run on a scrap piece of coconut shell first. This helps you dial in the perfect settings without wasting your main project piece.
Frequency (PPI) and Focus
Frequency, often measured in pulses per inch (PPI), affects the detail and smoothness of your engraving. A higher PPI can create a finer, more detailed image. A lower PPI might result in a rougher, more rustic look. Experiment to see what aesthetic you prefer.
Focus is another crucial element. Ensure your laser is properly focused on the surface of the coconut shell. An out-of-focus laser will produce blurry or weak engravings. Most laser engravers have a focus adjustment tool. Carefully adjust it until the laser beam is as fine as possible on the shell’s surface. Getting the focus right is essential for sharp results.
Air Assist: A Helpful Companion
Air assist is a small stream of air directed at the point where the laser beam hits the material. It serves two main purposes. First, it helps to clear away smoke and debris, which can obstruct the laser beam. Second, it cools the material and reduces the chance of excessive charring.
For natural materials like coconut shells, air assist can make a big difference. It helps keep the engraving area clean, leading to clearer lines and designs. You’ll want to ensure your air assist is set to an appropriate level – not too strong, which could potentially cool the laser too much, but strong enough to clear the smoke. Many experts recommend using air assist when engraving organic materials.
What Kind of Laser is Best for Coconut Shells?
When it comes to engraving coconut shells, a CO2 laser engraver is generally the most suitable choice. These lasers work well with organic materials and can produce the fine detail needed for intricate designs.
CO2 Lasers vs. Diode Lasers
CO2 lasers use a gas mixture to create their beam. They are known for their versatility and ability to cut and engrave a wide range of materials, including wood, acrylic, leather, and yes, coconut shells. They typically offer more power and a finer beam than many diode lasers.
Diode lasers are often more affordable and smaller. While they can engrave many materials, their effectiveness on thicker or denser organic materials like coconut shells can be limited. Some higher-powered diode lasers might work, but a CO2 laser will generally provide a cleaner and more efficient engraving experience for coconut shells.
Considerations for Your Laser
The wattage of your laser will also play a role. Higher wattage lasers can engrave faster and may handle slightly thicker shells more easily. However, even a lower-wattage CO2 laser can engrave coconut shells effectively with the right settings and patience. If you’re just starting out, a 30W or 40W CO2 laser is often a good balance of capability and cost.
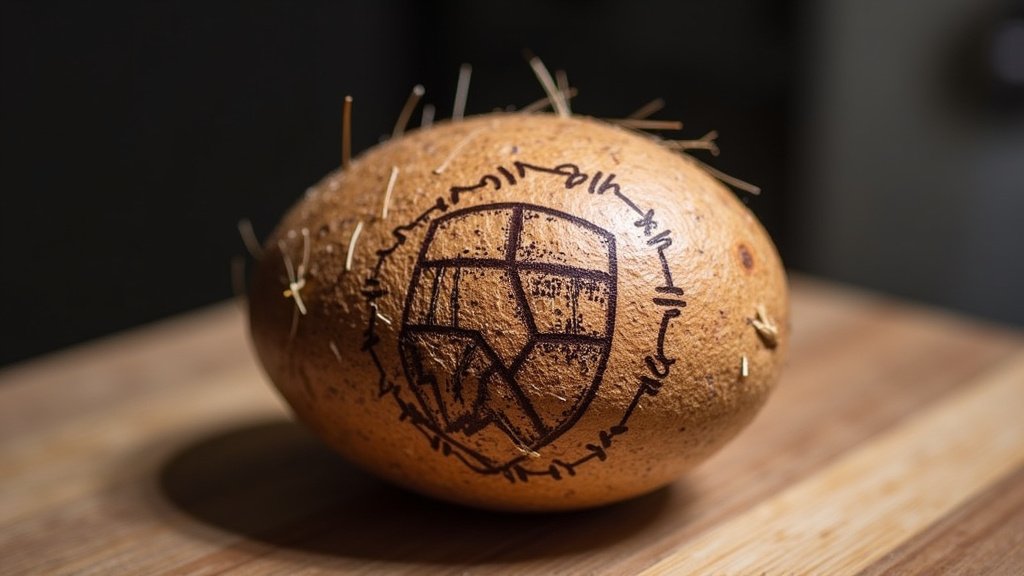
Safety First: Laser Engraving Precautions
Working with lasers requires a strong focus on safety. Even though you’re engraving a natural material, safety should always be your top priority. Proper ventilation and protective gear are essential.
Ventilation is Non-Negotiable
When you laser engrave, you’re burning material. This process creates smoke and fumes. These fumes can be harmful to inhale and can also leave a residue on your laser machine. You need a good ventilation system connected to your laser engraver that exhausts the fumes outdoors or through a filtration system.
Never engrave in an unventilated space. The smell can be quite strong, and the invisible particles can linger. Many laser engraver manufacturers offer dedicated exhaust systems. Investing in one is a wise decision for your health and the longevity of your machine.
Eye Protection is Critical
Laser beams can be incredibly dangerous for your eyes. Never look directly at the laser beam, even when it’s reflecting off the material. Always wear appropriate laser safety glasses. These glasses are specifically designed to block the wavelength of your laser, protecting your vision.
Make sure your safety glasses are rated for the specific type of laser you are using. Check the laser’s specifications for the correct wavelength. Some laser enclosure doors have tinted windows, but these are not a substitute for proper safety eyewear. It’s better to have too much protection than not enough when it comes to your eyesight.
Fire Safety Measures
While coconut shells are not highly flammable like some plastics, there’s always a risk of smoldering or igniting, especially with prolonged exposure or if the material has been treated with certain finishes. Always keep a fire extinguisher (Class ABC or CO2) nearby when operating your laser engraver. Never leave your laser running unattended.
Consider placing a non-flammable material, like a piece of tile or metal, under the coconut shell if possible. This can act as a safety buffer. Regularly inspect your laser machine for any signs of wear or potential fire hazards. Being prepared can prevent small incidents from becoming big problems.
Ideas for Your Laser-Engraved Coconut Shells
Once you’ve mastered the engraving process, the creative possibilities are endless! Coconut shells are wonderfully versatile for many projects. You can turn them into decorative items, practical household goods, or even personalized gifts.
Decorative and Artistic Pieces
Laser engraving is perfect for creating beautiful patterns on coconut shell bowls. You can engrave intricate mandalas, geometric designs, or even images. These can be used as serving bowls, decorative pieces on a shelf, or even planters for small succulents. The natural texture of the shell combined with the precise laser lines creates a striking contrast.
Personalized Gifts and Crafts
Want to make a unique gift? Engrave a name, a special date, or a meaningful quote onto a coconut shell. They make excellent personalized coasters, keychains (if you drill a hole), or small trinket dishes. Imagine giving a friend a custom-engraved bowl with their initials – truly one-of-a-kind!
Checklist for Successful Engraving
- Clean and thoroughly dry your coconut shell.
- Sand the surface for a smoother finish.
- Secure the shell firmly on the laser bed.
- Perform test engravings on scrap material.
- Ensure proper ventilation and wear safety glasses.
- Supervise the laser at all times.
Common Issues and Troubleshooting
Even with preparation, you might run into a few snags. Don’t worry, most problems are easily fixable with a little trial and error. Have you ever found a design slightly off? That’s a common one.
Uneven Engraving
If your engraving looks uneven, it could be due to a few factors. The surface of the shell might not have been perfectly flat or consistently sanded. Also, if the shell shifted during engraving, you’ll see inconsistencies. Double-check that your shell is securely fastened.
Another cause could be an inconsistent laser beam or a slight variation in the shell’s density. If your laser has auto-focus, ensure it’s calibrated correctly for curved surfaces, or try manually focusing for each section if necessary. Some users find that passing over the design twice, with slightly lower power settings for the second pass, can deepen the engraving without causing excess charring.
Excessive Charring or Burning
Charring happens when the laser power is too high or the speed is too slow. This essentially burns the material instead of engraving it cleanly. Try reducing your laser power or increasing your speed. Also, ensure your air assist is functioning correctly; it plays a big role in preventing charring.
Sometimes, a very thin layer of the shell might be more prone to charring. If you’re consistently having trouble, consider a very light pass with a fine-grit sandpaper after engraving to clean up any blackened edges. Remember, a little char can add a rustic look, but too much obscures your design. Finding that balance is key.
Faint or Shallow Engravings
If your engraving isn’t deep enough, you’ll need to adjust your settings. Try increasing the laser power slightly or slowing down the engraving speed. You might also need to adjust the focus; if the laser isn’t focused correctly on the surface, the engraving will be weak.
A second pass with the laser can also help deepen the design. This is often better than using extremely high power for a single pass, as it gives you more control. Always start with conservative settings and gradually increase them until you achieve the desired depth and clarity. Patience here really pays off.
Conclusion
You’ve learned that laser engraving coconut shells is a fantastic and achievable project. With proper preparation, the right laser settings, and a focus on safety, you can transform these natural materials into unique art pieces. Remember to always clean and dry your shells thoroughly. Testing your settings on scrap pieces will save you time and frustration. Keep your ventilation and eye protection in mind, and you’ll be well on your way to creating beautiful, personalized coconut shell crafts. Now, go gather some shells and start creating!
Frequently Asked Questions
What kind of designs can I engrave on coconut shells?
You can engrave almost any design you can create digitally! From simple geometric patterns and mandalas to detailed images and text, coconut shells provide a wonderful canvas. The natural texture of the shell often adds a beautiful organic feel to the laser-etched artwork.
How long does it take to laser engrave a coconut shell?
The time it takes varies greatly depending on the complexity of your design, the power of your laser, and the settings you use. A simple design might take only a few minutes, while a very detailed image could take 15-30 minutes or more. Always perform test runs to gauge the engraving time.
Can I engrave the inside of a coconut shell bowl?
Yes, you can engrave the inside of coconut shell bowls. You’ll need to ensure your laser bed is set up to accommodate the height and shape of the bowl. Proper focus is especially important when engraving curved surfaces like the inside of a bowl.
What if my coconut shell has a natural crack?
Natural cracks can add character, but they can also pose a challenge. If the crack is minor, you might be able to engrave around it. For larger cracks, consider securing the shell very carefully to prevent it from widening during engraving, or embrace the crack as part of the design.
Will laser engraving make the coconut shell smell bad?
Laser engraving does produce a distinct smell, often described as smoky or toasted. This is normal as the material is being vaporized. Ensure you have excellent ventilation to remove the fumes and the odor from your workspace. The finished product typically has very little residual smell.
