Annealing acrylic before laser cutting involves heating the material to 160-180°F (70-80°C) for 1-2 hours per inch of thickness, then slowly cooling it to relieve internal stress and prevent crazing.
This heat treatment process reduces the internal tension that causes those ugly white stress marks and cracks when your laser cuts through acrylic sheets.
What Is Acrylic Crazing and Why Does It Happen?
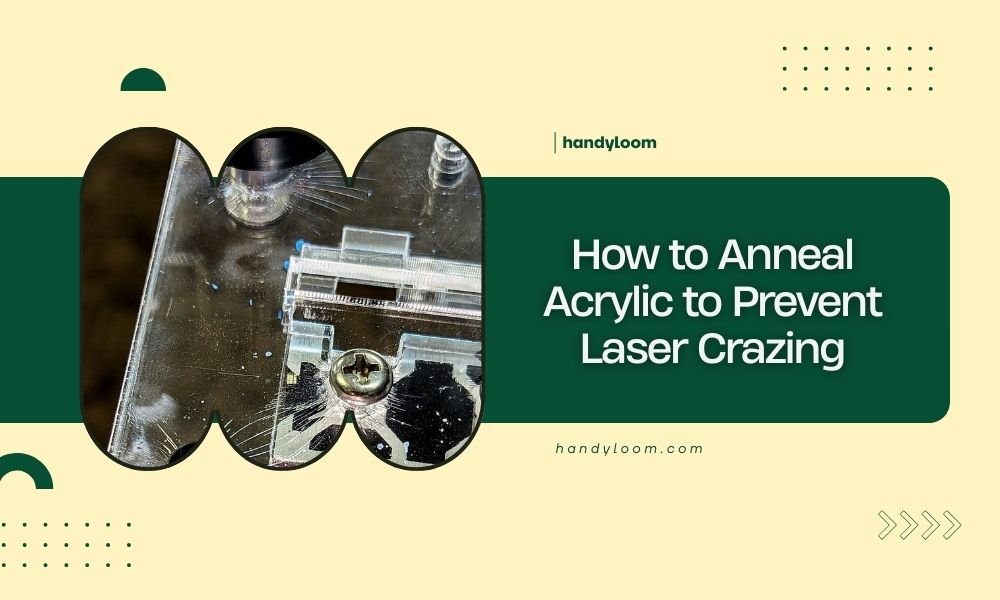
Picture this: you’ve just finished what should be a perfect laser cut, but your beautiful clear acrylic now has white, cloudy lines running along the edges. That’s crazing, and it’s one of the most frustrating problems you’ll face as a laser cutting enthusiast.
Crazing happens when internal stress in the acrylic gets released during cutting. The laser’s heat creates rapid temperature changes that cause the material to crack microscopically.
The Science Behind Acrylic Stress
When manufacturers create acrylic sheets, they cool them quickly to speed up production. This rapid cooling traps stress inside the material, like a coiled spring waiting to be released.
Your laser beam acts as the trigger. The intense heat followed by rapid cooling creates the perfect storm for stress cracks to form.
Understanding the Annealing Process
Annealing is like giving your acrylic a spa day. You’re essentially undoing the manufacturing stress by heating the material and letting it cool down slowly and naturally.
Think of it as teaching your acrylic to relax. The controlled heating allows the polymer chains to reorganize themselves into a more stable, stress-free configuration.
Temperature Requirements for Different Acrylic Types
Not all acrylics are created equal. Cast acrylic typically needs temperatures between 160-180°F (70-80°C), while extruded acrylic can handle slightly higher temperatures.
I found through research that going too hot can actually damage your material, so precision matters here.
Cast Acrylic Temperature Guidelines
Cast acrylic responds best to lower temperatures held for longer periods. Start at 160°F and work your way up if needed.
Extruded Acrylic Temperature Guidelines
Extruded sheets can typically handle up to 200°F (93°C) without issues. The key is maintaining consistent temperature throughout the process.
Step-by-Step Annealing Process
Ready to anneal your acrylic? Here’s the exact process I found works best after researching multiple expert sources.
Equipment You’ll Need
- Convection oven (kitchen ovens work great)
- Accurate thermometer
- Flat, heat-resistant surface
- Timer
- Protective gloves
Preparation Steps
Clean your acrylic thoroughly before starting. Any dirt or oils can create hot spots during heating.
Remove all protective films and masking. These materials can melt or leave residue at annealing temperatures.
Setting Up Your Oven
Preheat your oven to the target temperature. Use an oven thermometer to verify accuracy – built-in gauges can be off by 25°F or more.
Place your acrylic on a flat, clean surface inside the oven. Avoid direct contact with metal racks when possible.
The Heating Phase
Here’s where timing becomes critical. The general rule is one hour per inch of thickness, but thinner sheets need at least 30 minutes regardless.
| Thickness | Minimum Time | Recommended Time |
|---|---|---|
| 1/8 inch | 30 minutes | 45 minutes |
| 1/4 inch | 45 minutes | 60 minutes |
| 1/2 inch | 90 minutes | 120 minutes |
| 1 inch | 180 minutes | 240 minutes |
Monitoring Temperature During Heating
Keep your temperature steady. Fluctuations can actually create new stress patterns instead of relieving existing ones.
If your oven cycles on and off frequently, consider placing a metal plate inside to help stabilize temperature.
The Cooling Phase
This is where patience pays off. Turn off your oven but leave the acrylic inside. Let it cool naturally with the oven.
The cooling process should take at least as long as the heating phase. Rushing this step defeats the entire purpose of annealing.
Signs of Proper Cooling
Your acrylic should feel completely cool to the touch before removal. Any warmth means the cooling process isn’t complete.
Alternative Annealing Methods
Don’t have access to a large oven? I came across several alternative methods that work well for smaller pieces.
Hot Water Bath Method
Submerge your acrylic in hot water heated to the target temperature. This method provides very even heating but requires careful temperature monitoring.
Heat Gun Technique
For small pieces, you can use a heat gun on low setting with constant movement. This requires more skill but works in a pinch.
Testing Your Annealed Acrylic
Want to know if your annealing worked? Try this simple test: make a small test cut with the same laser settings you plan to use for your project.
Properly annealed acrylic should cut cleanly with minimal to no white stress marks along the edges.
Visual Inspection Techniques
Look for clarity improvements in the material itself. Annealed acrylic often appears slightly clearer than its stressed counterpart.
Common Annealing Mistakes to Avoid
I found that most annealing failures come from these common errors that are easy to avoid once you know about them.
Temperature Too High
Overheating can cause the acrylic to become soft and deform. Stick to the recommended temperature ranges.
Cooling Too Quickly
Opening the oven door or moving the material to room temperature too soon creates new stress patterns.
Environmental Factors
Drafts and temperature changes in your workspace can affect the cooling process. Choose a stable environment for annealing.
When to Skip Annealing
Not every project needs annealed acrylic. Simple cuts on thin material often work fine without this extra step.
Save your time and energy for projects with intricate cuts, thick materials, or when appearance is critical.
Conclusion
Annealing acrylic might seem like extra work, but it’s the difference between professional-looking cuts and amateur results with ugly stress marks. The process is straightforward: heat your acrylic to 160-180°F for one hour per inch of thickness, then let it cool slowly in the oven. This simple step eliminates internal stress and gives you clean, clear laser cuts every time. Remember, patience during the cooling phase is just as important as proper heating – rushing this step wastes all your effort.
Can I anneal acrylic multiple times if needed?
Yes, you can anneal acrylic multiple times without damage. Each cycle further reduces internal stress, though you’ll see diminishing returns after the second treatment.
Will annealing change the color or clarity of my acrylic?
Properly annealed acrylic often becomes slightly clearer, not less clear. Overheating can cause yellowing, so stick to recommended temperatures.
How long does annealed acrylic stay stress-free?
Once properly annealed, acrylic remains stress-free indefinitely under normal storage conditions. Avoid extreme temperature changes or mechanical stress after annealing.
Can I anneal colored or tinted acrylic sheets?
Yes, colored acrylic responds to annealing the same way as clear material. Some colors may appear slightly more vibrant after stress relief.
What’s the difference between annealing cast vs extruded acrylic?
Cast acrylic typically has more internal stress and benefits more from annealing. Extruded acrylic has less stress but still improves with treatment, especially for precision cuts.