Removing back masking from laser cut acrylic requires careful peeling from corners using proper angles and heat application when needed.
The key to successful back masking removal is working slowly with consistent pressure while avoiding scratches to your finished acrylic surface.
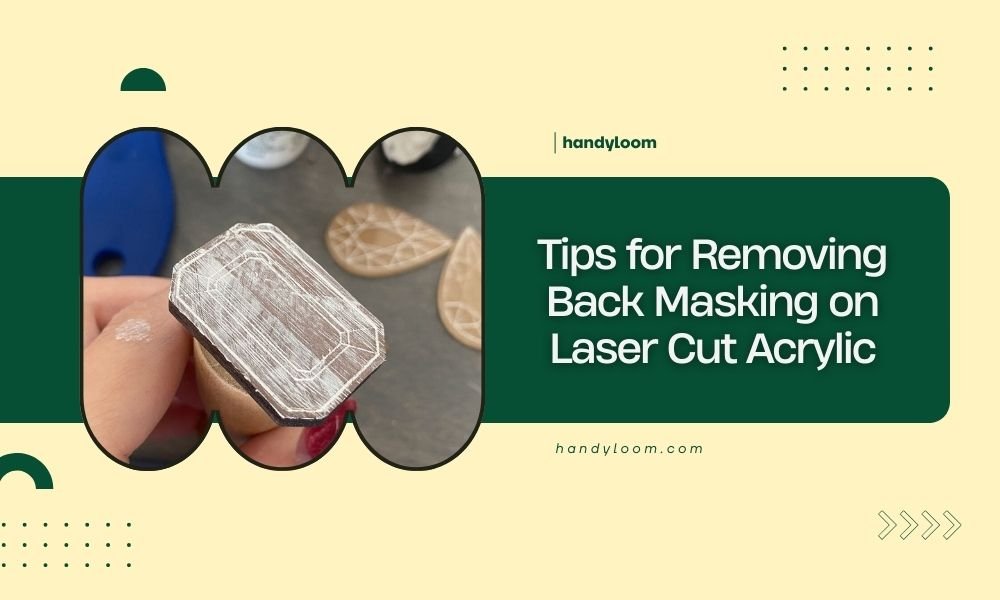
What Is Back Masking on Acrylic
Back masking is a protective film applied to the reverse side of acrylic sheets. This thin layer prevents scratches during shipping and handling. Most acrylic comes with masking on both sides.
The back masking usually has different adhesive strength than the front. Sometimes it’s easier to remove. Other times it sticks like crazy.
Why Back Masking Gets Stubborn
Heat from laser cutting can bond the masking adhesive to your acrylic. The longer your cut takes, the more heat builds up. This makes removal harder.
Age also plays a role. Old masking becomes brittle and tears easily. Fresh masking peels off in clean strips.
Essential Tools for Masking Removal
You don’t need fancy equipment. Most tools are probably in your workshop already.
- Plastic scraper or old credit card
- Hair dryer or heat gun
- Tweezers for small pieces
- Adhesive remover or rubbing alcohol
- Microfiber cloths
- Sharp craft knife
Tools to Avoid
Metal scrapers can scratch acrylic. Steel wool is also a no-go. Acetone might work but can cloud some acrylics. Test it first on scrap pieces.
Step-by-Step Removal Process
Start at the Right Corner
Find a corner where the masking lifts easily. Usually one corner cooperates better than others. Use your fingernail or tweezers to get it started.
Pull at a 45-degree angle. This gives you better control than pulling straight up. Keep steady pressure as you work across.
Work in Sections
Don’t try to remove huge pieces at once. Work in manageable sections about 2-3 inches wide. This prevents tearing and reduces frustration.
If the masking tears, start a new section nearby. You can come back to clean up small pieces later.
Dealing with Complex Shapes
Intricate cuts create masking challenges. Small tabs and delicate areas need extra care. Use tweezers to grab tiny pieces in tight corners.
For inside cuts, work from the center outward. This gives the masking somewhere to go as you peel.
Heat Application Techniques
Heat softens stubborn adhesive. A hair dryer works great for most jobs. Hold it 6-8 inches away from the acrylic surface.
Warm the masking for 30-60 seconds. Don’t overheat or you might warp thin acrylic. The goal is warm, not hot.
Heat Gun Safety
Heat guns get much hotter than hair dryers. Keep them moving constantly. Never focus heat in one spot for more than a few seconds.
Test the temperature with your hand from a safe distance. If it feels too hot for your skin, it’s too hot for acrylic.
Alternative Heat Sources
Warm sunlight can help too. Place your project in direct sun for 10-15 minutes. The gentle heat often loosens adhesive naturally.
Handling Adhesive Residue
Sometimes masking leaves sticky residue behind. This happens more often with older masking or overheated pieces.
Rubbing alcohol works well for cleanup. Apply it with a microfiber cloth using circular motions. The residue should dissolve quickly.
Commercial Adhesive Removers
Goo Gone and similar products tackle tough residue. Always test on scrap acrylic first. Some removers can cause cloudiness or cracking.
Apply the remover and let it sit for a few minutes. Then wipe clean with alcohol to remove any oily residue.
Natural Removal Options
White vinegar heated slightly can dissolve adhesive residue. Vegetable oil also works but requires thorough cleaning afterward.
Prevention Tips for Future Projects
Laser Settings Matter
Lower power settings with multiple passes create less heat. This keeps masking easier to remove. Yes, it takes longer, but saves cleanup time.
Faster cutting speeds also reduce heat buildup. Find the sweet spot between cut quality and masking preservation.
Masking Quality Makes a Difference
Higher quality acrylic often has better masking. The adhesive is formulated to remove cleanly. Cheap acrylic might have cheap masking.
Some suppliers offer low-tack masking specifically for laser cutting. It costs more but saves time later.
Timing Your Removal
Remove masking as soon as possible after cutting. The longer you wait, the harder it becomes. Heat from cutting continues to cure the adhesive for hours.
Troubleshooting Common Problems
Masking That Won’t Start
Sometimes you can’t get any corner to lift. Score a small line with a craft knife near one edge. This gives you something to grab.
Be super careful not to scratch the acrylic underneath. Light pressure is all you need.
Tearing and Small Pieces
Torn masking leaves annoying small pieces everywhere. Patience is key here. Use tweezers to grab each piece individually.
A slightly damp cloth can help small pieces stick to it for easy removal.
Masking Stuck in Engraved Areas
Engraved sections trap masking pieces. A soft brush like an old toothbrush helps work them out. Brush gently to avoid scratching.
Professional Tips from Experienced Makers
I found online that many experienced laser cutters remove masking before cutting complex shapes. They leave it on straight edges but remove it from areas that will have intricate cuts.
This hybrid approach gives you protection where you need it but avoids masking nightmares in detailed areas.
Batch Processing Strategy
When making multiple identical pieces, remove masking from the first piece right away. If you run into problems, you can adjust your laser settings for the remaining pieces.
| Masking Age | Removal Difficulty | Best Technique |
|---|---|---|
| Fresh (under 6 months) | Easy | Simple peeling |
| Medium (6-18 months) | Moderate | Heat assistance |
| Old (over 18 months) | Difficult | Heat plus solvents |
When to Leave Masking On
Sometimes keeping masking on makes sense. If you’re doing additional processing like drilling or sanding, leave it for protection.
Assembly work also goes easier with masking in place. You can remove it as the final step for a perfect finish.
Partial Removal Techniques
You can remove masking from just the visible surfaces. Hidden areas that will be glued or mounted can keep their masking.
Use a craft knife to score around the areas you want to unmask. This prevents accidental removal of protective sections.
Conclusion
Removing back masking from laser cut acrylic doesn’t have to be a nightmare. The right technique makes all the difference. Start with proper tools, use heat when needed, and work patiently in sections.
Remember that prevention often beats cure. Adjust your laser settings to minimize heat buildup, and remove masking promptly after cutting. With practice, you’ll develop a system that works reliably for your projects.
The key is understanding that every piece of acrylic and every masking job is slightly different. Stay flexible and adapt your approach as needed.
Why does my acrylic masking leave residue after removal?
Adhesive residue typically results from excessive heat during laser cutting or aged masking that has cured over time. Lower your laser power settings and remove masking sooner to prevent this issue.
Can I use acetone to remove stubborn masking adhesive?
Acetone works on some acrylics but can cause cloudiness or stress cracking on others. Always test on a scrap piece first, and consider safer alternatives like rubbing alcohol or commercial adhesive removers.
Should I remove masking before or after laser cutting?
Keep masking on during cutting for protection, then remove it immediately afterward. For very intricate designs, consider removing masking from complex areas before cutting while leaving it on straight edges.
What’s the best way to remove masking from small detailed cuts?
Use tweezers and work from the center of enclosed shapes outward. A slightly warm hair dryer can soften the adhesive, making small pieces easier to grab and remove without tearing.
How long can I leave masking on acrylic before it becomes difficult to remove?
Fresh masking under six months old removes easily, while masking over 18 months becomes significantly harder to remove cleanly. Remove masking within a few hours of laser cutting for best results.