
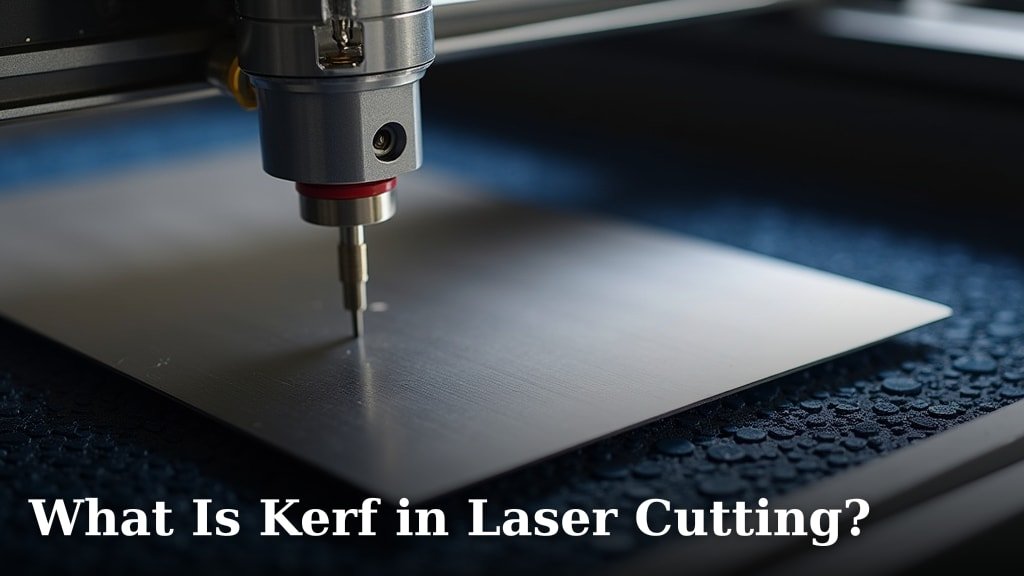
Kerf in laser cutting is the width of the material that the laser removes during the cutting process. Think of it like the saw blade’s thickness. This tiny gap allows the laser to separate your material.
Understanding kerf helps you achieve precise cuts. It shows up as a small gap or void where your material used to be. Every laser cutter and material combination creates a unique kerf width.
- Kerf is the material lost during a laser cut.
- It’s like the width of a saw blade.
- Kerf affects part dimensions.
- Different materials and lasers create different kerf.
Ready to master your laser cutting projects? Let’s dive into all the details about kerf and why it matters for your designs.
Understanding Laser Kerf in Detail
The term “kerf” describes the material lost during your laser cutting process. It’s the tiny gap the laser beam creates as it cuts through your material. Imagine it as the width of your cutting tool.
This removal of material is essential for separating parts. Too much or too little kerf awareness can compromise your final product. We’ll explore why this seemingly small detail makes a big difference in laser cutting.
What Exactly Causes Kerf?
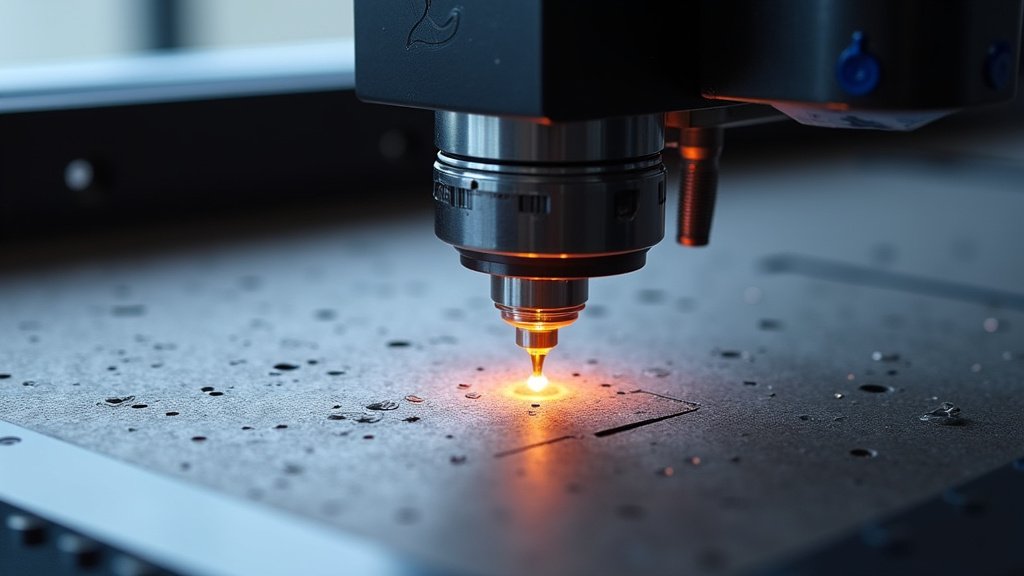
Kerf isn’t just a byproduct; it’s a fundamental aspect of how lasers work. The laser beam focuses intense energy onto a microscopic spot. This energy causes the material to melt, vaporize, or burn away.
The beam itself has a certain width. Even a focused laser isn’t a true “point.” As this beam moves, it removes material along its path. This removed material forms the kerf.
Heat also plays a role. The intense heat from the laser can affect material just outside the direct beam path. This can widen the cut slightly, contributing to the overall kerf dimension.
Why Does Kerf Matter for Your Laser Projects?
Ignoring kerf can lead to unexpected results in your finished parts. It directly impacts the accuracy and fit of your components. Think about building something with interlocking pieces.
If you don’t account for the kerf, your parts might not fit together correctly. Holes could be too small. Tabs might be too large. This can turn a perfectly designed project into a frustrating puzzle.
Kerf management is about ensuring your actual physical parts match your digital design. It’s about achieving the tight tolerances your project demands for a professional finish.
Impact on Dimensional Accuracy
Let’s say you design a square that is exactly 100mm by 100mm. If your laser has a kerf of 0.2mm, and you don’t adjust for it, your cut square will actually be 99.8mm by 99.8mm. The laser “ate” 0.1mm from each side.
For a perfect fit, you must tell your design software to offset the cut path. We often hear from users struggling with parts that are just a hair too big or too small. Almost always, the kerf is the culprit.
Fitting and Assembly Issues
Consider a joint where a tab needs to fit precisely into a slot. If the slot is cut without kerf compensation, it will be slightly narrower than your design. The tab, cut without compensation, will also be slightly narrower than designed.
However, the internal dimension of the slot is most critical. If the slot is too narrow, the tab won’t fit. You’ll need to sand or force it, potentially damaging the material. This is where precise kerf understanding comes in handy (Cleveland Clinic).
Factors That Influence Kerf Width
Kerf is not a static number; it changes significantly based on many variables. Understanding these variables helps you predict and manage kerf for better results.
We found that many factors contribute to the final kerf width you experience. It’s a combination of your machine, your material, and your chosen settings.
Type of Laser Cutter
CO2 Lasers
CO2 lasers are a common choice for makers and industrial settings. They typically produce a wider kerf than fiber lasers. This is due to the longer wavelength of the CO2 laser affecting a larger area.
For most materials like wood, acrylic, and cardboard, a CO2 laser’s kerf might range from 0.1mm to 0.5mm. This general range is good to keep in mind, but always check your specific setup.
Fiber Lasers
Fiber lasers operate at a shorter wavelength, allowing for a much finer focal point. This results in significantly smaller kerf widths.
When cutting metals, fiber lasers often achieve kerf widths as low as 0.05mm or even less. This precision is why they’re favored for intricate metalwork. The smaller beam means less material is removed.
Material Properties
The material you’re cutting directly impacts the kerf. Different materials react differently to laser energy. This can change how much material vaporizes or melts away.
- Material Thickness: Thicker materials generally result in wider kerf. The laser has to travel further, and there’s more opportunity for heat to spread.
- Material Type: Wood, acrylic, metal, and fabric all behave uniquely. Wood tends to char and can have a slightly wider kerf. Acrylic melts cleanly, often with a consistent kerf.
- Material Density: Denser materials might require more power, which can sometimes lead to a wider kerf. Lighter, less dense materials might cut with a finer line.
Laser Settings and Power
Your machine settings are crucial for kerf management. You have direct control over these variables to optimize your cuts.
- Laser Power: Higher power can sometimes lead to a slightly wider kerf due to increased heat and more aggressive material removal. However, too little power can lead to incomplete cuts.
- Cutting Speed: Slower speeds allow more time for heat to build up around the cut path. This can result in a wider kerf or more heat-affected zone (HAZ).
- Focal Point: The precise focusing of your laser beam is critical. An out-of-focus beam will create a wider, less precise cut and therefore a wider kerf.
- Air Assist: Air assist helps clear away molten material and debris from the cut. This can help maintain a cleaner, often narrower, kerf by preventing material from re-depositing into the cut.
How to Measure and Compensate for Kerf
Measuring kerf is a straightforward process that gives you the direct data you need. Compensation then takes that data and applies it to your designs.
Don’t just guess your kerf. Performing a simple test cut is the most reliable way to find your exact value for a given material and setup.
Measuring Kerf Accurately
To measure kerf, cut a simple shape, like a square or a series of slots, in your target material. Then, use precision calipers to measure your resulting cut. We found this method to be highly effective.
- Cut a 100mm x 100mm square.
- Carefully measure the actual width and height of the cut part.
- Compare this to your design. If your part is 99.8mm wide, then 0.2mm was lost. This 0.2mm is your total kerf (0.1mm per side).
- Alternatively, cut a series of parallel lines or slots and measure the width of these cuts directly.
Many experts say that measuring an internal feature (like a slot width) and an external feature (like a square’s side) can give you a better average kerf value.
Compensating for Kerf in Your Design Software
Once you know your kerf value, you can adjust your designs. This is usually done by “offsetting” your cut paths. You effectively tell the laser to cut slightly inside (for external features) or slightly outside (for internal features) your drawn line.
Most CAD or graphic design software has an offset tool. Here’s a basic guide:
- For an external cut (like the perimeter of a part), offset your line inwards by half the kerf value.
- For an internal cut (like a hole or a slot), offset your line outwards by half the kerf value.
| Feature | Compensation Direction | Example (0.2mm Kerf) |
|---|---|---|
| Outside Edge (Part Boundary) | Offset line inwards | Part will be 0.1mm larger than cut path |
| Inside Edge (Hole, Slot) | Offset line outwards | Hole/Slot will be 0.1mm smaller than cut path |
Remember, the goal is for the final part dimension to match your original design. You’re effectively telling the laser where the *center* of its kerf should be in relation to your design line.
Tips for Managing Kerf and Achieving Precision
Effective kerf management is a skill you develop over time. Here are some actionable tips to help you get started and improve your results.
Small adjustments can make a big difference in the quality and fit of your laser-cut components. Consistency is your friend.
Pre-Flight Checklist for Laser Cutting Precision
- Perform a kerf test cut for each new material.
- Ensure your laser is properly focused and calibrated.
- Use appropriate power and speed settings for the material.
- Clean your lens and mirrors regularly to maintain beam quality.
- Apply kerf compensation in your design software.
When to Use Kerf Compensation (And When Not To)
You should always consider kerf compensation when dimensional accuracy is important. This includes:
- Interlocking parts
- Parts that need to fit into an assembly
- Measuring tools or templates
- Any project where exact size matters
For purely aesthetic cuts, like engraving or simple decorative outlines where dimensions aren’t critical, kerf compensation may not be necessary. However, if you want your cut edges to be exactly on your design lines, understanding kerf still helps.
Many resources, like those from materials engineering groups, suggest always having kerf in mind, even for less critical projects. It establishes good habits.
Conclusion
Understanding kerf is fundamental to successful laser cutting. It’s not just a technical detail; it directly impacts your project’s accuracy and the fit of your parts. By embracing kerf, you gain control over your designs.
Measure your kerf, compensate for it in your software, and watch your precision improve significantly. You’ll be able to create perfectly fitting components and achieve the professional results you envision. Start applying these principles to your next laser cutting project today!
Frequently Asked Questions
What is the difference between kerf and cut width?
Kerf refers to the amount of material removed by the laser, essentially the width of the empty space created. Cut width is often used interchangeably, but kerf specifically highlights the material loss that affects part dimensions.
Does kerf only apply to laser cutting, or other cutting methods too?
While commonly discussed with laser cutting, the concept of kerf applies to nearly all material removal processes. Think of a saw blade’s thickness in woodworking or the width of a plasma torch cut; these are also forms of kerf.
Can kerf be completely eliminated in laser cutting?
No, kerf cannot be entirely eliminated. It’s an inherent part of how lasers work, as the beam physically removes material. The goal is to minimize it and account for it accurately, not to remove it completely.
Does the color of the material affect kerf in laser cutting?
Yes, material color can indirectly affect kerf. Darker colors tend to absorb more laser energy, potentially influencing how much material is vaporized or melted. This can lead to slight variations in kerf width.
How often should I measure kerf for my projects?
You should measure kerf whenever you use a new material, change your laser machine settings significantly, or notice inconsistencies in your cuts. Even small changes can impact precision, so regular testing ensures accuracy.
