Clean your laser lens by first powering down your machine, then gently wiping the lens with isopropyl alcohol and a lint-free cloth in circular motions from center outward.
A dirty laser lens reduces cutting power by up to 50% and can permanently damage your machine, making regular cleaning essential for optimal performance.
Why Your Laser Lens Gets Dirty So Fast
Your laser lens acts like a magnet for debris. Every time you cut wood, acrylic, or fabric, tiny particles fly around your machine. They stick to the lens surface and create a cloudy film.
Smoke residue is the biggest culprit. It coats your lens with a sticky layer that blocks laser power. Even clean materials like paper create dust that settles on optical surfaces.
Signs Your Lens Needs Immediate Cleaning
You’ll notice these warning signs when your lens gets too dirty:
- Cuts don’t go all the way through material
- Edges look burnt or rough
- Your machine takes longer to cut
- Visible spots or film on the lens surface
What You’ll Need for Lens Cleaning
Gather these supplies before you start. Using the wrong materials can scratch your expensive lens beyond repair.
Essential Cleaning Supplies
- 99% isopropyl alcohol (never use water)
- Lint-free optical cloths or cotton swabs
- Lens cleaning solution (optional upgrade)
- Small flashlight or phone light
- Clean workspace with good lighting
What Never to Use on Your Lens
These common household items will ruin your lens instantly:
- Paper towels (too abrasive)
- Regular tissues
- Window cleaner with ammonia
- Your fingers or clothing
Step 1: Power Down and Cool Your Machine
Safety comes first. Turn off your laser cutter completely. Don’t just pause a job or put it in standby mode.
Wait at least 15 minutes for everything to cool down. Lenses can get extremely hot during operation. A hot lens can crack if you apply cool alcohol too quickly.
Check for Residual Heat
Hold your hand near the lens assembly without touching. You should feel no heat before proceeding.
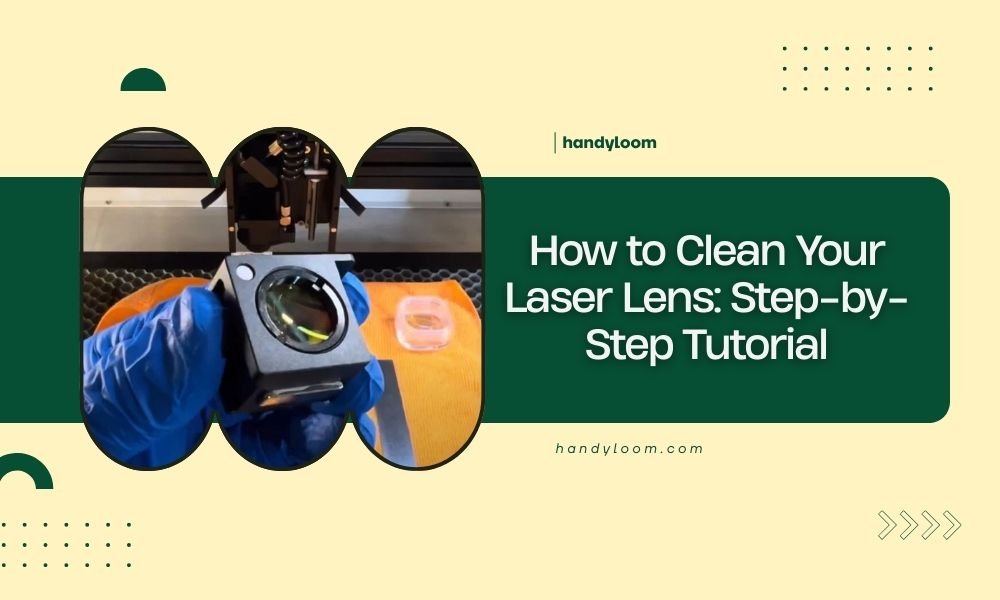
Step 2: Locate and Access Your Lens
Most laser cutters have the lens inside the cutting head. You’ll need to remove a protective cover or unscrew the lens assembly.
Check your manual for the exact location. Some machines have multiple lenses that need cleaning.
Document the Original Position
Take a photo with your phone before removing anything. This helps you reassemble everything correctly.
Handle with Extreme Care
Laser lenses cost $50 to $300 to replace. One drop onto a hard surface means you’re buying a new one.
Step 3: Remove the Lens Safely
Most lenses unscrew counterclockwise. Turn slowly and keep your other hand ready to catch the lens.
Some lenses sit in spring-loaded holders. Press gently and lift straight up to remove them.
Place on a Safe Surface
Set the lens on a clean, soft cloth immediately. Never place it directly on a table or workbench.
Step 4: Inspect the Lens Damage
Hold your flashlight at an angle to see the lens surface clearly. Look for different types of contamination.
| Contamination Type | Appearance | Cleaning Difficulty |
|---|---|---|
| Light dust | Fine particles, easily visible | Easy |
| Smoke residue | Cloudy film, sticky feel | Moderate |
| Burnt material | Dark spots, hardened deposits | Difficult |
When to Replace Instead of Clean
Deep scratches or permanent etching from heat damage can’t be cleaned. If you see grooves that catch your fingernail, order a replacement lens.
Step 5: Start with Dry Cleaning
Begin with the gentlest method first. Use a dry optical cloth to remove loose particles.
Wipe in straight lines from the center of the lens toward the edges. Never use circular motions during dry cleaning.
Check Your Progress Frequently
Hold the lens up to your light source every few wipes. You might solve the problem without using any liquids.
Step 6: Apply Alcohol for Deep Cleaning
If dry cleaning isn’t enough, it’s time for the alcohol treatment. Put a few drops of 99% isopropyl alcohol on a fresh optical cloth.
The cloth should be damp, not soaking wet. Too much liquid can seep into lens coatings and cause permanent damage.
Use the Spiral Technique
Start at the center of the lens. Make small circles, gradually working your way to the outer edges. This prevents you from pushing debris back toward the center.
Multiple Light Passes Work Better
Don’t press hard or scrub aggressively. Make several gentle passes instead. Stubborn spots will come off with patience.
Step 7: Final Inspection and Drying
Let the alcohol evaporate completely before handling the lens again. This takes about 2-3 minutes in normal room conditions.
Check both sides of your lens under bright light. Any remaining spots or streaks will show up clearly.
The Breath Test
Breathe gently on the clean lens surface. Your breath should fog the entire surface evenly. Uneven fogging means you missed a spot.
Step 8: Reinstall Your Clean Lens
Handle the lens by its edges only. Align it exactly as shown in your reference photo from earlier.
Thread it back into place clockwise if it screws in. Don’t overtighten – just snug enough to stay secure.
Double-Check the Fit
Make sure the lens sits flush and doesn’t wobble. A crooked lens will create uneven cuts and possible safety hazards.
How Often Should You Clean Your Lens
Most hobby users need lens cleaning every 10-15 hours of cutting time. Heavy users might clean weekly.
Material type affects cleaning frequency. Oily woods like pine create more residue than clean materials like acrylic.
Create a Simple Maintenance Schedule
Check your lens every time you change materials. Clean it whenever you see visible contamination.
Preventing Lens Contamination
Good ventilation reduces the amount of smoke and debris that reaches your lens. Make sure your exhaust fan works properly.
Air assist systems blow debris away from the lens during cutting. Keep your air pump clean and check for clogs regularly.
Material Preparation Matters
Clean your materials before cutting. Dusty or oily surfaces create more contamination during the laser process.
Conclusion
Keeping your laser lens clean takes just 10 minutes but saves you hours of frustration and potentially hundreds in replacement costs. Regular maintenance prevents the heavy buildup that requires aggressive cleaning.
Start checking your lens weekly until you learn how quickly it gets dirty with your specific materials and cutting patterns. A clean lens means better cuts, faster speeds, and a longer-lasting machine.
How do I know if my lens is damaged beyond cleaning?
Look for permanent scratches, cracks, or dark spots that won’t come off with alcohol cleaning. If the lens coating appears peeled or bubbled, replacement is necessary rather than continued cleaning attempts.
Can I use compressed air to clean my laser lens?
Avoid compressed air cans as they often contain moisture and oils that damage lens coatings. If you must use air, only use clean, dry air from a proper compressor with moisture filters.
What’s the difference between 70% and 99% isopropyl alcohol for lens cleaning?
99% alcohol evaporates faster and leaves no water residue, making it safer for delicate lens coatings. 70% alcohol contains too much water and can cause streaking or coating damage over time.
Should I clean both sides of my laser lens?
Yes, contamination builds up on both surfaces during normal operation. The bottom surface facing your material typically gets dirtier, but check and clean both sides for optimal performance.
How can I tell if my cleaning cloth is safe for optical surfaces?
True optical cleaning cloths are made from microfiber or special lint-free cotton. They should feel smooth, not rough or textured. Camera shops and scientific supply companies sell genuine optical cleaning cloths.