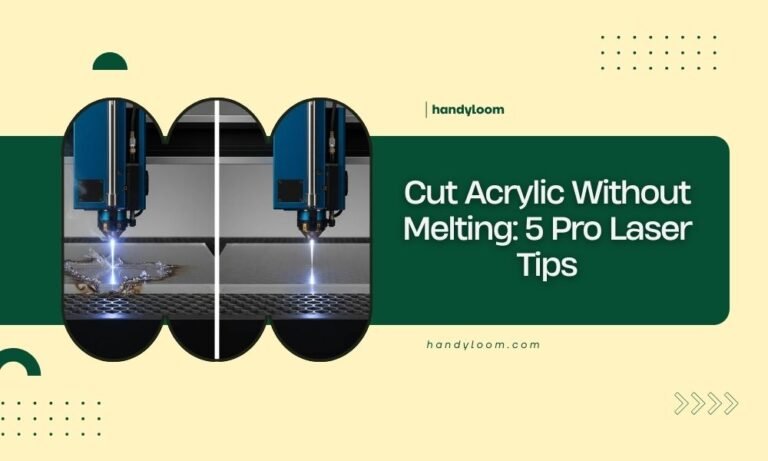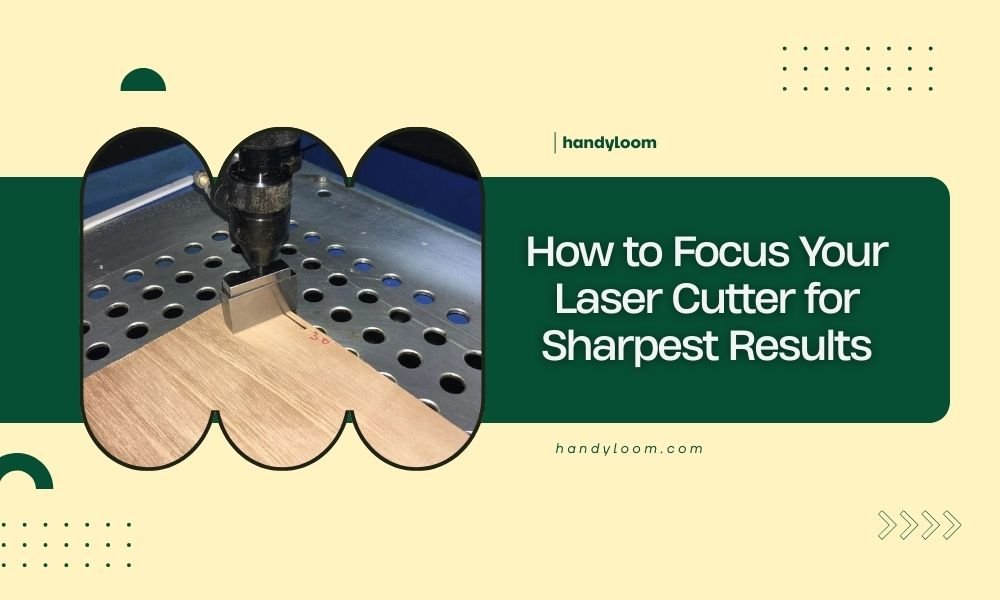
To focus your laser cutter for sharpest results, adjust the focal distance so the laser beam hits exactly at your material’s surface. Most laser cutters need the focal point set 2-4mm below the lens for optimal cutting power.
Perfect laser focus means clean cuts, minimal charring, and precise edges every time you use your machine.
Why Proper Laser Focus Makes All the Difference
Think of laser focus like adjusting a magnifying glass in sunlight. Get it just right, and you can burn through paper instantly. Miss the sweet spot, and nothing happens.
Your laser cutter works the same way. When the beam focuses perfectly on your material, it concentrates all that energy into the smallest possible point. This creates the hottest, most precise cut.
Poor focus spreads that energy over a wider area. You end up with rough edges, burn marks, and cuts that don’t go all the way through.
Understanding Your Laser’s Focal Point
Every laser has a focal length – the distance from the lens where the beam becomes smallest and most powerful. Most CO2 laser cutters use 50.8mm or 63.5mm focal length lenses.
The focal point sits somewhere between the lens and your material. Your job is positioning that invisible point exactly where you want it.
What Happens Above and Below Focus
Above the focal point, your laser beam is still converging. It’s getting smaller but hasn’t reached maximum power yet.
Below the focal point, the beam starts spreading out again. Power drops off quickly as the beam gets wider.
Only right at the focal point do you get that perfect combination of smallest beam size and highest power density.
Tools You Need for Accurate Focusing
You don’t need expensive equipment to focus your laser properly. Most jobs require just a few simple tools.
Focus Gauge Method
Many laser cutters come with a small metal or acrylic gauge. This tool sets the exact distance between your lens and material.
Place the gauge on your material, lower the laser head until it touches, then remove the gauge. Your focal point should now sit right at the material surface.
Ruler or Measuring Tape
If you don’t have a focus gauge, a ruler works fine. Measure the distance from your lens to the material surface.
For most standard lenses, you want about 6-8mm of clearance. Check your laser’s manual for the exact specification.
Test Material Scraps
Always keep scraps of your cutting materials nearby. These let you run quick focus tests without wasting good material.
Step-by-Step Focusing Process
Getting perfect focus takes just a few minutes once you know the steps. I found that following the same routine every time prevents mistakes.
Step 1: Position Your Material
Place your material flat on the laser bed. Make sure it’s not warped or bent where you plan to cut.
Secure it with weights or hold-downs if needed. Moving material during cutting ruins focus and wastes time.
Step 2: Move to Your Starting Point
Jog your laser head to where you’ll begin cutting. Don’t assume focus is the same everywhere on your bed – many machines have slight variations.
Step 3: Set Initial Height
Lower your laser head until the lens almost touches your material. Go slowly to avoid crashes.
If you have a focus gauge, place it on the material and lower until the lens touches the gauge top.
Step 4: Fine-Tune with Test Cuts
Run a small test cut on scrap material. Look for these signs of good focus:
- Clean, straight cut edges
- Minimal burn marks or discoloration
- Cut goes completely through in one pass
- No melted or rough areas
Adjusting for Poor Results
If your test cut looks rough or incomplete, adjust the height slightly and try again.
Raise the bed if cuts are wide or poorly defined. Lower it if the laser isn’t cutting through completely.
Focus Settings for Different Materials
Different materials need different focus strategies. What works for paper might fail completely on thick acrylic.
Thin Materials (Paper, Cardboard, Thin Wood)
Focus right at the surface or slightly above. These materials cut quickly, so you want maximum precision at the top edge.
Going too deep with focus can cause excessive burning on the bottom side.
Thick Materials (Acrylic, Thick Wood)
Focus about halfway through the material thickness. This balances cutting power between top and bottom surfaces.
For 6mm acrylic, focus about 3mm down from the surface. Thick wood follows similar rules.
Engraving vs Cutting Focus
Engraving needs focus right at the surface for sharp detail. You’re only removing a thin layer, not cutting through.
Cutting can use deeper focus to maintain power through the full material thickness.
Common Focus Problems and Solutions
Even experienced users run into focus issues. Recognizing problems early saves time and materials.
Uneven Cutting Depth
If one side of your cut goes deeper than the other, your material isn’t level or your laser bed needs adjustment.
Check that your material lies flat. Use a level to verify your cutting bed alignment.
Rough or Melted Edges
This usually means your focus is off or your cutting speed is wrong. Try focusing closer to the surface first.
If focus isn’t the issue, increase cutting speed or reduce power slightly.
Focus Drift During Long Jobs
Some machines lose focus accuracy during extended cutting sessions. Heat expansion can change the distance between lens and material.
Let your machine cool down between long jobs. Check focus again if you notice quality dropping.
Advanced Focus Techniques
Once you master basic focusing, these techniques can improve your results even more.
Ramp Testing
Cut a series of test lines while gradually changing the focus height. This shows you exactly where optimal focus occurs for your specific setup.
Mark each test with the height setting. Keep the best result as your reference.
Air Assist and Focus Interaction
Strong air assist can affect how your material reacts to the laser. The air flow cools the cut zone and blows away debris.
Adjust focus slightly when changing air pressure. More air often means you can focus a bit closer to the surface.
Multiple Pass Strategy
For very thick materials, consider multiple passes with different focus depths. Start with focus at the surface, then move it deeper for subsequent passes.
This technique works well with materials over 10mm thick.
Maintaining Focus Accuracy
Your focus setup needs regular maintenance to stay accurate. Small changes add up over time.
Lens Cleaning
Dirty lenses change the focal point location. Clean your lens weekly or whenever you notice cut quality declining.
Use lens cleaning solution and lint-free cloths. Never touch the lens surface with your fingers.
Checking Bed Levelness
An unlevel cutting bed makes consistent focus impossible. Check levelness monthly using a precision level.
Most laser beds have adjustment screws at each corner. Make small changes and recheck frequently.
Focus Testing Schedule
Research from laser cutting professionals shows that regular focus verification prevents most quality issues. I found that following a simple schedule works best.
Test focus every time you change materials. Different thicknesses and types need different settings.
Do a quick focus check at the start of each day if you’re running production work. Temperature changes overnight can affect accuracy.
| Frequency | Task | Why It Matters |
|---|---|---|
| Every material change | Quick focus test | Different materials need different focus |
| Daily | Check reference marks | Temperature changes affect accuracy |
| Weekly | Clean lens and recheck | Dirty lens changes focal point |
| Monthly | Verify bed level | Prevents focus drift across bed |
Conclusion
Perfect laser focus transforms your cutting results from acceptable to amazing. The difference between sloppy, burned edges and clean, precise cuts comes down to positioning that focal point exactly where it needs to be.
Start with your focus gauge or ruler to get close. Then use test cuts to fine-tune the setting for your specific material and project needs. Remember that different materials often need different focus depths for best results.
Take time to maintain your focus system with regular cleaning and calibration. These small efforts pay off with consistent, professional-quality cuts every time you use your laser.
How often should I check my laser cutter’s focus?
Check focus every time you change materials or start a new project. Daily verification works best for production environments, while hobby users can check weekly or when cut quality seems to decline.
Can I damage my laser by focusing too close to the material?
Yes, focusing too close can cause lens damage from debris and excessive heat reflection. Always maintain at least 2mm clearance between lens and material, and use proper air assist to keep debris away.
Why do my cuts look different at opposite corners of the bed?
This indicates your cutting bed isn’t level or your gantry has alignment issues. Use a precision level to check bed flatness and adjust corner screws as needed. Severe cases may require professional calibration.
Should focus settings change with laser power levels?
Focus position stays the same regardless of power settings, but higher power may require slightly more clearance to prevent lens damage. The focal point location depends only on lens geometry, not power output.
What’s the best way to focus when cutting multiple material thicknesses in one job?
Set focus for the thickest material in your job, positioning it about halfway through that piece. Thinner materials in the same job will still cut well, though edges might be slightly less sharp than with optimized individual focus.