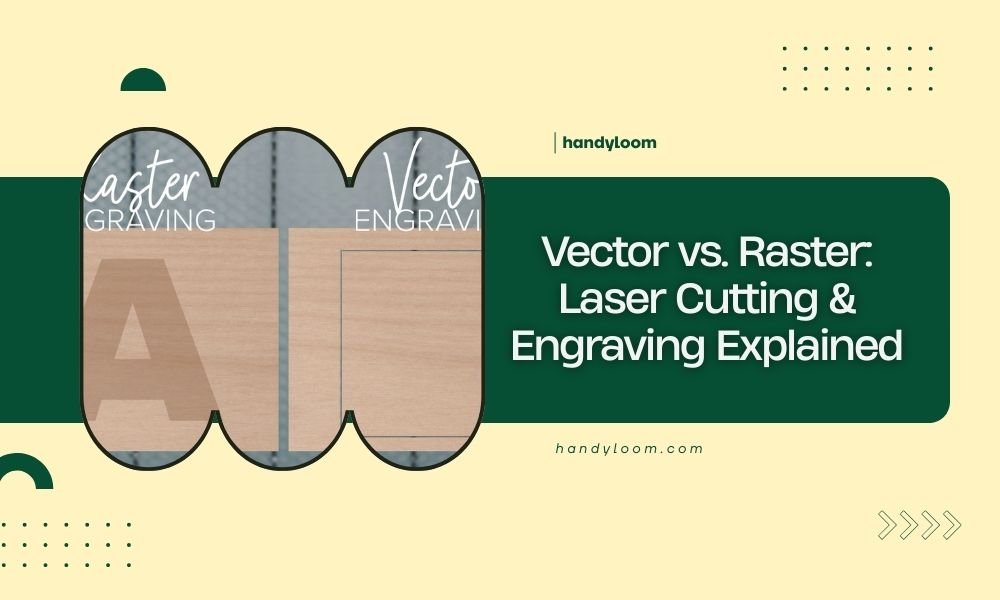
Vector files use mathematical formulas to create scalable graphics, while raster files are made of individual pixels. For laser cutting and engraving, vectors work best for cutting paths, and rasters work best for detailed photo engraving.
Choose vector formats like SVG or AI for clean cuts and outlines. Use raster formats like JPEG or PNG when you want to engrave photos or complex grayscale images onto your materials.
What Are Vector Files?
Think of vector files like a recipe. Instead of storing every tiny detail, they store instructions. The computer reads these instructions and draws perfect lines, curves, and shapes every time.
Vector graphics use mathematical equations to define points, lines, and curves. When you zoom in on a vector image, it stays crisp and sharp. No matter how big or small you make it, the quality never changes.
Common Vector File Types
You’ll work with these vector formats most often:
- SVG (Scalable Vector Graphics) – Works great online and with most laser software
- AI (Adobe Illustrator) – Professional design standard
- EPS (Encapsulated PostScript) – Universal format for print and laser cutting
- DXF (Drawing Exchange Format) – CAD format loved by many laser cutting programs
Why Vectors Love Laser Cutters
Your laser cutter reads vector paths like a roadmap. It follows the lines exactly where you want cuts to happen. The laser head moves smoothly along these mathematical paths, creating clean edges and perfect corners.
I found that most laser cutting software prefers vector files because they translate directly into tool paths. No guessing, no interpretation needed.
What Are Raster Files?
Raster files work like a giant grid of colored squares called pixels. Each pixel has its own color information. When you put millions of these tiny squares together, they form the images you see.
Think of raster images like a mosaic made from tiny tiles. From far away, it looks smooth. Get closer, and you see the individual pieces.
Common Raster File Types
These raster formats show up in laser engraving projects:
- JPEG – Great for photos, but loses quality when compressed
- PNG – Keeps quality high, supports transparent backgrounds
- TIFF – Professional choice for detailed images
- BMP – Simple format, large file sizes
- GIF – Limited colors, good for simple graphics
How Rasters Work With Lasers
Your laser treats each pixel like a tiny engraving instruction. Dark pixels mean “engrave deep here.” Light pixels mean “barely touch the surface.” The laser scans back and forth, creating tiny dots that form your final image.
Research shows that laser engraving works best with high-contrast raster images. Sharp differences between light and dark areas produce cleaner results.
Vector vs Raster: The Big Differences
| Feature | Vector | Raster |
|---|---|---|
| Scalability | Perfect at any size | Gets blurry when enlarged |
| File Size | Usually smaller | Can be very large |
| Best For | Logos, text, simple shapes | Photos, complex images |
| Editing | Easy to modify shapes | Hard to change individual elements |
| Laser Use | Cutting and simple engraving | Detailed photo engraving |
When Size Matters
Here’s where vectors really shine. You can take a vector logo and make it fit on a keychain or blow it up for a wall sign. The quality stays perfect either way.
Raster images have fixed dimensions. Make them bigger than their original size, and they start looking pixelated and blurry. Make them smaller, and you lose detail.
Choosing Vector for Laser Cutting
Vector files are your best friend for laser cutting projects. They give you clean, precise cuts every single time.
Perfect Vector Projects
Use vector files when you’re making:
- Decorative panels with geometric patterns
- Custom signs with text
- Jewelry with clean lines
- Organizational boxes and dividers
- Stencils for painting or crafting
Setting Up Vector Cut Files
Your vector lines need specific properties for cutting. Set your cut lines to a thin stroke width, usually 0.001 inches or 0.025mm. Many laser programs recognize red lines as cut paths by default.
I came across advice from laser cutting experts who suggest keeping cut lines as outlines only. Fill colors can confuse some laser software and cause engraving instead of cutting.
Vector Engraving Tips
You can engrave with vectors too. Convert text to outlines, then set your laser to engrave mode. Vector engraving works great for simple designs with solid fills.
Keep vector engravings simple. Complex vector shapes with lots of overlapping areas can slow down your laser and create uneven results.
Choosing Raster for Laser Engraving
Raster files excel at creating detailed engravings with lots of gradual shading and complex imagery.
Perfect Raster Projects
Raster engraving works best for:
- Portrait engravings on wood or acrylic
- Photo memories on cutting boards
- Detailed artwork reproductions
- Gradient effects and shading
- Textured backgrounds
Preparing Raster Files
Start with high-resolution images, at least 300 DPI for good results. Convert color photos to grayscale before engraving. Your laser can’t engrave in color anyway.
Adjust contrast to make dark areas darker and light areas lighter. This helps your laser create more dramatic engraving depth differences.
Raster Resolution Guidelines
Higher resolution means more detail, but also longer engraving times. I found that 300-600 DPI works well for most projects. Save ultra-high resolution for special pieces where every detail matters.
Lower resolution creates a more artistic, stylized look. Sometimes 150-200 DPI gives you the perfect balance of detail and character.
Converting Between Vector and Raster
Sometimes you need to switch between formats. Here’s how to do it right.
Vector to Raster (Rasterizing)
Converting vector to raster is easy. Most design programs have an export option where you can choose resolution and file format. This process is called rasterizing.
Pick your resolution based on your final use. For laser engraving, 300-600 DPI usually works great.
Raster to Vector (Tracing)
Going from raster to vector is trickier. You’ll need to trace the image, either manually or with auto-trace software.
Auto-trace works well for simple, high-contrast images. Complex photos with lots of colors and gradients don’t trace well automatically.
File Format Best Practices
Different laser cutting software programs prefer different file formats. Know what works best with your setup.
Universal Formats That Work Everywhere
These formats play nice with almost all laser software:
- SVG for vectors – Small files, web-friendly
- PNG for rasters – Good quality, supports transparency
- DXF for CAD-style vectors – Loved by many laser programs
Software-Specific Tips
Adobe Illustrator users should save as SVG or AI format. CorelDRAW works great with its native CDR format but also exports good SVG files.
Free software like Inkscape creates excellent SVG files. GIMP handles raster editing and exports to all the formats you need.
Common Mistakes to Avoid
I researched common laser cutting problems and found these mistakes happen often.
Vector Mistakes
Don’t use thick stroke weights for cut lines. Your laser will try to cut along both edges of thick lines, creating double cuts.
Avoid overlapping cut paths. They waste time and can damage your material with multiple passes over the same area.
Raster Mistakes
Low resolution raster files create blocky, pixelated engravings. Always start with high-quality source images.
Don’t forget to convert color images to grayscale. Color information confuses most laser engraving software.
Combining Vector and Raster
Many projects work best with both vector and raster elements. You might cut a frame with vectors and engrave a photo with raster.
Layer Organization
Keep vector cut lines and raster engravings on separate layers. This makes it easy to control each operation independently.
Name your layers clearly. “Cut Lines,” “Photo Engraving,” and “Vector Text” tell you exactly what each layer does.
Operation Order
Most experts recommend engraving first, then cutting. This way, your material stays flat and secure during detailed engraving work.
Cutting first can create pieces that move during engraving, throwing off your alignment.
Conclusion
Understanding vector vs raster files transforms your laser cutting and engraving results. Vectors give you perfect cuts and scalable designs. Rasters bring photos and complex imagery to life through detailed engraving.
Choose the right format for each job. Use vectors for cutting, simple engraving, and designs you might resize later. Pick rasters for photo engraving and projects that need lots of detail and shading. Many of your best projects will combine both formats, using each one’s strengths to create something amazing.
Start experimenting with both formats. The more you practice, the better you’ll understand which approach works best for different materials and design goals.
Can I use any image I find online for laser engraving?
You need high-resolution images for good laser engraving results. Many online images are low resolution and will look pixelated when engraved. Also check copyright permissions before using images you don’t own.
Why does my vector file engrave instead of cut?
Your vector lines probably have fill colors or are too thick. Set cut lines to hairline thickness with no fill color. Most laser software recognizes specific colors like red as cut commands.
What’s the minimum resolution needed for raster engraving?
Aim for at least 300 DPI for decent results. Lower resolution creates visible pixels in your final engraving. Higher resolution takes longer to engrave but gives you more detail.
Can I convert a photo to vector for laser cutting?
Auto-tracing can convert simple, high-contrast photos to vectors, but complex photos don’t trace well. You’ll get better results keeping photos as raster files for engraving rather than trying to cut them.
Which file format should I use if my laser software accepts multiple types?
SVG works great for vectors because it’s widely supported and creates small files. For rasters, PNG maintains good quality without compression artifacts. Test different formats with your specific laser software to see what works best.