Creating high-quality photo engravings on tile requires a laser engraver set to 300-600 DPI with proper image preparation and ceramic-safe settings.
You’ll need grayscale images, clean tile surfaces, and precise power settings between 40-80% depending on your tile material and laser type.
What Makes a Great Photo Engraving on Tile
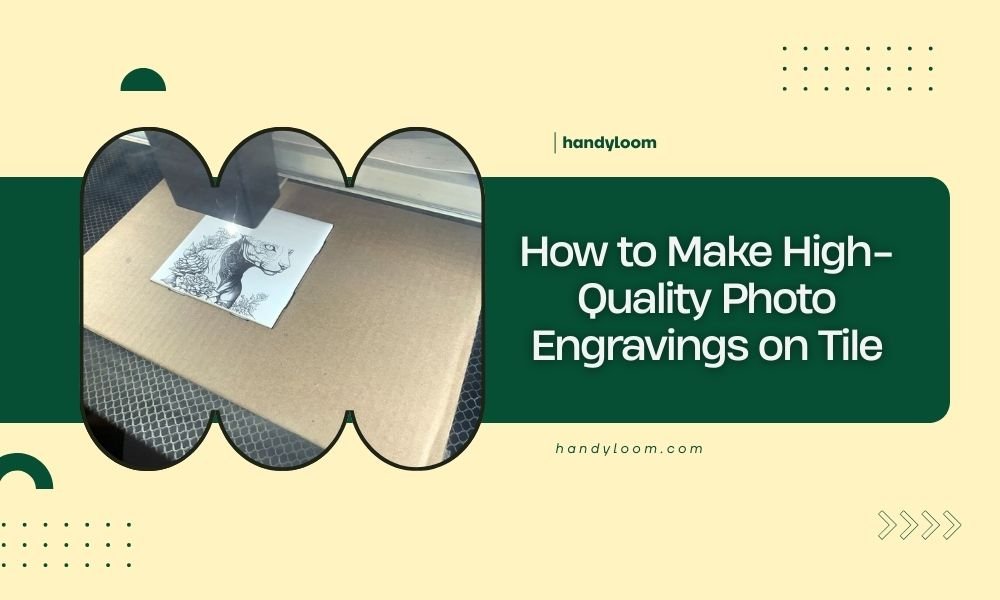
Photo engraving transforms ordinary tiles into personalized keepsakes. The process burns tiny dots into the tile surface, creating permanent images that won’t fade or wash away.
Your success depends on three main factors: image quality, laser settings, and tile preparation. Get these right, and you’ll create stunning results every time.
Best Tile Types for Photo Engraving
Ceramic and porcelain tiles work best for photo engraving. They respond well to laser heat and create clean, sharp lines.
Natural stone tiles like marble or granite can work too, but they’re trickier. The results vary based on mineral content and density.
Avoid These Tile Materials
- Glazed tiles with thick coating
- Metal-backed tiles
- Plastic or vinyl tiles
- Glass tiles (unless you have CO2 laser experience)
Preparing Your Photo for Engraving
Your photo needs special treatment before it hits the laser. Raw photos rarely engrave well without adjustments.
Image Resolution and Size
Set your image to 300-600 DPI for crisp details. Higher DPI takes longer but gives better quality on small tiles.
Match your image size to your tile dimensions. A 4×4 inch tile should get a 4×4 inch image at your chosen DPI.
Converting to Grayscale
Laser engravers only understand light and dark values. Convert your color photo to grayscale first.
Don’t just desaturate the image. Use proper grayscale conversion tools in Photoshop or GIMP for better contrast.
Adjusting Contrast and Brightness
Boost contrast by 15-25% from your original image. This helps the laser create distinct light and dark areas.
Avoid pure white backgrounds if possible. Light gray backgrounds engrave more evenly than stark white areas.
Essential Equipment and Materials
You don’t need expensive equipment to start. A basic CO2 or diode laser can handle most tile engraving projects.
Laser Engraver Requirements
CO2 lasers work best for ceramic tiles. They handle the heat absorption better than diode lasers.
Diode lasers can work but need slower speeds and multiple passes. They’re better for softer materials.
Power Requirements
40-watt CO2 lasers handle most home projects. Higher wattage gives you more speed and depth options.
20-watt diode lasers are the minimum for decent tile engraving. Lower power units struggle with ceramic materials.
Additional Tools You’ll Need
- Masking tape or transfer paper
- Isopropyl alcohol (70% or higher)
- Soft cloths or paper towels
- Safety glasses rated for your laser type
- Tile clamps or positioning jigs
Step-by-Step Engraving Process
Now comes the fun part. Follow these steps for consistent results every time you engrave.
Surface Preparation
Clean your tile with isopropyl alcohol. Remove any dust, fingerprints, or residue that could affect the engraving.
Let the tile dry completely before placing it in your laser. Moisture can cause uneven burning or cracking.
Positioning and Securing
Place your tile flat on the laser bed. Use clamps or positioning jigs to prevent movement during engraving.
Check that your tile sits level. Uneven surfaces create inconsistent engraving depth.
Laser Settings Configuration
Start with conservative settings and adjust up if needed. It’s easier to add more passes than to fix over-burned tiles.
Power Settings by Material
| Tile Type | Power % | Speed (mm/min) | Passes |
|---|---|---|---|
| Ceramic (unglazed) | 60-80% | 800-1200 | 1-2 |
| Porcelain | 70-90% | 600-1000 | 1-2 |
| Natural Stone | 40-60% | 400-800 | 2-3 |
Speed and Pass Considerations
Slower speeds give deeper engraving but take more time. Find the balance that works for your project timeline.
Multiple light passes often work better than one heavy pass. This prevents cracking and gives smoother results.
Running Your First Test
Never engrave your final tile first. Test on scraps or cheap tiles to dial in your settings.
Creating Test Squares
Make small test squares with different power and speed combinations. Label each one so you remember the settings.
A 1-inch square gives you enough detail to judge quality without wasting time or materials.
What to Look For
Good engraving shows clear detail without burning completely through the tile surface. You want depth without damage.
Bad signs include cracking, chipping, or areas that look melted rather than cleanly engraved.
Troubleshooting Common Problems
Every engraver runs into issues. Here’s how to fix the most common problems quickly.
Uneven Engraving Depth
This usually means your tile isn’t level or your laser needs cleaning. Check both before adjusting power settings.
Dirty laser lenses create hotspots that burn unevenly. Clean your optics regularly for consistent results.
Cracking or Chipping
Too much power or speed causes thermal shock. Reduce power by 10-20% and try again.
Some tiles have internal stresses that cause cracking no matter what. Switch to a different tile brand if this happens repeatedly.
Poor Detail Resolution
Blurry details usually come from incorrect DPI settings or image preparation issues.
Re-process your image with higher contrast and sharper edges. Sometimes the original photo just isn’t suitable for engraving.
Advanced Techniques for Better Results
Once you master the basics, these advanced methods will take your engravings to the next level.
Dithering and Halftone Patterns
Dithering creates smooth gradients by varying dot patterns instead of power levels. Your laser software probably has dithering options.
Floyd-Steinberg dithering works well for photos with lots of detail. Jarvis dithering is better for portraits with smooth skin tones.
Multi-Pass Techniques
Run the same image multiple times with slightly different settings. This builds up depth gradually and prevents thermal damage.
First pass at low power for fine details. Second pass at higher power for darker areas only.
Color Fill Options
After engraving, you can fill the recessed areas with paint or stain for more contrast.
Acrylic paint works well on ceramic tiles. Apply with a brush, then wipe the surface clean while leaving paint in the engraved areas.
Safety and Maintenance
Laser engraving creates dust and fumes that need proper handling. Don’t skip safety steps to save time.
Ventilation Requirements
Always use exhaust fans when engraving tiles. Ceramic dust can irritate your lungs and damage your laser.
I found that most experts recommend air filtration systems for indoor workshops (Occupational Safety and Health Administration).
Personal Protection
Wear safety glasses rated for your laser wavelength. Regular sunglasses don’t provide adequate protection.
Consider dust masks when cleaning engraved tiles. Fine ceramic particles stay airborne longer than you’d expect.
Finishing and Sealing Your Work
Raw engraved tiles need protection to maintain their appearance over time.
Cleaning After Engraving
Brush away loose debris with a soft brush. Avoid compressed air, which can blow particles into your workspace.
Wipe with a damp cloth to remove fine dust. Let the tile dry completely before sealing.
Sealing Options
Clear acrylic sealers protect the engraved surface from moisture and staining. Apply thin, even coats for best results.
Food-safe sealers are available if you’re making coasters or trivets that will contact food.
Conclusion
Creating high-quality photo engravings on tile combines technical skill with artistic vision. Start with simple projects to build your experience, then move on to more complex images as your confidence grows. Remember that each tile type behaves differently, so keep notes on what works best for your specific materials and laser setup. With practice and patience, you’ll create beautiful, lasting memories that far exceed what’s possible with traditional printing methods.
How long does it take to engrave a photo on a 6×6 inch tile?
A 6×6 inch photo typically takes 30-60 minutes depending on your laser power and desired detail level. Higher resolution images and multiple passes increase engraving time significantly.
Can I engrave photos on outdoor tiles that will be exposed to weather?
Yes, laser engraving is permanent and weather-resistant on ceramic and porcelain tiles. Use a UV-resistant sealer for extra protection against sun fading if the tiles receive direct sunlight.
Why do some areas of my photo look burned while others barely show up?
This happens when your original image has too much contrast or your laser bed isn’t level. Adjust your image contrast to 60-70% and check that your tile sits flat against the laser bed.
What’s the smallest detail size I can successfully engrave on tile?
Most home lasers can handle details as small as 0.1mm on smooth ceramic tiles. Text smaller than 8-point font often becomes unreadable due to the granular nature of ceramic materials.
Can I engrave color photos directly without converting to grayscale first?
No, lasers only engrave in grayscale regardless of your source image colors. Your laser software will convert color images automatically, but manual conversion gives you better control over the final appearance.