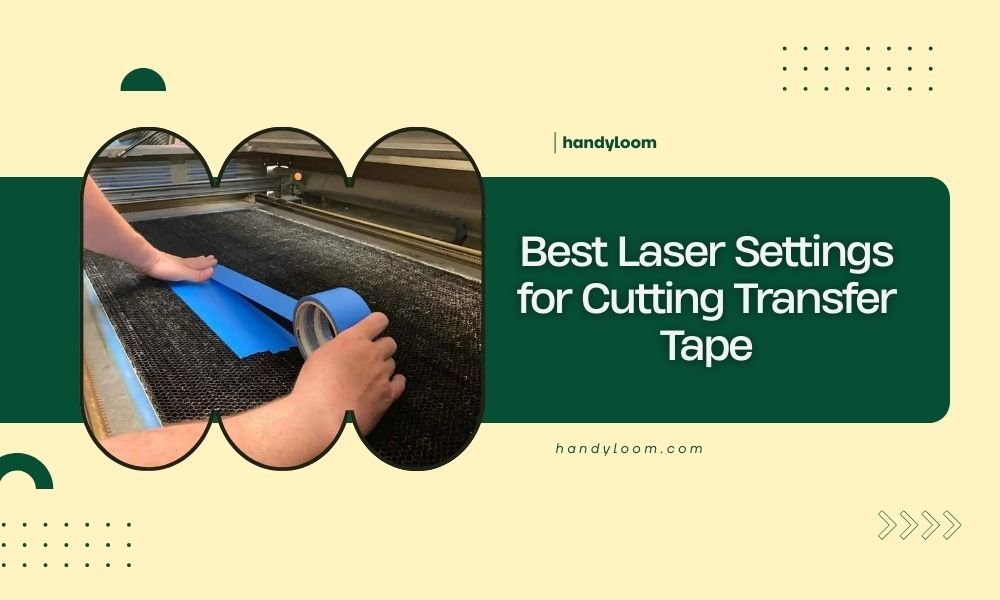
For optimal transfer tape cutting, set your laser to 40-60% power with speeds of 300-600 mm/min and a frequency of 1000-2000 Hz.
The exact best laser settings for cutting transfer tape depend on your material thickness and laser type, but most crafters find success within these ranges.
Getting clean cuts through transfer tape without damaging the backing can feel tricky at first. You want enough power to slice through cleanly, but not so much that you melt or burn the edges.
I’ve researched various laser cutting forums and found that most experienced users follow similar approaches. The key is starting conservative and adjusting up gradually.
Quick Settings Overview
Most transfer tapes cut well with these baseline settings:
- Power: 40-60%
- Speed: 300-600 mm/min
- Frequency: 1000-2000 Hz
- Passes: 1-2
These numbers work for standard vinyl transfer tape around 0.1-0.2mm thick. Thicker tapes might need slight power increases.
Understanding Your Transfer Tape
Paper vs Plastic Backing
Paper-backed transfer tape cuts easier than plastic-backed versions. Paper absorbs laser energy differently and creates cleaner edges.
Plastic backing tends to melt slightly, which can create small beads along cut edges. You’ll need lower power settings to prevent this.
Thickness Matters
Thin transfer tapes (under 0.15mm) cut with minimal power. Thick tapes (over 0.2mm) need more energy to penetrate fully.
Always check your tape thickness before starting. Most manufacturers list this in product specs.
Power Settings Breakdown
Starting Power Levels
Begin with 40% power for thin tapes. This prevents burning and gives you room to adjust up if needed.
For medium-thick tapes, start at 50%. This usually provides enough energy without overdoing it.
Low Power Benefits
Lower power settings create smoother edges. You get less heat damage and minimal melting.
The downside? You might need multiple passes, which takes longer.
High Power Risks
Too much power melts plastic backing and creates rough edges. It can also cause the adhesive to bubble or discolor.
Some users report that high power settings make the tape harder to weed later.
Speed Considerations
Slow vs Fast Cutting
Slower speeds (300-400 mm/min) give the laser more time to cut through completely. This works well for thick tapes.
Faster speeds (500-600 mm/min) reduce heat buildup. This prevents melting on sensitive materials.
Finding Your Sweet Spot
Medium speeds around 450 mm/min work for most projects. You get clean cuts without excessive heat.
Adjust based on your design complexity. Detailed cuts might need slower speeds for accuracy.
Frequency Settings Explained
What Frequency Does
Higher frequency (2000+ Hz) creates smoother cut edges. The laser fires more pulses per inch of travel.
Lower frequency (1000 Hz) cuts faster but might create slightly rougher edges.
Best Frequency Ranges
For most transfer tapes, 1500 Hz provides good balance. You get clean cuts at reasonable speeds.
Very thin tapes might work fine at 1000 Hz. Thick or detailed work benefits from 2000 Hz.
Testing Your Settings
Creating Test Samples
Cut small squares using different settings before starting your main project. This saves material and time.
Test at least three power levels: your starting point, 10% higher, and 10% lower.
What to Look For
Good cuts go completely through without burning edges. The backing should separate cleanly.
Bad cuts leave partial connections or create melted, stringy edges.
| Tape Type | Power % | Speed mm/min | Frequency Hz |
|---|---|---|---|
| Thin Paper | 35-45 | 400-600 | 1000-1500 |
| Medium Paper | 45-55 | 350-500 | 1500-2000 |
| Plastic Backing | 40-50 | 450-600 | 1500-2000 |
Common Problems and Solutions
Incomplete Cuts
If your tape doesn’t cut all the way through, increase power by 5-10%. Sometimes slowing down speed helps too.
Multiple light passes often work better than one heavy pass.
Burned or Melted Edges
Reduce power or increase speed. You can also try higher frequency settings to distribute heat better.
Make sure your laser is properly focused. Poor focus creates more heat and burning.
Adhesive Problems
Excessive heat can damage the adhesive layer. This makes your transfer tape less sticky.
If you notice adhesive changes, lower your power and test again.
Advanced Tips
Air Assist Settings
Strong air assist blows away debris and reduces heat buildup. This prevents melting on plastic-backed tapes.
Some users turn air assist down slightly for very thin tapes to prevent lifting during cutting.
Focus Adjustments
Perfect focus gives the cleanest cuts. Check your focus before each project, especially when switching materials.
Slightly defocused beams can sometimes work better for very thin materials, reducing burning.
Design Considerations
Sharp corners and small details need slower speeds or multiple passes. Plan your settings accordingly.
Large solid areas cut fine at higher speeds. Use different settings for different parts if needed.
Conclusion
Finding the best laser settings for cutting transfer tape takes some experimentation, but these guidelines give you a solid starting point. Remember to begin with lower power settings and work up gradually.
The 40-60% power range with moderate speeds works for most projects. Always test on scraps first, and don’t forget to consider your specific tape thickness and backing material.
Clean cuts make weeding easier and give your finished projects a professional look. Take time to dial in your settings properly – it’s worth the effort.
What happens if I use too much power when cutting transfer tape?
Excessive power melts the plastic backing and creates rough, burned edges. It can also damage the adhesive layer, making your transfer tape less effective for applying vinyl designs.
Can I cut multiple layers of transfer tape at once?
Yes, but you’ll need to increase power by about 20-30% for each additional layer. Test carefully since multiple layers trap more heat and increase burning risk.
Why do my transfer tape cuts look fuzzy or rough?
Rough cuts usually result from dull laser tubes, poor focus, or incorrect frequency settings. Check your laser focus first, then try increasing frequency to 2000 Hz for smoother edges.
Should I remove the release liner before laser cutting transfer tape?
Keep the release liner on during cutting. It provides stability and prevents the adhesive from getting contaminated. Remove it only after cutting is complete.
How do I know if my transfer tape is too thick for my laser settings?
Thick tape that doesn’t cut through completely will show partial cuts or require excessive pulling to separate pieces. Increase power by 10% increments until you get clean, complete cuts.